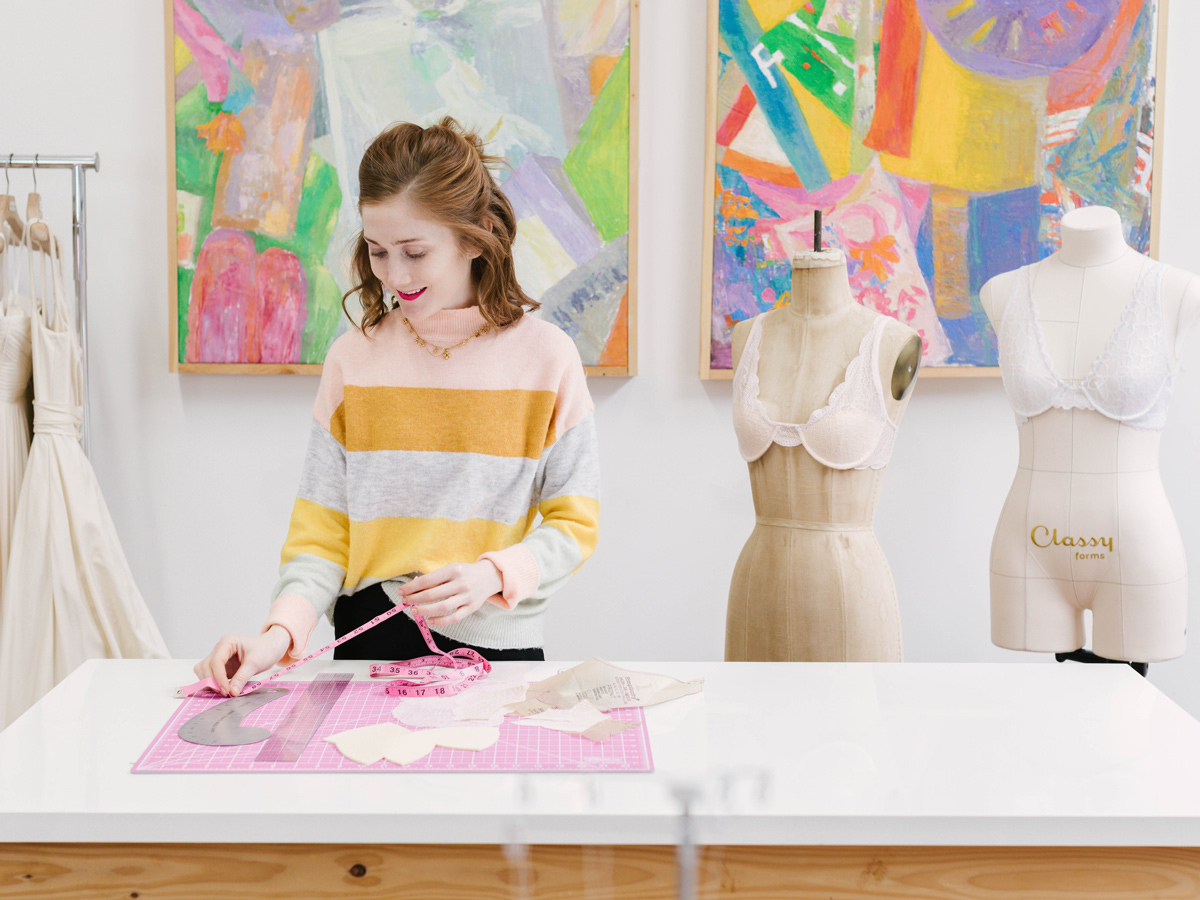
Click here to watch the video series on Madalynne’s YouTube Channel and see below for an outline/supplement to the video series.
Click here to shop the 8436 DIY lingerie kits, including this new blush pink kit!

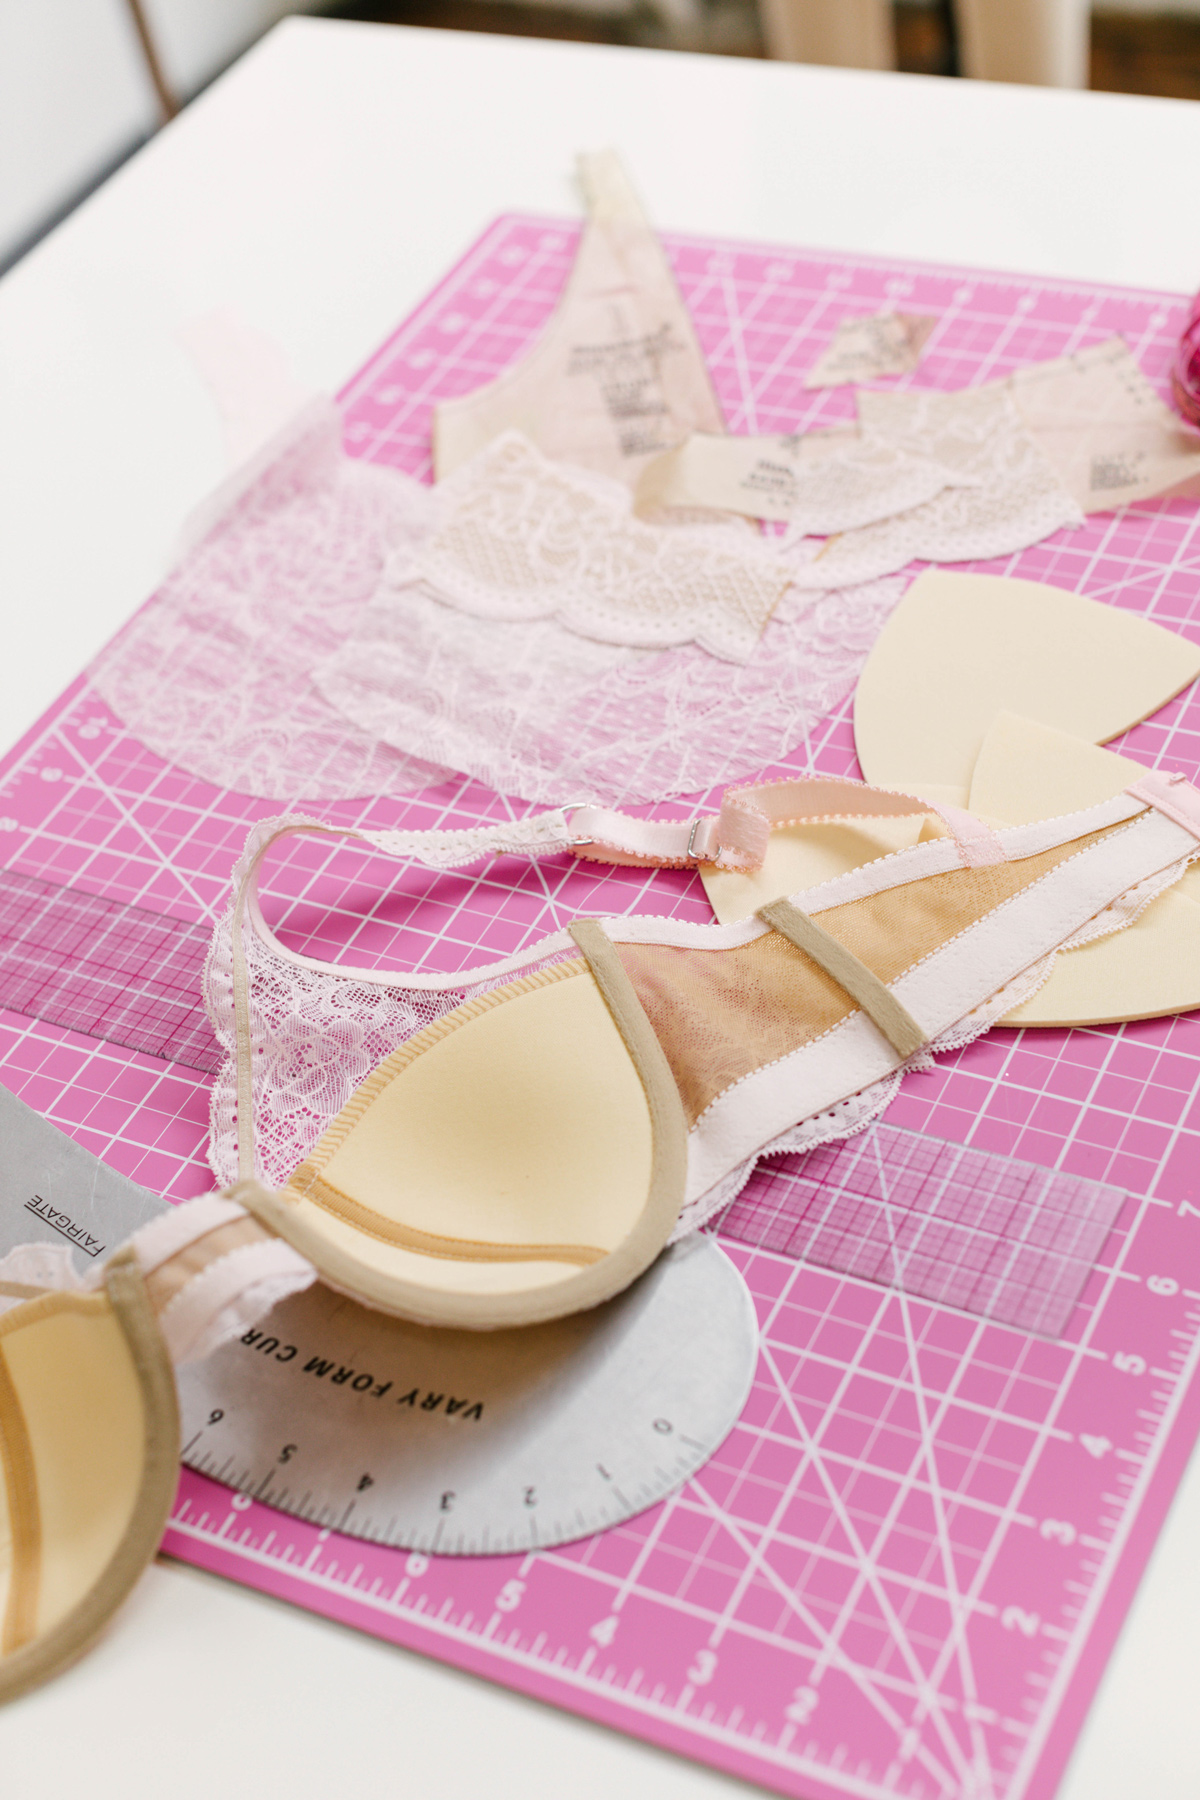
There are different names and types of foam that you can use for DIY lingerie. Generally speaking, it is a layer of foam that has been laminated with fabric on one or both sides. Just a few names include bra foam, polylaminate foam, foam bra padding, cut & sew sheet foam, or just sheet foam. I’m sure there are even more names for it. The thicknesses, qualities and type of fabric lamination can vary – my favorite is 1/8″ thick polylaminate foam (that’s what I call it), and it’s included in the 8436 DIY lingerie kits. Other than Madalynne’s DIY lingerie kits, polylaminate foam is pretty easy to source. I included some links below to online stores that sell it.
SUPPLIES FOR THIS TUTORIAL
Luckily, there aren’t a lot of additional supplies needed for this tutorial:
- Pattern paper or any paper long/wide enough to fit the front pattern piece of the Madalynne X Simplicity 8436
- Marking pen or pencil
- Paper scissors
- Straight and curved ruler
- Madalynne X Simplicity 8436 pattern, which is available to purchase here
- All fabric + trims for the 8436 plus polylaminate foam, which is included in every Madalynne X Simplicity 8436 DIY lingerie kit
DRAFTING FOAM BRA CUPS FOR THE 8436
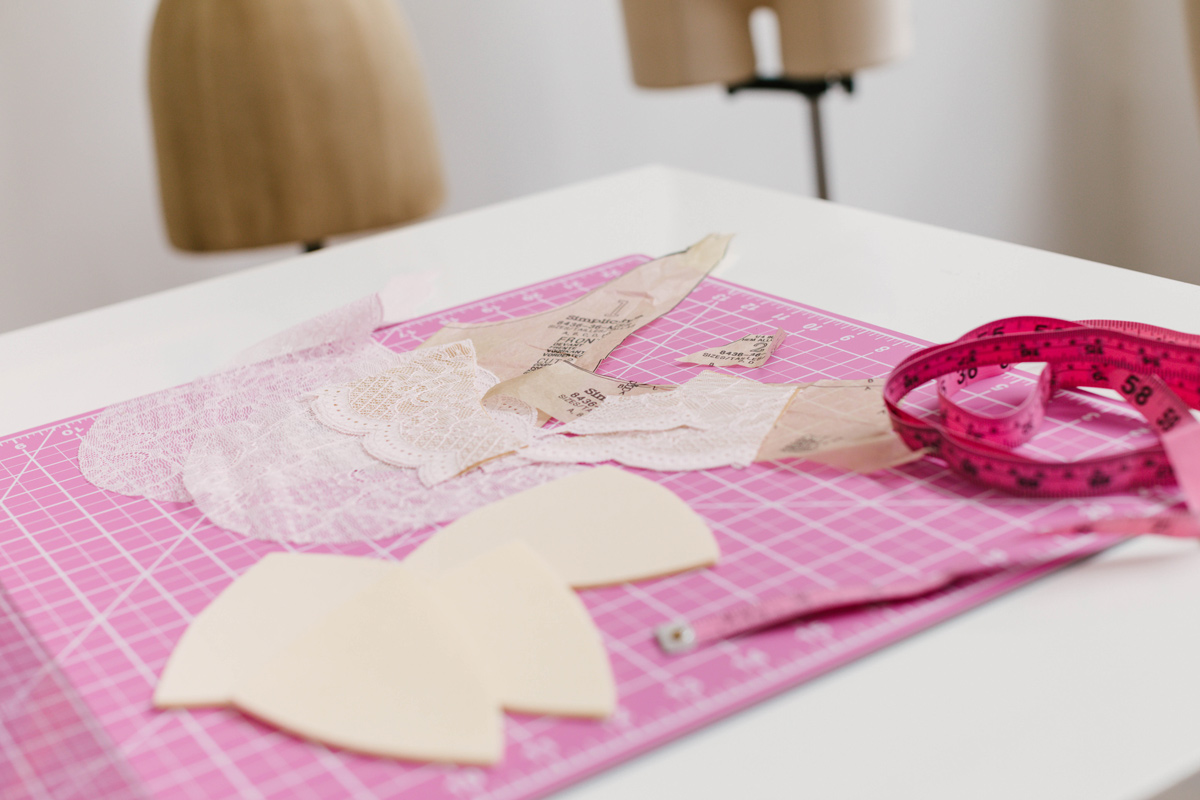
Basically, we’re drafting the 2 bra foam bra cups, an inner cup and an outer cup, from the bust dart on the front pattern piece. The #1 thing to keep in mind with foam is bulk. Polylaminate.foam.is.bulky! So, you want to turn it back at least as possible and when you can, eliminate seam allowances. You may be asking, “If you eliminate the seam allowances, how the heck do you sew?” Great question. The answer is, polylaminate foam usually isn’t seamed in the traditional way. It is normally butt-together and sewn with a zig-zag stitch.
- With the pattern on top of the tracing paper, trace the wire seam line of the front pattern piece.
- Then, mark the following points:
- Cross points at center front and underarm
- Dart leg points at wire seam line, dart point, and ½”-1” above dart point
- ¾” down from underarm and ½” away from center front
- Using a curved ruler, trace a smooth curve from dart points to mark ½”-1” above dart point. Use curved ruler again to draw a smooth curve to the mark ½” from center front and ¾” down from underarm.
- Whether you eliminate seam allowances from the wire seam is your choice. If you remove the seam allowances from the wire line, then when you sew the underwire channeling, you will sew the first line of stitching to the lace only. You will then set the foam bra cup inside of the underwire channeling, fold the channeling into the bra cup and over the foam, and then stitch the second line of stitching. If you’re going to include the seam allowances, then after assembling the foam cups, you will baste it to the front piece, treat as one piece and proceed with sewing as per instructions.
SEWING AND FINISHING BRA CUPS
There are several ways to assemble foam bra cups – here is a video tutorial that you can you for the 8436. For the finished bra that you see here, I a similar method with the addition of covering the vertical seam with a binding and finishing the top edge with a merrow/overlock. Again, there are several ways and no method is the right way.
- Once you’ve assembled the bra cups, sew the bust darts on the front piece.
- Then lay the front piece over the foam bra cup with wrong sides facing. Ensure that the vertical seam aligns with the bust dart and the foam bra cup is ½” from center front and ¾” down from underarm.
- Pin along the wire seam line and then machine or hand baste together.
- If you included the seam allowances, then you will proceed with sewing as per instructions. If you removed the seam allowances from the wire line, then when you sew the underwire channeling, you will sew the first line of stitching to the lace only. You will then set the foam cup inside of the underwire channeling, fold the channeling into the bra cup and over the foam, and then stitch the second line of stitching. After that, you will proceed as per instructions.
ADDITIONAL FOAM BRA CUP RESOURCES
Click here to read Emerald Erin’s blog post on foam bra cups. She also sells polylaminate foam that is great quality!Click here to shop Sew Sassy’s polylaminate foam fabric as well as other lingerie supplies
Click here to shop Bra Makers Supplies polylaminate foam fabric as well as other lingerie supplies
One more source for polylaminate foam is Arte Crafts – check out their selection here as well as other lingerie supplies
Check out Amy’s tutorial on making foam cups here
Maker feature! Check out Shannon’s Madalynne X Simplicity 8229 with foam cups here


