12 Days of Christmas Lingerie Sewing Guide
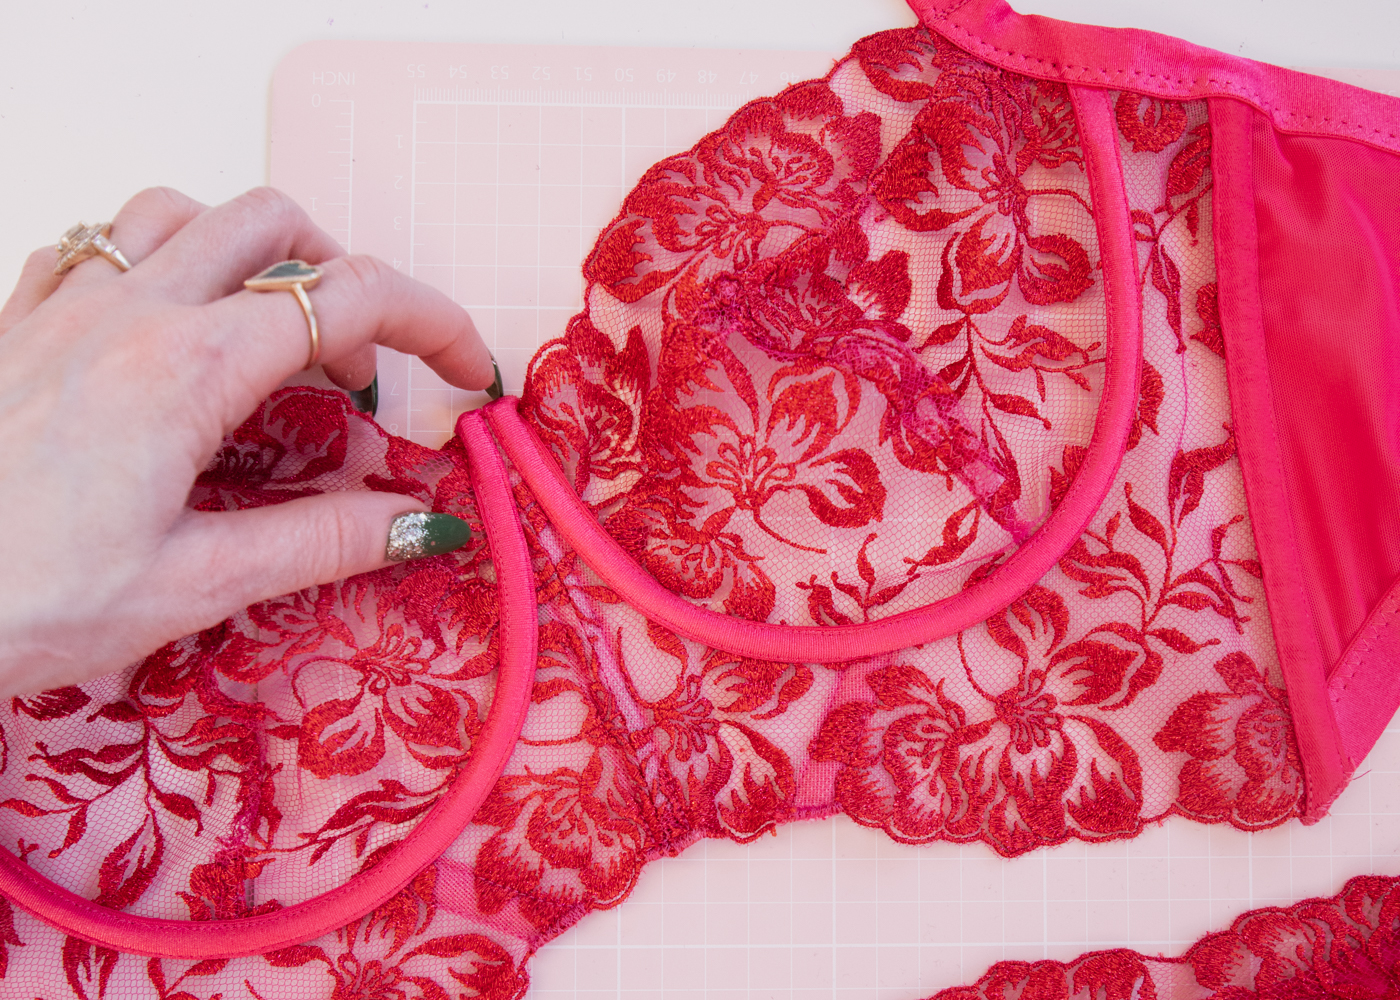
Finally ready to cut into your DIY kits from Madalynne’s 12 Days of Christmas collection – this is your lingerie sewing guide! This blog post serves as a helpful resource to sewing DIY kits from the collection because often, by the time you’re ready to tackle your kit, the product listing may no longer be available—whether it sold out or was posted a while ago. If your kit includes a variation of the original pattern, it’s easy to forget what the changes were or how to sew them. But don’t worry! This post will give an overview of how each kit is made, including any variations. If you still have questions after reading, feel free to email hello@madalynne.com, and I’ll do my best to guide you through the process.

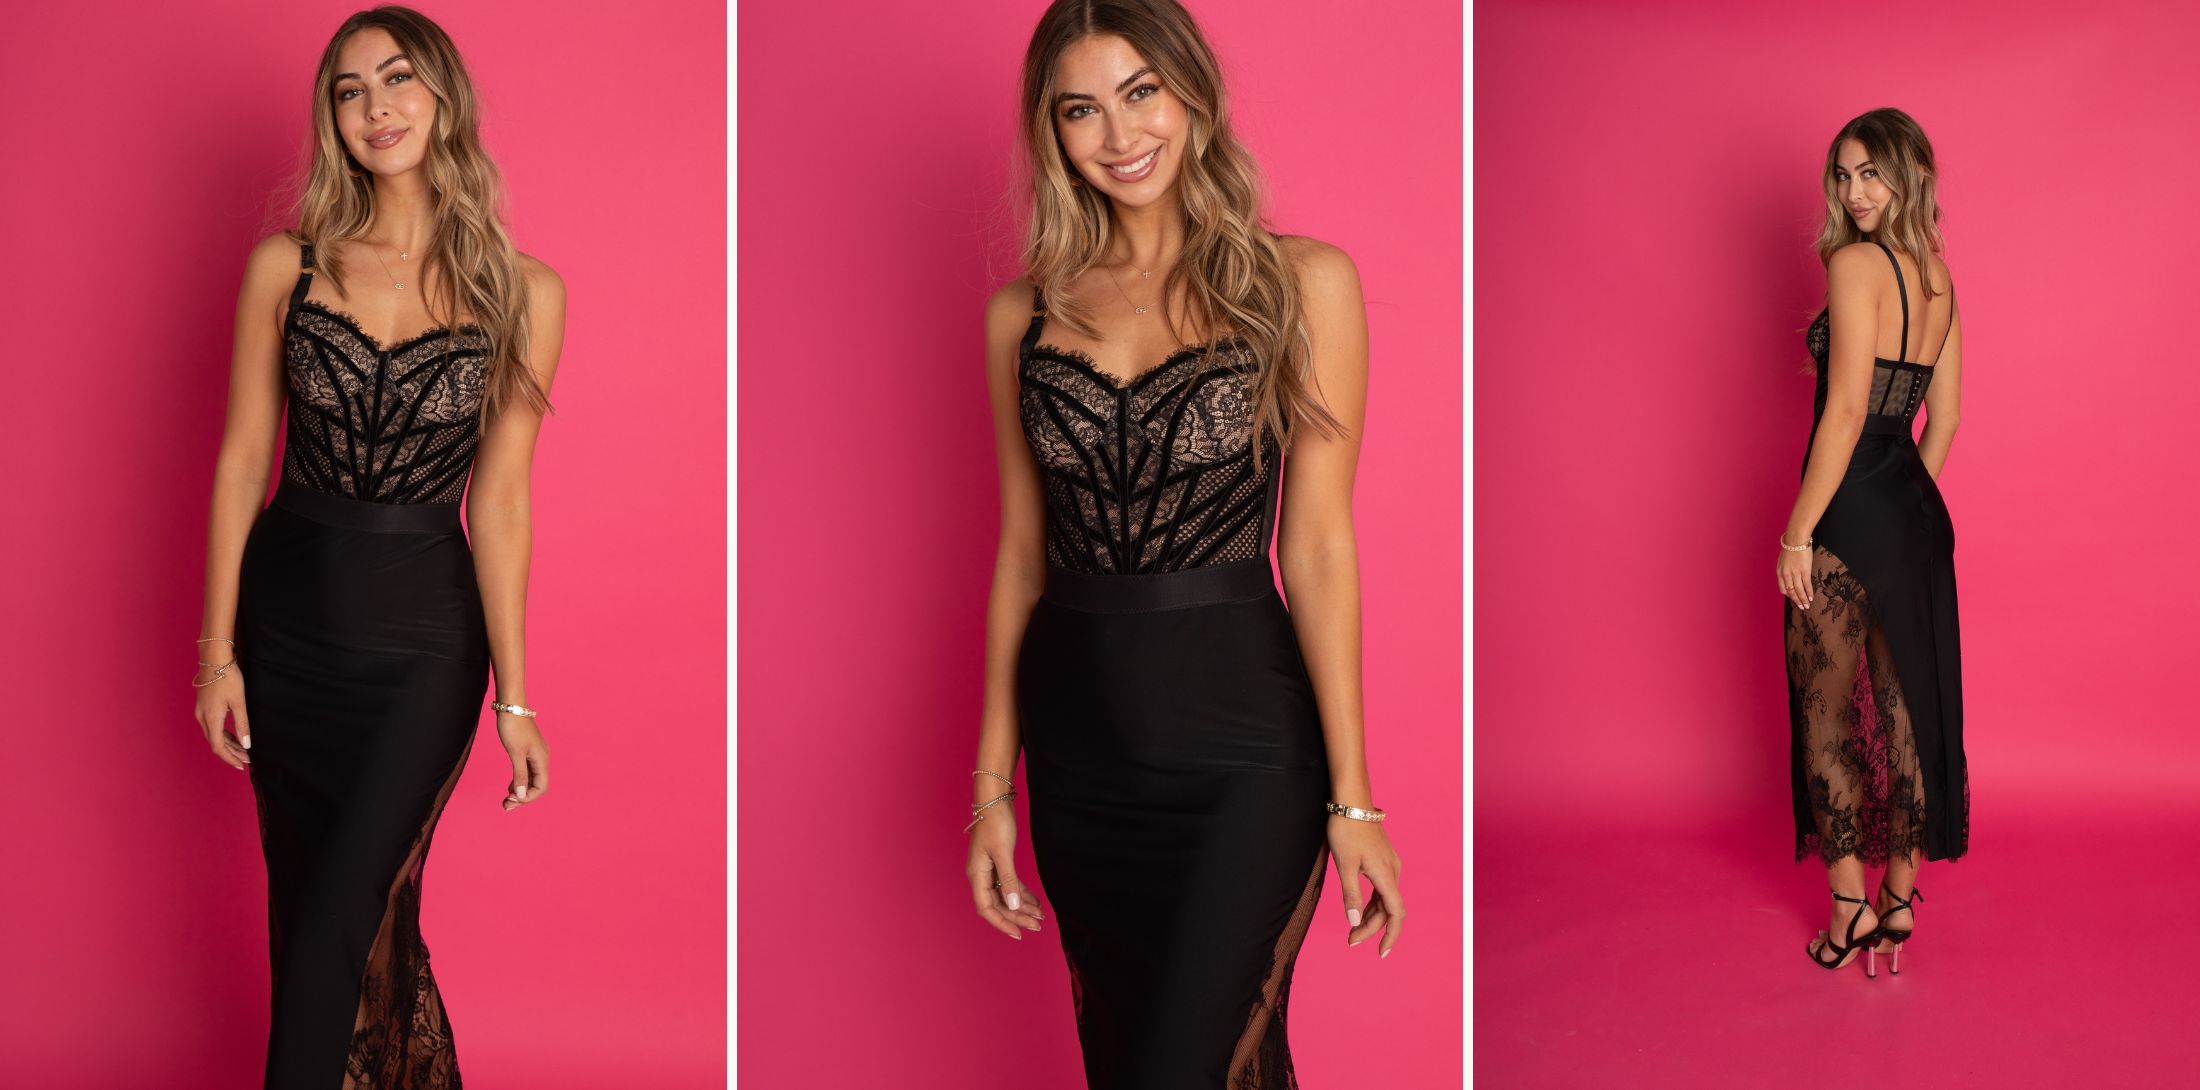
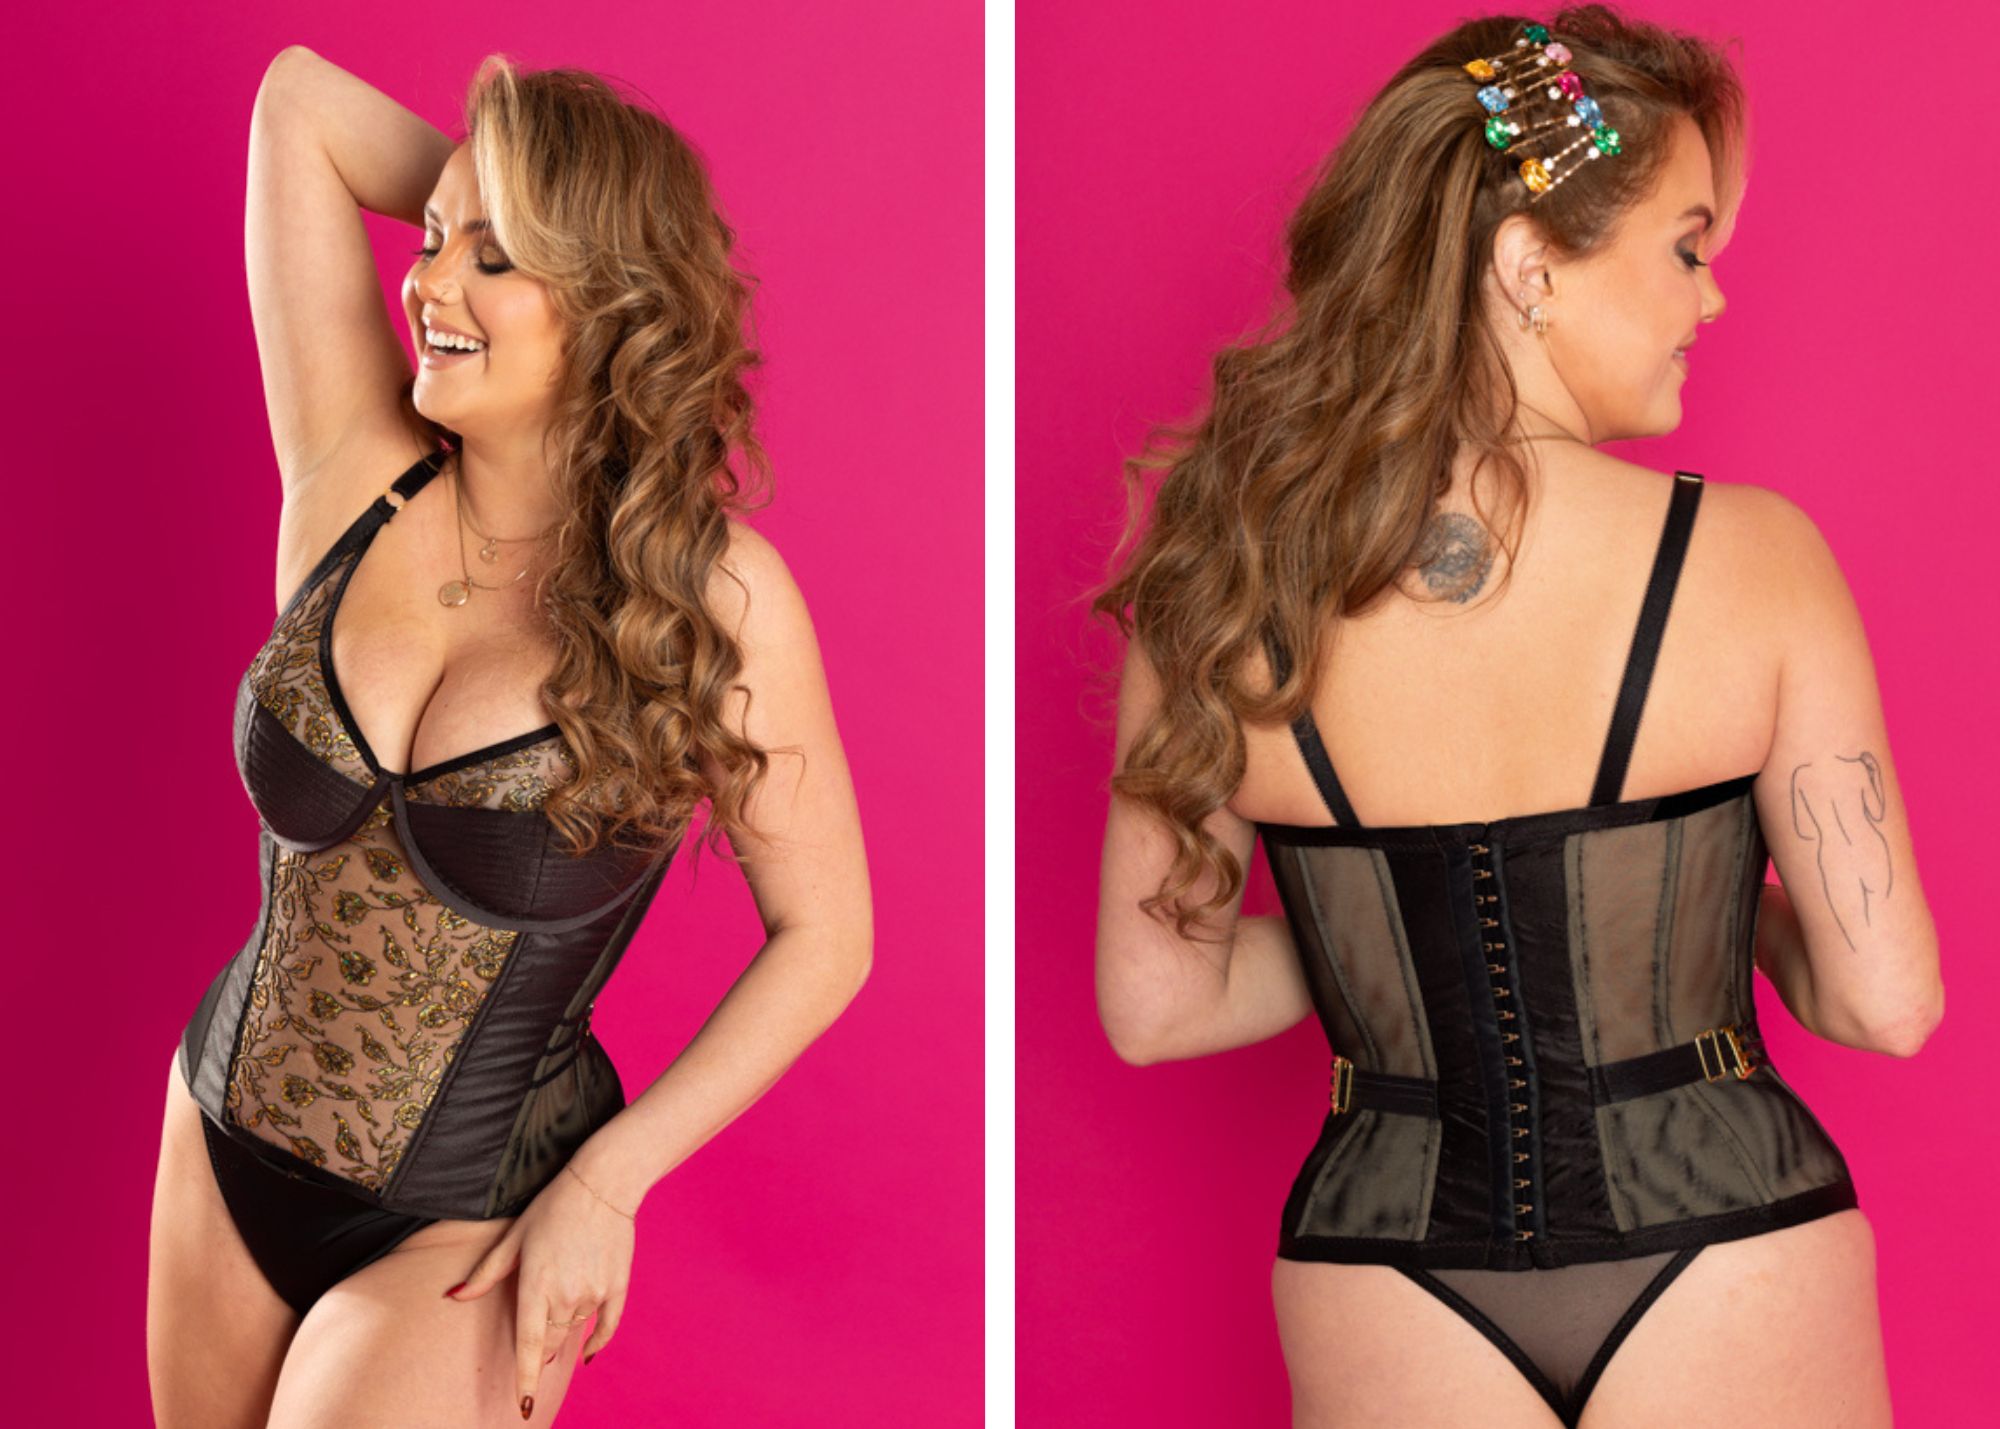
The star of this collection is the brand-new Monet Merry Widow! This corset and panty pattern blends vintage lingerie with contemporary design elements. Created as a versatile piece, the Monet transitions from lingerie worn under clothing to outerwear—pair it with a blazer or sheer top for a chic, edgy look. Ideal for lingerie enthusiasts and advanced sewists, the Monet allows you to create a me-made piece that combines craftsmanship and style.
Both the black and pink kits are sewn exactly as instructed, with no variations. A detailed sew-along for the Monet will come out on Madalynne’s YouTube channel in early January 2025. In the meantime, as this release precedes the sew-along, here are a few key notes about the construction process if you wish to begin sewing before:
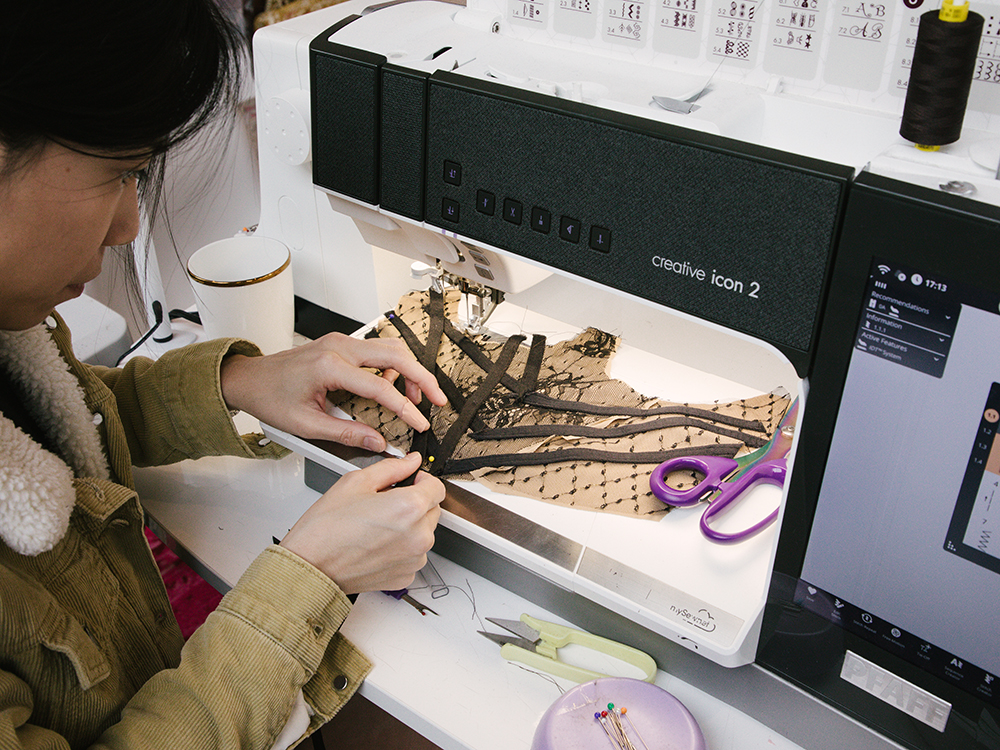
- Depending on the size you are making, the embroidered tulle lace that was included in the DIY may be too narrow for the center front frame piece. In this case, you will have to piece the lace together, which is a very common technique, using this method.
- The pink DIY kits feature a velvet ribbon designed for the waist tab. While beautiful, the ribbon’s stretchiness can make it tricky to sew. I’ll cover tips and techniques for working with it in the upcoming sew-along. For the sample shown here, we opted for a practical alternative by cutting 1″ flat elastic into ⅛” strips along the clear sections between the stripes. This substitution provides greater support and is much easier to work with.
- The corset’s waist tab wider opening measures approximately 1 ¼”, while the flat elastic included measures 1″. This discrepancy was due to a manufacturing oversight. While the waist tab remains fully functional, the elastic may shift slightly. In the sew-along, I’ll share an easy solution: overlapping two pieces of the 1″ elastic and sewing them together with a zigzag stitch to create an elastic that fits snugly within the wider opening.
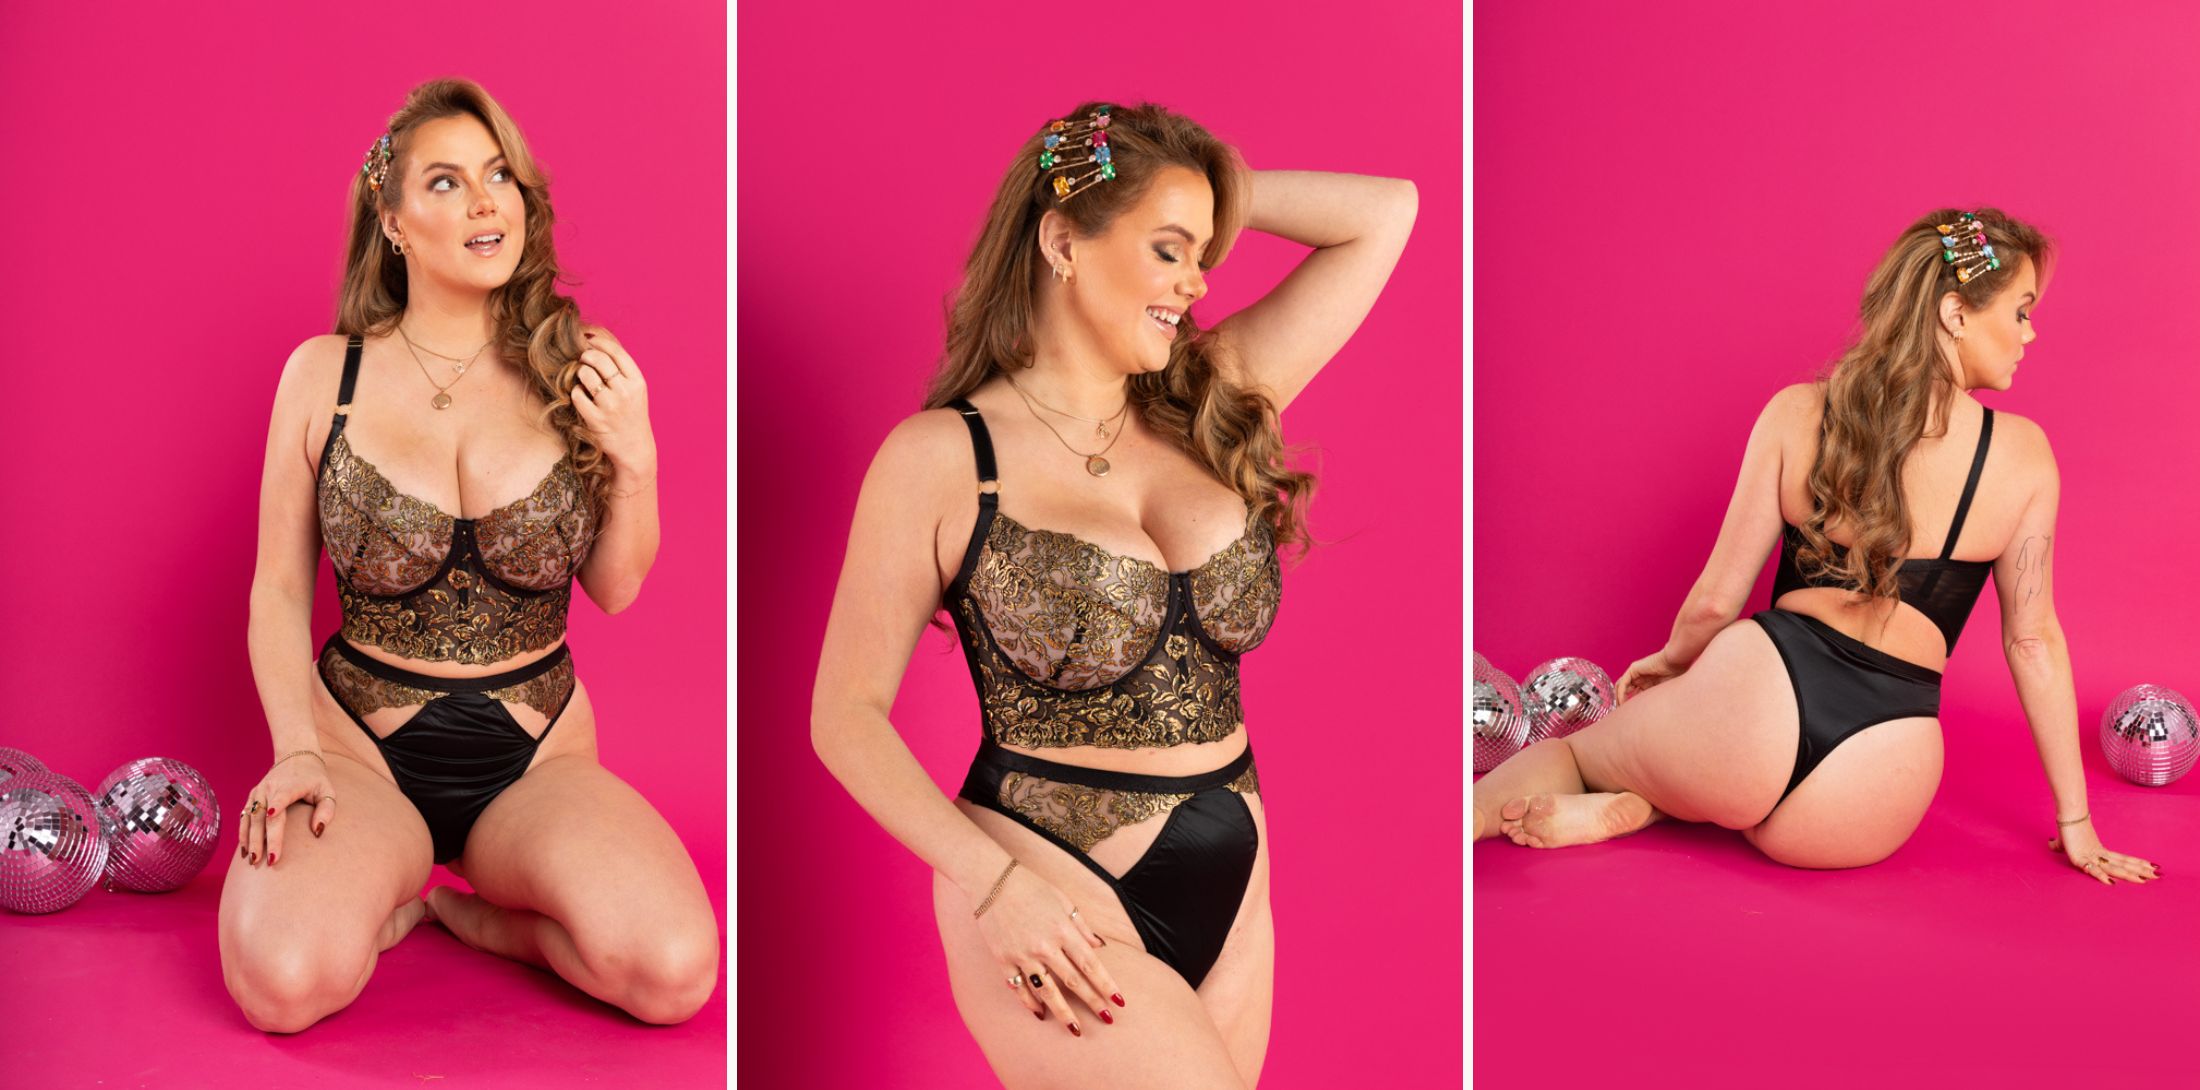
Rey Longline Underwire Bra: A variation of the underwire bra from Madalynne’s book, Sew Lingerie using the Godiva frame pattern piece to create a longline silhouette. It also has exposed underwire channeling using fold over elastic and no wide bottom band at the bottom of the bra.
Bra Cups: One layer of non stretch embroidered tulle lace assembled using this tutorial to show off the scallop edge.
Frame: One layer of non stretch embroidered tulle lace lined with on layer of sheer cup lining. The scalloped edge is at the bottom, which is a stunning decorative effect.
Back Band: One or double layer or black stretch mesh or lycra.
- Since the frame of the bra was lengthened, you will have to adjust the width of the back band so that it fits into the frame and the side seam and finish the bottom edge with fold over elastic before attaching it to the frame.
- On the inside of the front frame, we sewed strips of channeling and inserted boning, which provides more support. You can see this on the intro photo for this blog post.
- To make and sew the exposed underwire channeling using fold over elastic, follow this tutorial except don’t insert ruffle trim inside.
*Watch sew along for the Godiva and the Rey on YouTube.
In the sew along, it explains how to create the shape of the back band piece.
Madalynne X Simplicity S9833 Panty: Cut and sewn as per the instructions
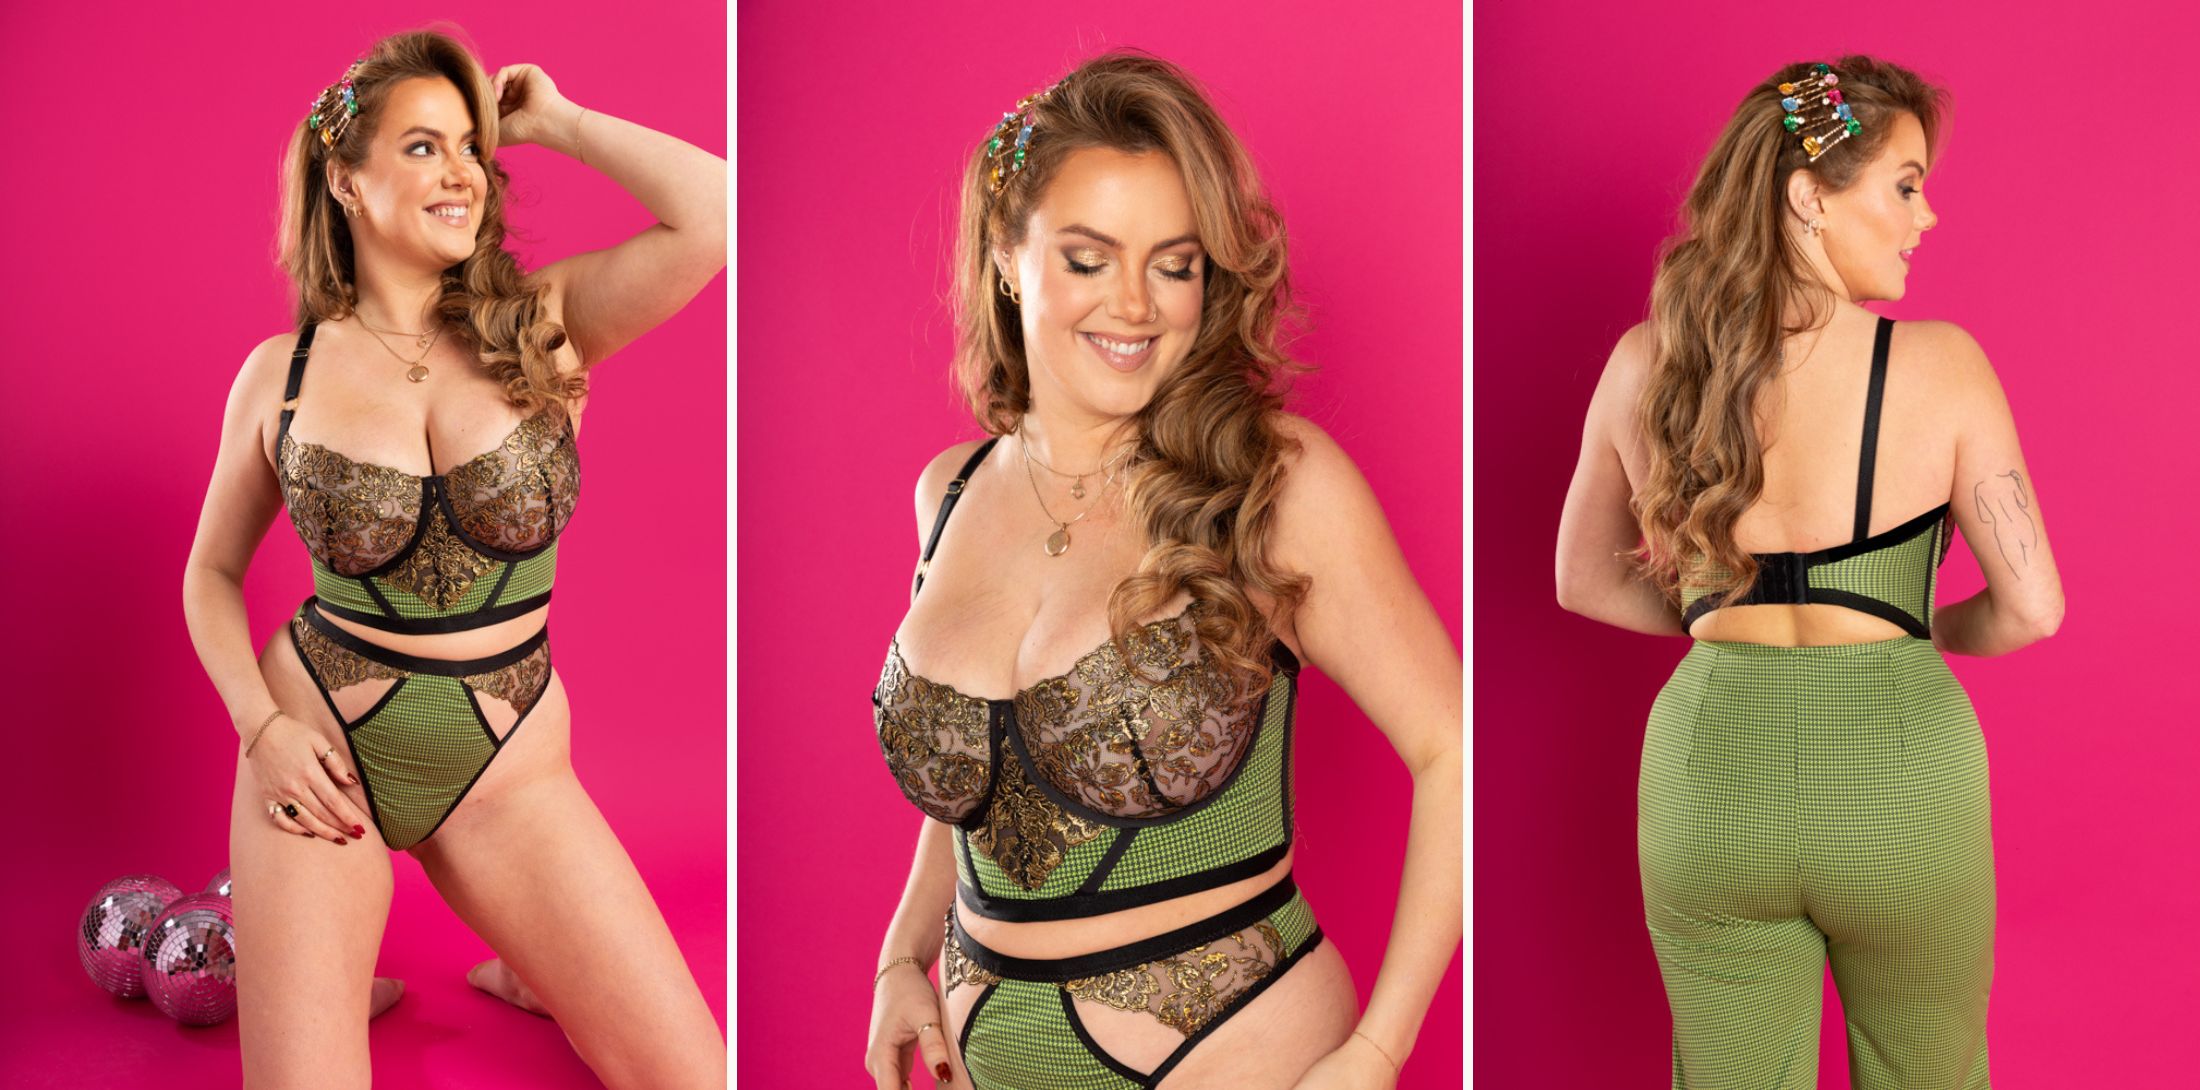
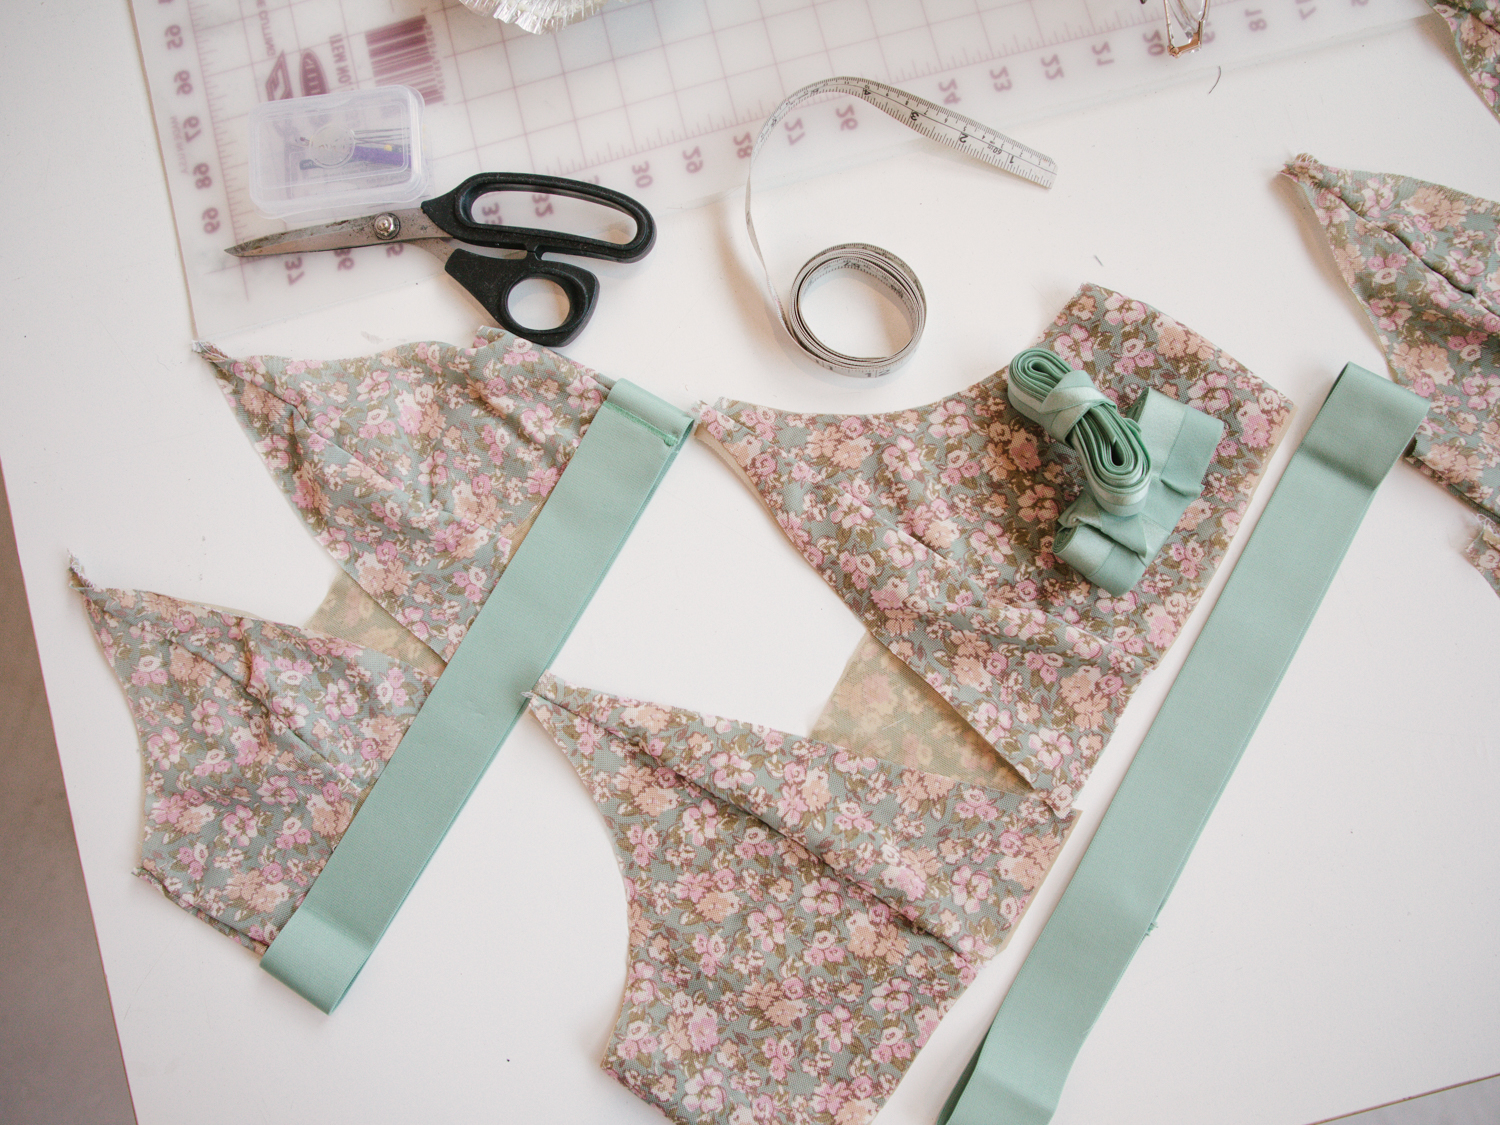
Rey Longline Underwire Bra: Another variation of the underwire bra from Madalynne’s book, Sew Lingerie using the Godiva frame pattern piece to create a longline silhouette. It also has exposed underwire channeling using fold over elastic is finished with wide fold over elastic at the bottom edge.
Bra Cups: One layer of non stretch embroidered tulle lace assembled using this tutorial to show off the scallop edge.
Frame: One layer of green textured lycra lined with one layer of sheer cup lining. Non stretch embroidered tulle lace added at an angle at the center front for a decorative effect.
Back Band: One layer green textured lycra lined with stretch mesh.
- Since the frame of the bra was lengthened, you will have to adjust the width of the back band so that it fits into the frame and the side seam.
- To make and sew the exposed underwire channeling using fold over elastic, follow this tutorial except don’t insert ruffle trim inside.
*Watch sew along for the Godiva and the Rey on YouTube.
In the sew along, it explains how to create the shape of the back band piece.
Madalynne X Simplicity S9833 Panty: Cut and sewn as per the instructions
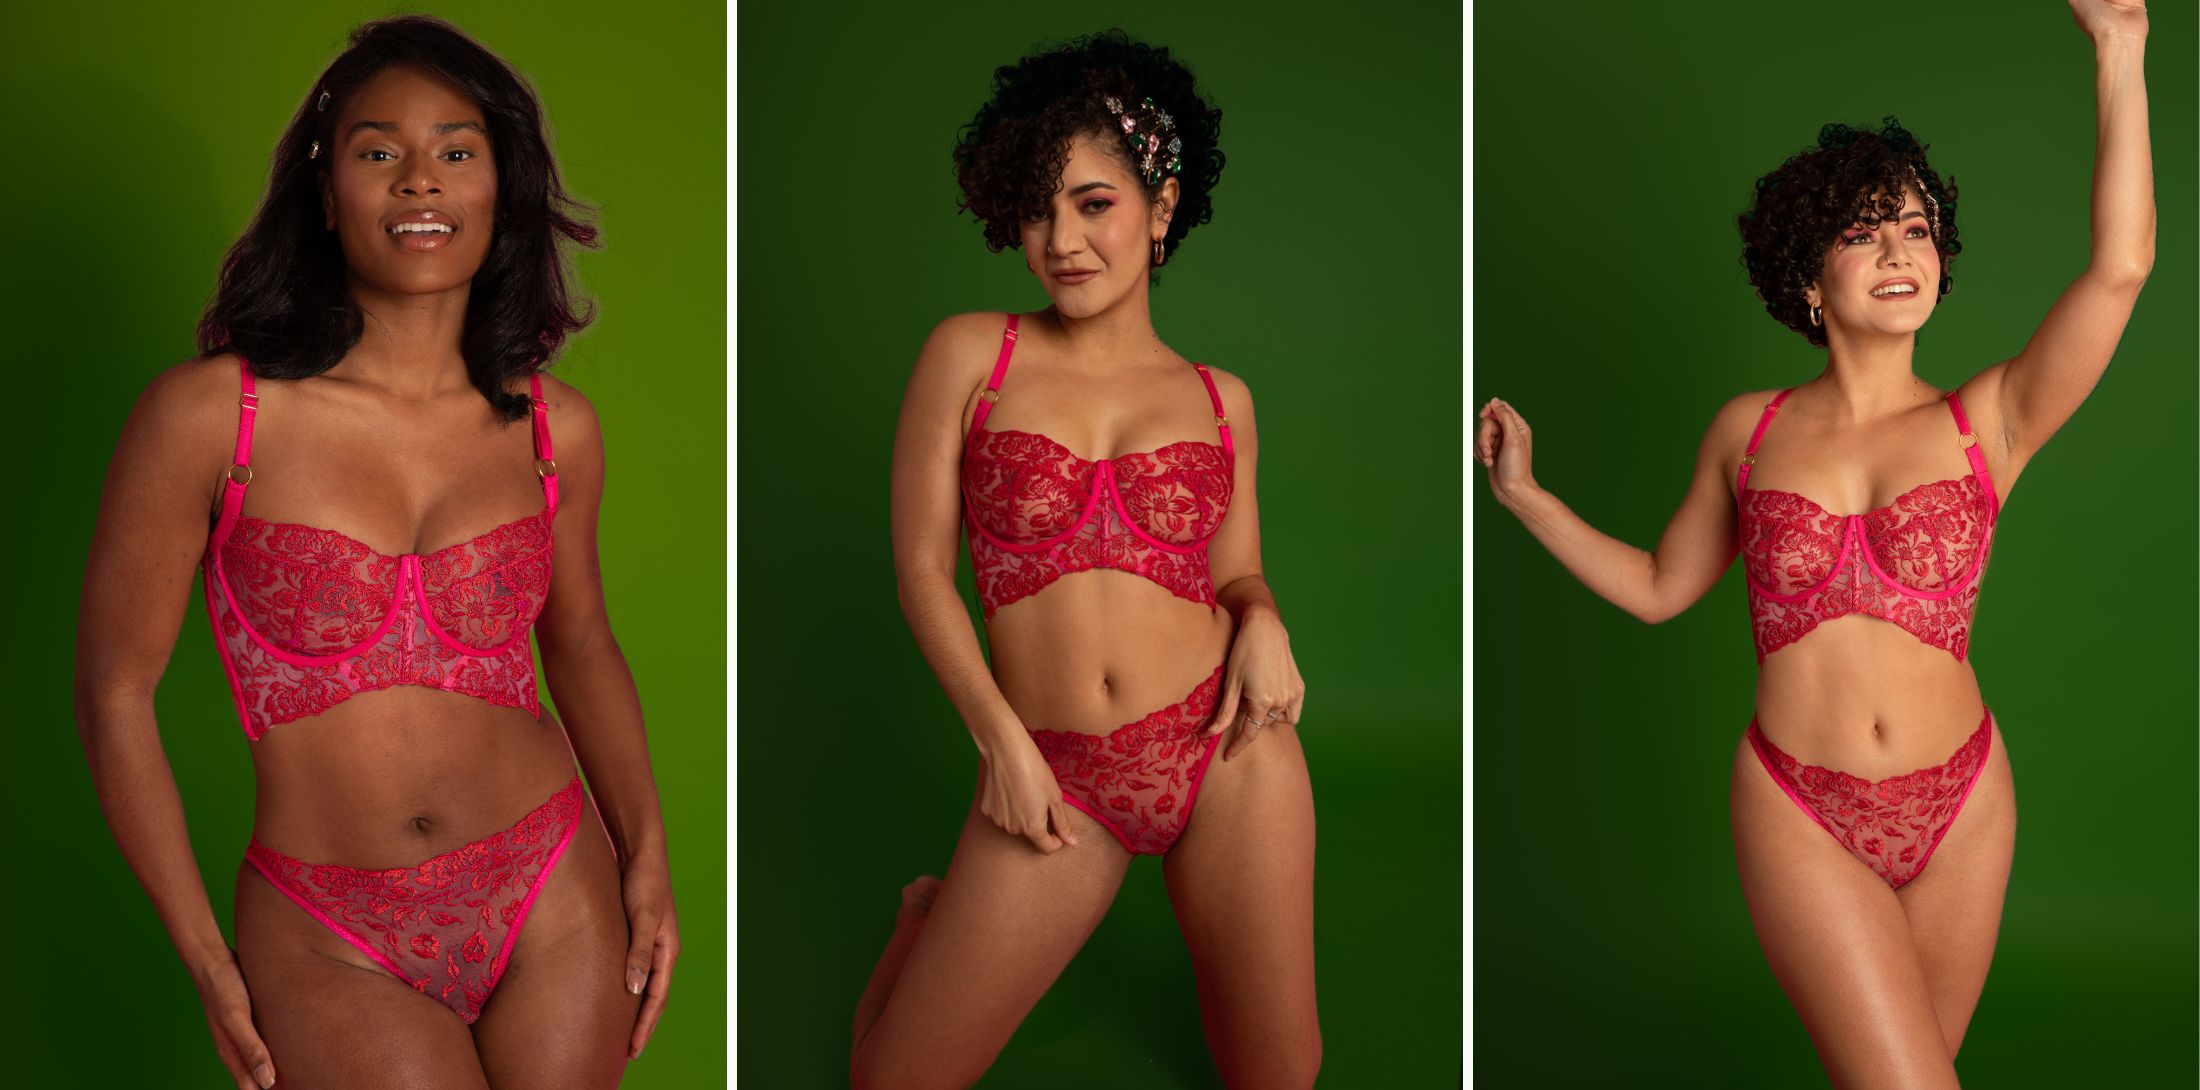
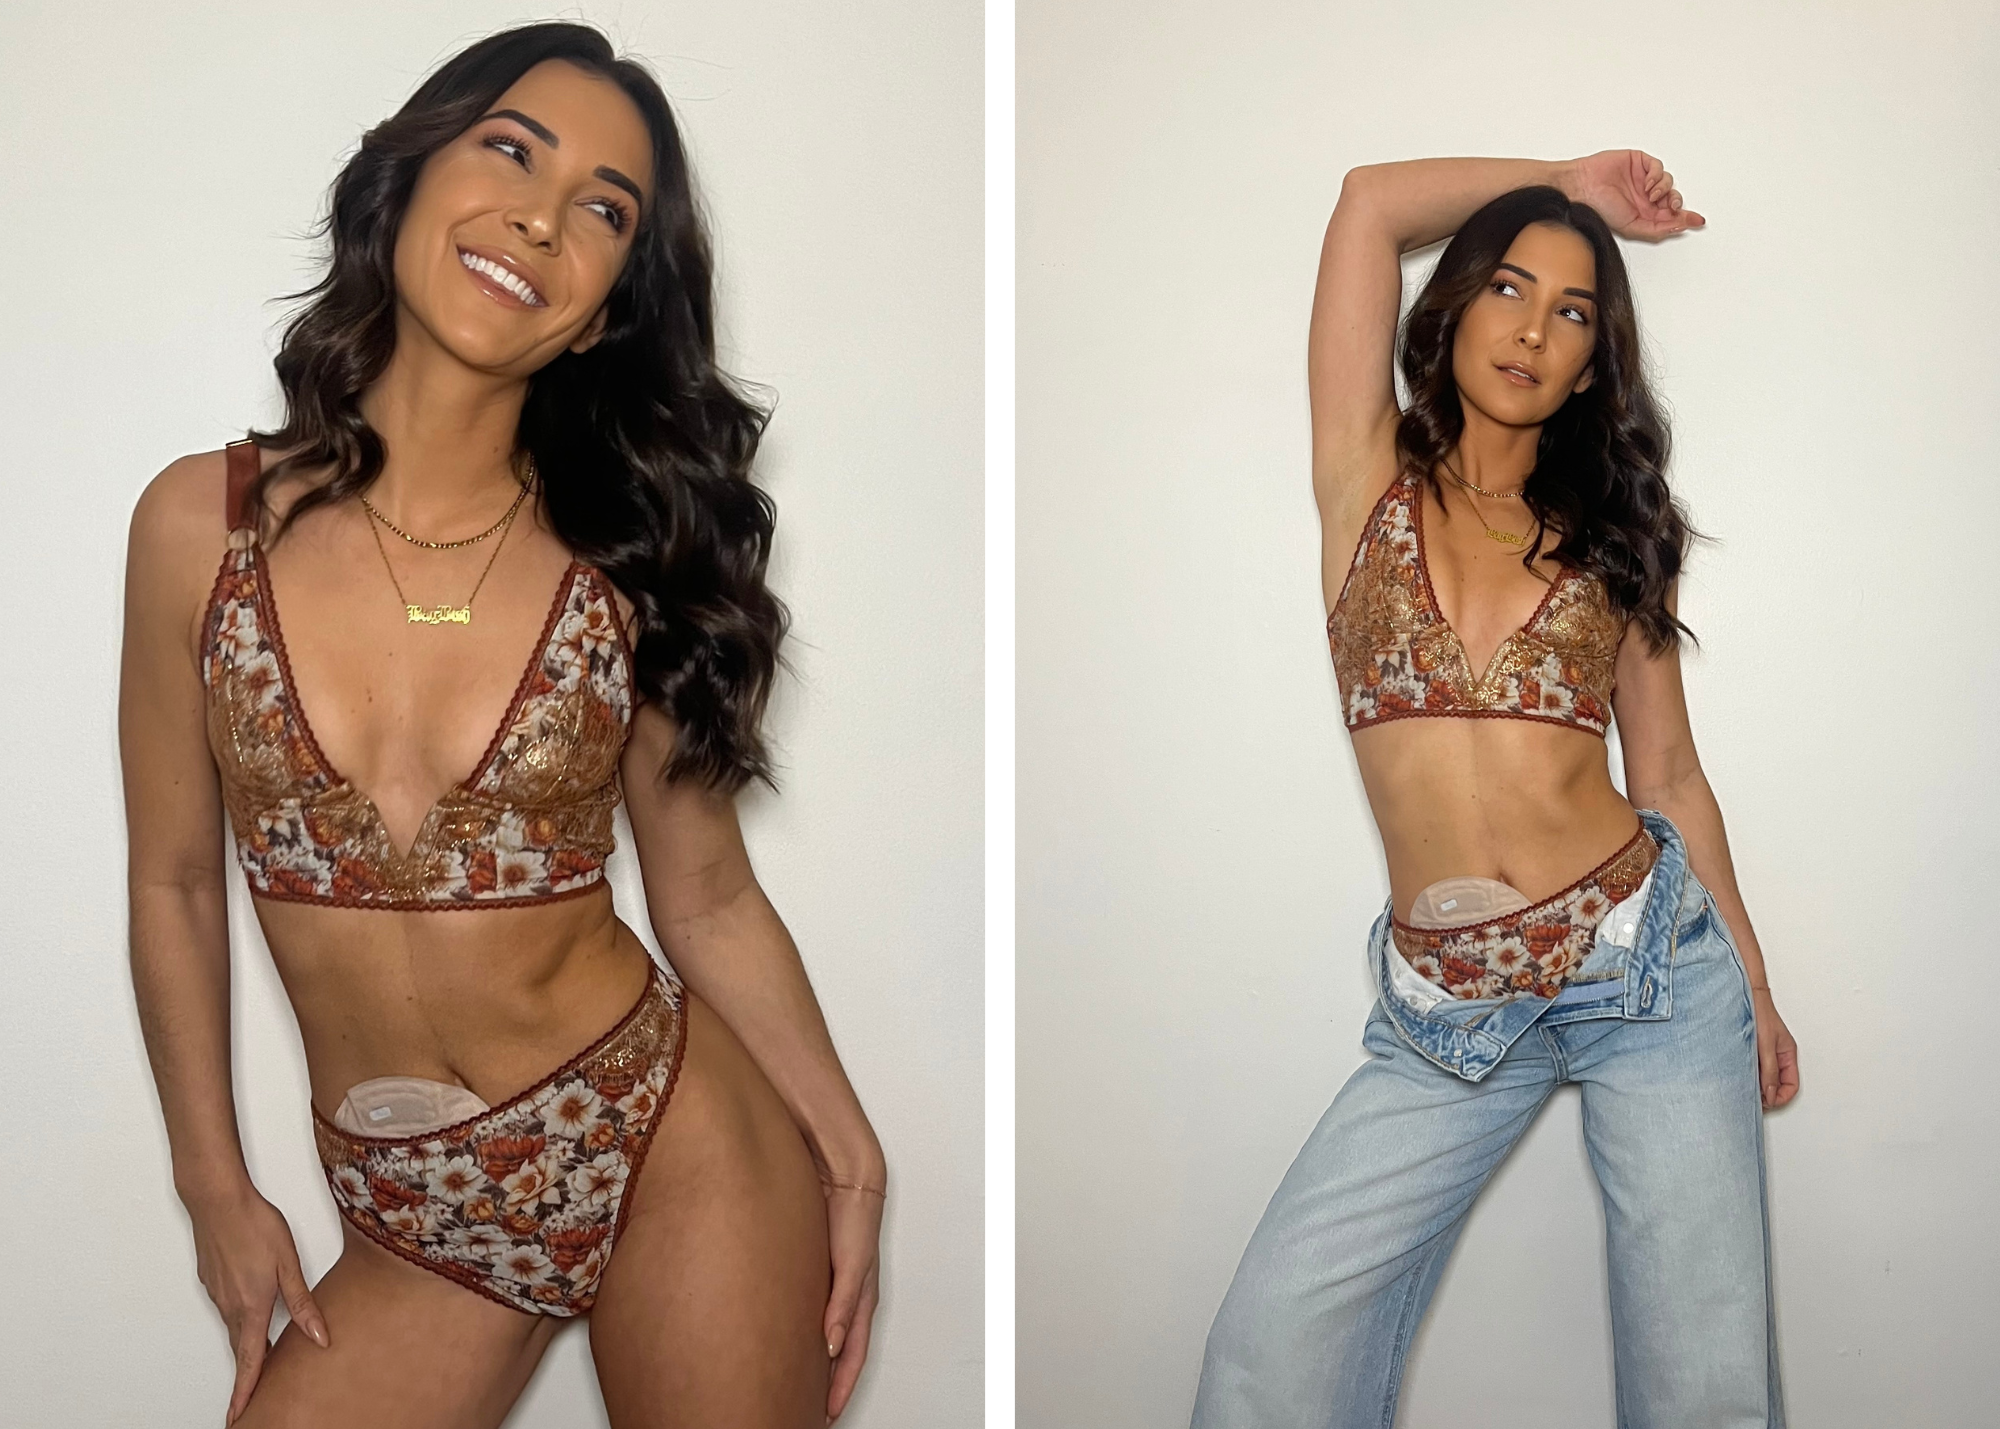
Rey Longline Underwire Bra: Oh-em-geeee, one more variation of the underwire bra from Madalynne’s book, Sew Lingerie using the Godiva frame pattern piece to create a longline silhouette. It also has exposed underwire channeling using fold over elastic and no wide bottom band at the bottom of the bra.
Bra Cups: One layer of non stretch embroidered tulle lace assembled using this tutorial to show off the scallop edge.
Frame: One layer of non stretch embroidered tulle lace lined with on layer of sheer cup lining. The scalloped edge is at the bottom and angled to a point at the center front, which is a stunning decorative effect.
Back Band: One or double layer or black stretch mesh or lycra.
- Since the frame of the bra was lengthened, you will have to adjust the width of the back band so that it fits into the frame and the side seam and finish the bottom edge with fold over elastic before attaching it to the frame.
- On the inside of the front frame, we sewed strips of channeling and inserted boning, which provides more support. You can see this on the intro photo for this blog post.
- To make and sew the exposed underwire channeling using fold over elastic, follow this tutorial except don’t insert ruffle trim inside.
*Watch sew along for the Godiva and the Rey on YouTube.
In the sew along, it explains how to create the shape of the back band piece.
Millie Panty: You could use several Madalynne patterns for the matching thong. The panty in the photos is the Millie, but the Tonika, Buffy or Odessa could be used.
Front Panty: One layer of all over embroidered lace with the scallop edge along the waistline.
Back Panty: One layer of stretch mesh.
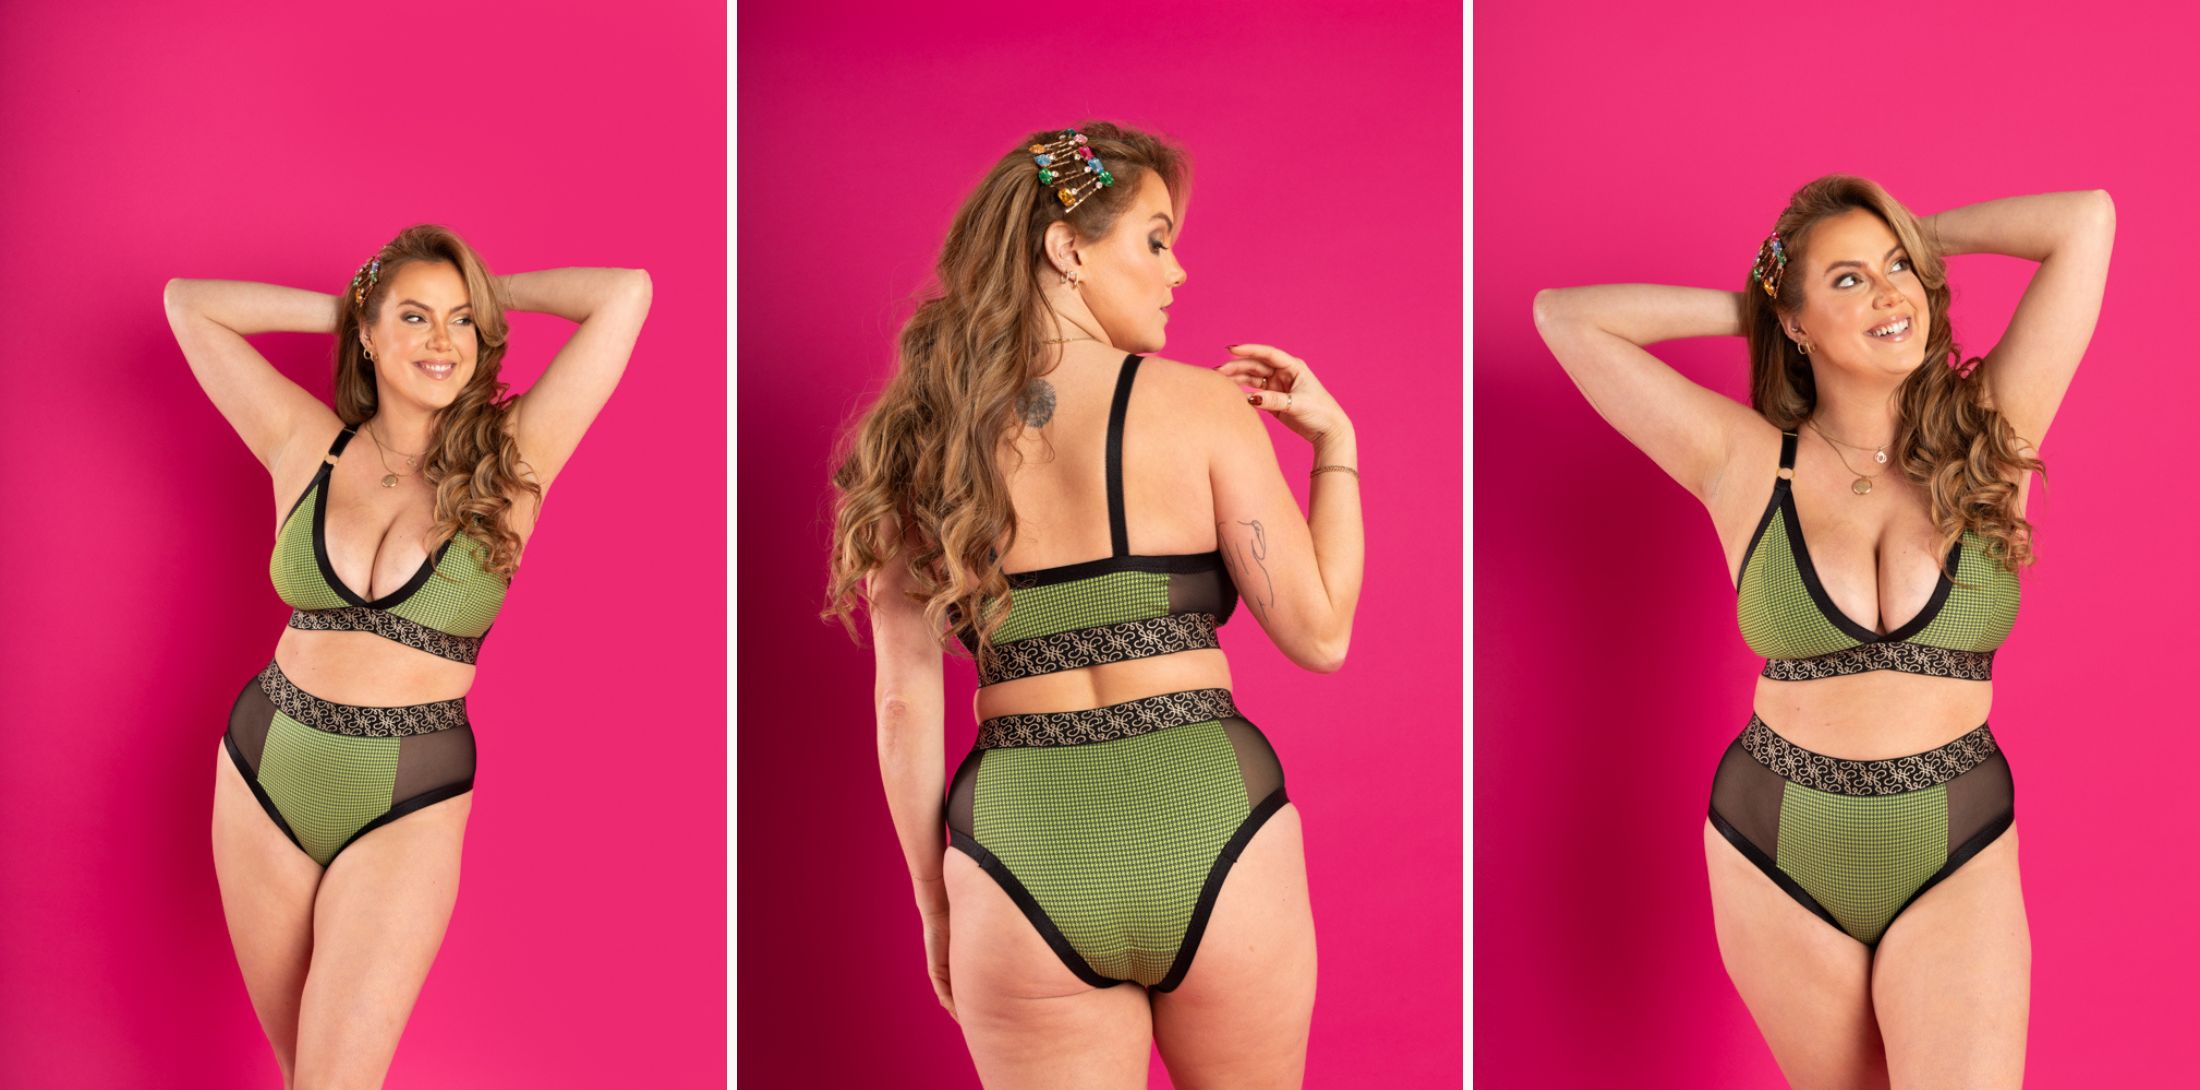
I love the Brooklyn Bralette and Barker Panty from Sew Lingerie. It’s cute and everyday. The DIY kits for this style follow with the instructions outlined in the book, with one variation: the panty. In the book, the leg openings and waistline are finished with picot elastic, but the kit for this collection uses fold over elastic for the leg openings and wide band elastic for the waist. To achieve these finishes, you can apply the sewing techniques described for the Brooklyn pattern to the Barker.
*Watch the sew along for the Brooklynn Bralette + Barker Panty
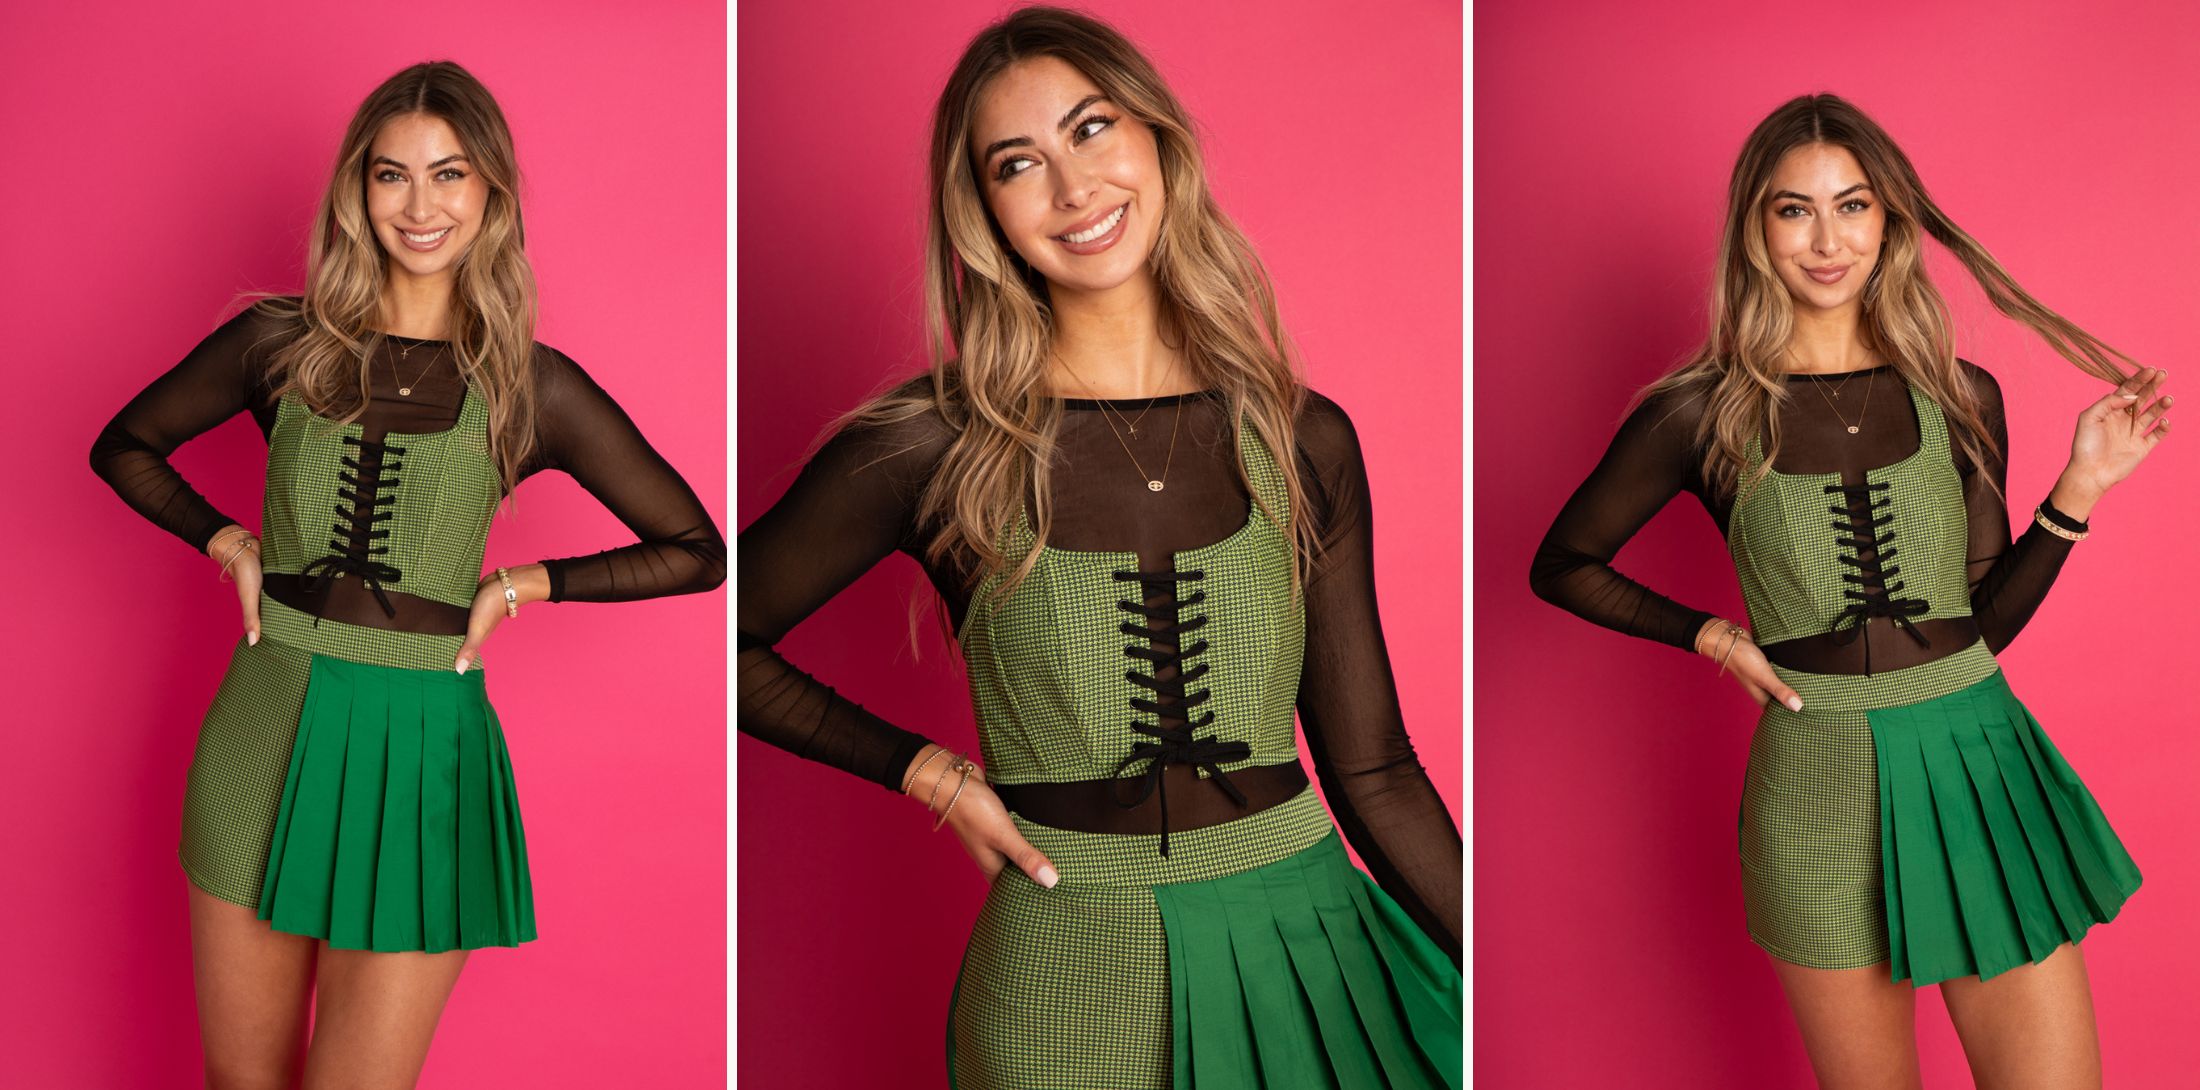
The new Madalynne X Simplicity 3118 cropped corset and pleated skirt is a new pattern that will be released in early January 2025. Just like the Monet, a detailed sew-along for this pattern will come out on Madalynne’s YouTube channel in early January 2025. Since this blog post precedes the release date and sew-along, I will hold off on any construction notes until both come out.
 The new Madalynne X Simplicity 3085 corset-inspired dress that will be released in early January 2025. Just like the Monet and 3118, a detailed sew-along for this pattern will come out on Madalynne’s YouTube channel in early January 2025. Since this blog post precedes the release date and sew-along, I will hold off on any construction notes until both come out.

A corset is undeniably chic, but a black corset crafted with black and gold lace? That’s next-level sophistication. The sample shown here is the Annabelle waspie corset, but the DIY kit includes hardware to create the Annette if you prefer. The construction process follows the same instructions as outlined, with one variation: adding a layer of black and gold lace over the corset mesh before sewing.
*Watch the sew along for the Annette corset
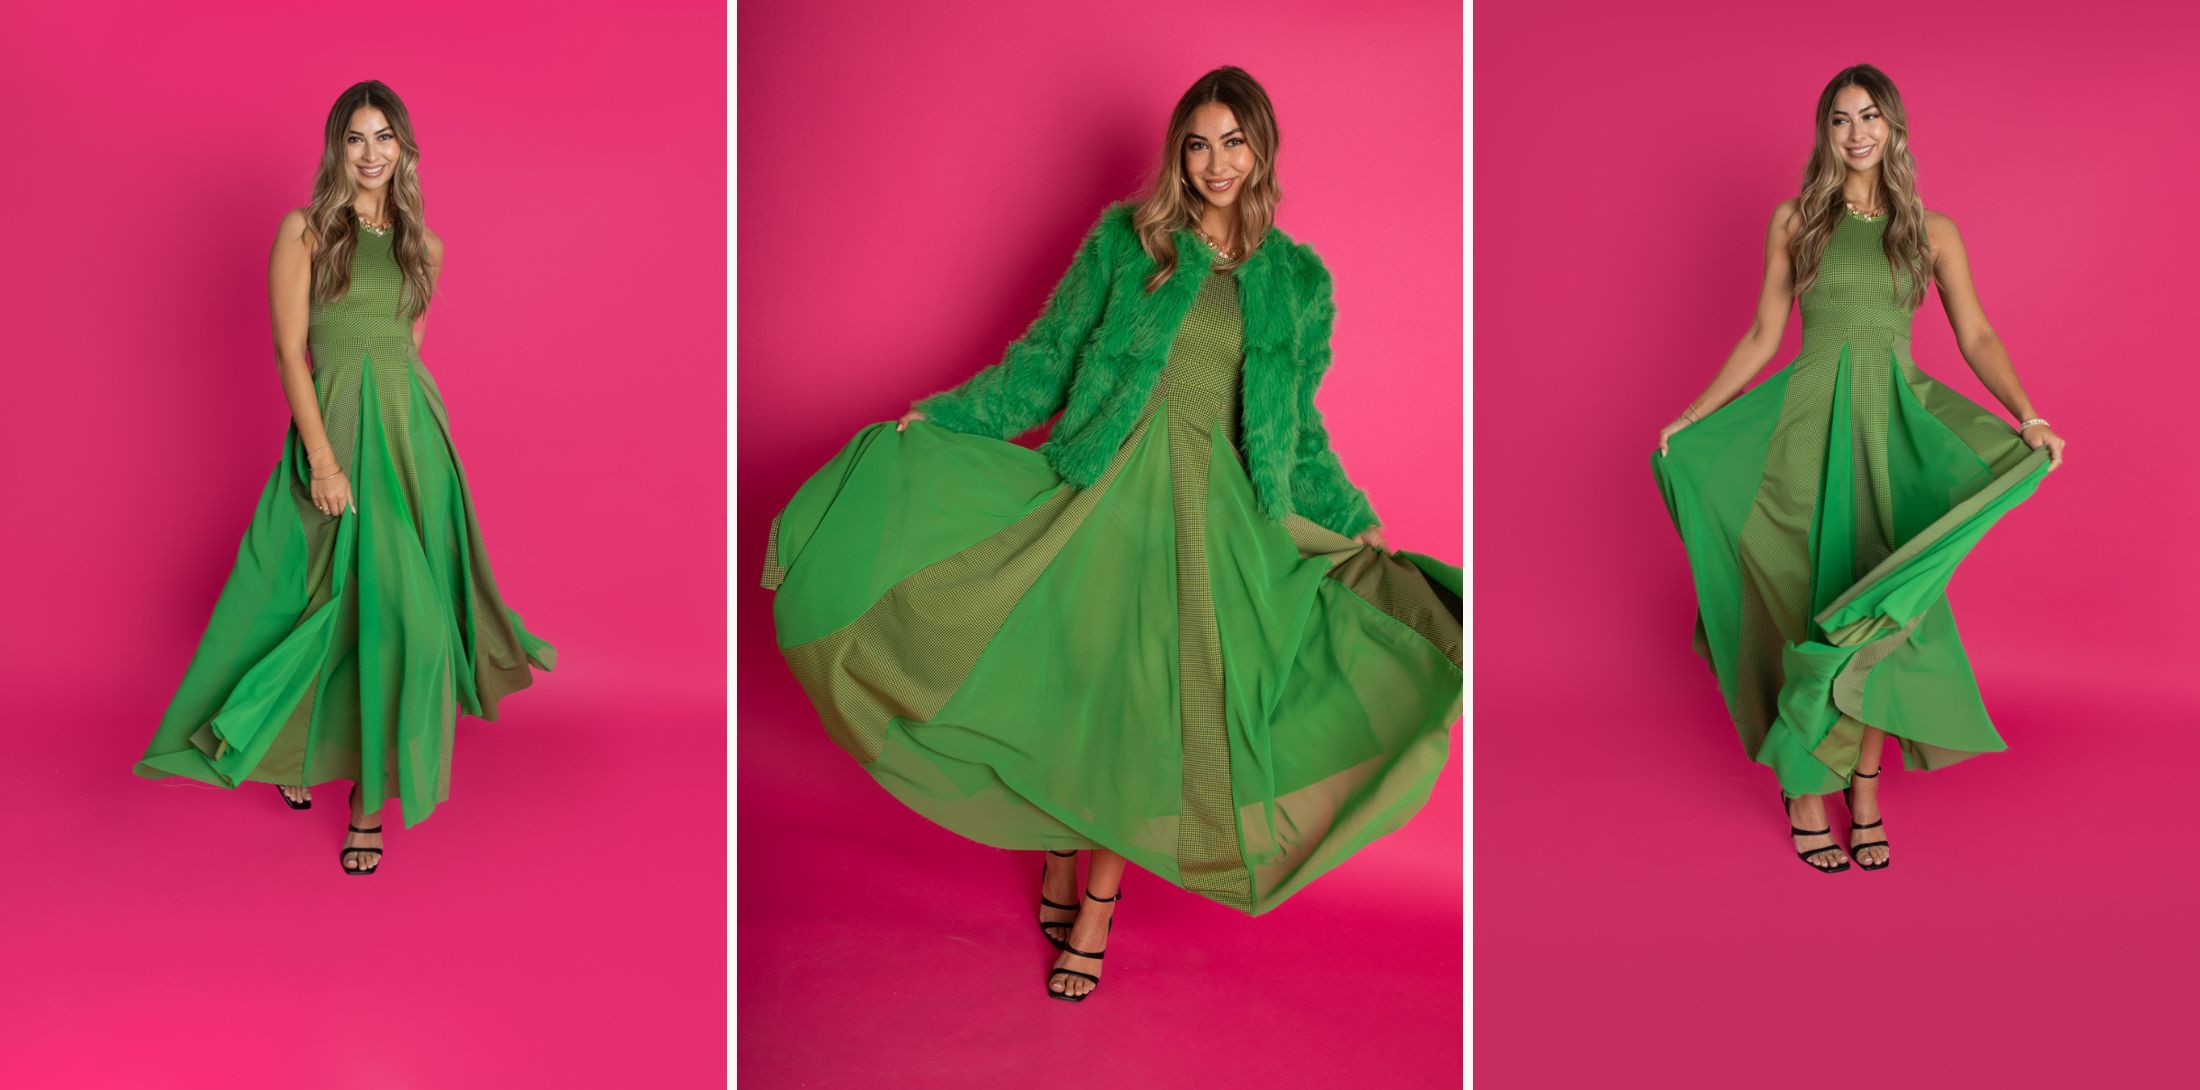
Ahhh, the Scarlett Maxi Dress! The joy of twirling in this dress is something you simply have to experience. With 7 yards of fabric flowing around you, it’s pure magic—almost as magical as saying, “Oh, I made this,” when someone compliments your dress. The Scarlett is wonderfully simple to sew, so there’s no sew-along on Madalynne’s YouTube channel.
The DIY kits include black fold over elastic for finishing the neck and armholes, but the sample shown here uses a self-made binding from the main fabric. We attached it using the same technique you’d use for binding on a T-shirt—an easy method you can find with a quick Google search.
Another small variation we made was adding a self-encased waistband. This was a personal choice since I made this dress for myself and prefer a defined separation between the bodice and skirt (I cut it on the bias so the difference of direction of patterns differentiated the two).

No Comments
Sorry, the comment form is closed at this time.