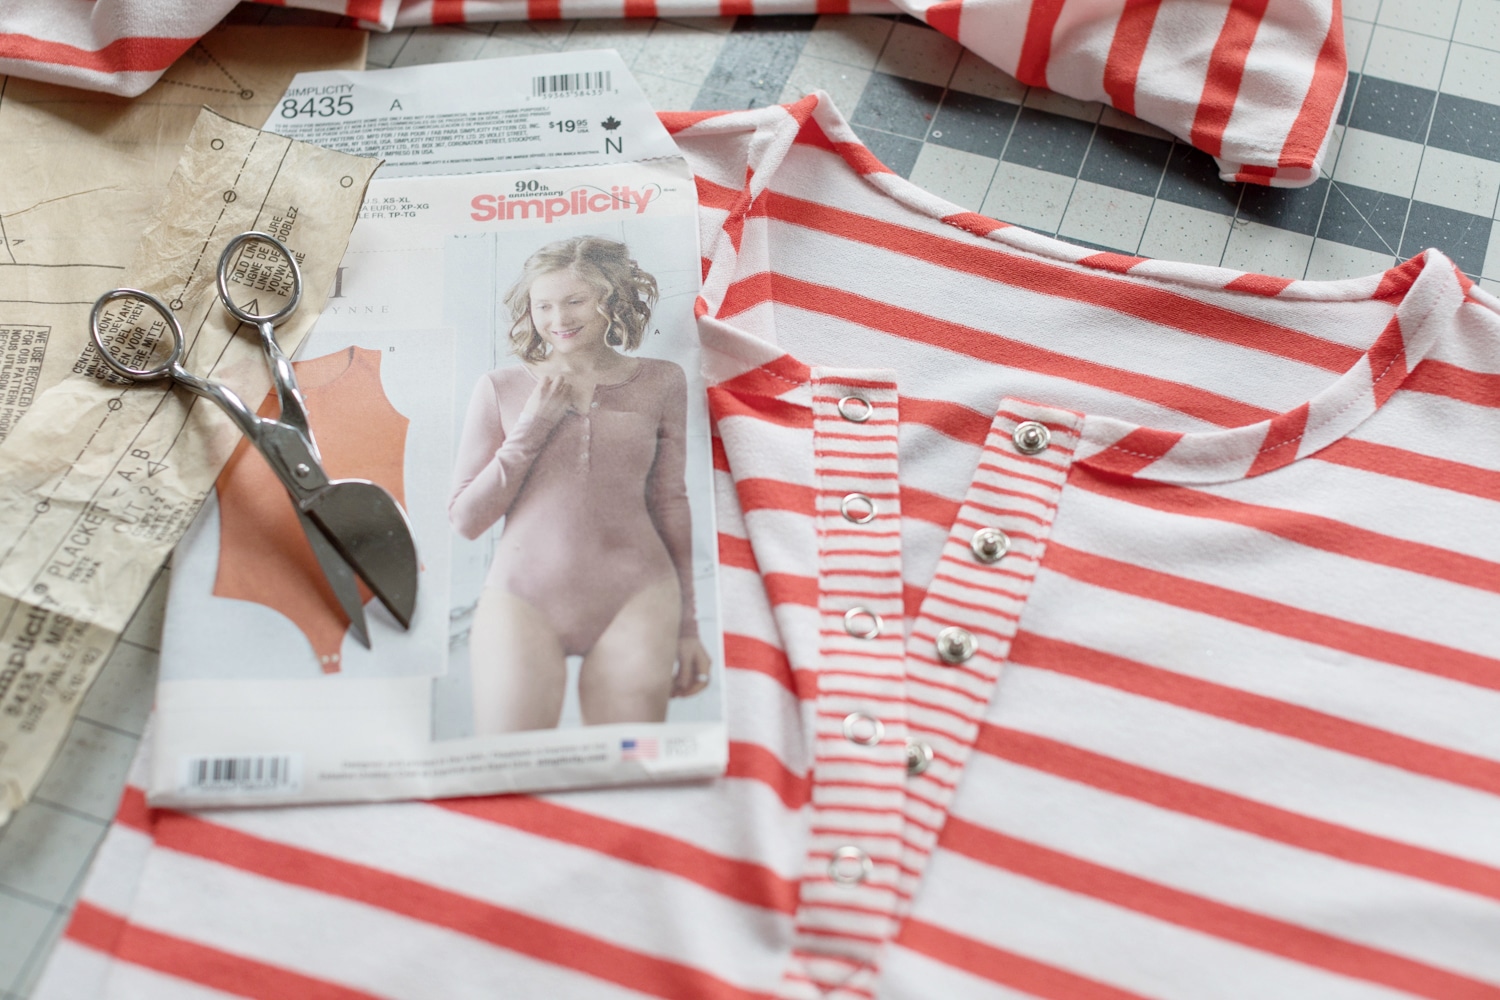
There is nothing more fulfilling to me than seeing what you make. So if this tutorial gets your sewing mojo going and you’re pumped to make a bodysuit, hop on over to the shop to purchase a kit and pattern, and then share with me via email or on Instagram (tag @mmadalynne and use #bramakingwithmadalynne). Stay tuned later this week to this the bodysuit all sewn up! Sneak peek here.
PREP
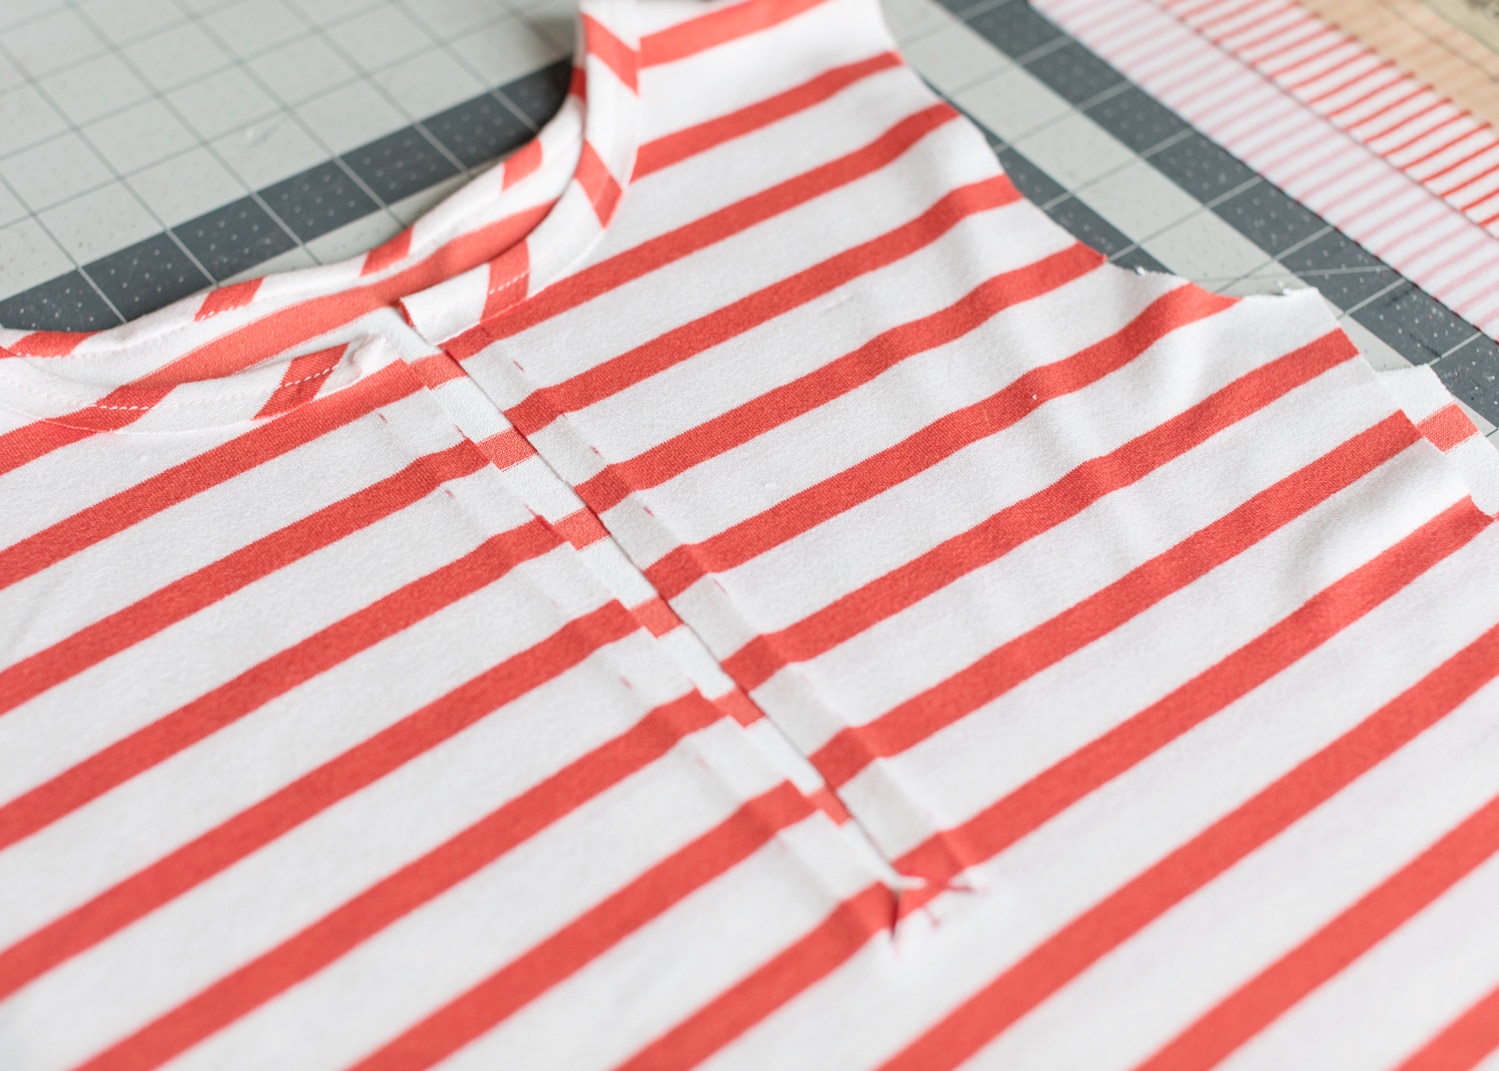
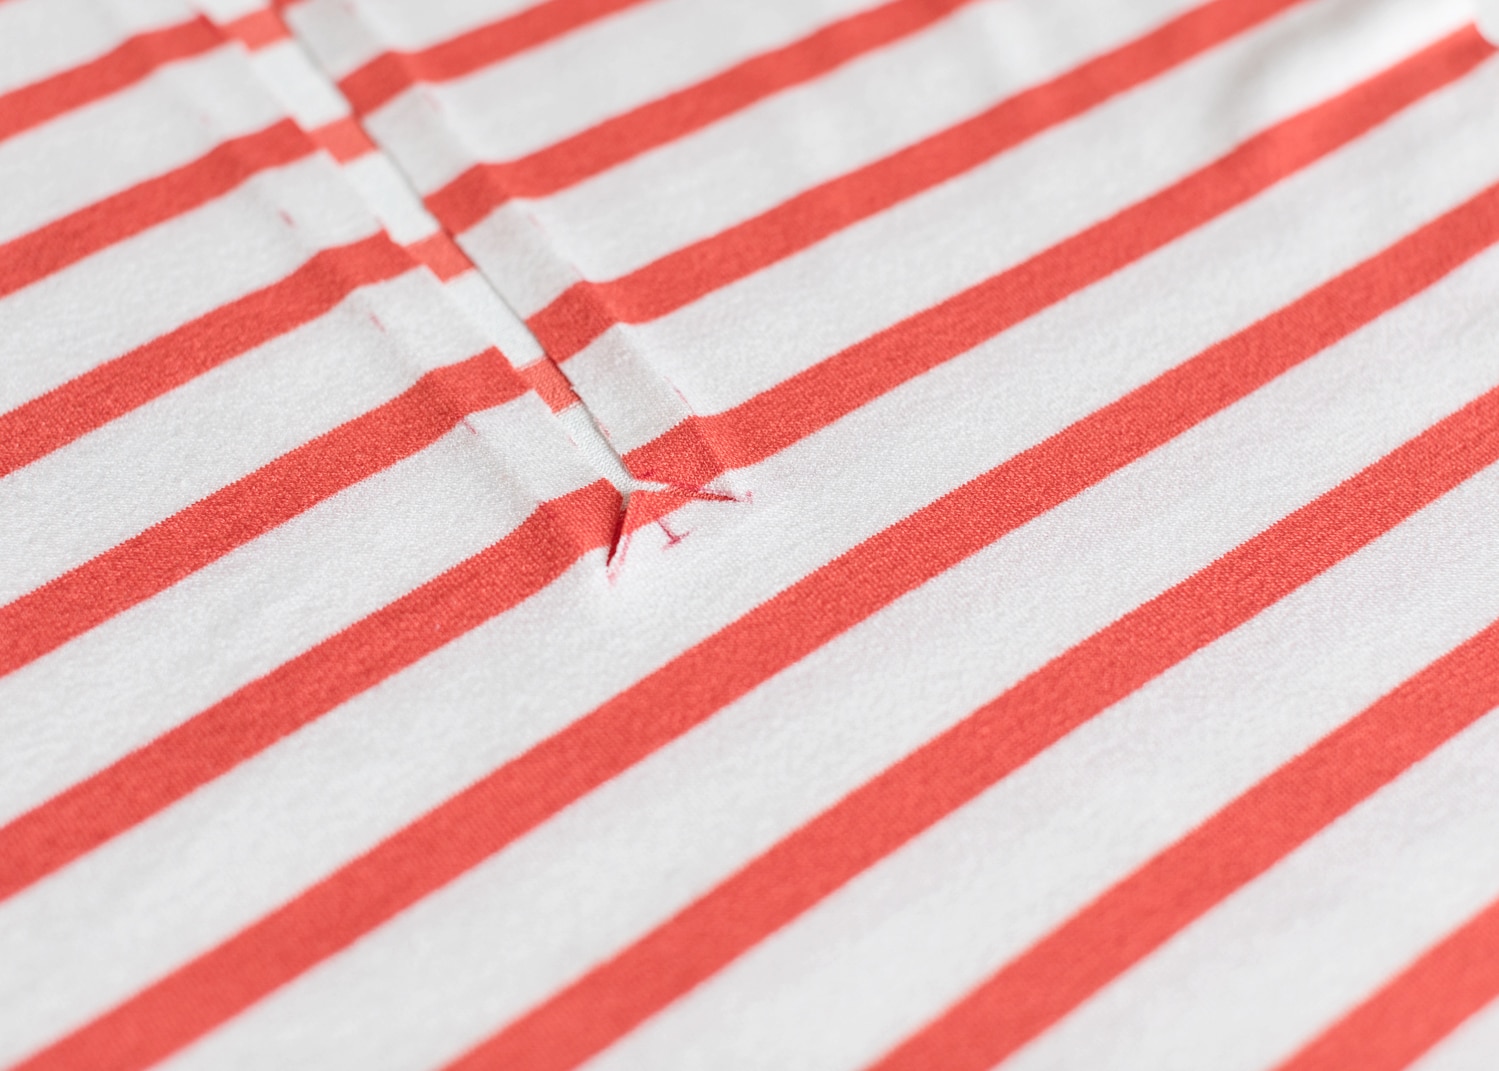
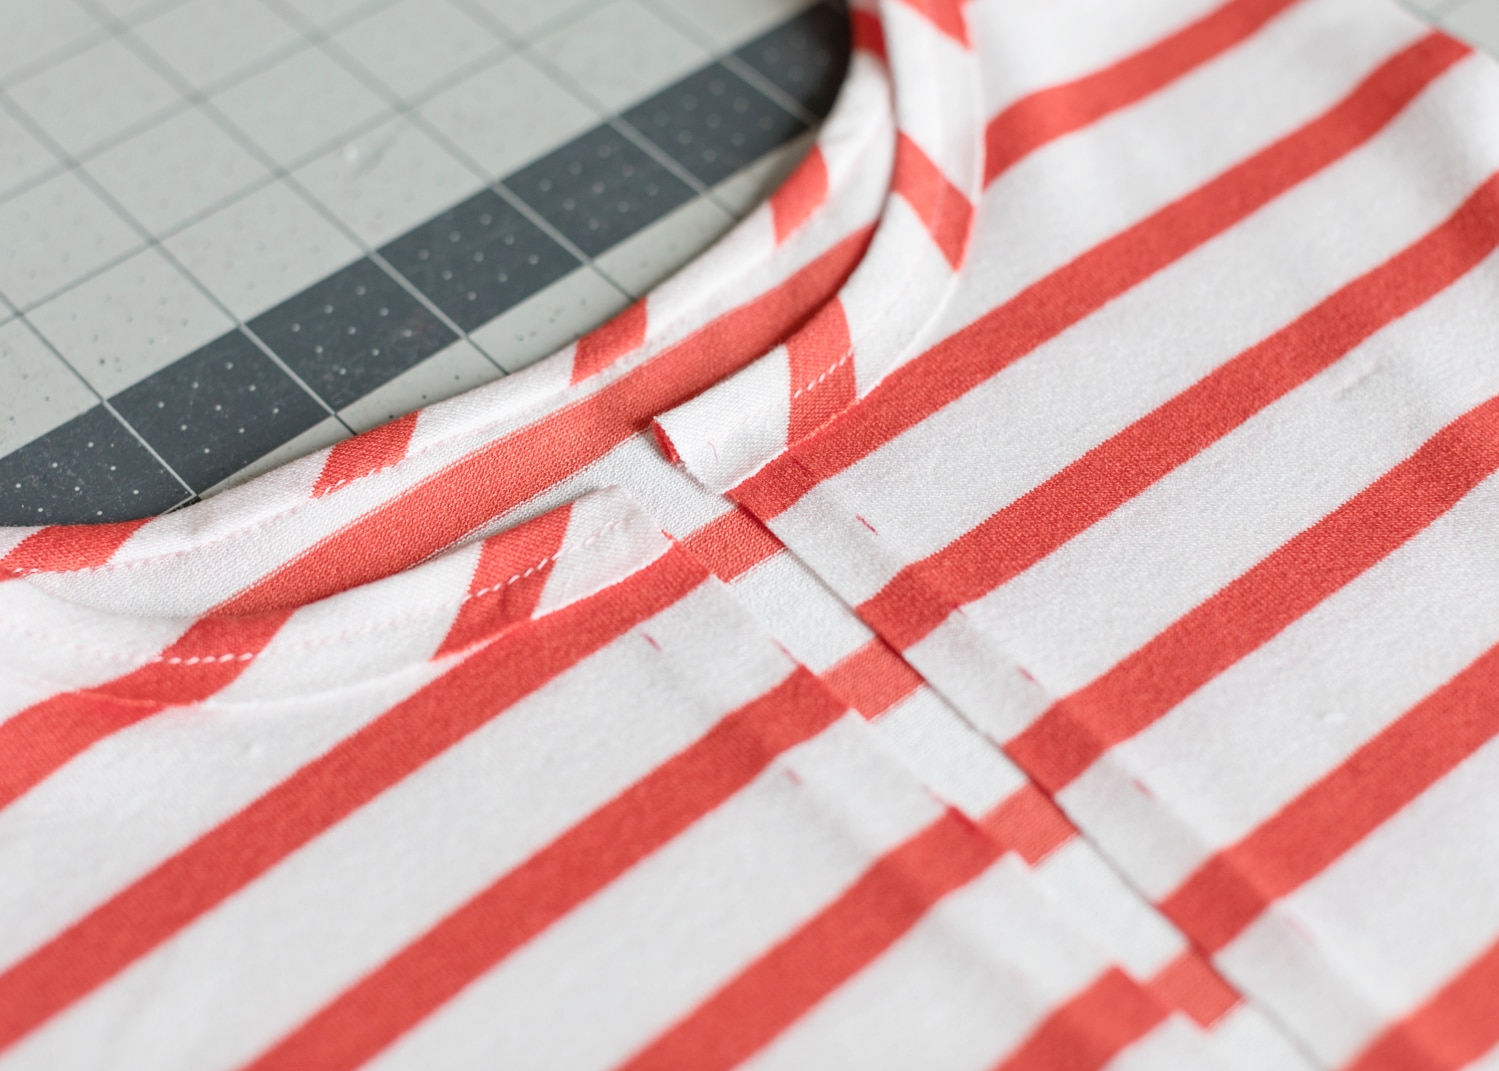
Before getting to the actual sewing, let’s look at where you should be at this point in the project. You should have sewn the front and the back together at the shoulder seams, marked the placket placement (I used a regular pen since it will be hidden once placket is sewn), cut down the center front according to pattern markings, and added binding to neck. This is not in the pattern directions, but I also added a square of fusible interfacing on the interior/wrong side at the bottom (where the triangle is) to reinforce. Last, you could have both plackets cut out. I added fusible interfacing to reinforce.
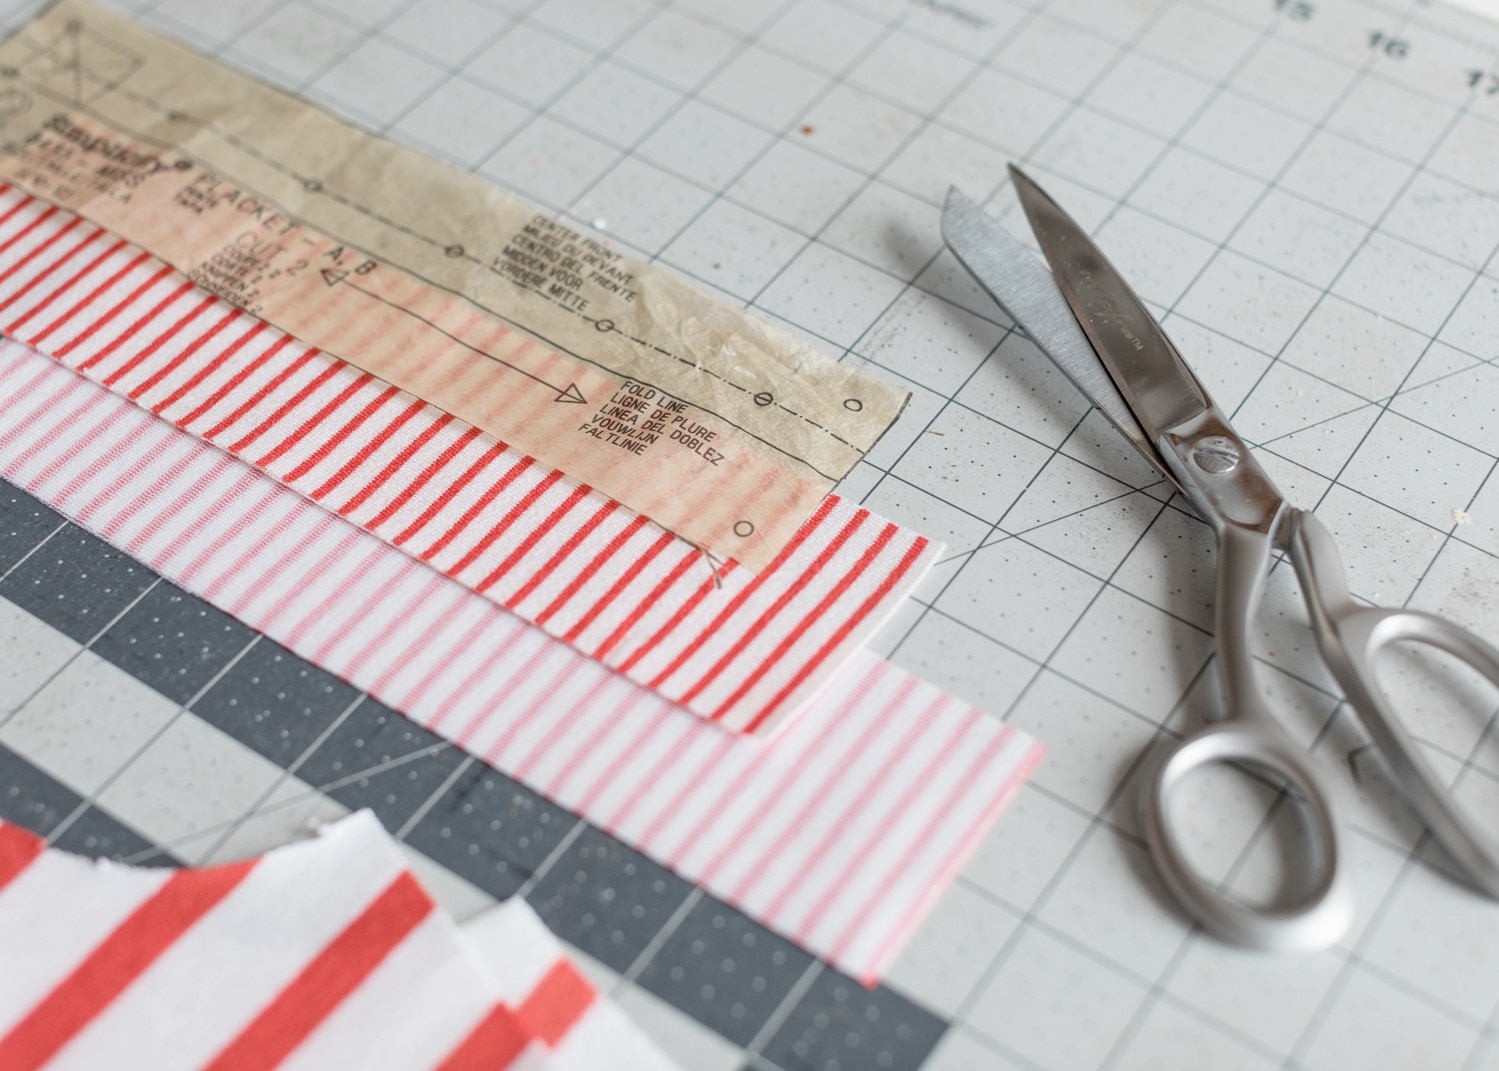
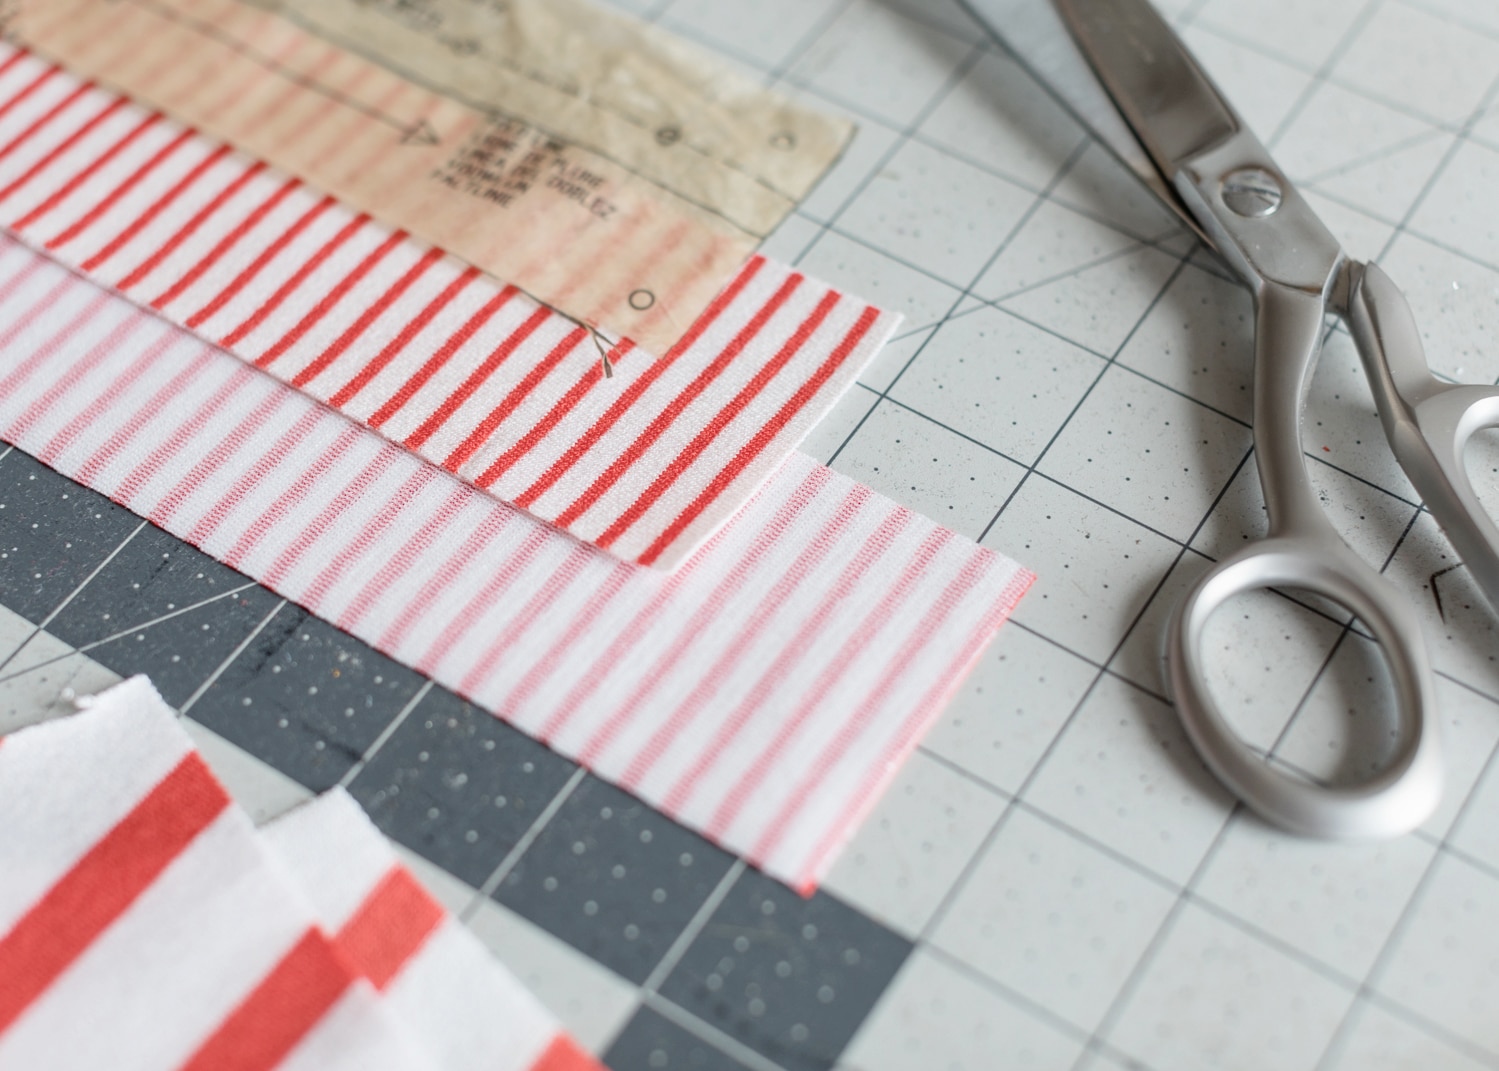
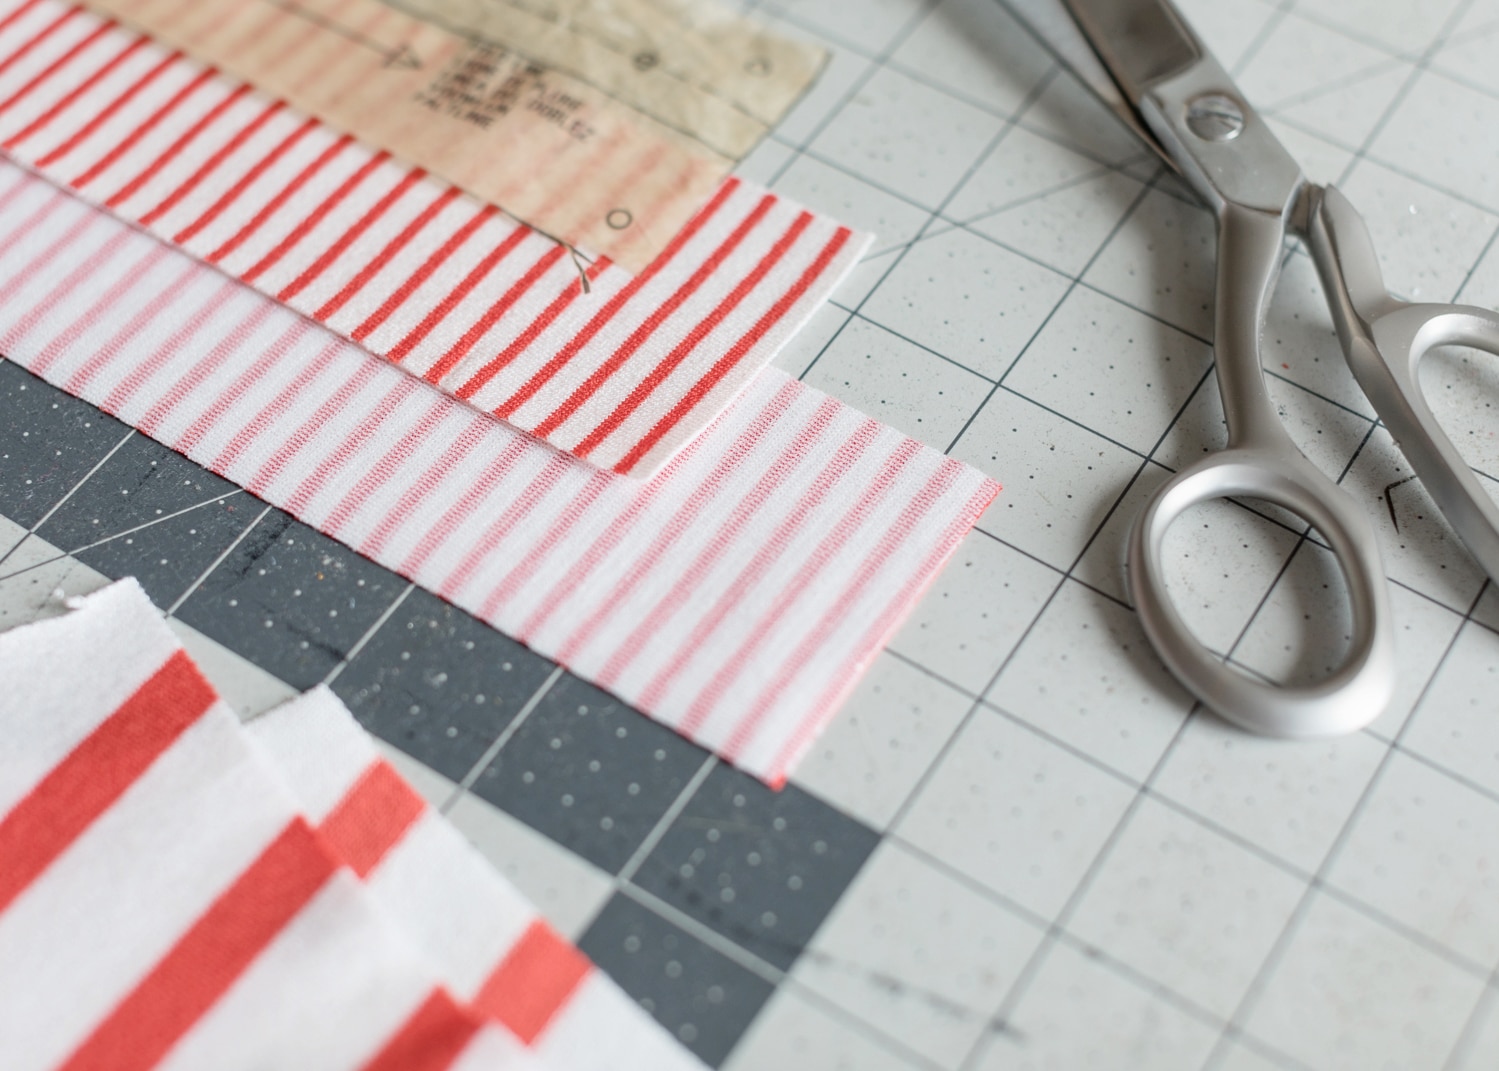
- Overlock one long edge on each placket.
- On edge that was not overlooked, fold and press ½” from edge.
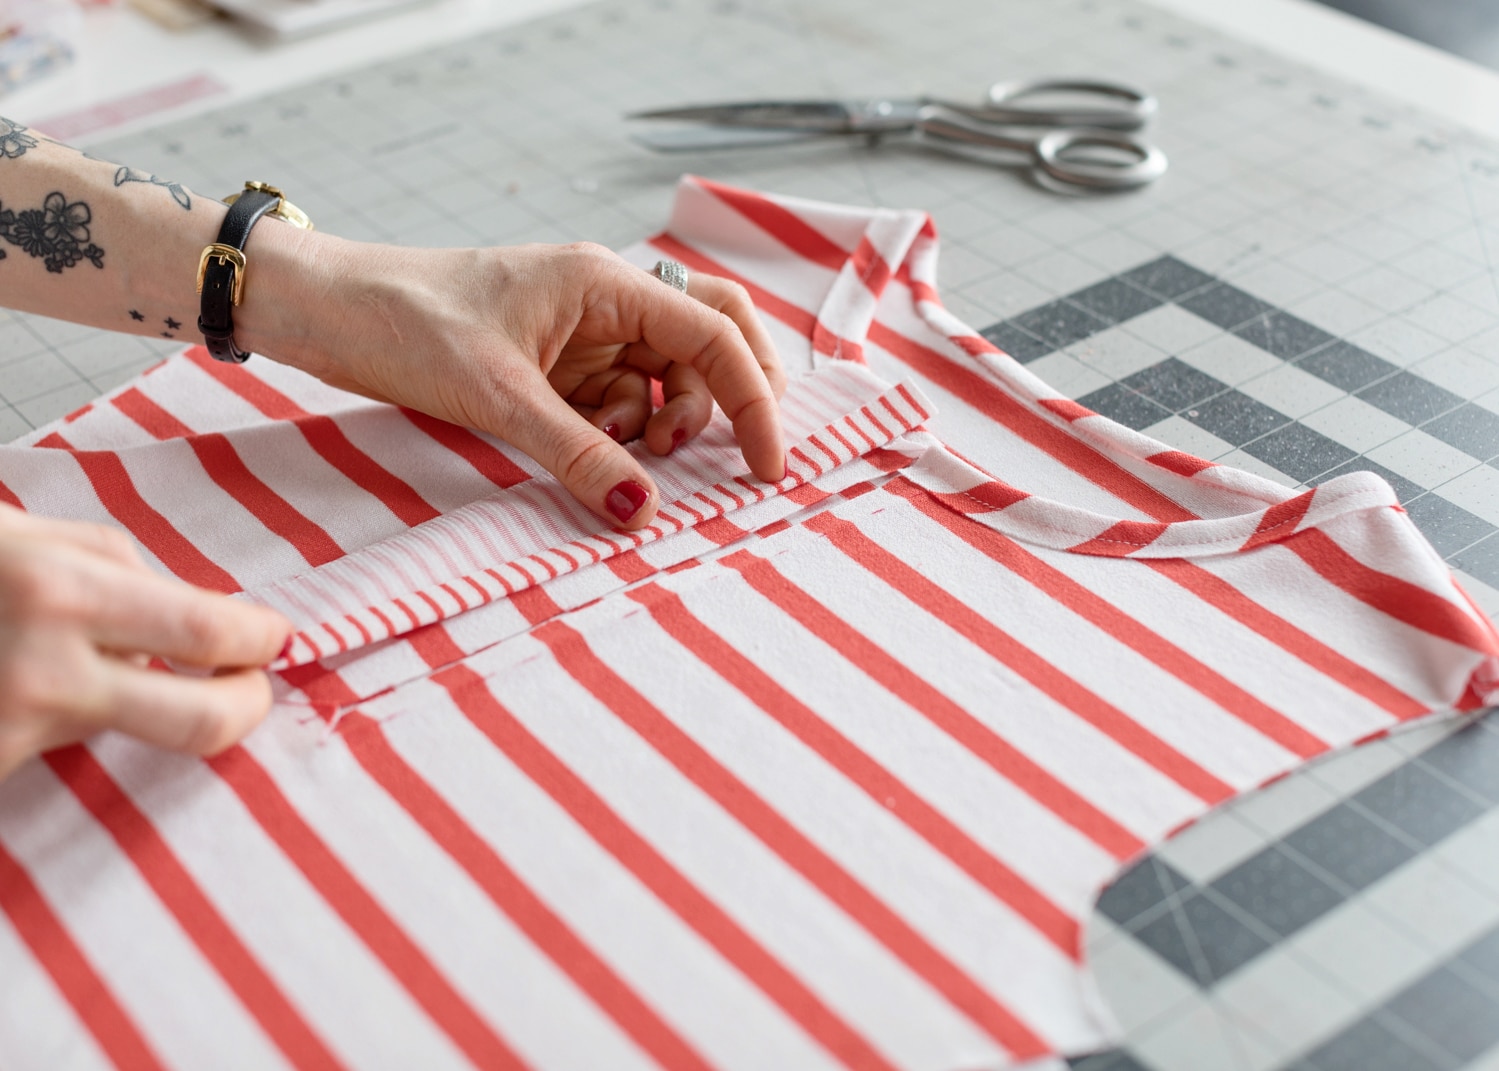
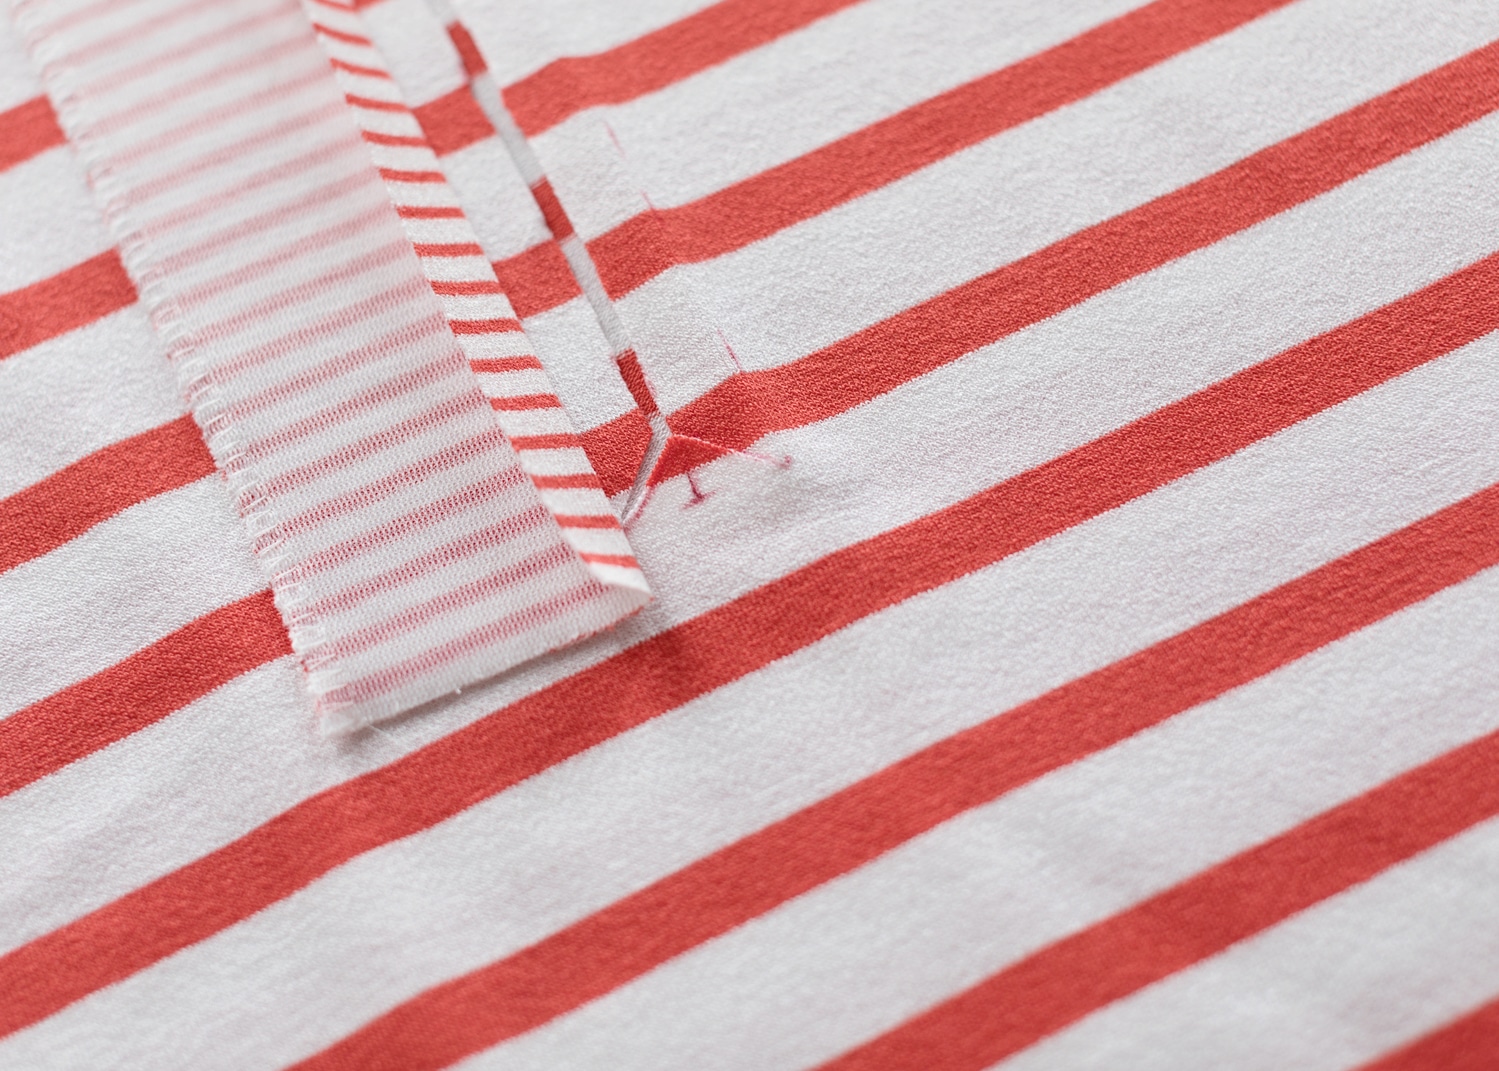
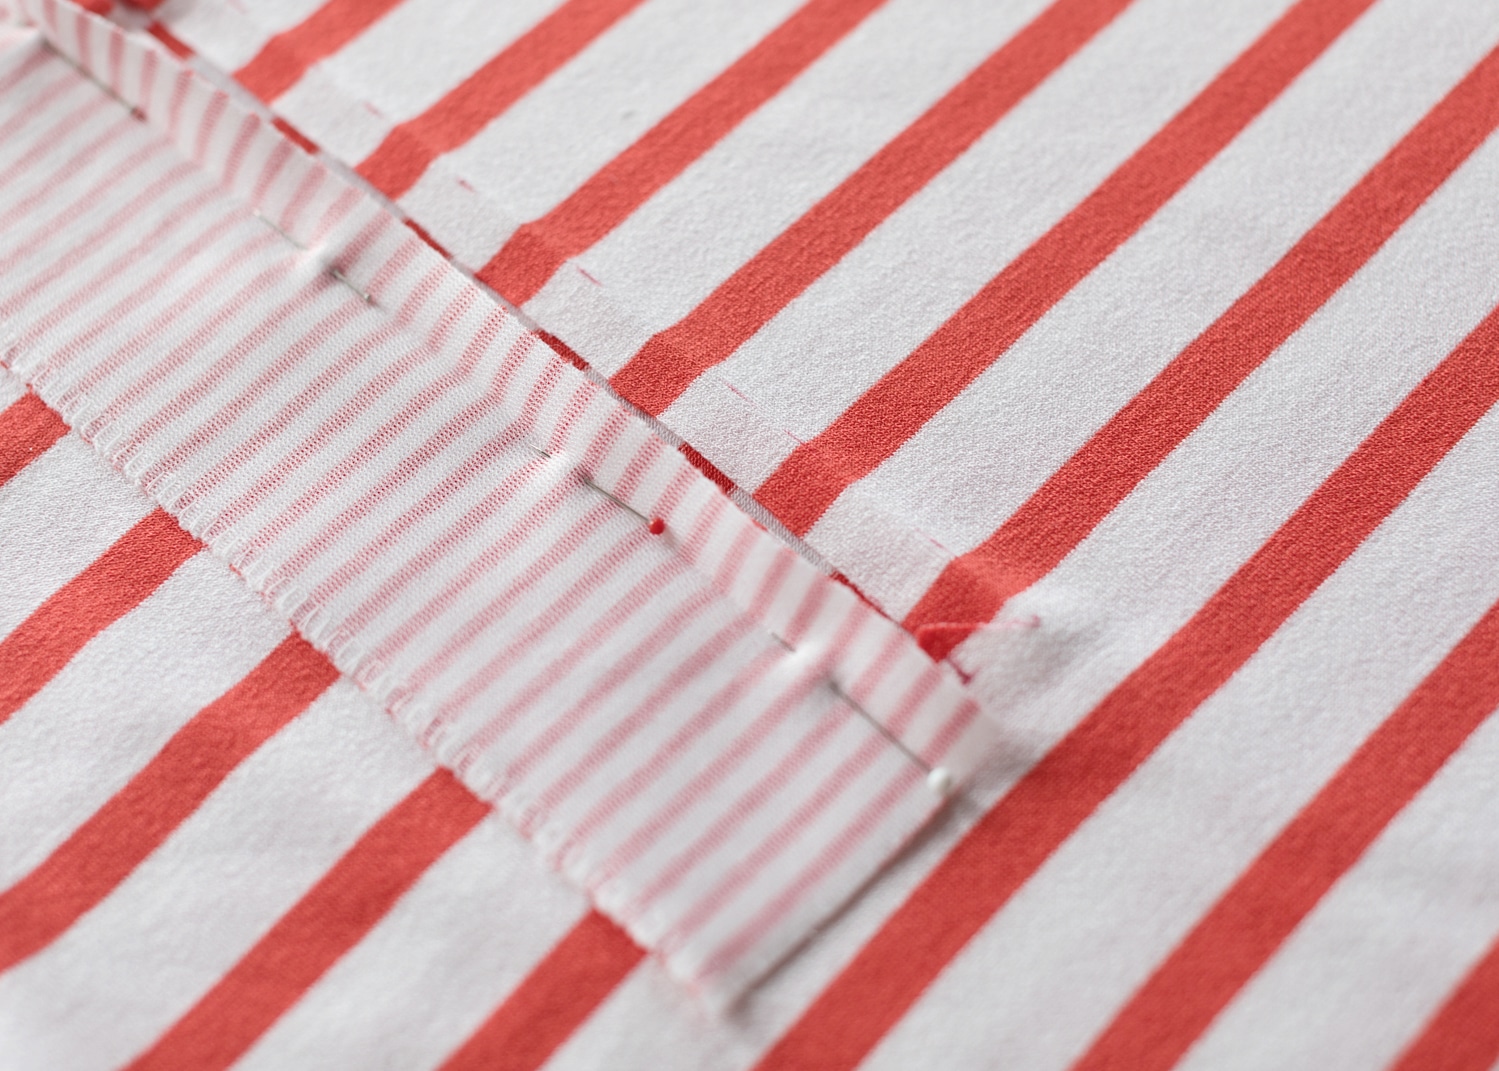
- With right sides facing, place placket on bodysuit, right sides together. Fold line on placket and front should align and placket should extend above neckline approximately ¼” and below triangle at bottom approximately ¼”.
- Pin in place, then sew down fold line with a straight stitch. Back stitch and top and bottom, and approximately ½” above bottom of placket, use a shorter stitch length (1.5mm).
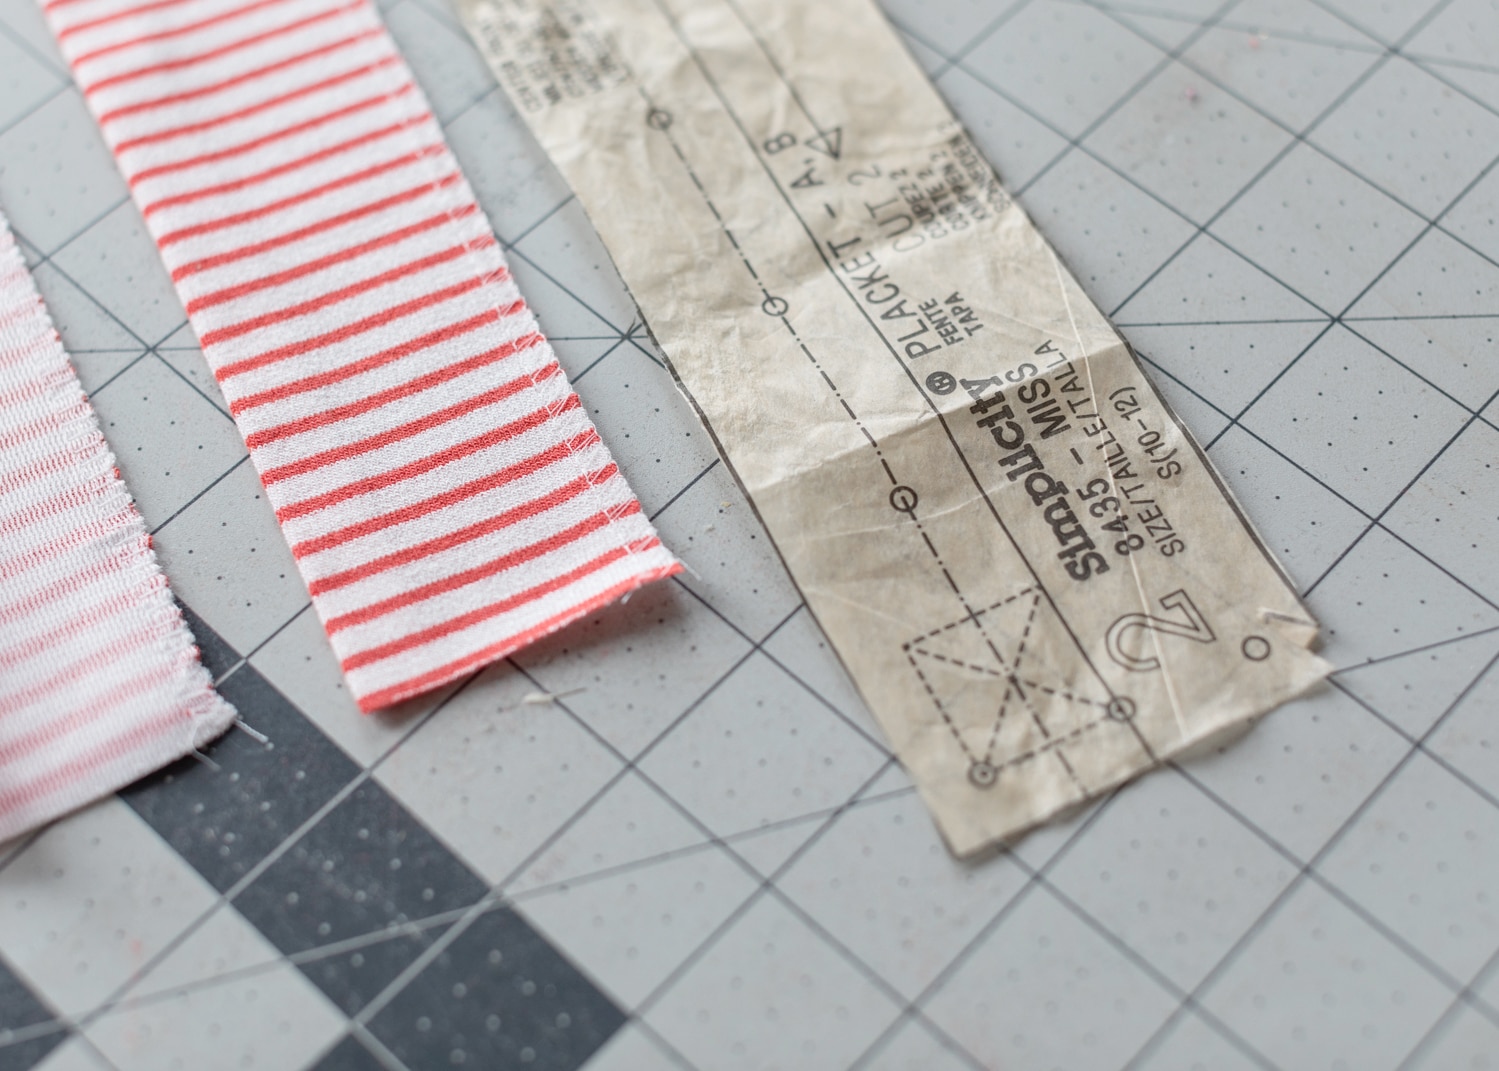
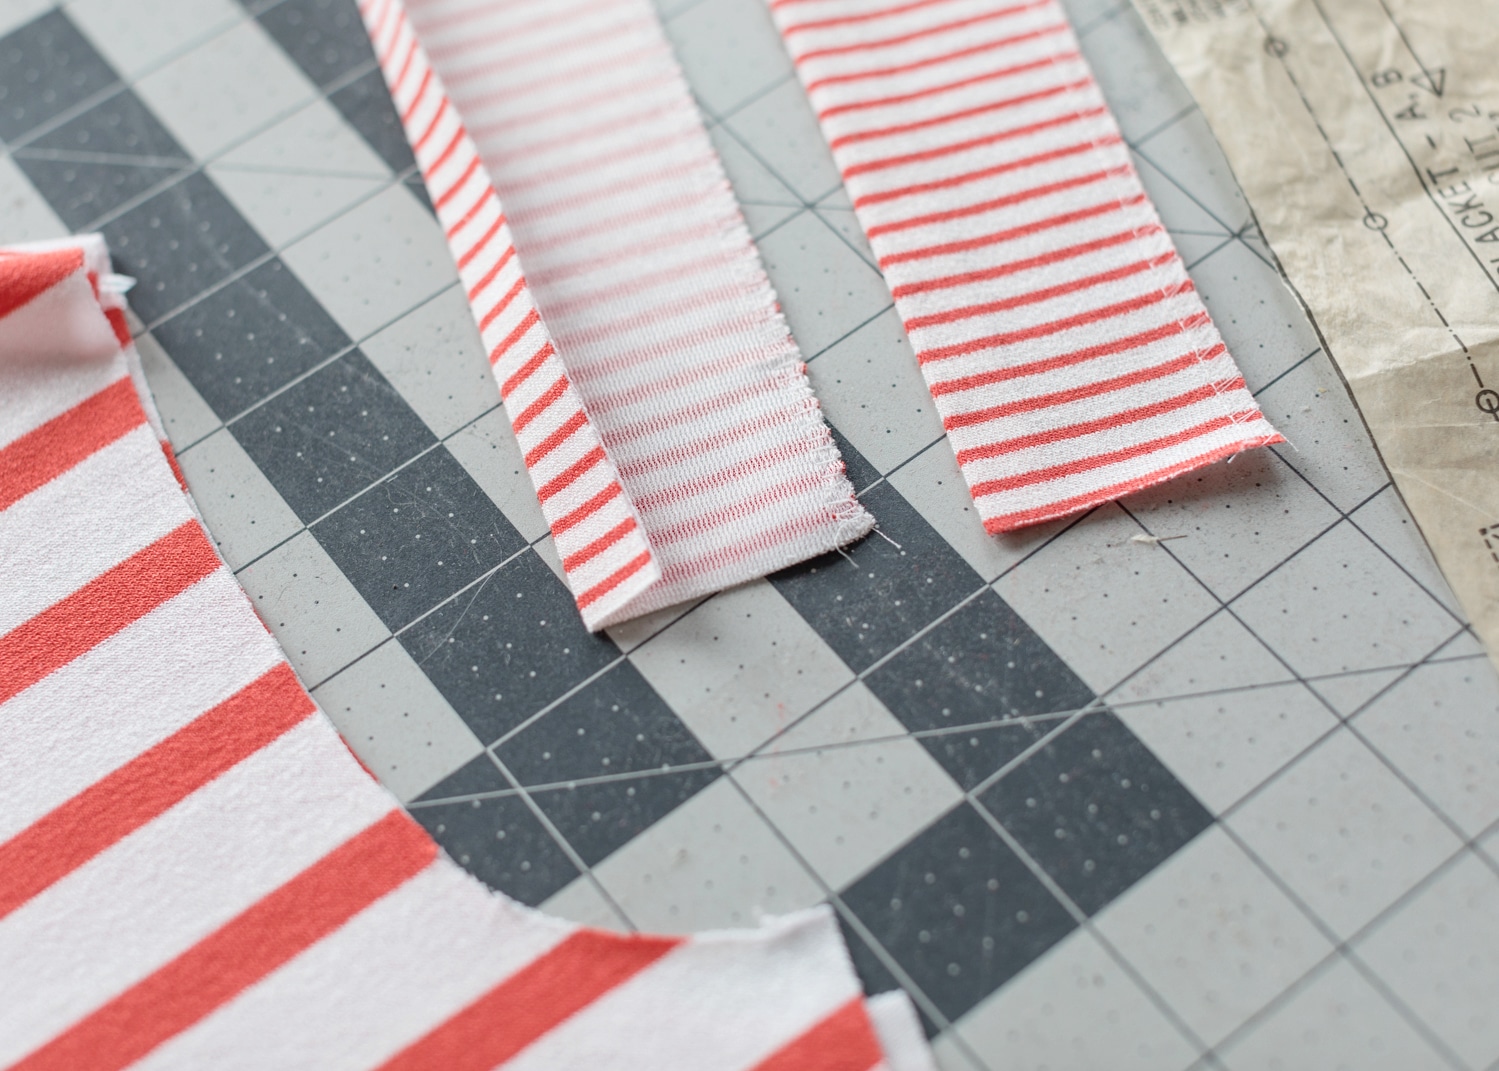
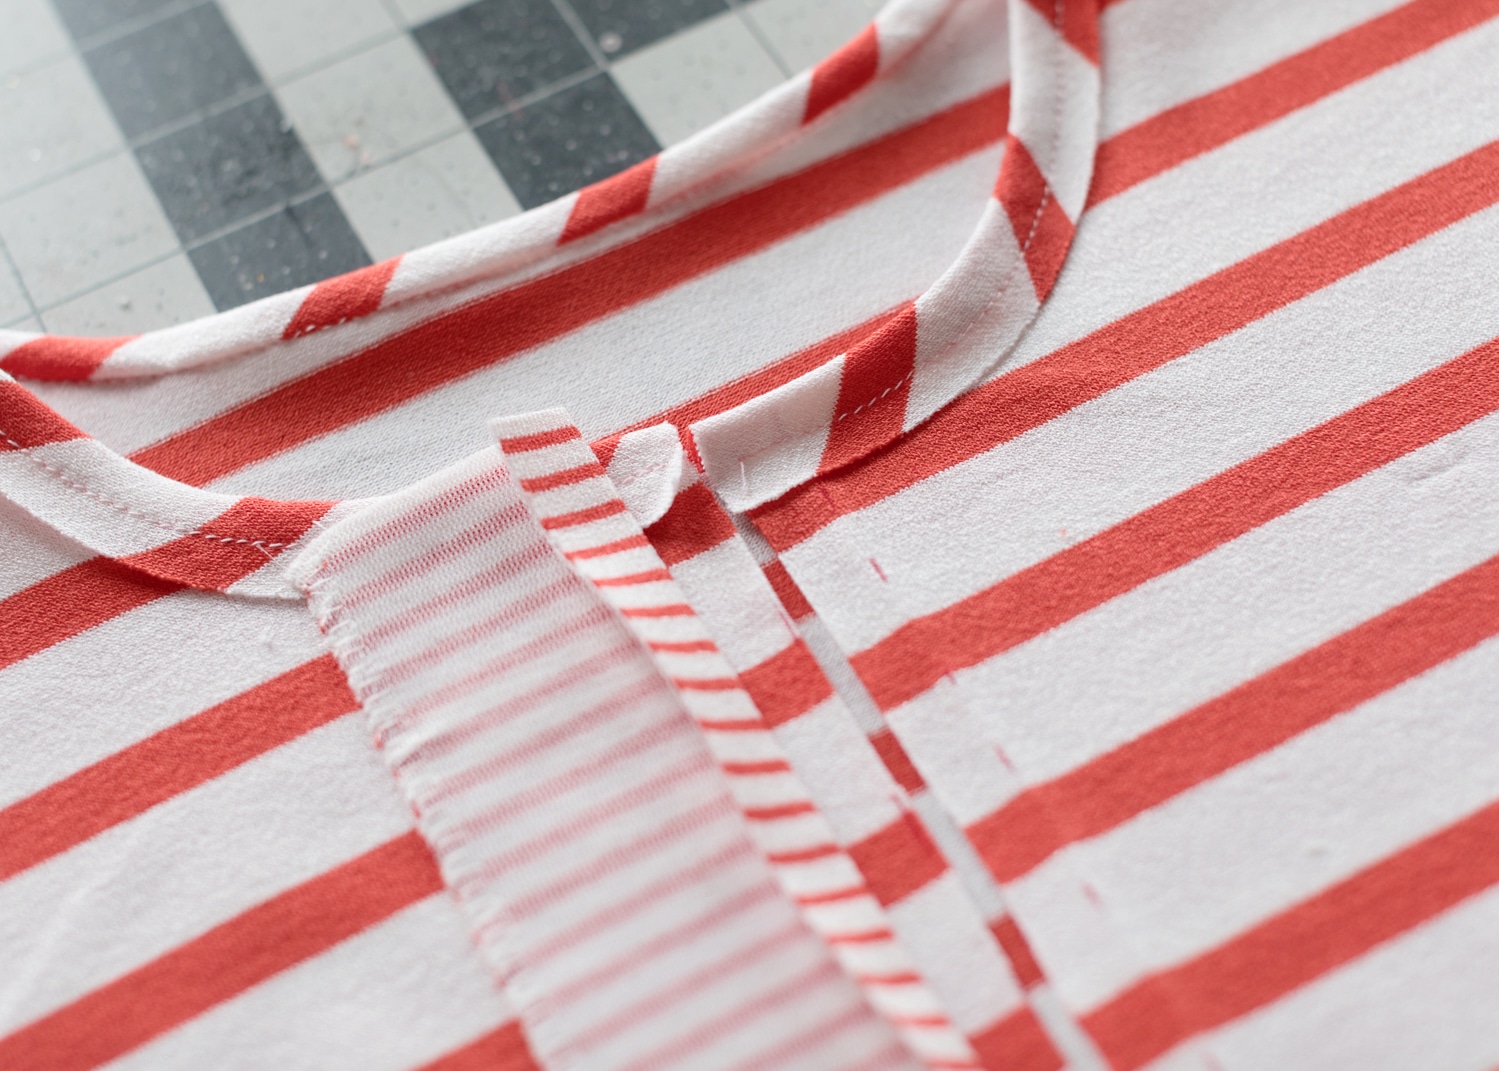
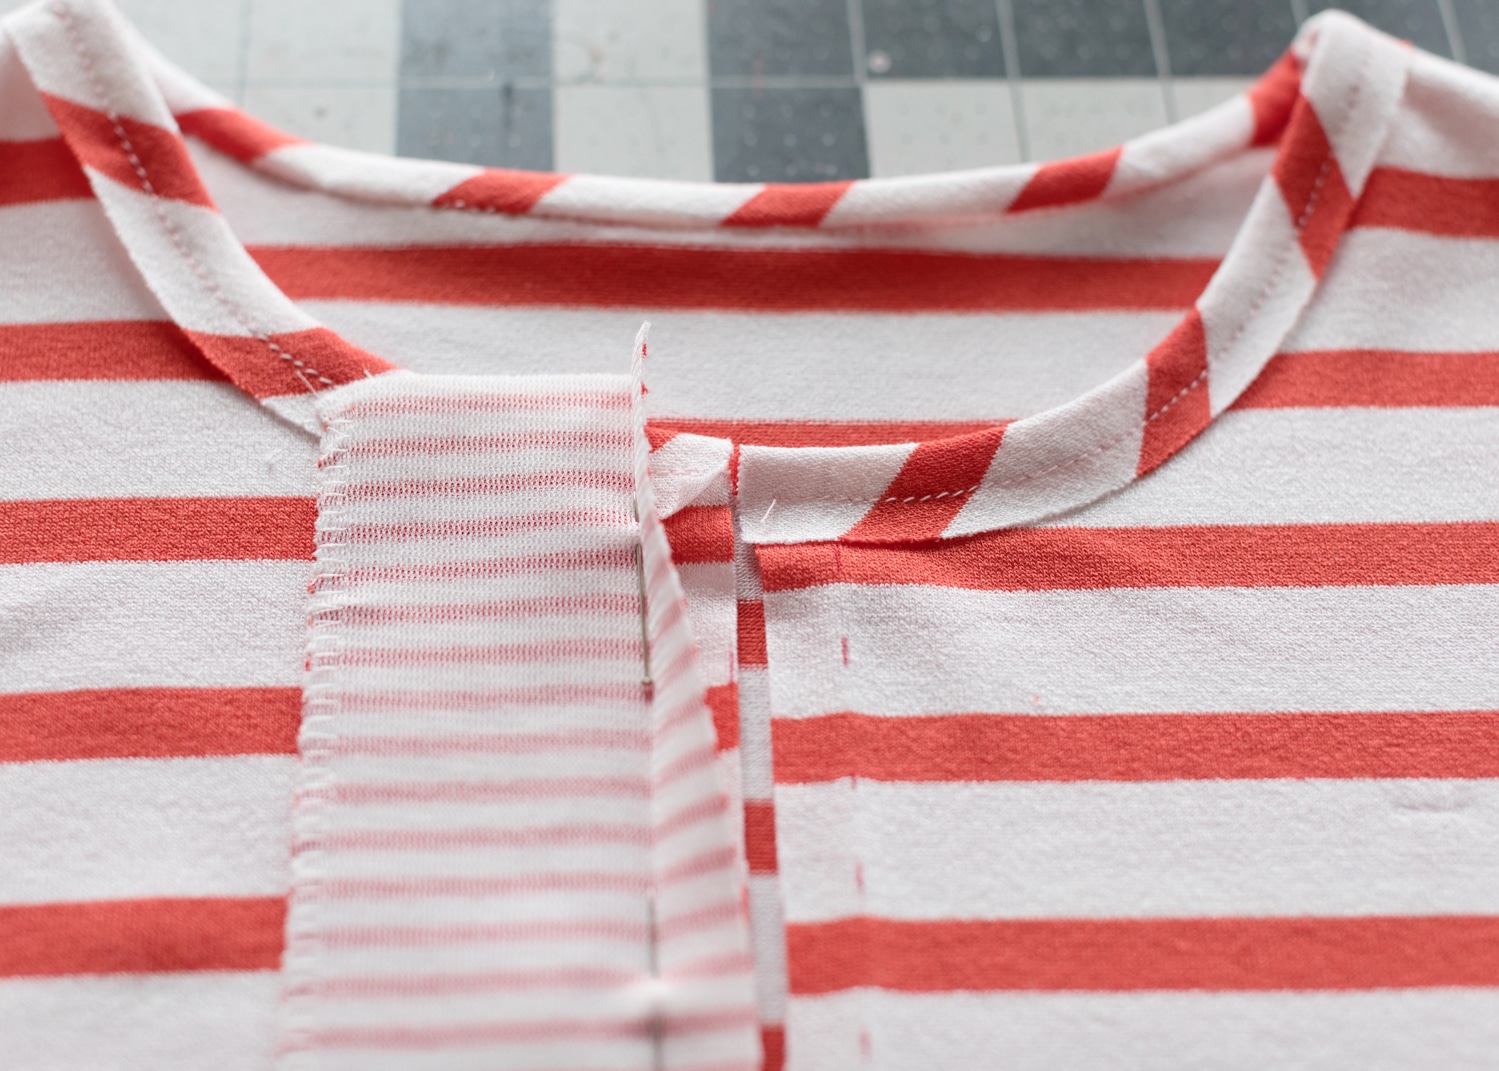
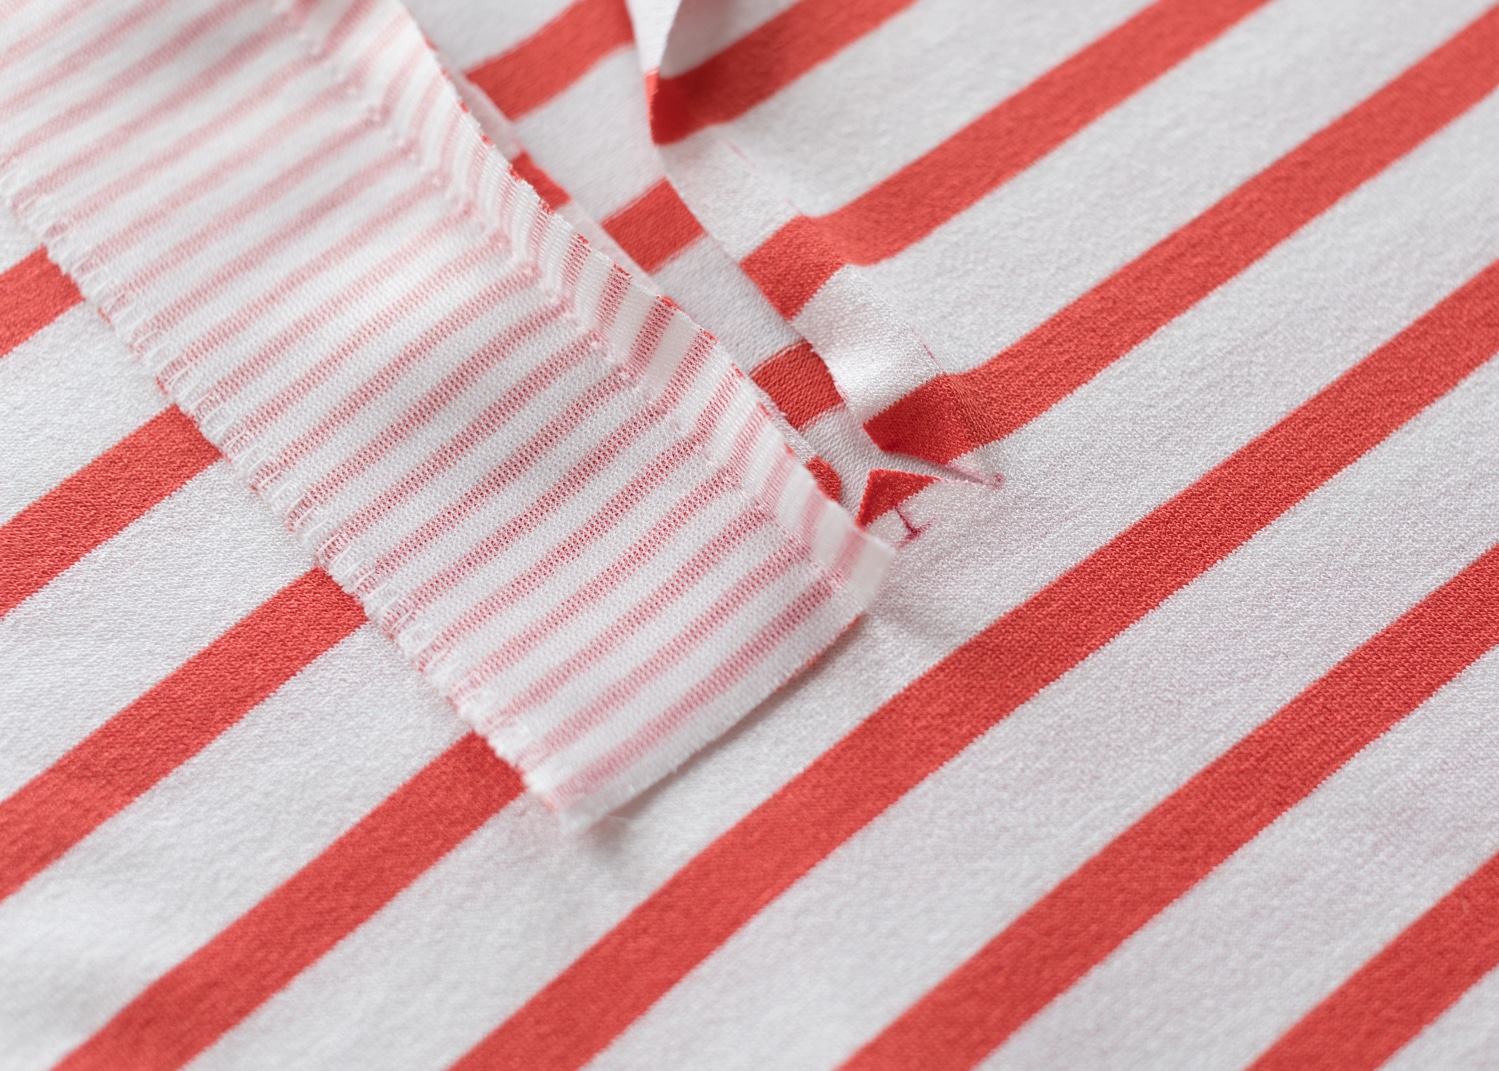
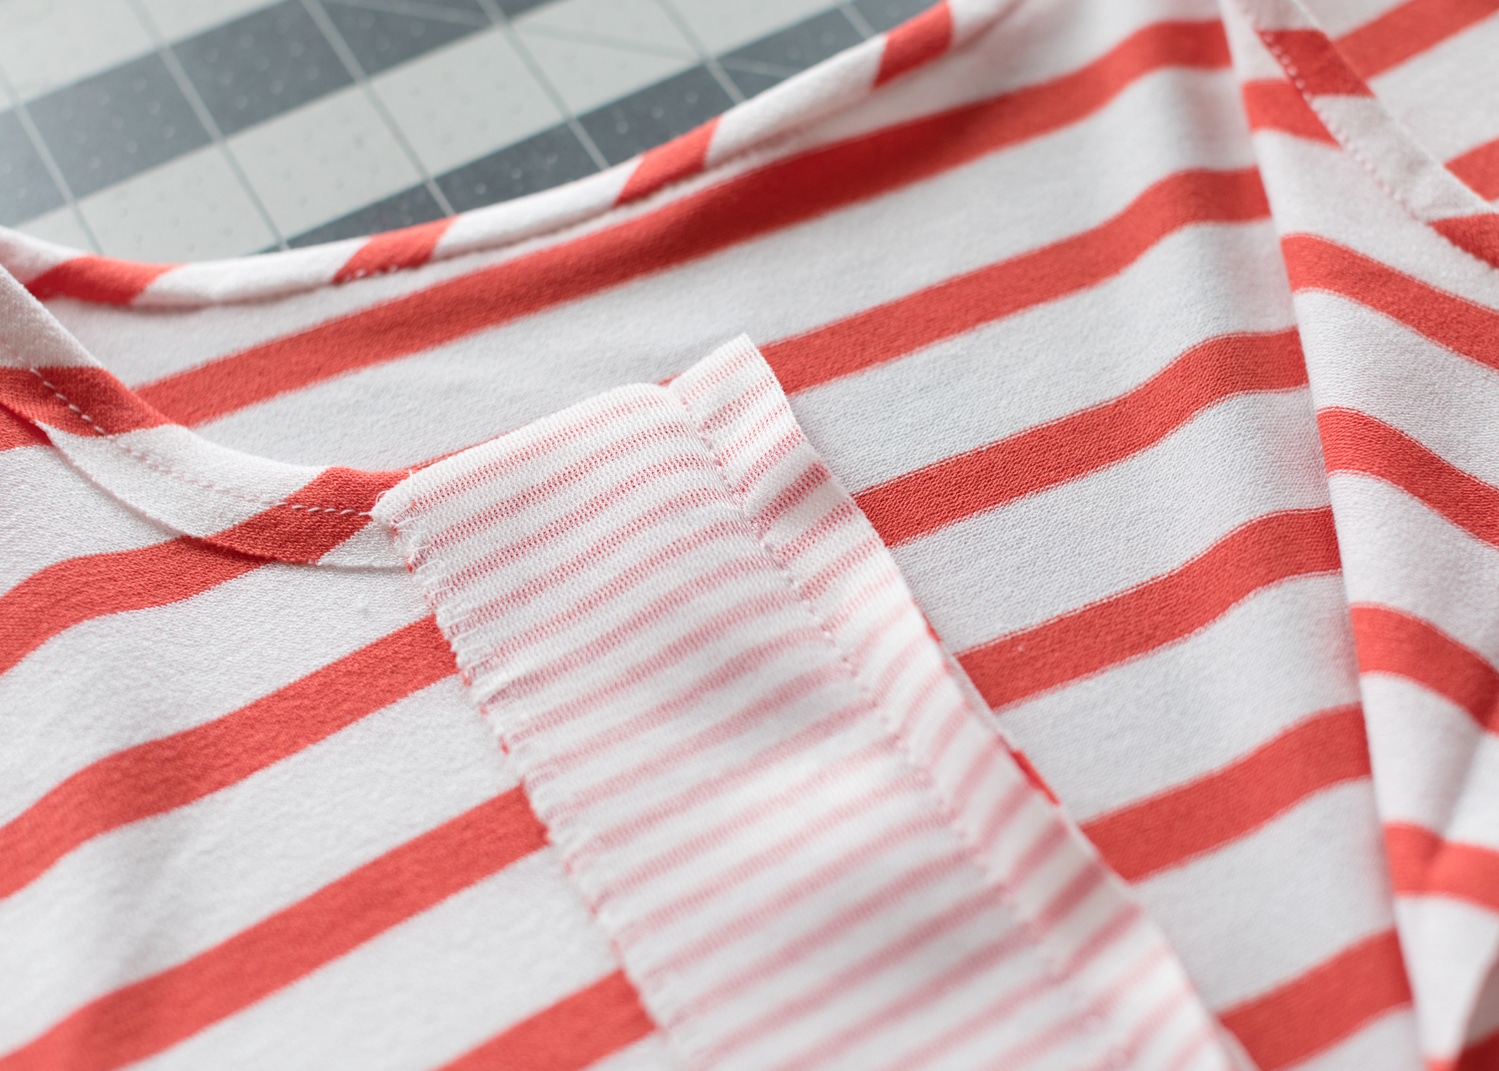
- At neckline, fold placket back on itself so right sides are facing. Serged edge should align with seam line.
- Sew across top edge with ¼” seam allowance. For seams that are short in length, I find it easier to start sewing in the center, sew to the end, flip around, and then sew to the beginning.
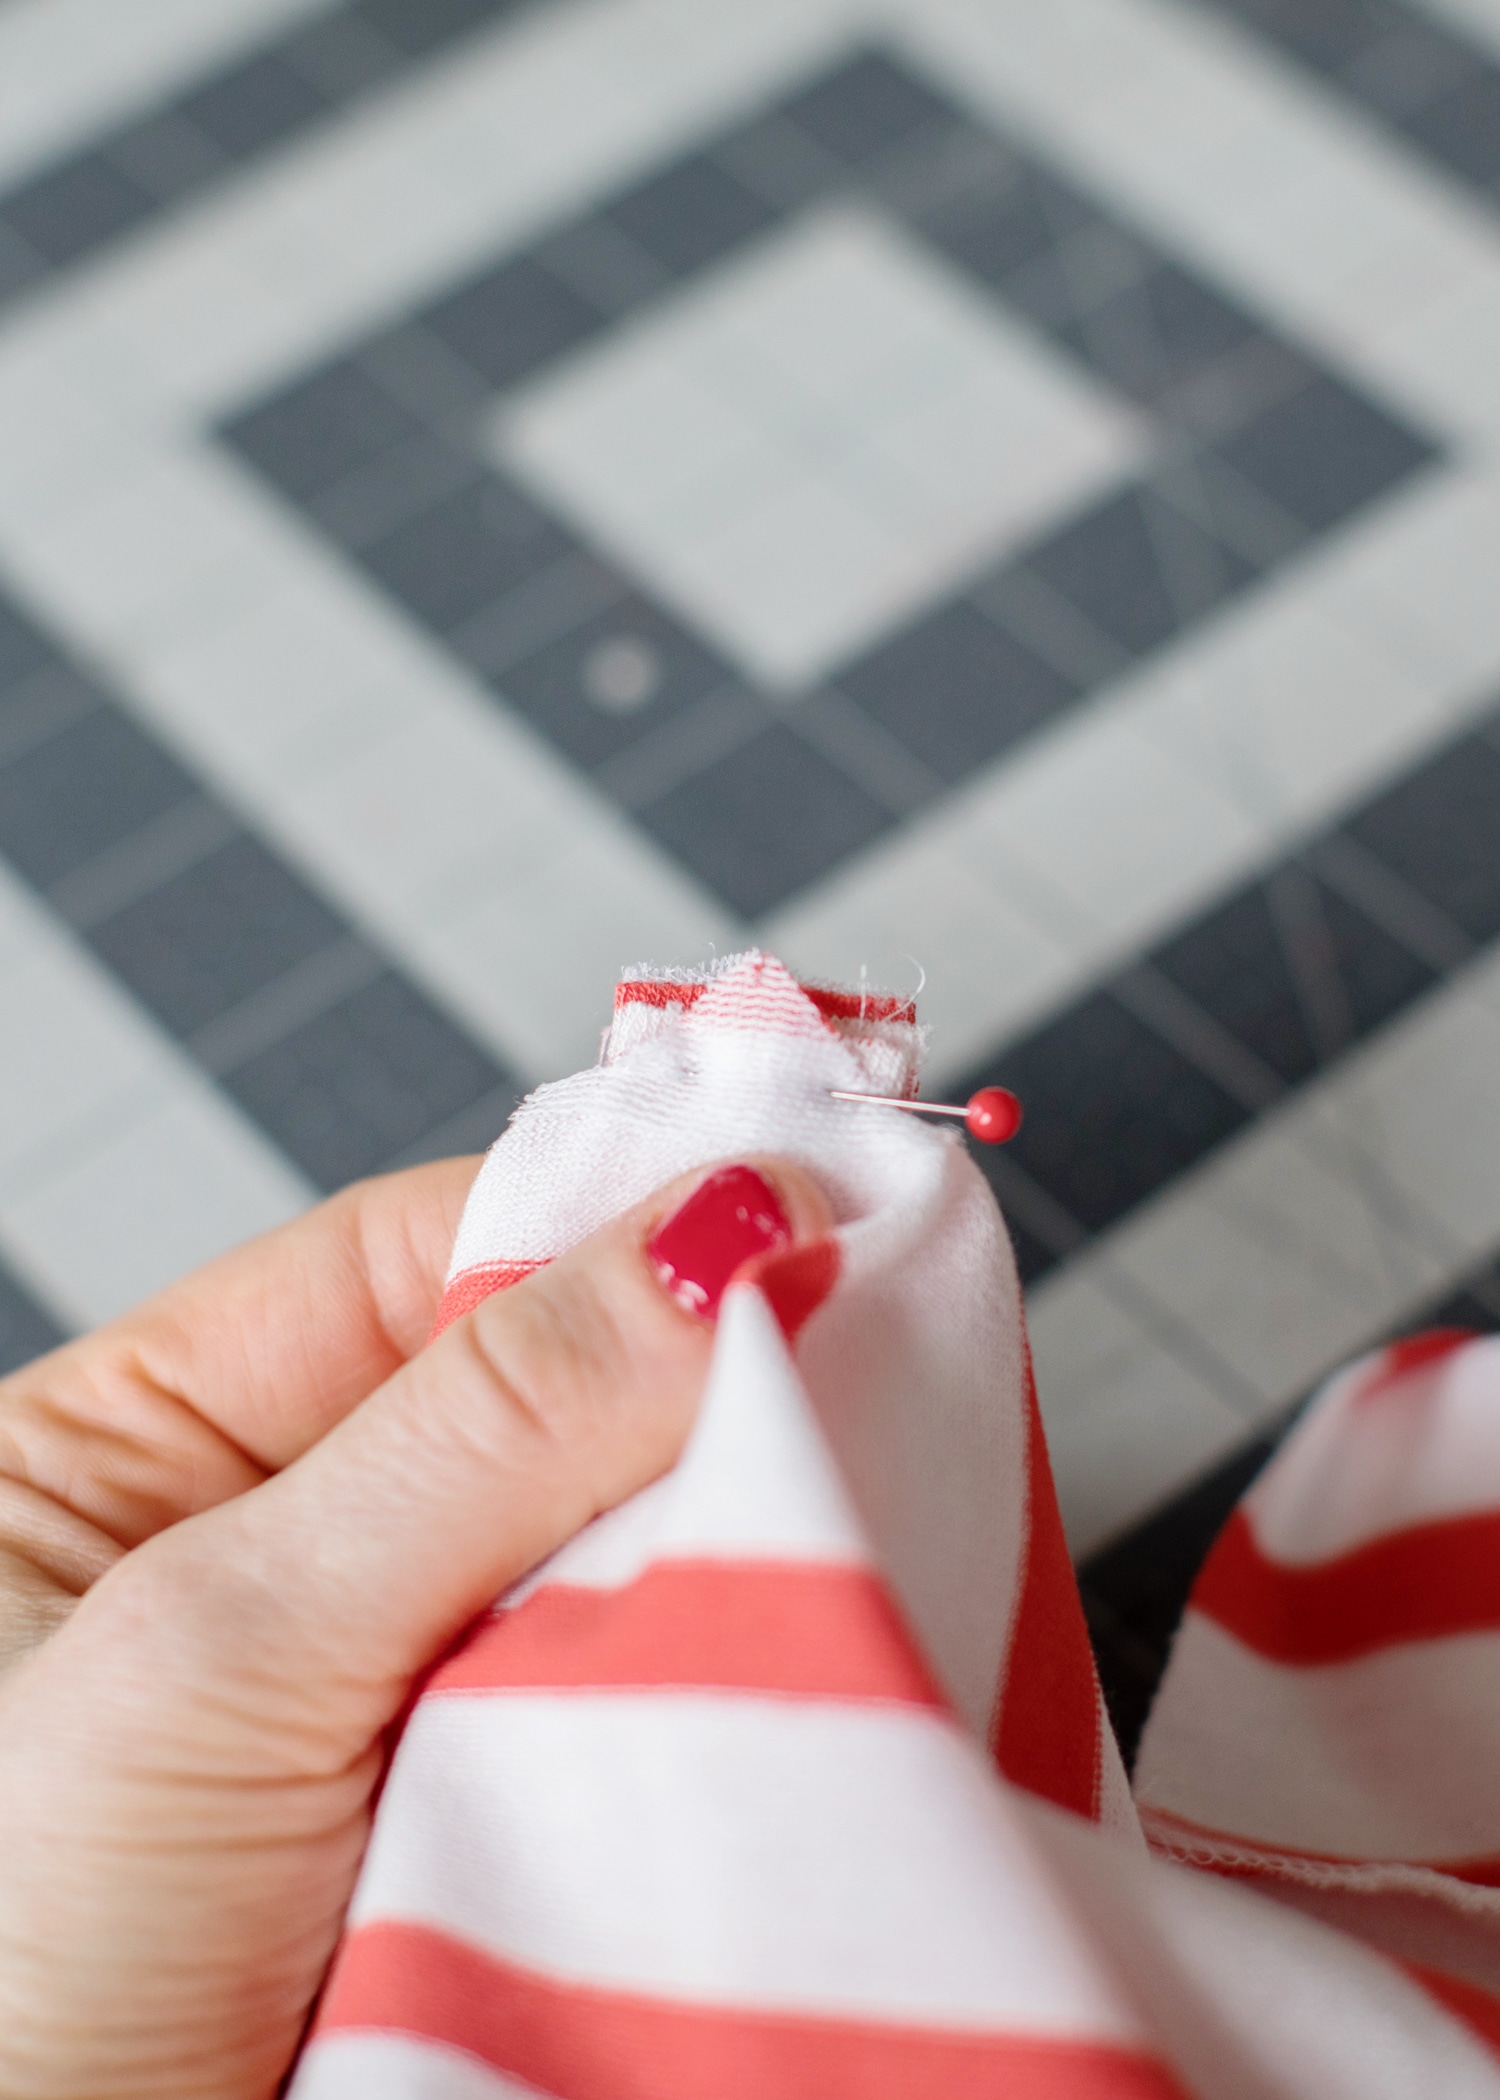
- Use thumb and index finger to turn placket right side out. Getting your thumb as close as possible to the corner really helps to create a sharp point when it’s flipped.
- Repeat previous 3 points to attach other placket. Use pins or spray adhesive to hold in place temporarily.
- Lightly press. Use steam if needed (sometimes the tip gets slightly stretch out from sewing, so it’s pointy. Steaming it helps, but only if you allow is to cool before moving. The cooling portion sets it into shape).
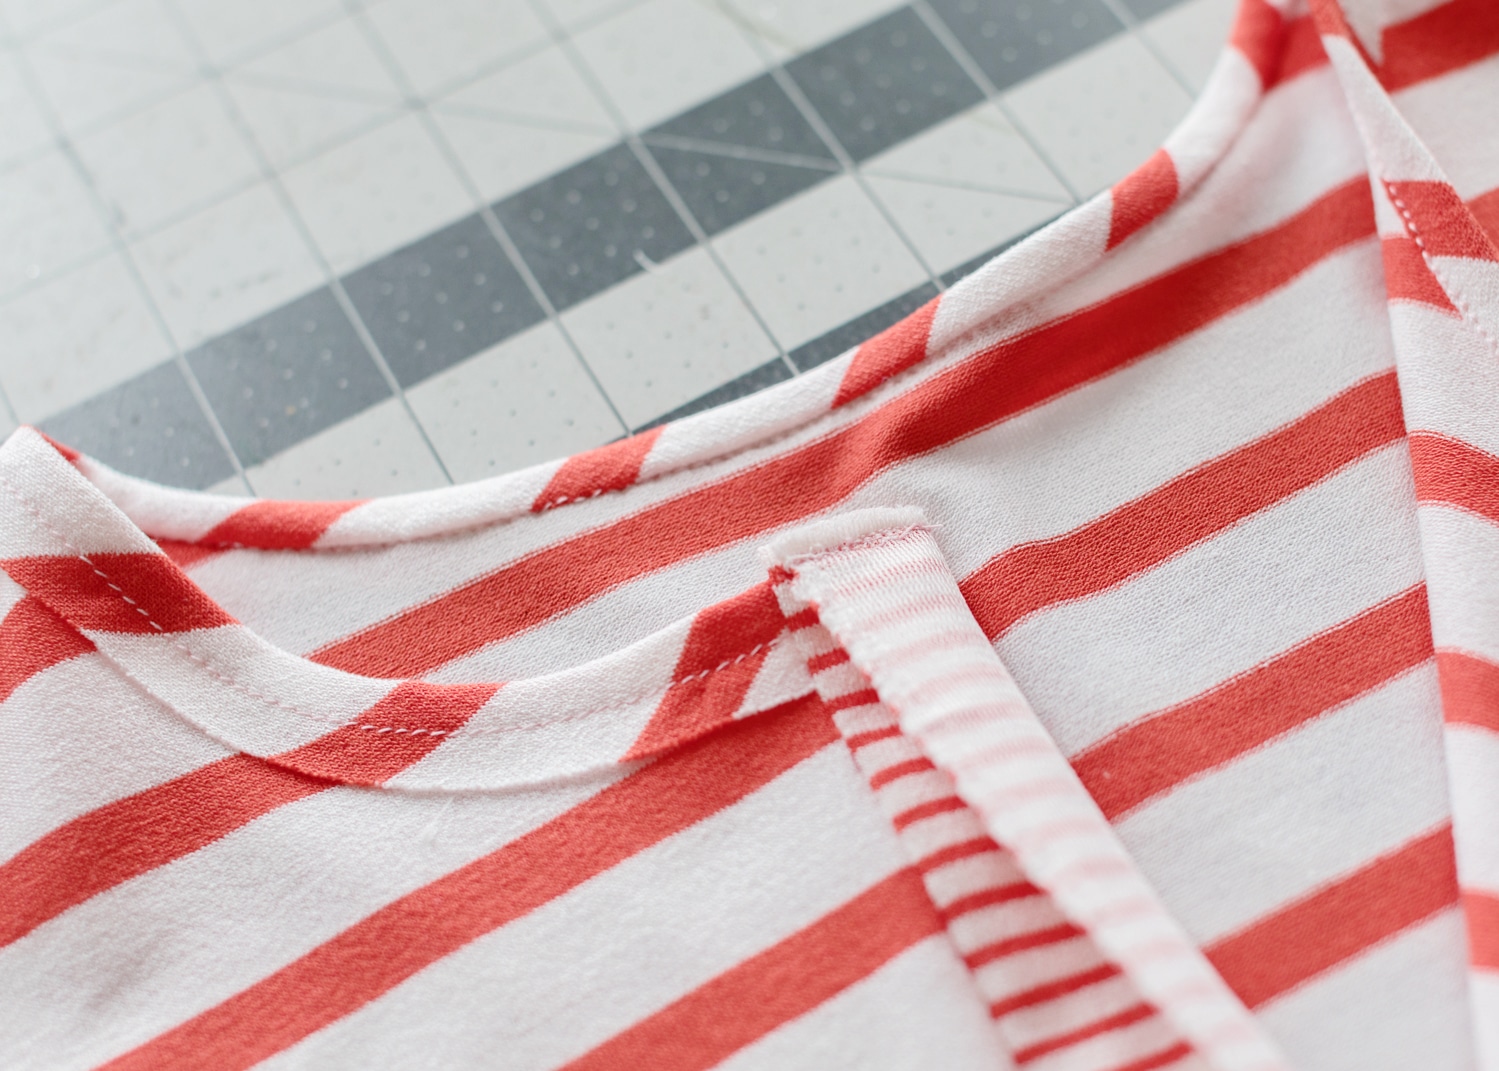
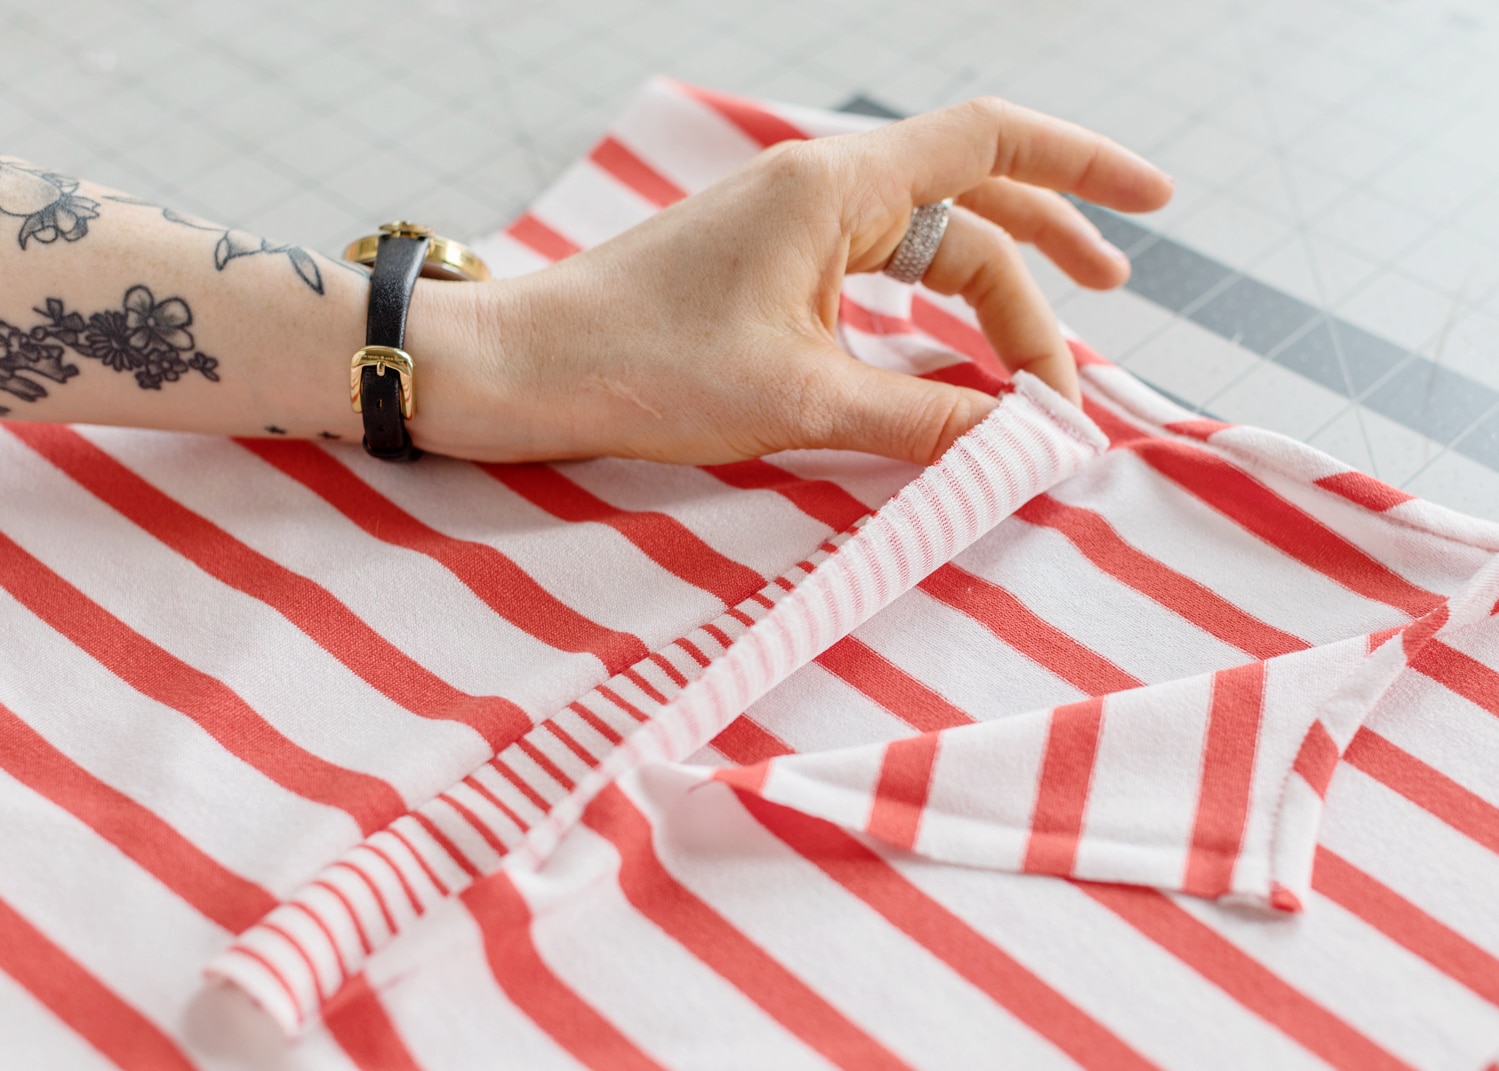
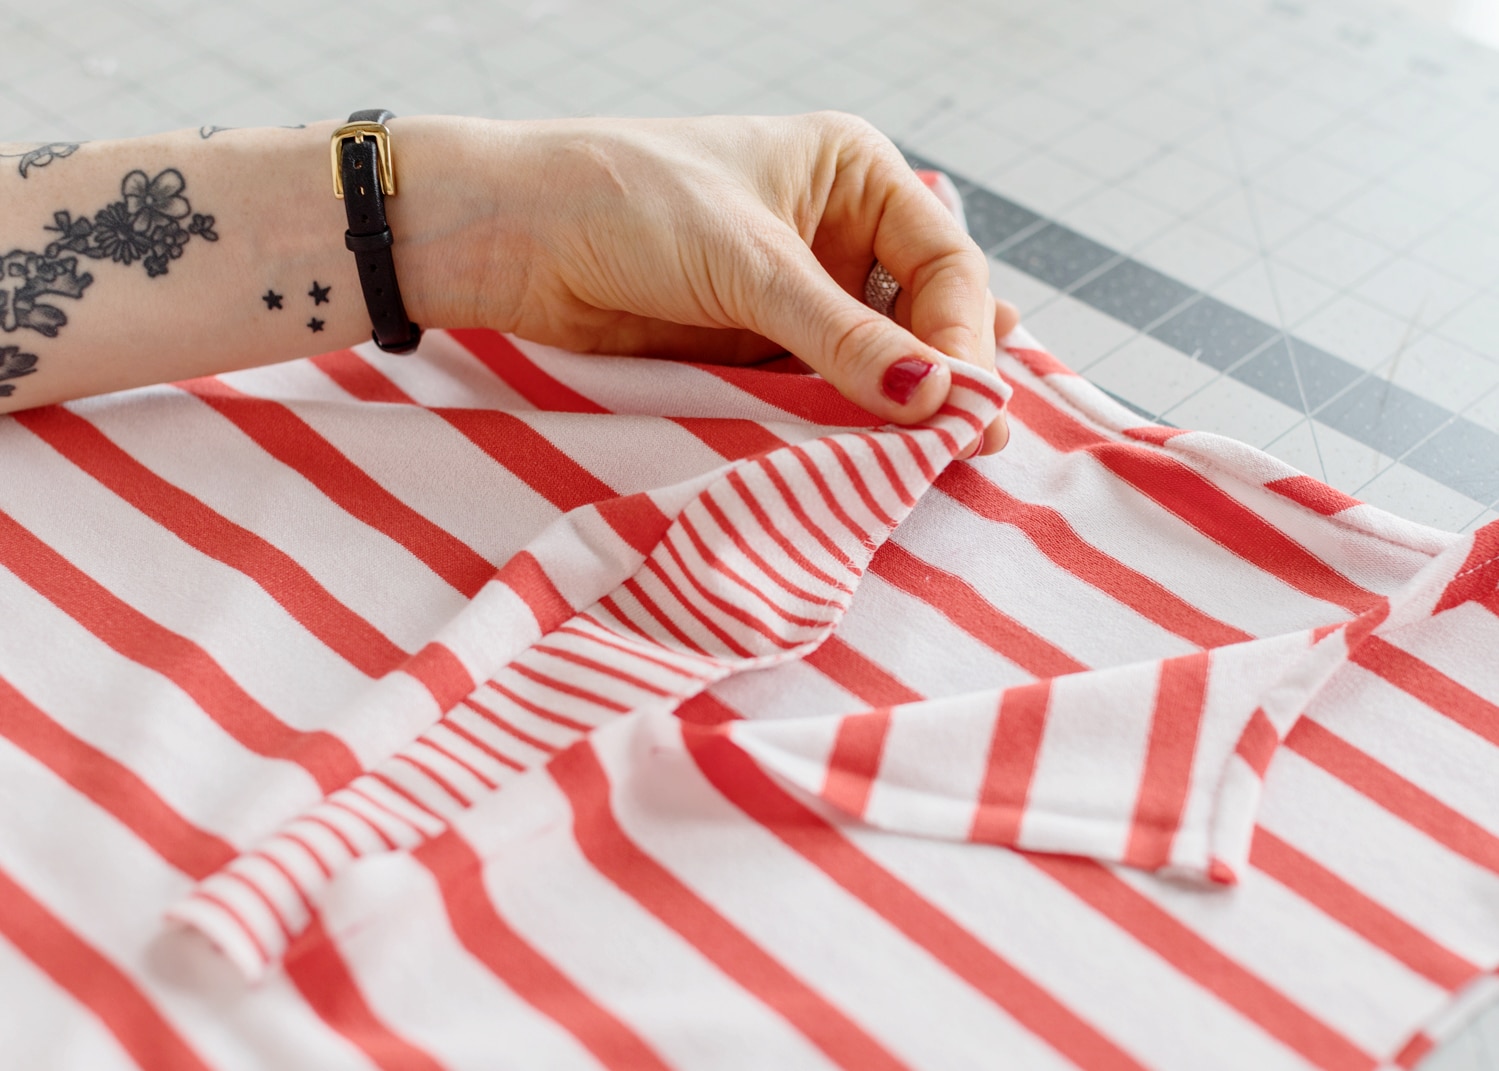
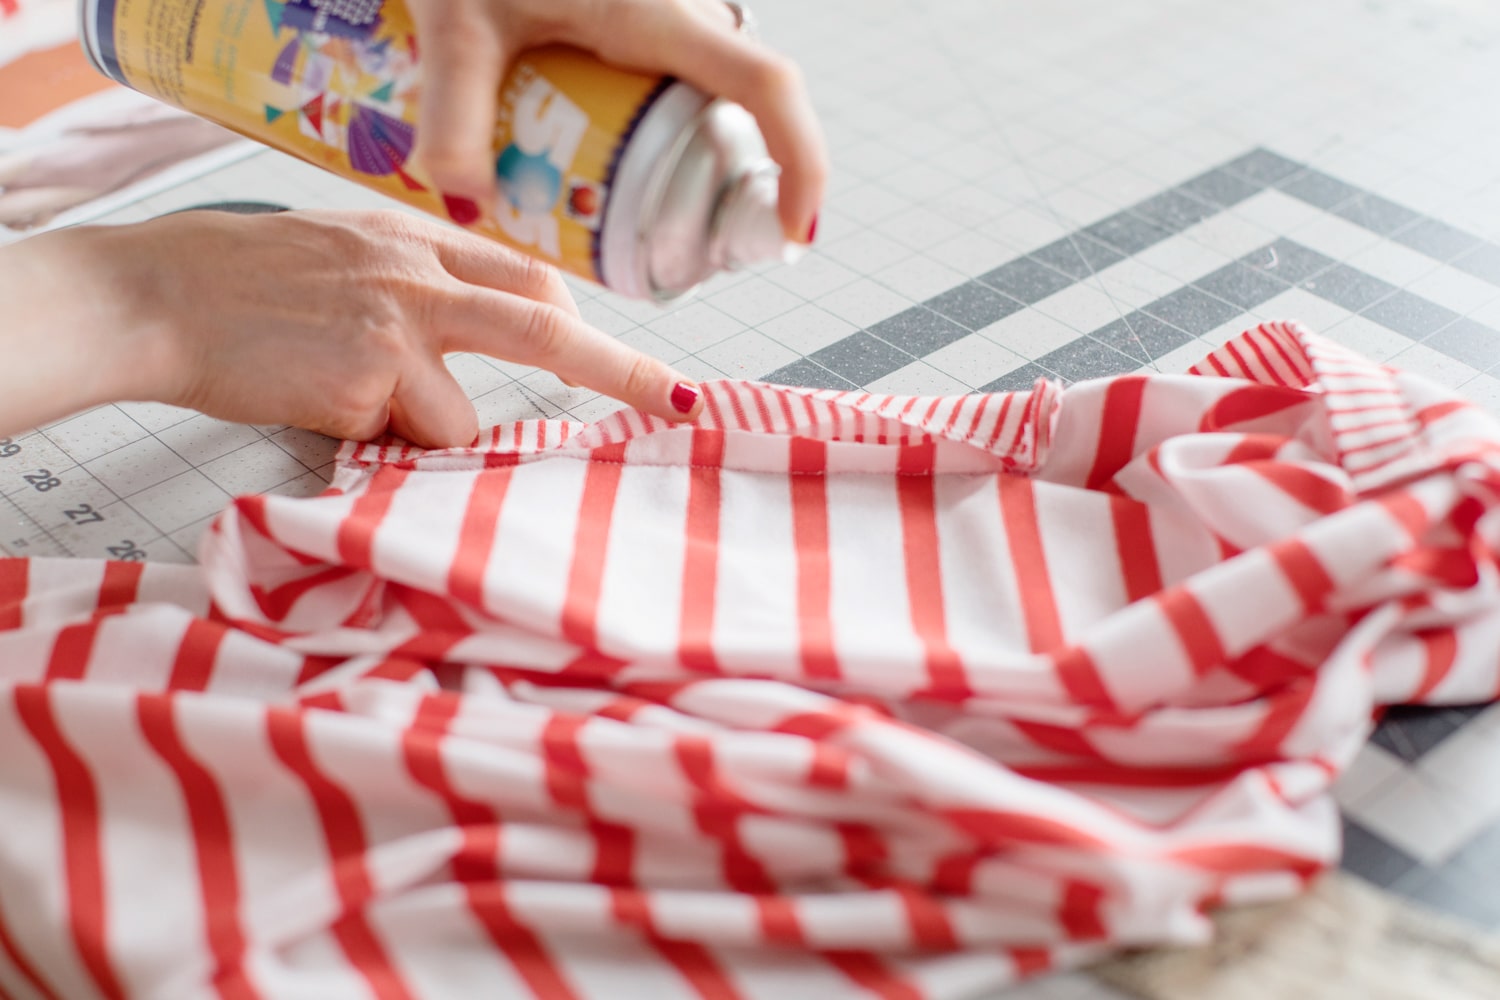
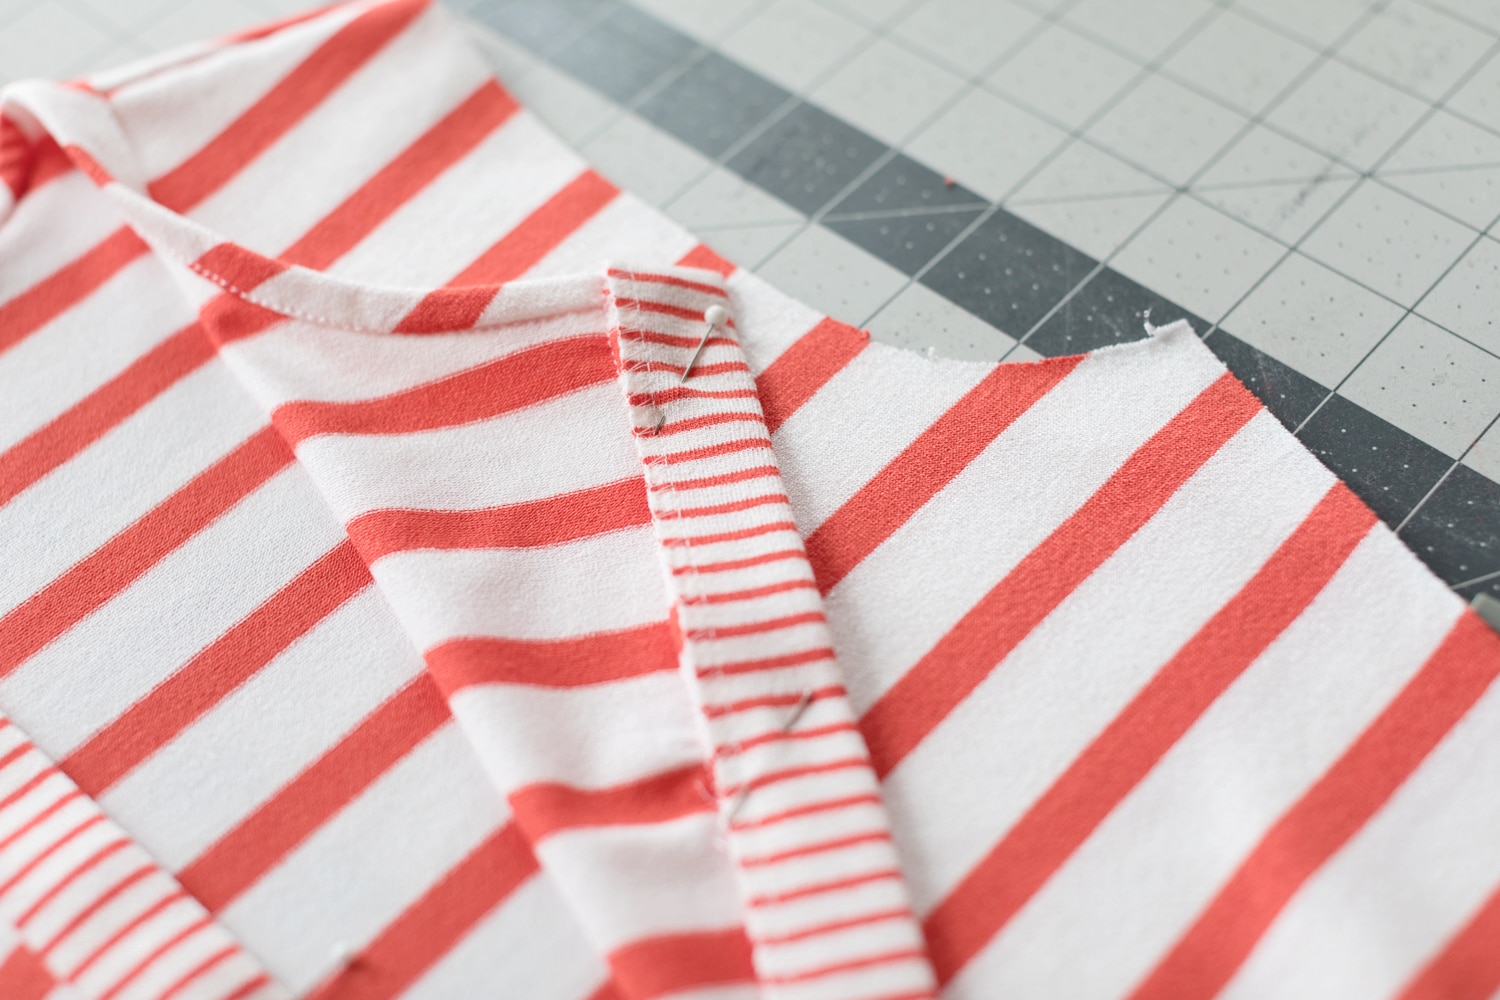
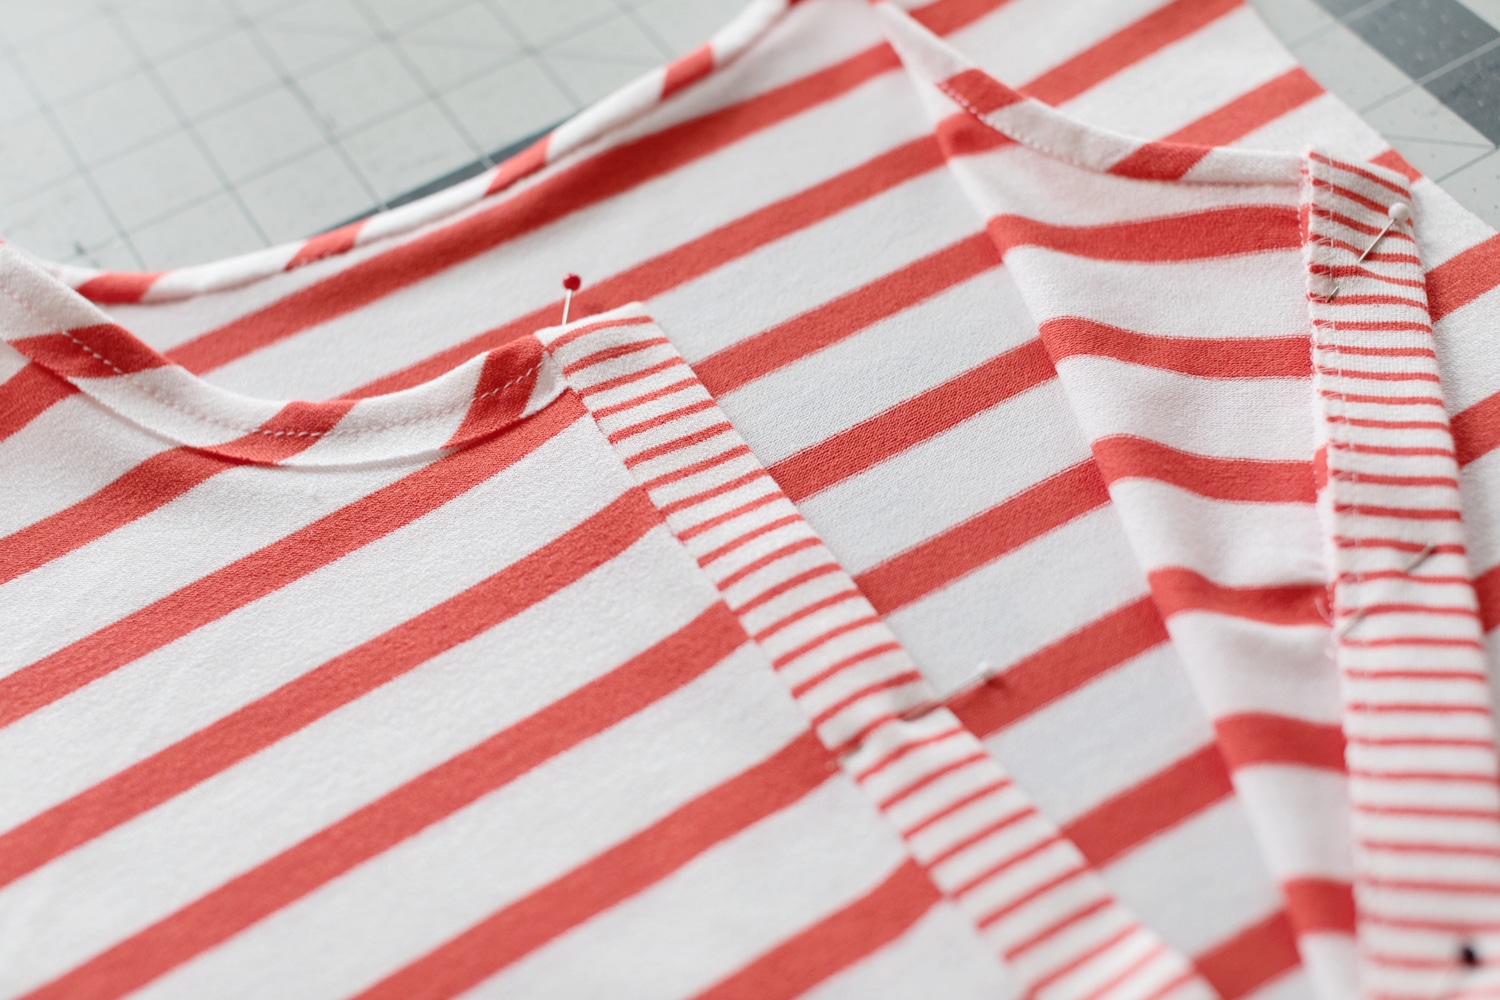
- At the bottom, fold plackets back to reveal a small triangle. With small triangle facing up and wearer’s right placket on top of wearer’s left, sew across using a straight stitch. Stitching should only go through small triangle and plackets (not bodysuit).
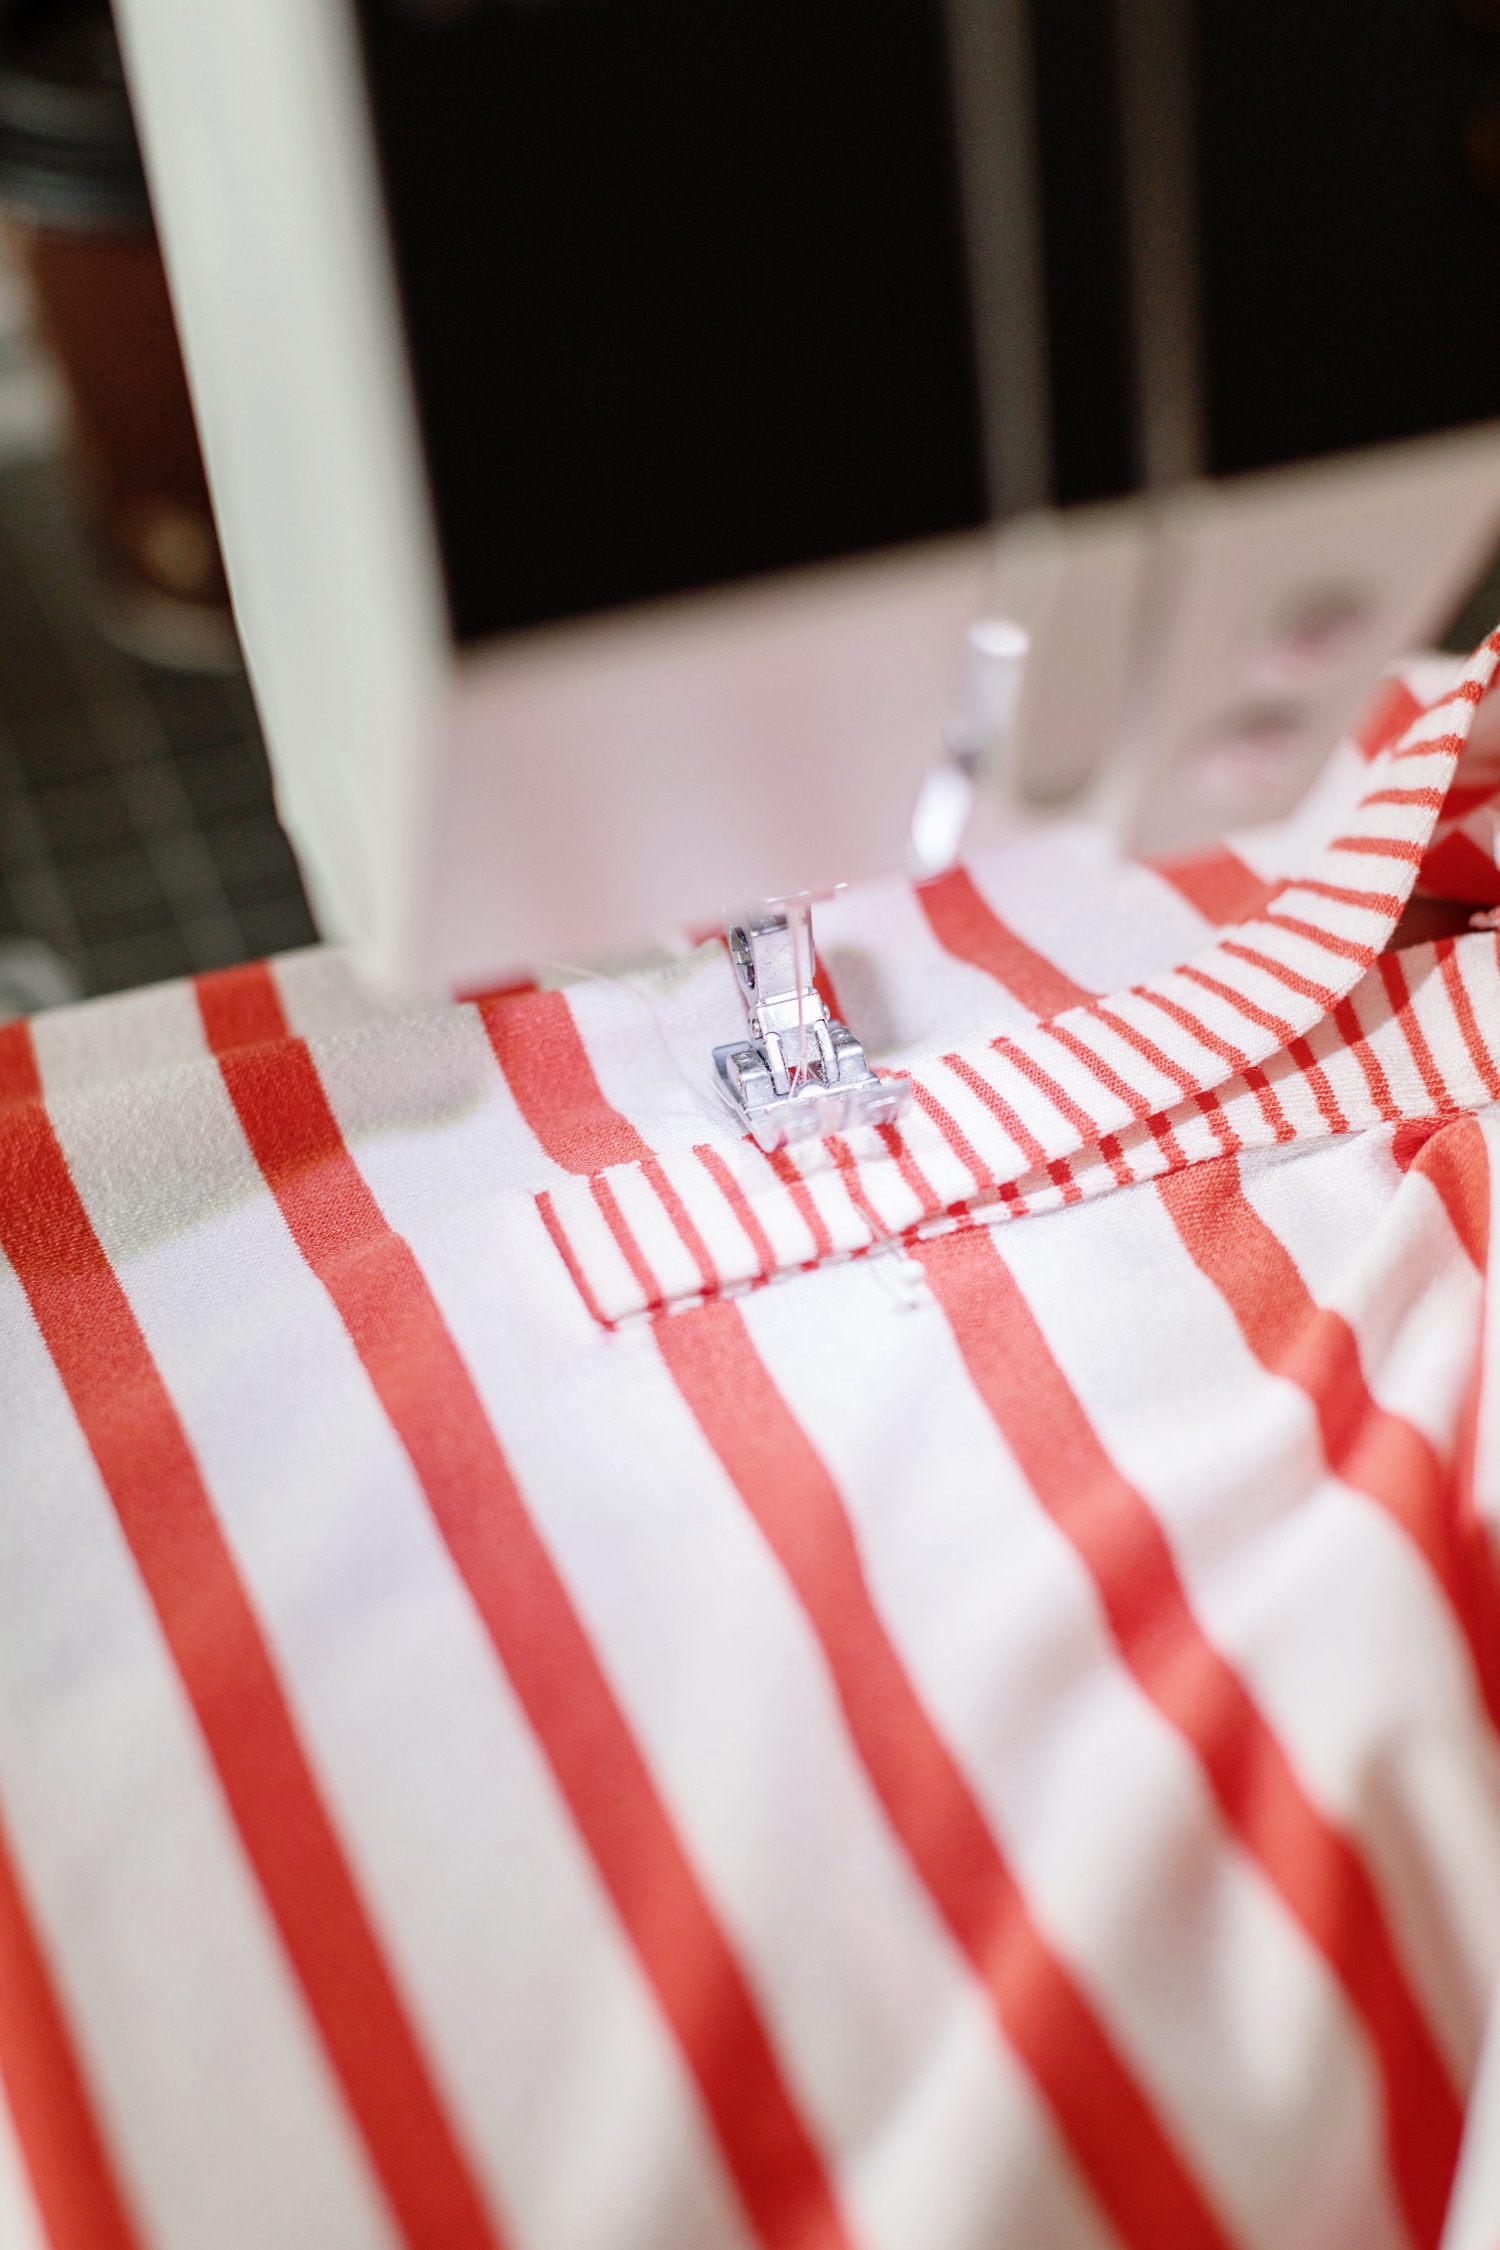
- Edgestitch inner edge of plackets from neckline to as close to bottom as you can get. For seams that are bulky at the beginning, like the top of this placket, it’s hard to start sewing. Since this stitching will be visible on the exterior of the garment, you want to make sure it’s as neat as possibly. Top stitching will NEVER be 100%, but to get it as neat as possible, I start sewing wherever the bulkiness ends, which in this case is about 3/4-1″ below top edge all the way to the bottom. I don’t back stitch at the top (where I started sewing), but I DO back stitch at the end. Then I go back up to where I started stitching, and stitch from there to the beginning of the seam (top edge of placket). Overlapping the stitches does the same thing as back stitching (locks the seam in place). Just be sure to overlap as precisely as possible so it does lock the stitches.
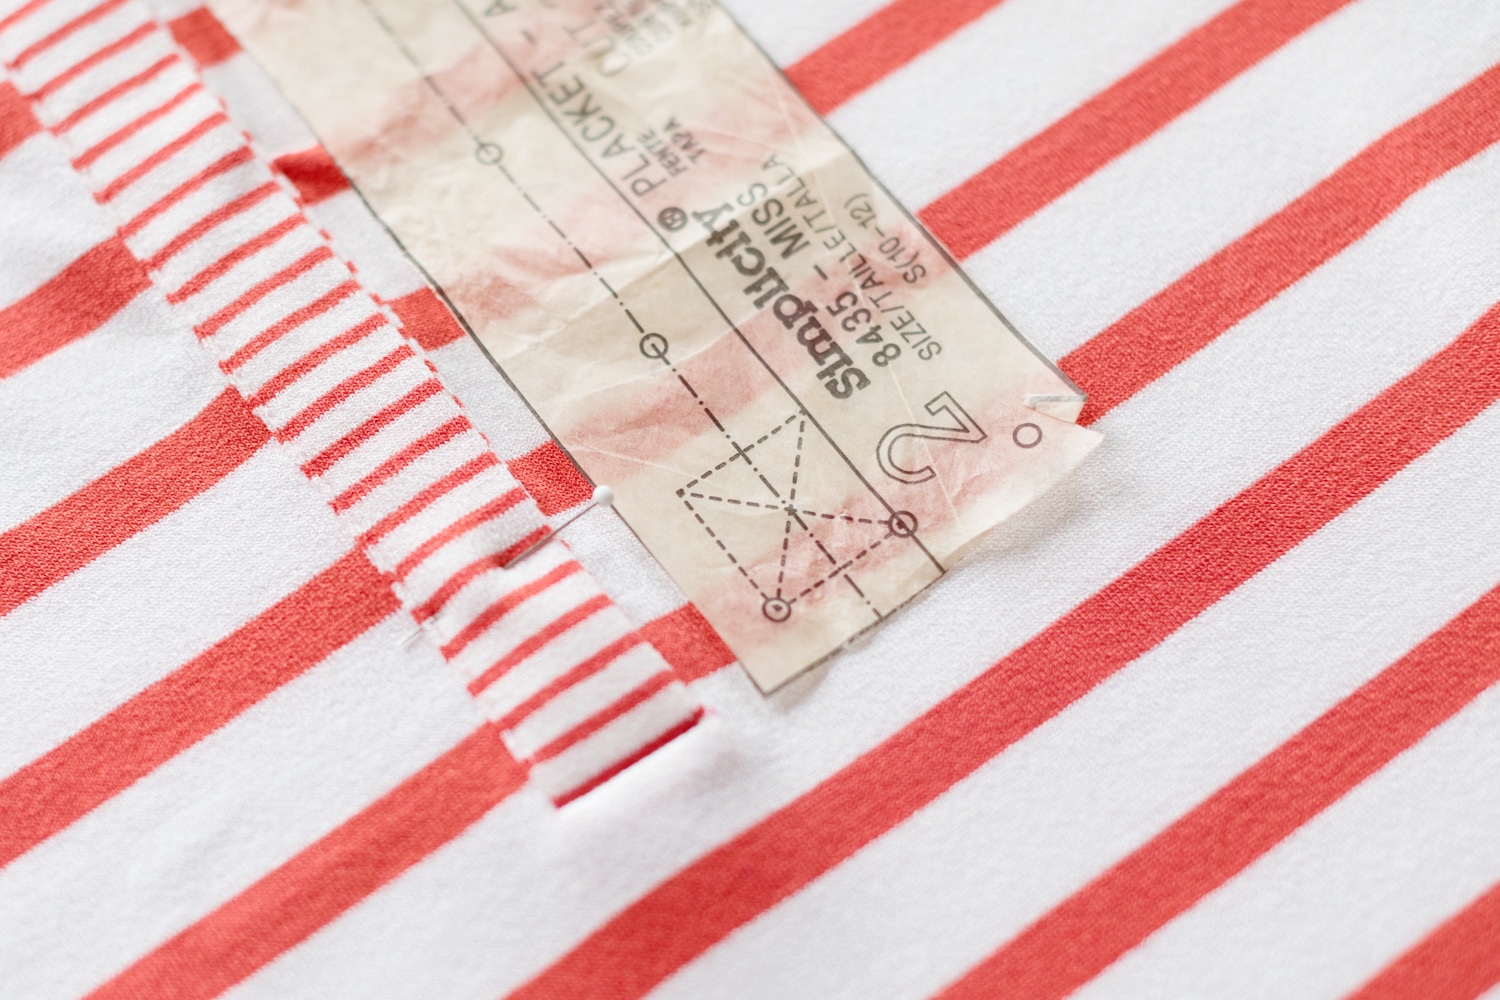
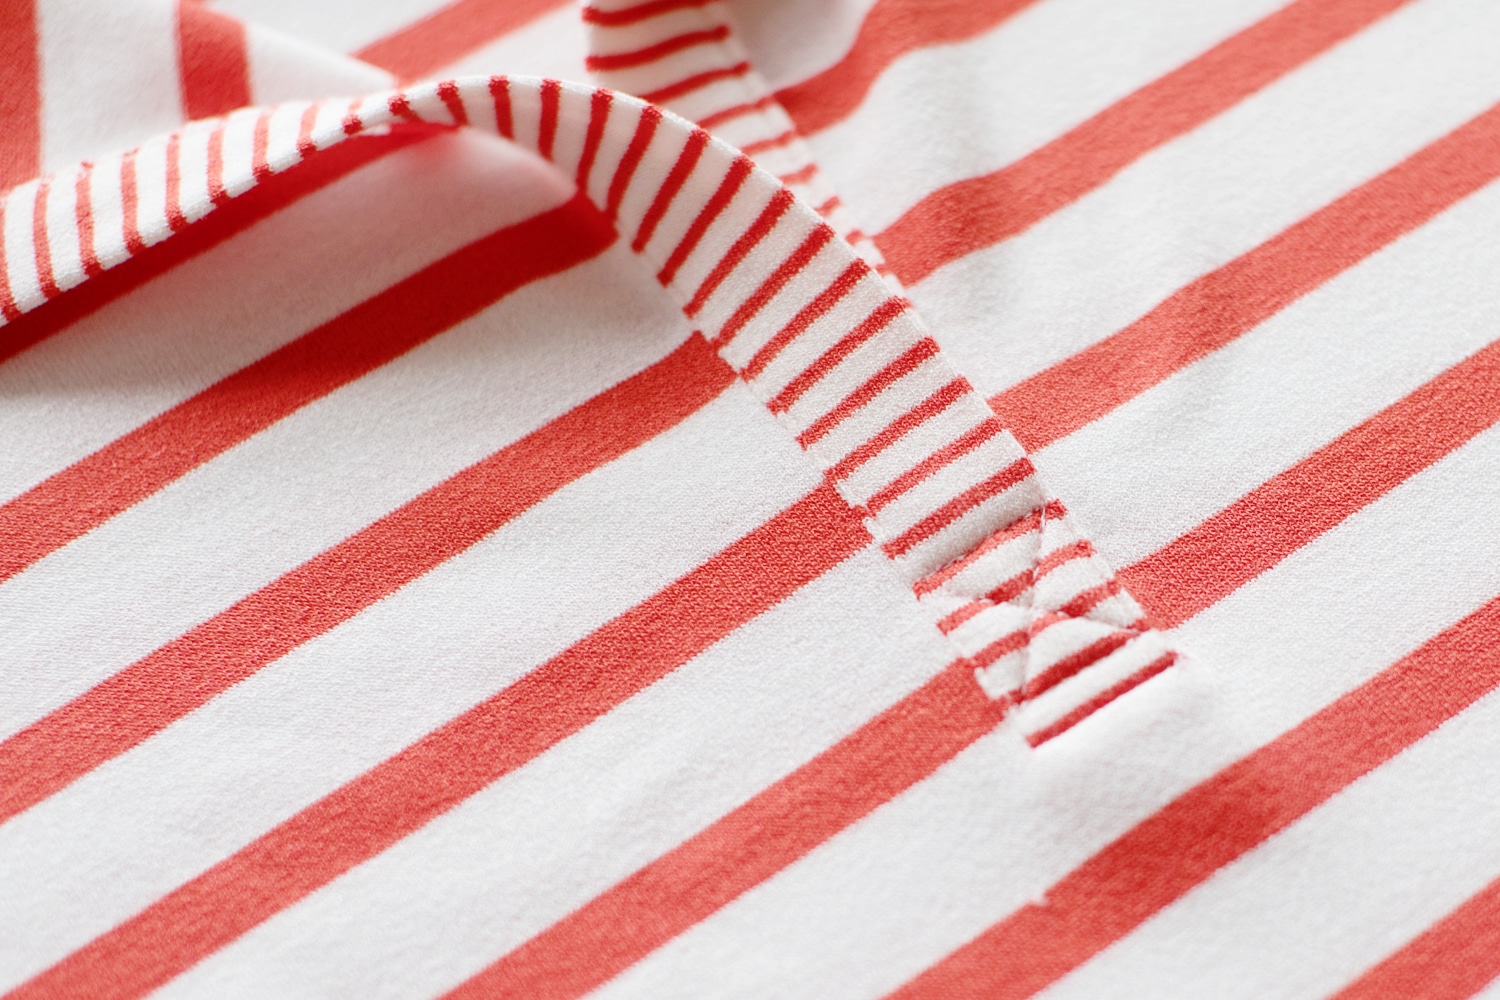
- Use pattern piece to pin mark where the box is sewn. Using a straight stitch and starting from inner edge of wearer’s right placket, sew across, down, and then across again. See photo for reference of where to start stitching. Then sew the ‘X’ in the middle.
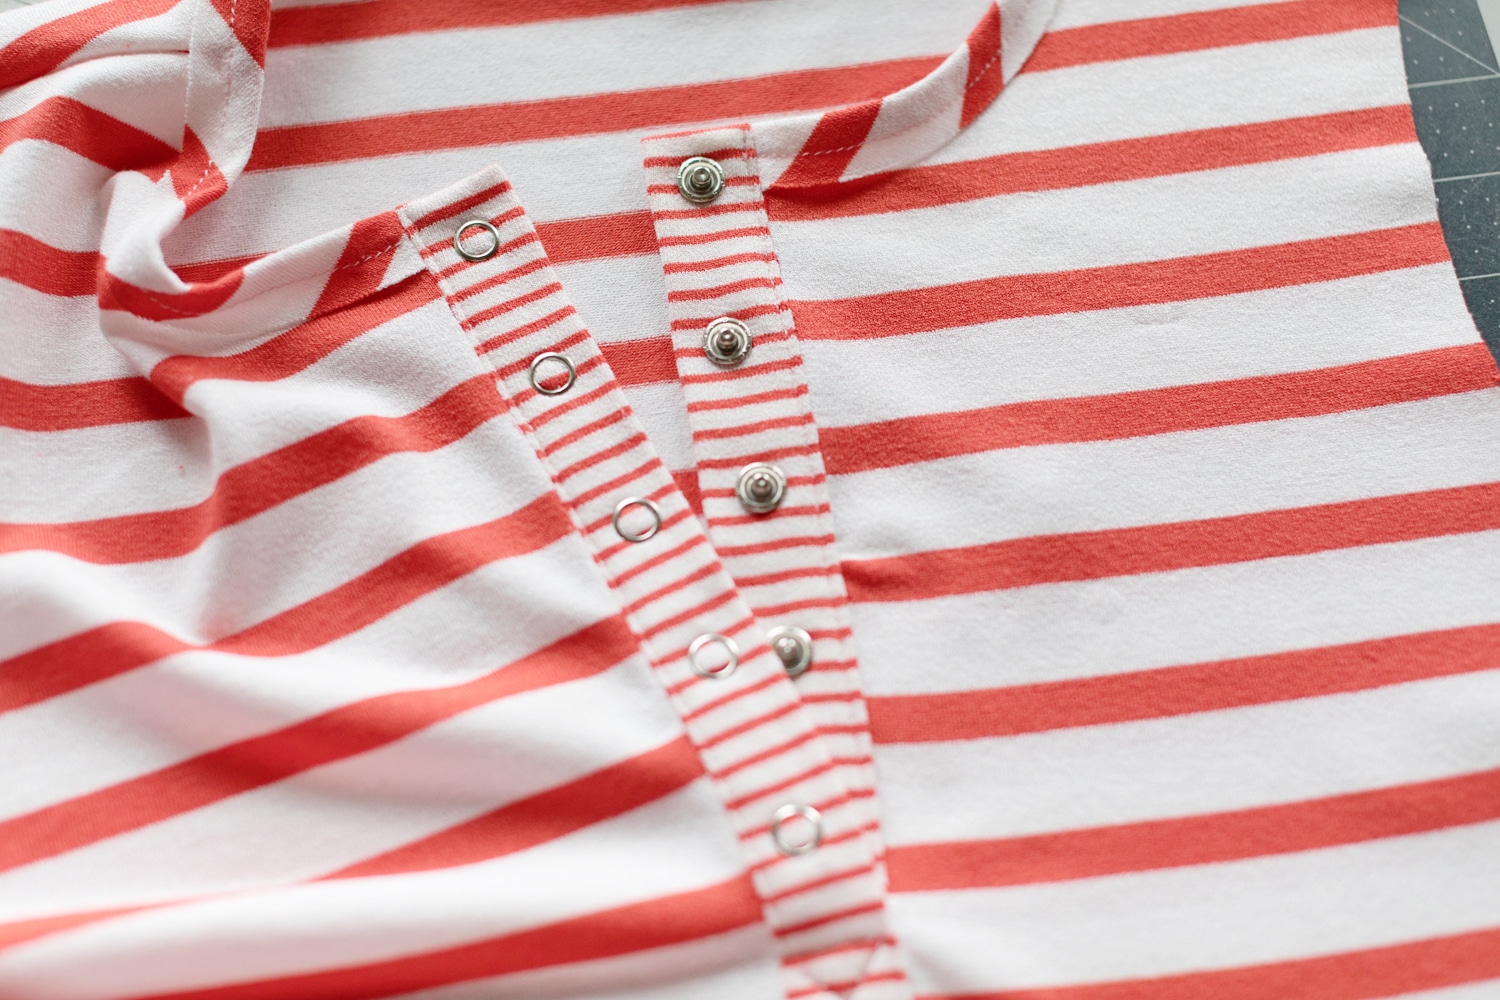
- Add snaps using the directions on the snap attacher. I have found that it is easier to attach the female snaps with the attacher (just using a hammer), but for the male snaps, you’ll definitely need the attacher tool.
- Continue sewing bodysuit per pattern directions
