Midsummer Lingerie Dream Sewing Guide

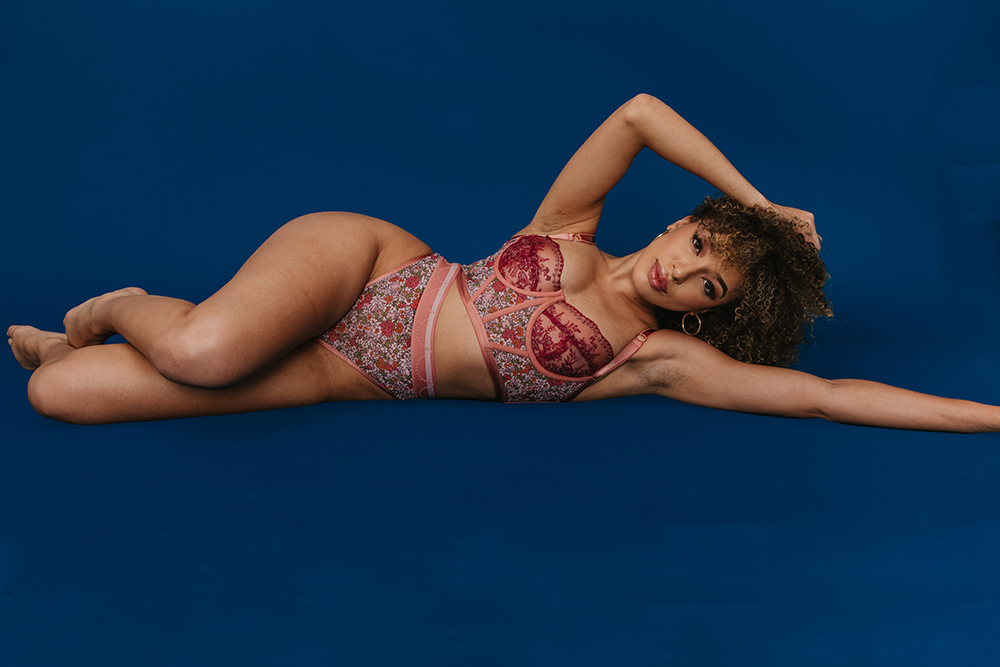
Madalynne’s July collection is here, and it is an exciting assortment of DIY kits, custom fabrics, and a brand new pattern – Penelope Teddy, Bodysuit + Panty. I’m so proud of the relationships we are building with fabric mills and being able to work with them to develop unique fabrics that will make your me-made lingerie look 1000x more luxe than store bought.
This blog post is meant to be a guide to sewing DIY kits from the collection. Many times, when you make your Madalynne DIY kit, the product listing has been removed because it sold out, or it has been a long time. If the DIY kit is a variation of the original pattern, you may not remember what the variation was or how to do it. Don’t panic. This blog post will briefly outline how each kit is made and any variations. If you still have questions after reading this blog post, don’t hesitate to email hello@madalynne.com. I will do my best to help you understand how each kit was intended to be made.
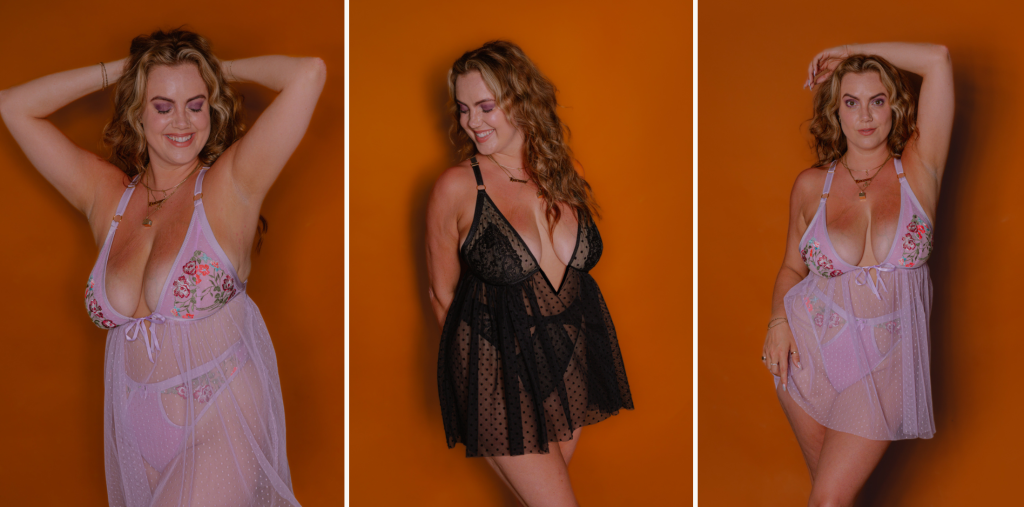
The star of this collection – Penelope! Confession: this pattern was named after Penelope from Bridgerton. I became quite obsessed with the release of season 3, and it inspired the release of Madalynne’s Bridgerton Collection in May. With red hair just like myself, Penelope is smart, attentive, witty, and generally kind. These are just my opinions of her – I know others think of her differently.
I digress! Let’s get back to the DIY kit. There is no variation and everything received in the kit is meant to be sewn according to the pattern instructions. Stay tuned to Madalynne’s YouTube channel for the sew along, which is coming soon!
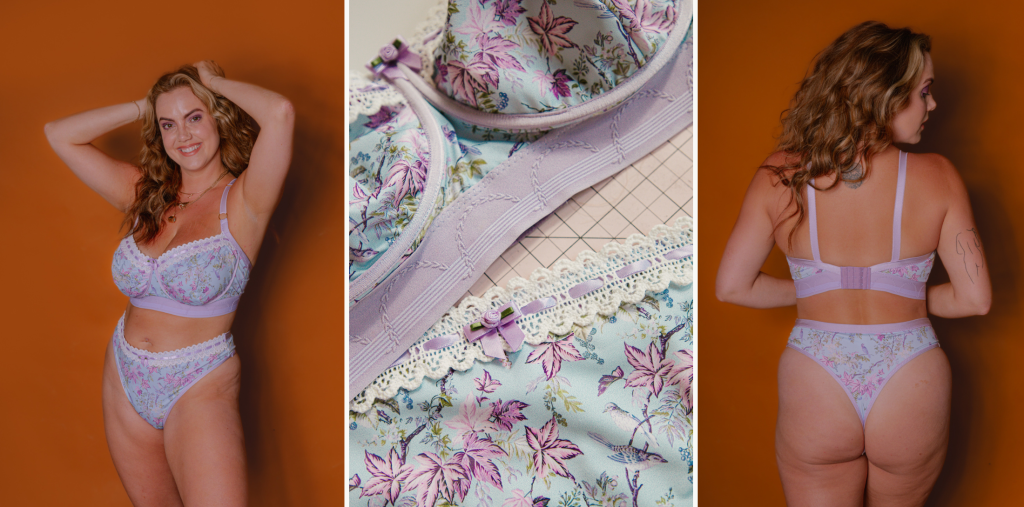
Rey Underwire Bra: This is a variation of the Rey underwire bra from Madalynne’s book, Sew Lingerie, that has a cotton lace trim at the top edge of the bra cups and exposed underwire bra channeling using fold over elastic.
Top Bra Cup: One layer of printed lycra and one layer of bra cup lining.
Lower Bra Cups: One layer of printed lycra and one layer of bra cup lining.
Frame: One layer of printed lycra and one layer of bra cup lining.
Back Band: One layer of printed lycra and one layer of stretch mesh.
Click here to watch how the bra cups are assembled with the cotton lace trim.
Click here for a picture of the bra cut out prior to sewing.
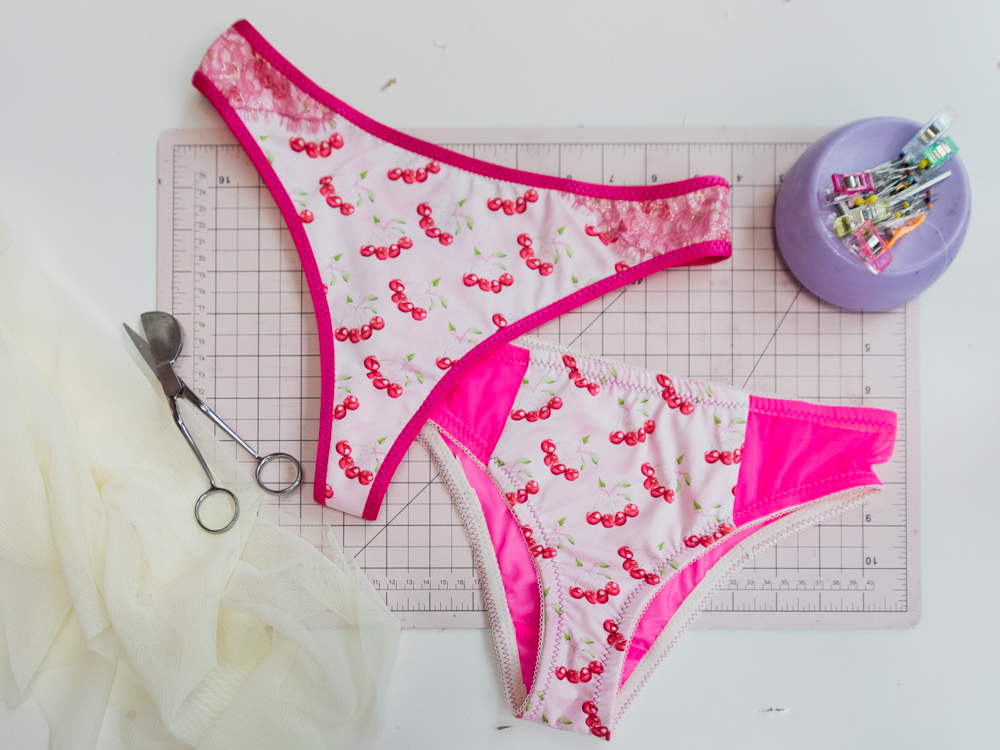
Millie Panty: You could use several Madalynne patterns for the matching thong. The panty in the photos is the Millie, but the Tonika, Buffy or Odessa could be used.
Front Panty: One layer of the printed lycra and one layer of stretch mesh. Use the same method as the bra to attach the cotton lace trim to the front waistline of the panty. Before sewing the front panty to the back panty, finish the top edge of the back panty with fold over elastic.
Back Panty: One layer of stretch mesh.
Click here for a picture of the panty cut out prior to sewing.
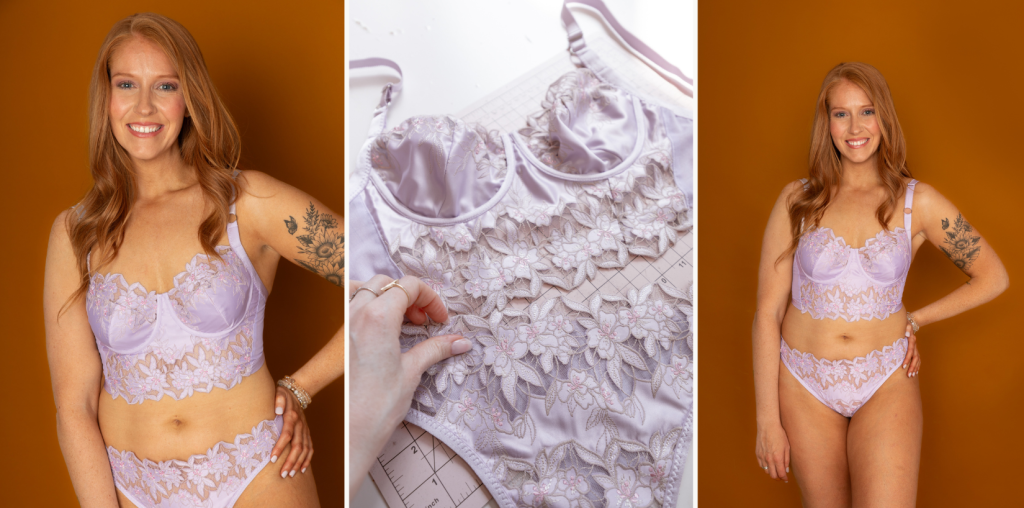
Rey Underwire Bra: This is a variation of the Rey underwire bra from Madalynne’s book, Sew Lingerie, that has a longline frame and exposed underwire bra channeling using fold over elastic.
Top Bra Cup: One layer of satin embroidered tulle lace.
Lower Bra Cups: One layer of bra cup lining and one layer of satin embroidered tulle lace.
Frame: One layer of satin embroidered tulle lace. Since the lace has a tulle backing, we did not line it. We also extended the frame downwards to make it a longline, using the frame pieces of the Godiva bodysuit – another pattern in Sew Lingerie – as a reference.
Back Band: One layer of mesh. Since the frame was lengthened to be a longline, we increase the length of the side seam on the back band to match the side seam on the frame. Before sewing the back band to the frame, finish the bottom edge of the back band with fold over elastic.
Click here for a picture of the bra cut out prior to sewing.
Millie Panty: You could use several Madalynne patterns for the matching thong. The panty in the photos is the Millie, but the Tonika, Buffy or Odessa could be used.
Front Panty: One layer of satin embroidered tulle lace. Since the lace has a tulle backing, we did not line it. We also pieced together 2 piece of lace using this tutorial.
Back Panty: One layer of stretch mesh. Before sewing the front panty to the back panty, finish the top edge of the back panty with fold over elastic.
Click here for a picture of the panty cut out prior to sewing.
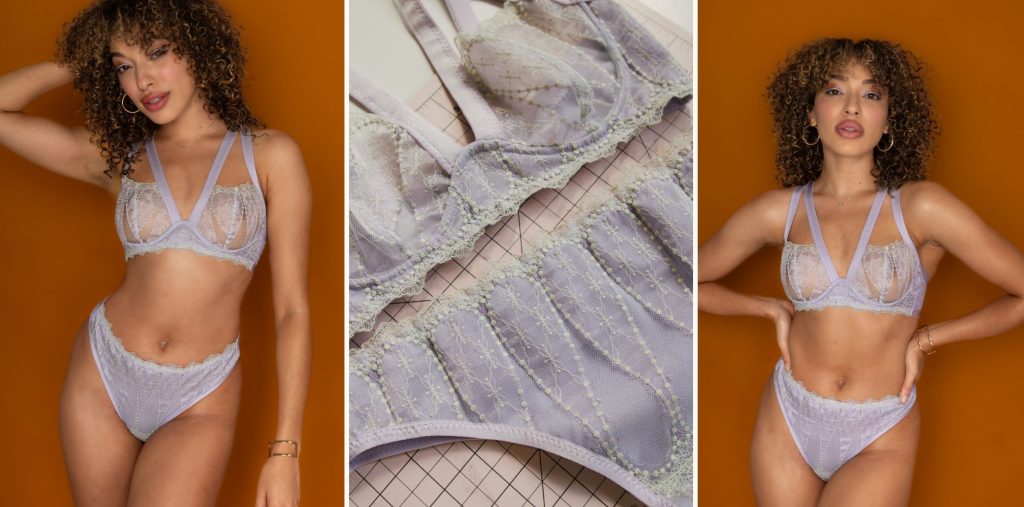
Galina Monowire Bra: This is a variation of the Galina monowire bra with unlined bra cups, scallop lace on the top edge of the bra cups, and scallop lace on the bottom edge of the frame. This is meant to be a sheer and sexy Galina, so a lot of the pieces are unlined.
Bra Cups: One layer embroidered tulle lace. So cups are unlined. The top edge of the bra cups are not finished with fold over elastic.
Frame: One layer of embroidered tulle lace and one layer of stretch mesh.
Back Band: One layer of stretch mesh. Before sewing the back band to the frame, finish the bottom edge of the back band with fold over elastic.
*Underwire channeling was sewn on the inside of the bra. It is not exposed as per the instructions.
*Off white stretch mesh was the lining that was included in the DIY kit, not lavender.
Millie Panty: You could use several Madalynne patterns for the matching thong. The panty in the photos is the Millie, but the Tonika, Buffy or Odessa could be used. Please note that depending on the size you’re making, there may not be enough lace or mesh lining to make the Galina or other panty that require more fabric.
Front Panty: One layer of embroidered tulle lace and one layer of stretch mesh.
Back Panty: One layer of stretch mesh. Before sewing the front panty to the back panty, finish the top edge of the back panty with fold over elastic.
*Off white mesh was the mesh lining that was included in this kit, not lavender. 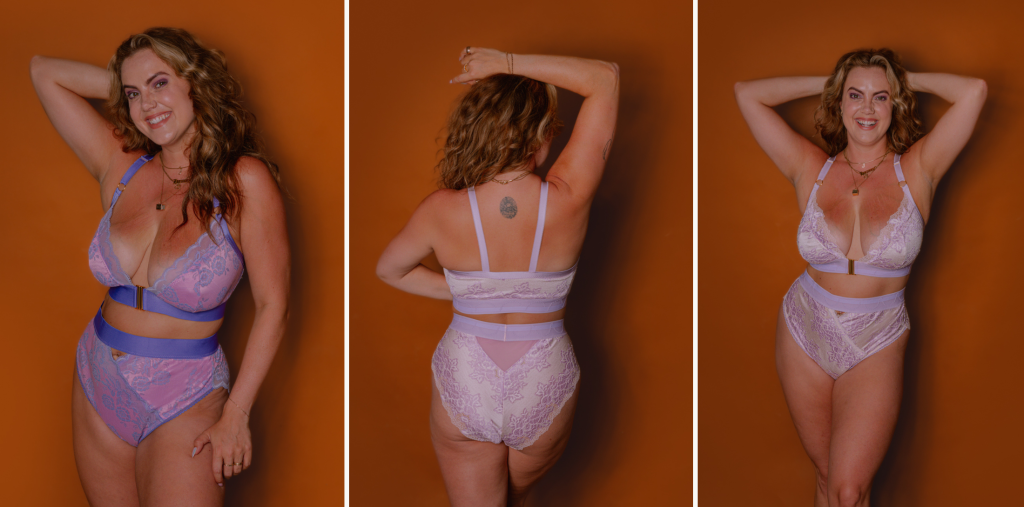
For the remainder of the styles in this collection, the changes to the original pattern are minor. So instead of listing what/how fabrics were cut and sewn for each pattern piece, I will highlight the overall changes.
-The Margo bralette does not have a lace trim below the wide elastic band.
-The pattern calls for picot plush elastic at the armhole edge and top back band of the bralette, however, the DIY kits came with wide fold over elastic. Sew it just as you would any other fold over elastic.
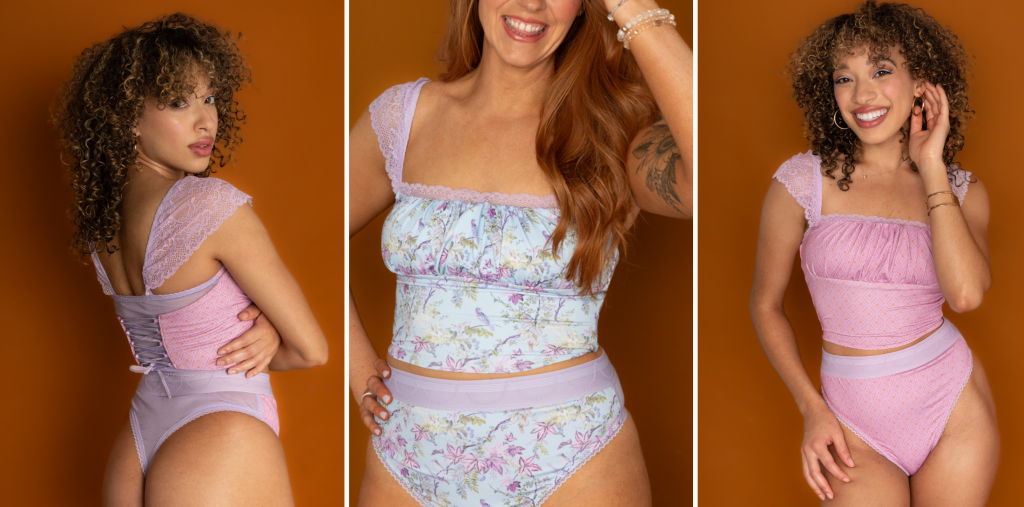
The only change to the Rosemary is that we swapped a gathered waistband for a decorative wide band elastic for the top edge of the panty. So the kits do not come with knitted elastic – they come with a wide band elastic.
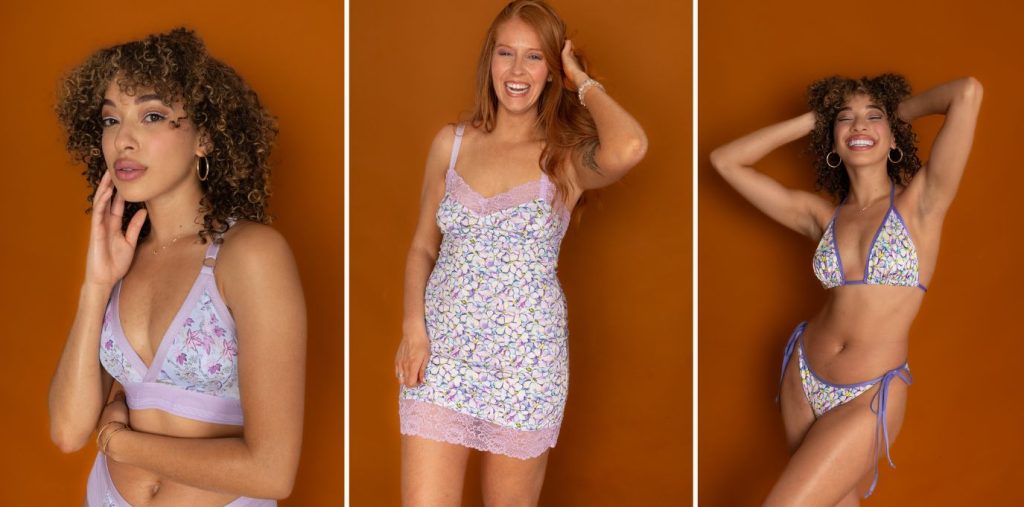
The Barrett bralette/Brooklynn panty, Madalynne X Simplicity S9729 slip and Karlie string bikini have no changes to the original sewing instructions. Yay!

No Comments
Sorry, the comment form is closed at this time.