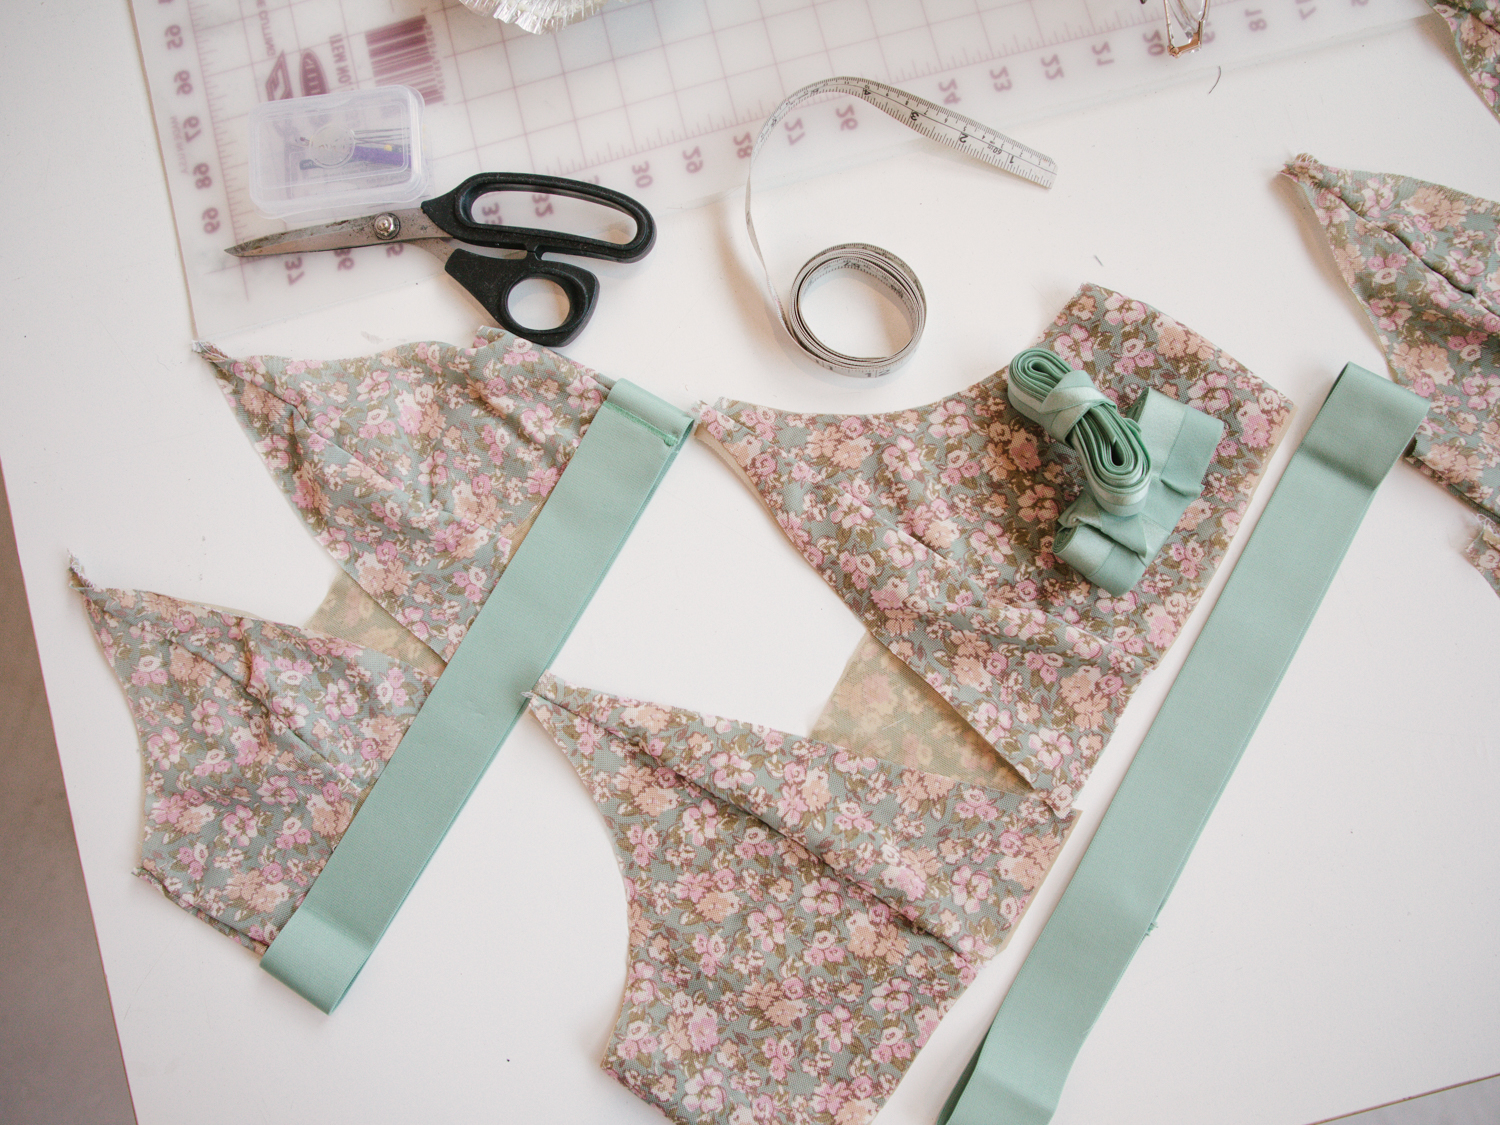
Released just over a month and a half ago, the Raquel is meant to be a stylish alternative to your everyday bralette. It is a new, fresh design that offers something different to the lingerie you’ve seen around these part for the past year. I’m referring mostly to the Barrett bralette, which has become tried and true staple in your and my lingerie wardrobe.
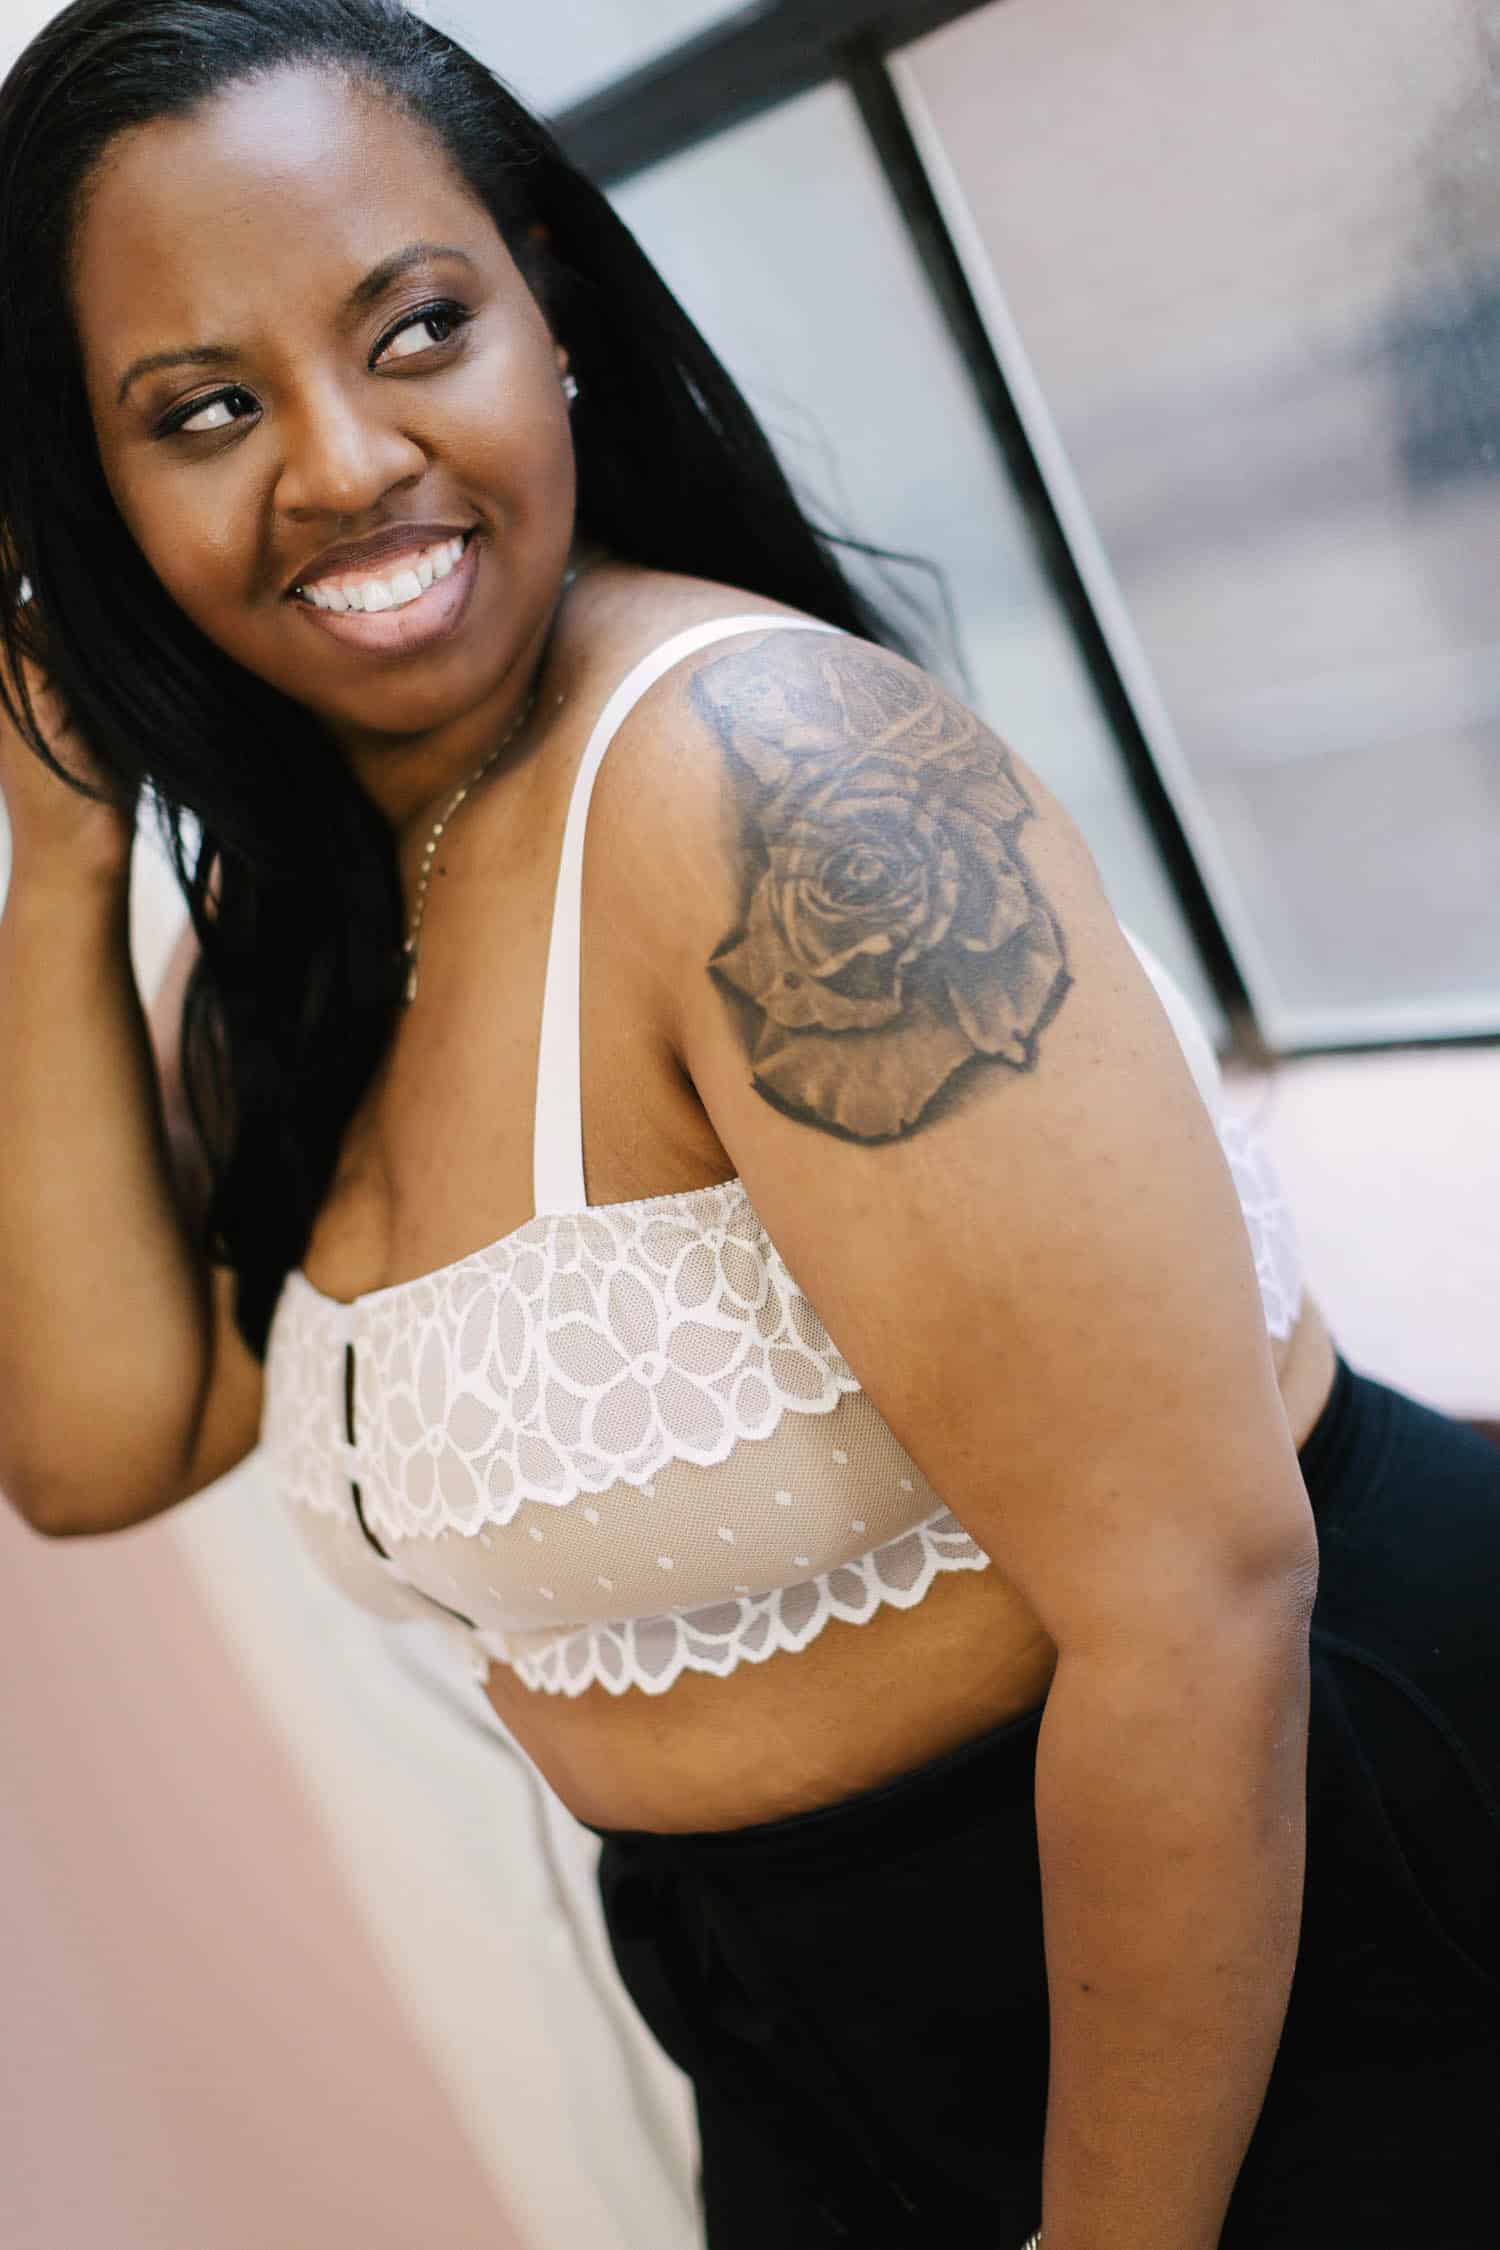
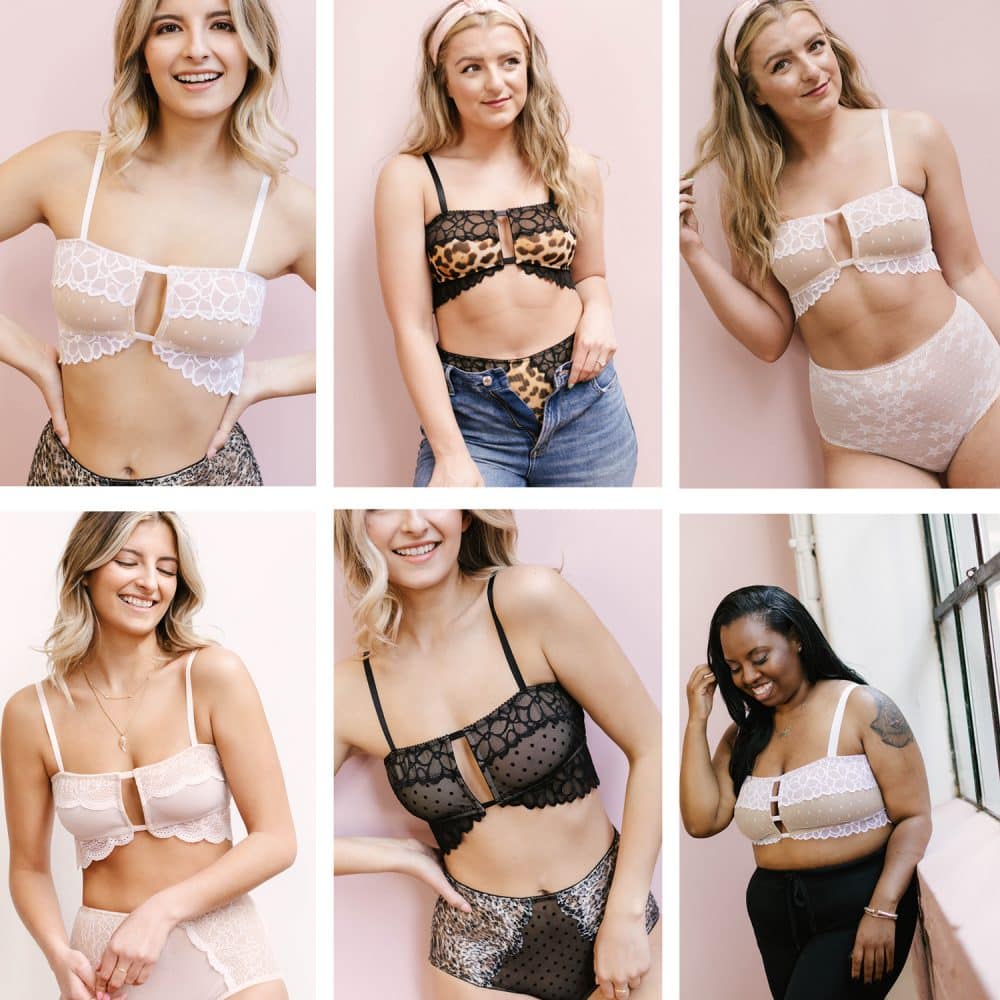
The Raquel is a bralette, or a soft bra, meaning that it does not have underwires. How do you get support, especially in larger and plus sizes? The key to providing both support and coverage across a wide range of sizes – in the case of Raquel, X-small to 3XL (full bust 28.5″- 45.5″) – without compromising design integrity is using the right fabrics and trims. The amount of stretch the fabric and lining have and the firmness of elastics play a big role. For the Raquel bralette DIY lingerie kits, there are two size groups to choose from – XS-L and XL, 2XL, 3XL. An XS-L kit comes with a lightweight stretch mesh for the lining and regular picot and strap elastics. An XL, 2XL, 3XL kit comes with a firm power net and wider picot and strap elastics. Sam on the left below is wearing a white Raquel that was made with an XS-L kit and Courtney on the right below is wearing the same style, but was made with an XL, 2XL, 3XL kit. Same bralette, just using different quality linings and elastics.
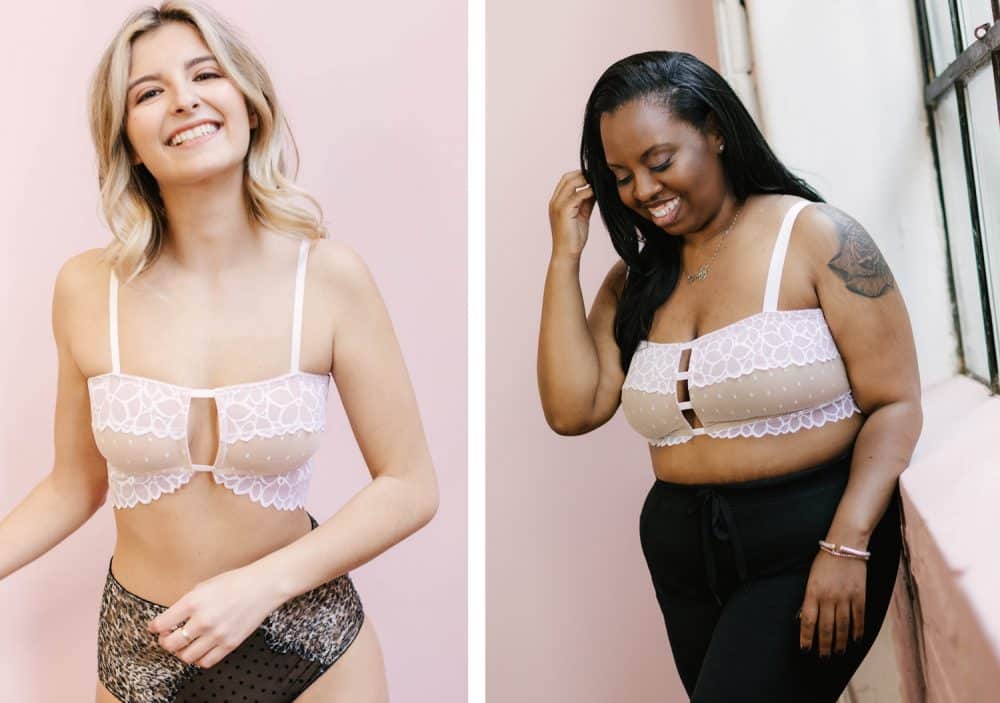
The Raquel bralette has 2 strap elastics at the top and bottom of the center front cutout. The DIY kits comes with plastic boning that is inserted inside plush channeling at the center front cutout, which prevents it from bowing out. An additional way to prevent this, especially in larger/plus size, is to add an additional strap elastic. You could add 1 (for a total of 3), or you could add many for a “cage” like effect. That’s the beauty of me-made! Courtney shows off a Raquel bralette in the photo above that has 4 strap elastics across the center front.
Jennie @annieandmyras Review
From the first photo I posted showing a sneak peek of the Raquel bralette, Jennie of @annieandmyras was eager to make it. She lives in Australia and I swear I could feel her excited all the way in Philly. When it finally came out, it took a matter of days to sew her own. She kept sharing photos on IG, and I asked if she would write a review on her experience with the pattern. So below, she shares her thoughts as well as tips and tricks for y’all. She has even just purchased a handful of kits so that she can teach the Raquel in Australia!
I have loved making Maddie’s patterns as the designs are so unique, yet super comfy, and still feminine. I had been eagerly anticipating making the Raquel bralette, almost “stalking” the Instagram page until it came out.
Madalynne Intimates DIY lingerie kits, apart from being elegantly presented, often allow for extra fabric, and so I was delighted to be able to make the Raquel with fabric remaining from a few other kits. If I lived in the US I would have a serious addiction to these kits, however the postal time from the Philadelphia to Australia is quite long.
Within my dressmaking and tailoring business, I make bespoke garments for clients and teach. I have only become obsessed with bra making over the past year and was hopeful to make a Raquel. I wondered however if it would work for a size 34DD.
AI have a bust size 94cm, and band size 77cm, so I cut a size large first. I also used power net lining rather than mesh for additional support
I did have a bit of trouble when starting. I could not detemine which was the side/CF of the front pattern pieces. This was explained in the YouTube video though. The YouTube video is actually very detailed, especially with regards fabrics and supplies, and I regret only using the PDF instructions the first time round. Maddie is always so detailed in her instructions, but there were some things I picked up more on the YouTube which is extremely comprehensive.
The bralette that is lying on top in the photo above is the first one I made using the Raquel pattern. I used a combination of fabrics from some of the previous kits. It is SO, SO pretty., but unfortunately, as I had anticipated , it gaped at the center front as my breasts are now quite vintage in themselves. (Madalynne’s note – this is exactly what plastic boning that is included in the Raquel DIY lingerie kits prevents. Without it, the center front will gape).
With the second attempt, (the blue one, modeled by, and gifted to, a friend), I added an extra bridge of elastic at the center front. Whilst this made it “wearable” for me, I still felt somewhat un comfortable about the amount of cleavage “on view”, although it was really comfy.
My third iteration is pictured in the first photo – is lying below my first attempt. I changed the power net to Duoplex for lining the front portion of the bralette. I also added a wedge to the bottom cup (see photo’s of pattern with the red bralette below) to enlarge it at the bust point, and reduced the size of the back band to a medium in length (but retaining the width at the sides). I also used wider strap elastic for the center front cut out and the straps of the bra.
Again, I highly suggest watching the YouTube tutorial. I realized after watching it that I was sewing the first line of stitching on the channeling on the wrong side. I also found it was easier to attach the second line of stitch stitusing a zipper foot.
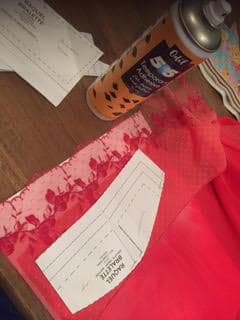
Tne Odifs spray seen in the photo above is also a useful tool that I learned about previously when making Madalynne’s Barett bralette.
The third attempt I could wear with minimal cleavage. I am going to try to change to eyelets and lacing for a front opening.
(Madalynne’s note – I love this idea!).
Overall, the Raquel is a beautiful bralette to make, and is very pretty and comfortable. The YouTube video are very detailed, and would have been very time intensive to make. I am also very embarrassed to admit that when watching the video it was also the first time I had realized that there is a “channel” in the channeling (Madalynne’s note – don’t be embarrased! I made that same mistake when I first started sewing lingerie!) . In the many times I have watched videos or read books on bra making this has never been made clear to me before, and I am so grateful to have watched this video.
More Raquel!
Click here to download the Raquel bralette, a *FREE* PDF pattern
Click here to shop the Raquel DIY lingerie kits
Click here to watch the Raquel sew along on YouTube

