Also, this is the first tutorial using PFAFF’s Coverlock 4.0, which is f-ing amazing. I’ll be attaching the cups to the band using a narrow cover stitch, which is a common method used in RTW. I haven’t officially announced my partnership with the PFAFF. That post is coming soon. Promise.
Okay, let’s hop to it!
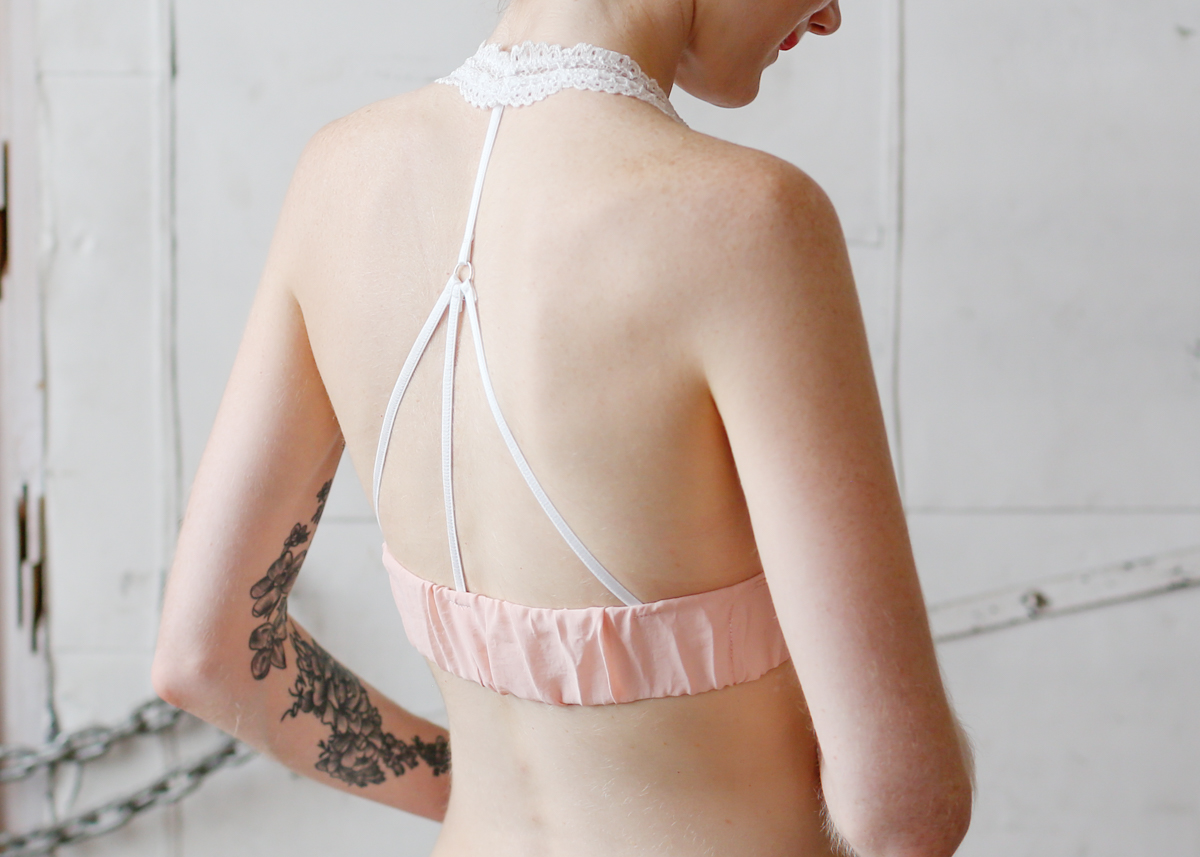
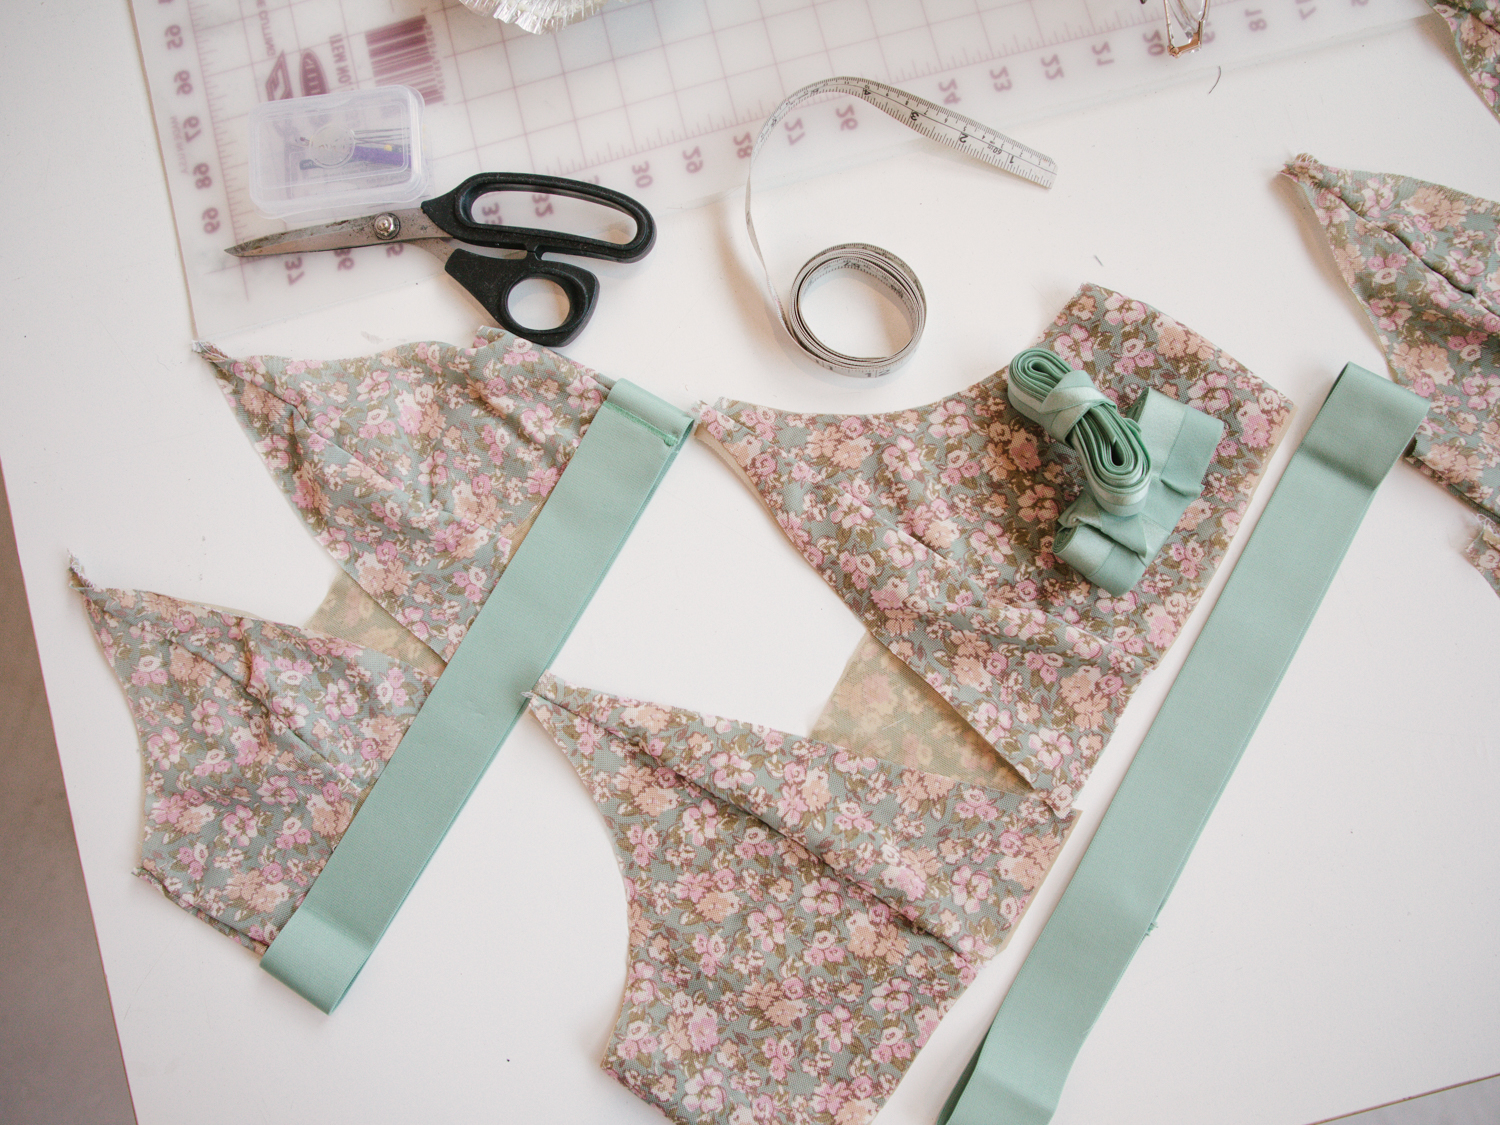
Step 1: First, let’s look at at the pattern pieces. For this tutorial, I cut out the cup side front and cup front, size 32B, and eliminated the bottom band. I replaced it with a 2″ wide tunnel elastic that is 23.5″ long (this includes 1/4″ seam allowance at each end). I got that number by wrapping the elastic around my ribcage and finding a good, snug fit. The elastic will be encased inside a shirred bottom band that measures 36″ x 4.75″ (this includes seam allowances and turn of cloth). The cups are stretch gallon lace from Bra Makers Supply and are lined with bra tulle from Tailor Made Shop. The fabric for the casing is a poly-something I bought at Jomar.


 Step 2: After cutting, I sewed the cups together using this method and applied narrow ⅛” elastic along the cups outer/inner edges. Then, I sewed the cups/halter together at the top neck. I didn’t finish the seam allowances – I’ll do that when I attach the straps.


 Step 3: Next, I sewed the casing for the bottom band. After, I pressed the seam allowances open and turned right side out. I then inserted the elastic inside the casing with the seam allowance centered in the middle of the elastic. To get even shirring – I pinned the elastic to the casing at both ends, and stretched and relaxed. Last, I lightly pressed the shirring down. Keyword is lightly – I barely touched the iron with the fabric.


 Step 4: Now it’s time to sew the cups to the band! I folded the band in half and marked with a pin. After, I pinned the right side of the cups to the wrong side of the band, overlapping about ¼” or ⅜”. With right side facing up, I sewed using a cover stitch. I’m still learning about cover stitching and had trouble getting straight top stitching. There is directional sewing going on too. Any tips on attaching a band like this would be greatly appreciated!

 Step 5: Then, I folded the casing out of the way and sew the ends of the elastic using a straight stitch. After, I folded under casing and slipstitch together.

 Step 6: Final steps are the straps! First, I sew a short length of 1/4″ strap elastic to the halter at neck. I pushed the seam allowances open and used a zigzag stitch and then trimmed the seam allowances to be flush with strap elastic. At this point, I tried on the bra to get the placement and length for the other 3 straps. To secure, I sewed a bartack.
The final step was to sew a straight stitch at the sides to prevent the elastic from twisting.
Don’t forget! If you make any of the Madalynne X Simplicity patterns, share on Instagram with the hashtags #bramakingwithmadalynne and #simplicitypatterns. I want to see what you make!
Did you miss the first 3 tutorials? See below.
Variation 1: how to clean finish the seams, add stability and remove the racerback.
Variation 2: how to add a ruffle bottom band and halter straps.
Variation 3: two alternative methods to finishing the edges of the cups.


