


Video Tutorial! Using Scallop Lace for the Barrett Bralette
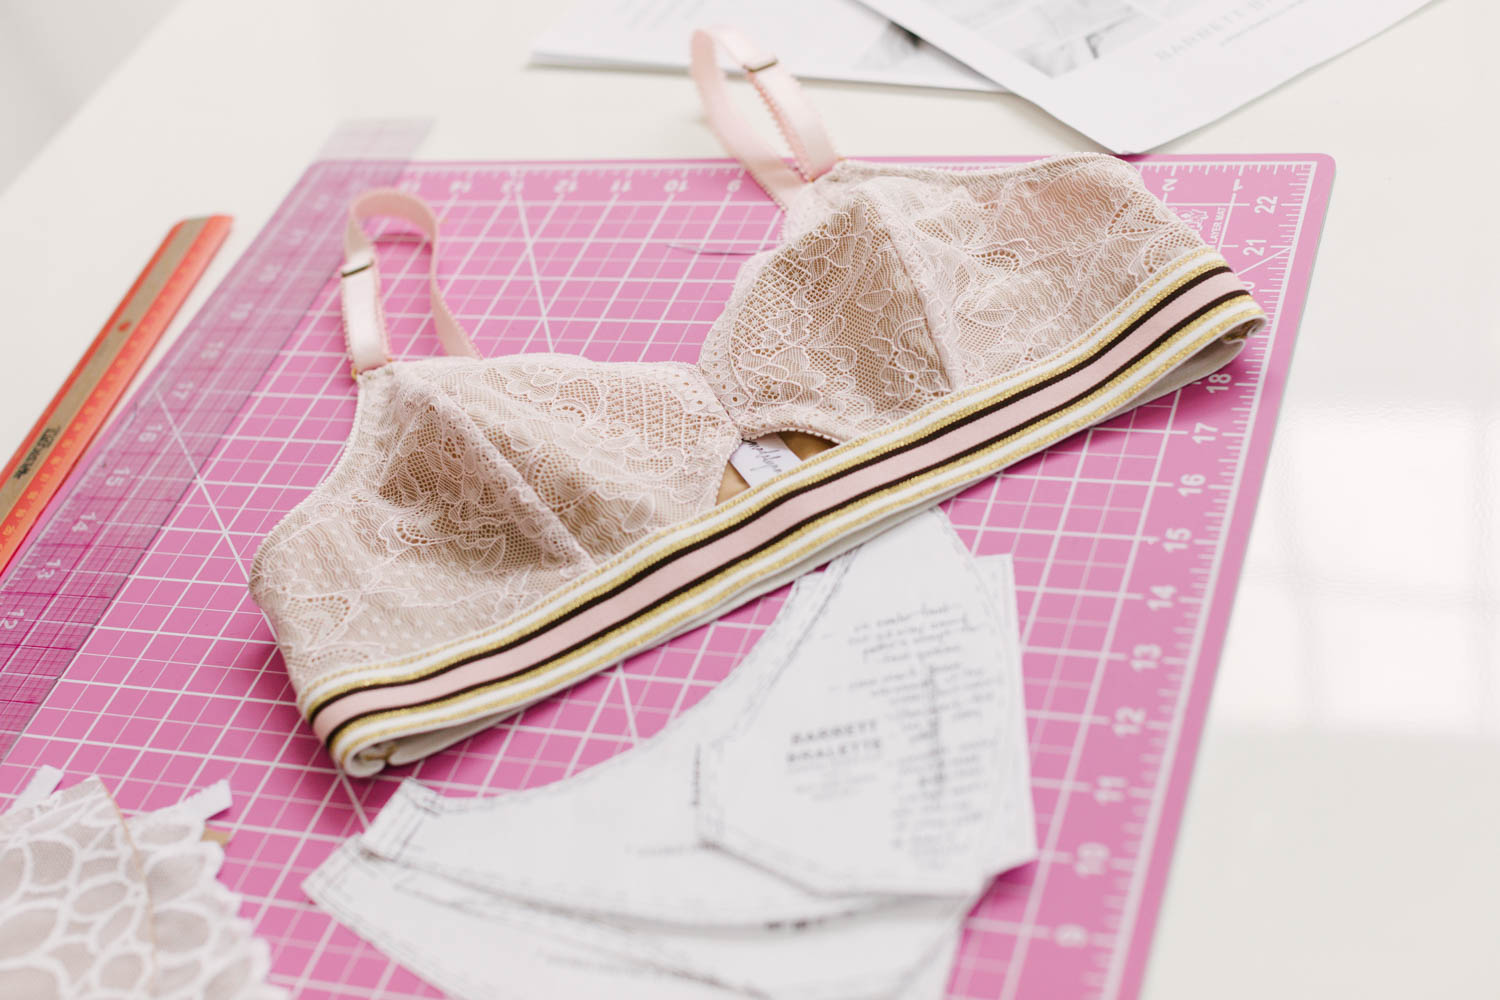
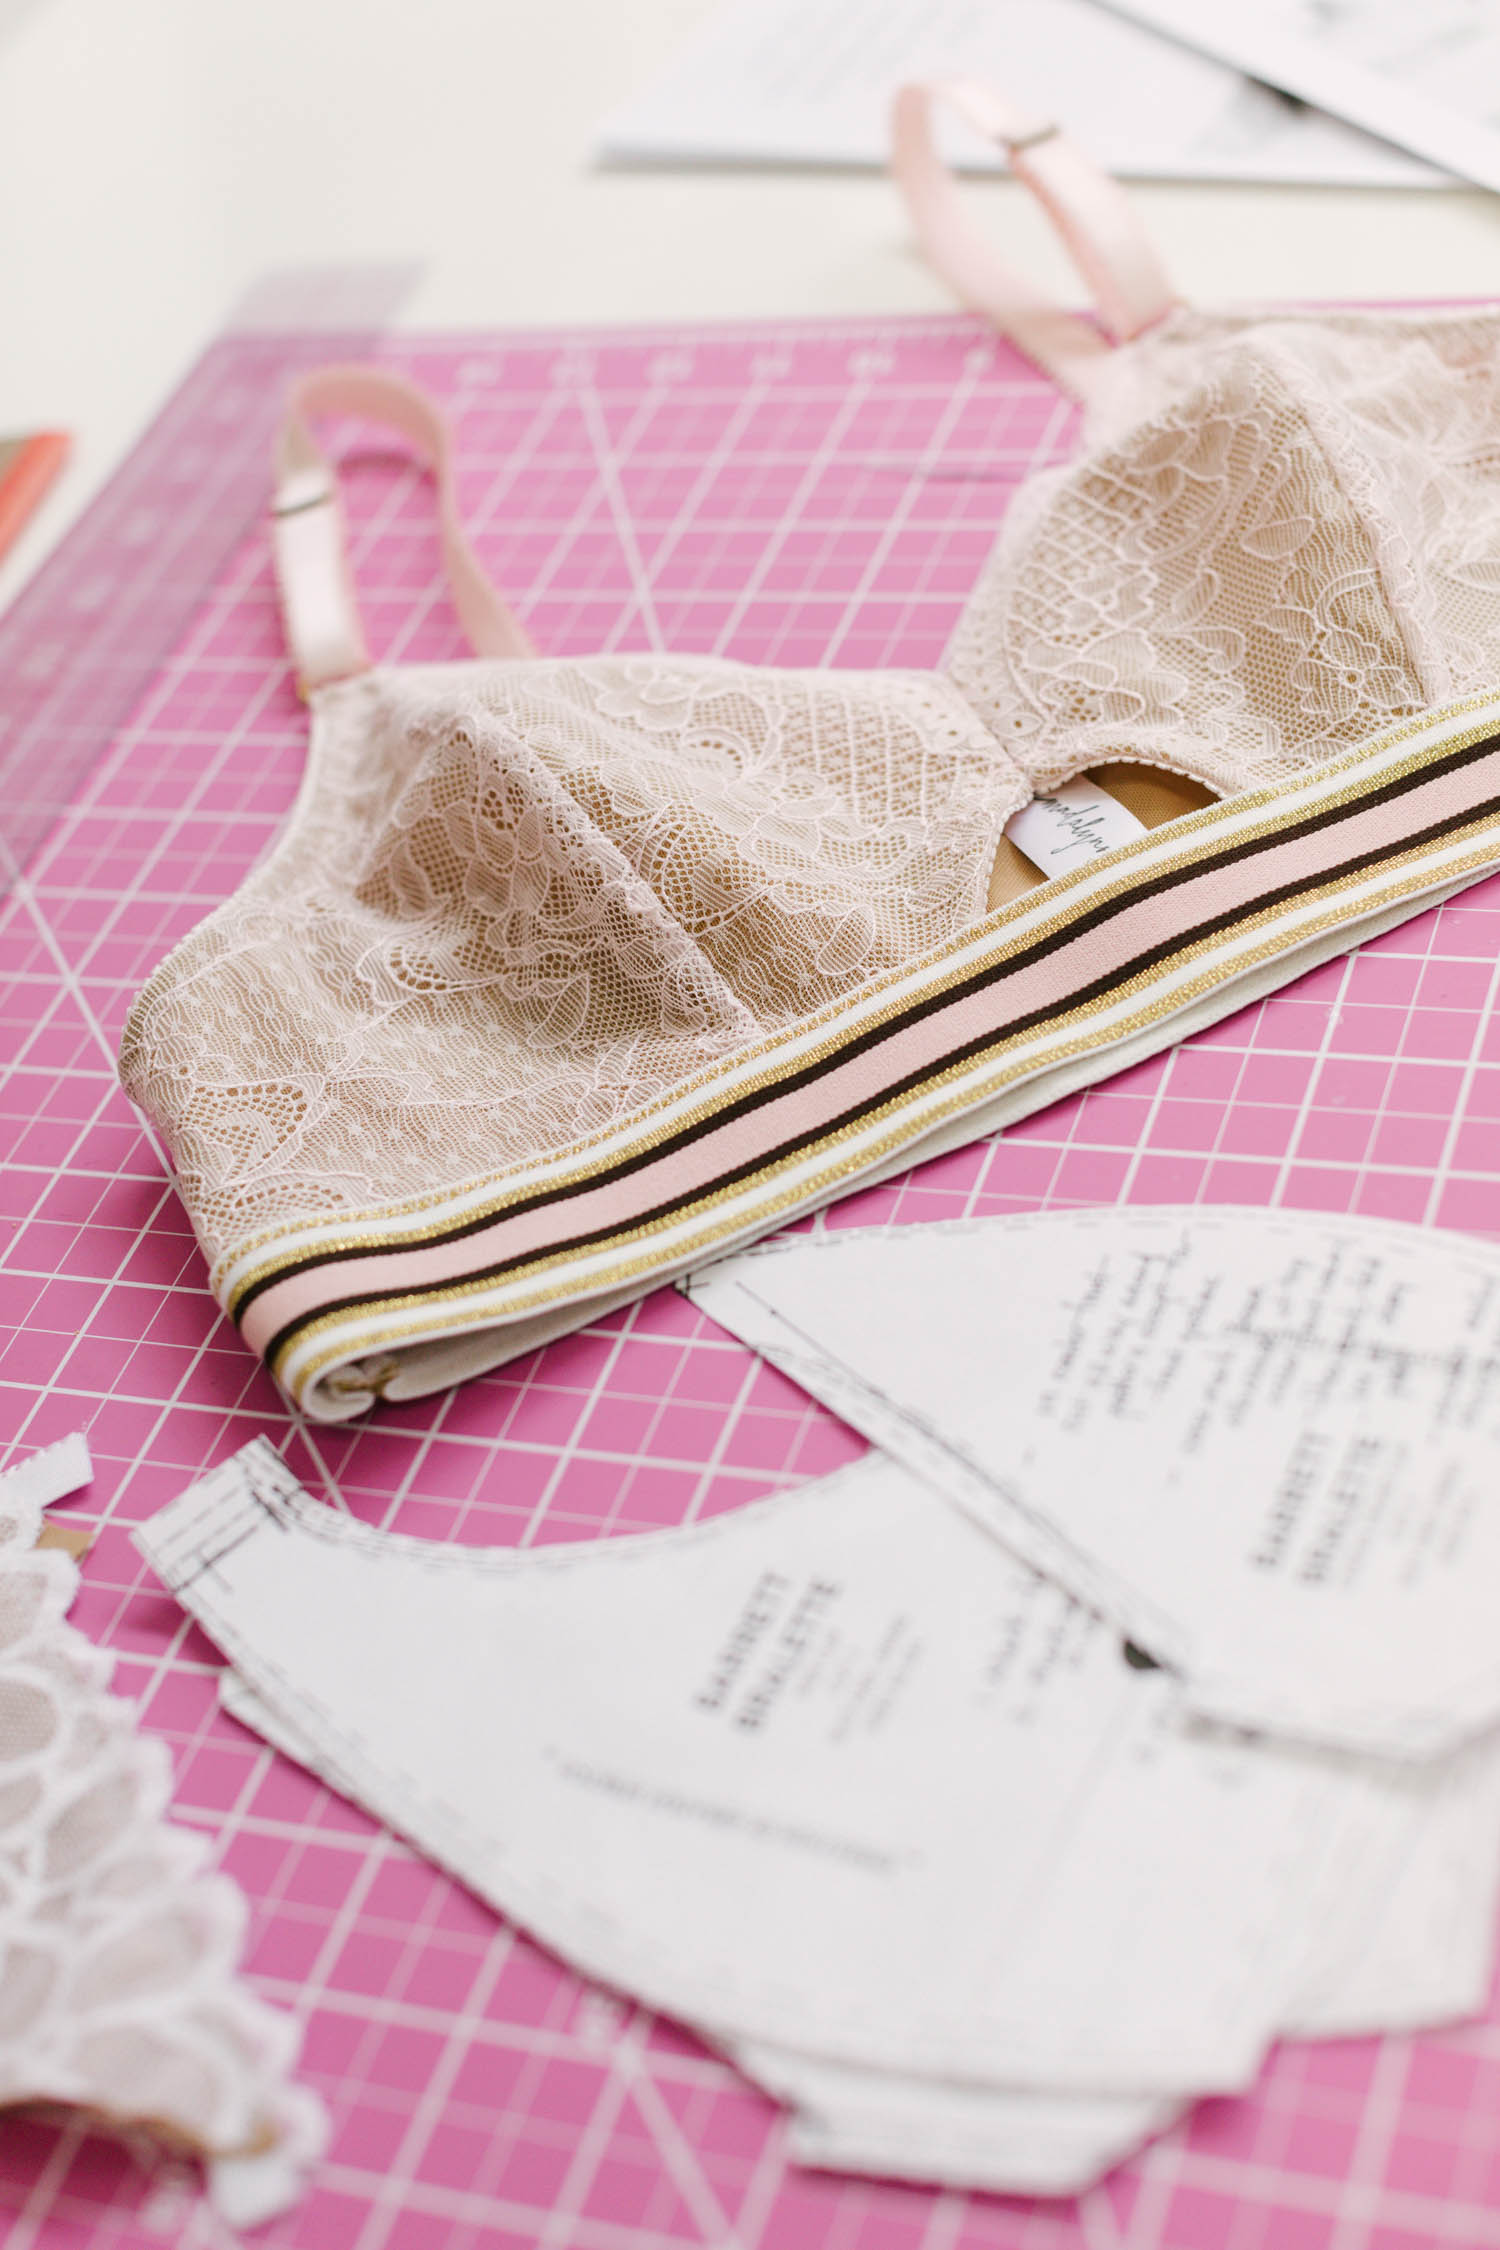
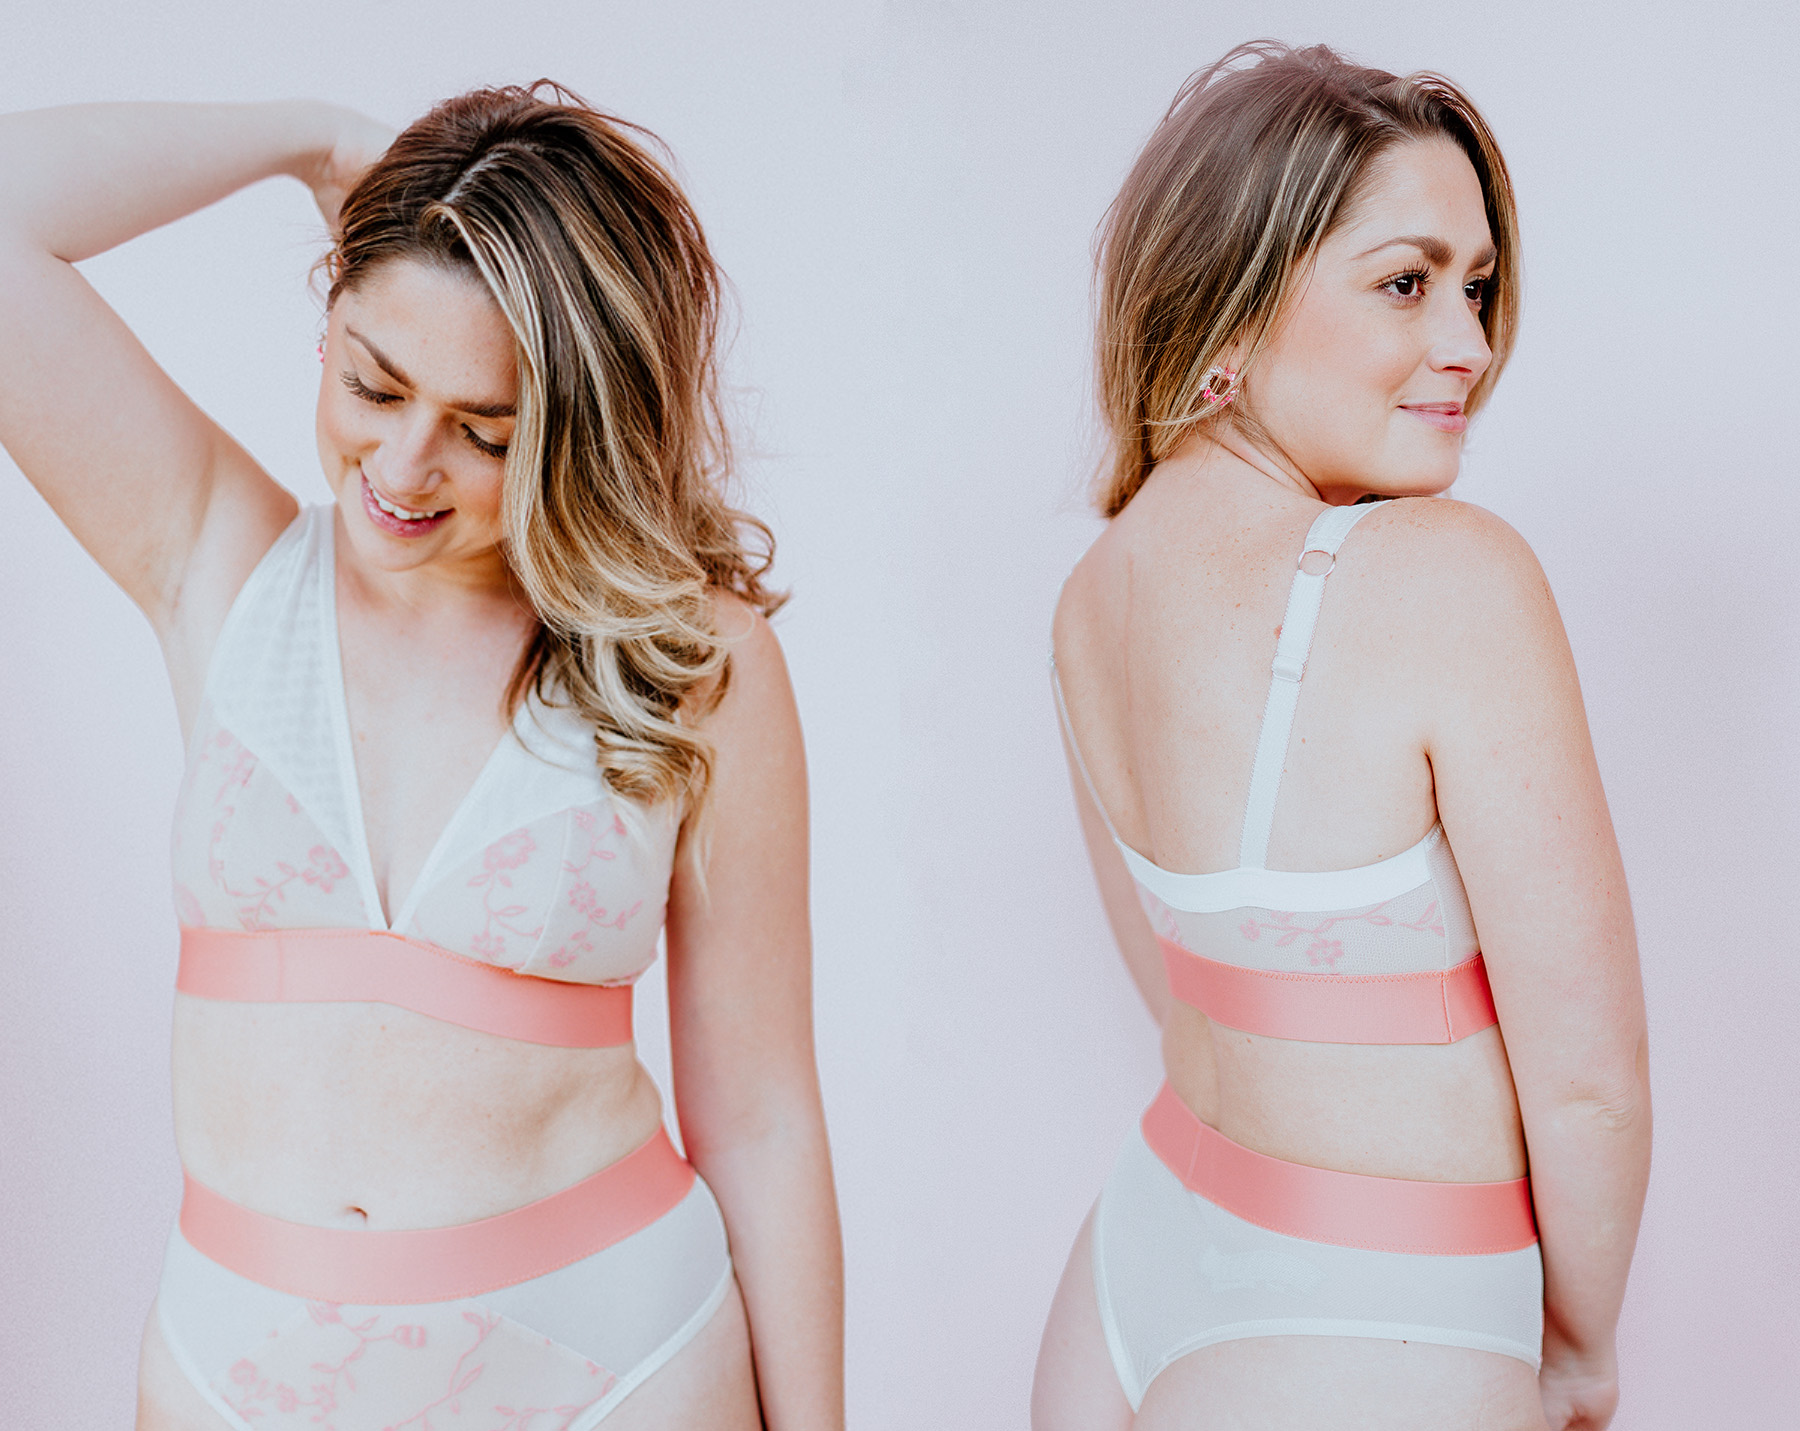
 Can you believe that it’s been a little over year since the Barrett bralette was released? Thirteen months later and it’s still going strong! Since the day it came out, I’ve loved seeing all your variations, and one of my favorite has been using a scallop lace. If you follow the directions, the Barrett is finished with picot elastic at the center front neckline. Today, I’m going to show you in a new video series how to use a scallop lace so that it has a decorative edge at the center front neckline. In just a few episodes (all less than 15 minutes!), I’ll go over the additional supplies needed for this variation (there are only 2!), pattern alterations (don’t worry, they’re super easy!), and changes you’ll have to make when sewing (very minor).
Click here to watch the YouTube series
Click here and here to purchase the Barrett bralette white scallop lace and blush pink lace DIY lingerie kits
Haven’t made a Barrett yet? Click here to sign up for Madalynne’s online DIY lingerie class with Creativebug to learn how to sew it from start to finish!
Below is an overview/supplement to the videos.
 SUPPLIES
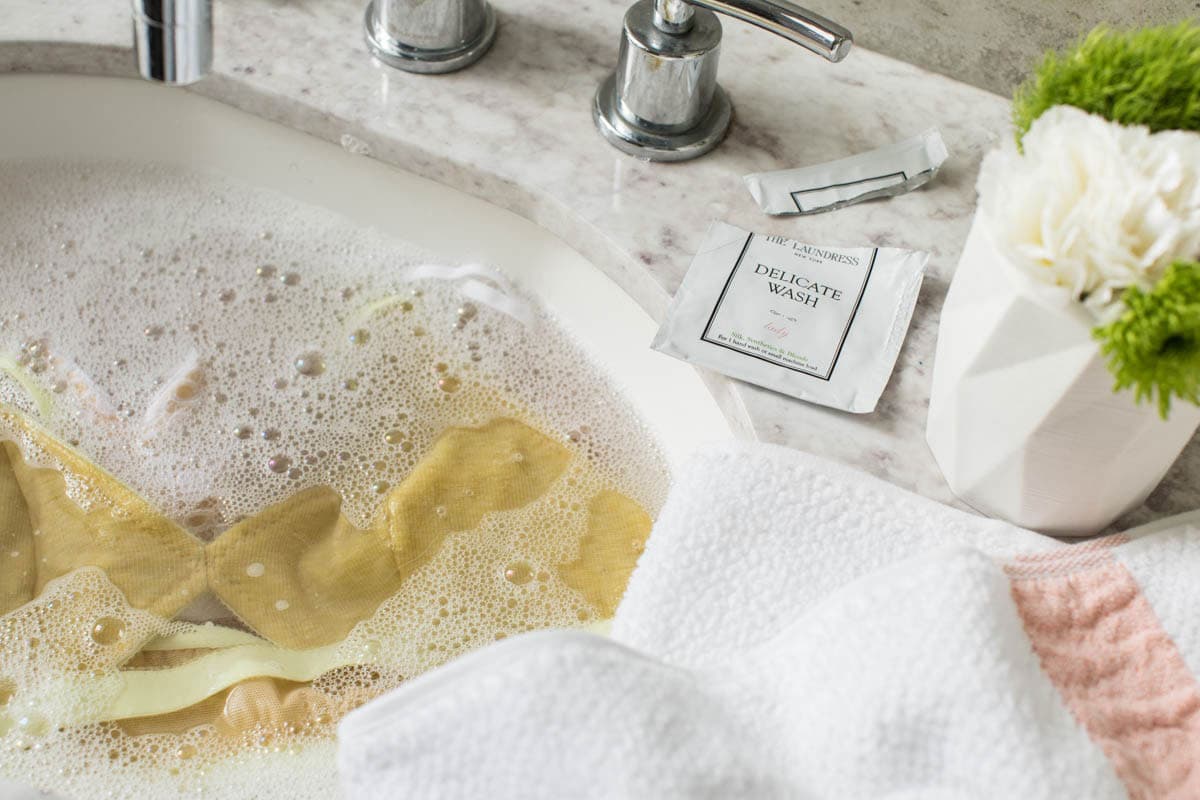
Per the instructions, you will need the following items. In pink are the additional supplies needed for this variation. All fabric, trims and hardware for this variation come in the Barrett bralette white scallop lace and blush pink lace DIY lingerie kits.
- 1/2 yard main fabric – for this tutorial, it will be a scallop lace
- 1/2 yard lining fabric – for this tutorial, it will be 1 layer power net for the front bra cups and 2 layers stretch mesh for the back band
- 2.5 yards picot plush elastic – for this tutorial, it will be 3/8″ wide
- 2 yards wide elastic – for this tutorial, it will be 1.5″ wide
- 2 yards shoulder strap elastic – for this tutorial, it will be 1/2″ wide
- 2 pairs rings + sliders
- 28mm rotary cutter
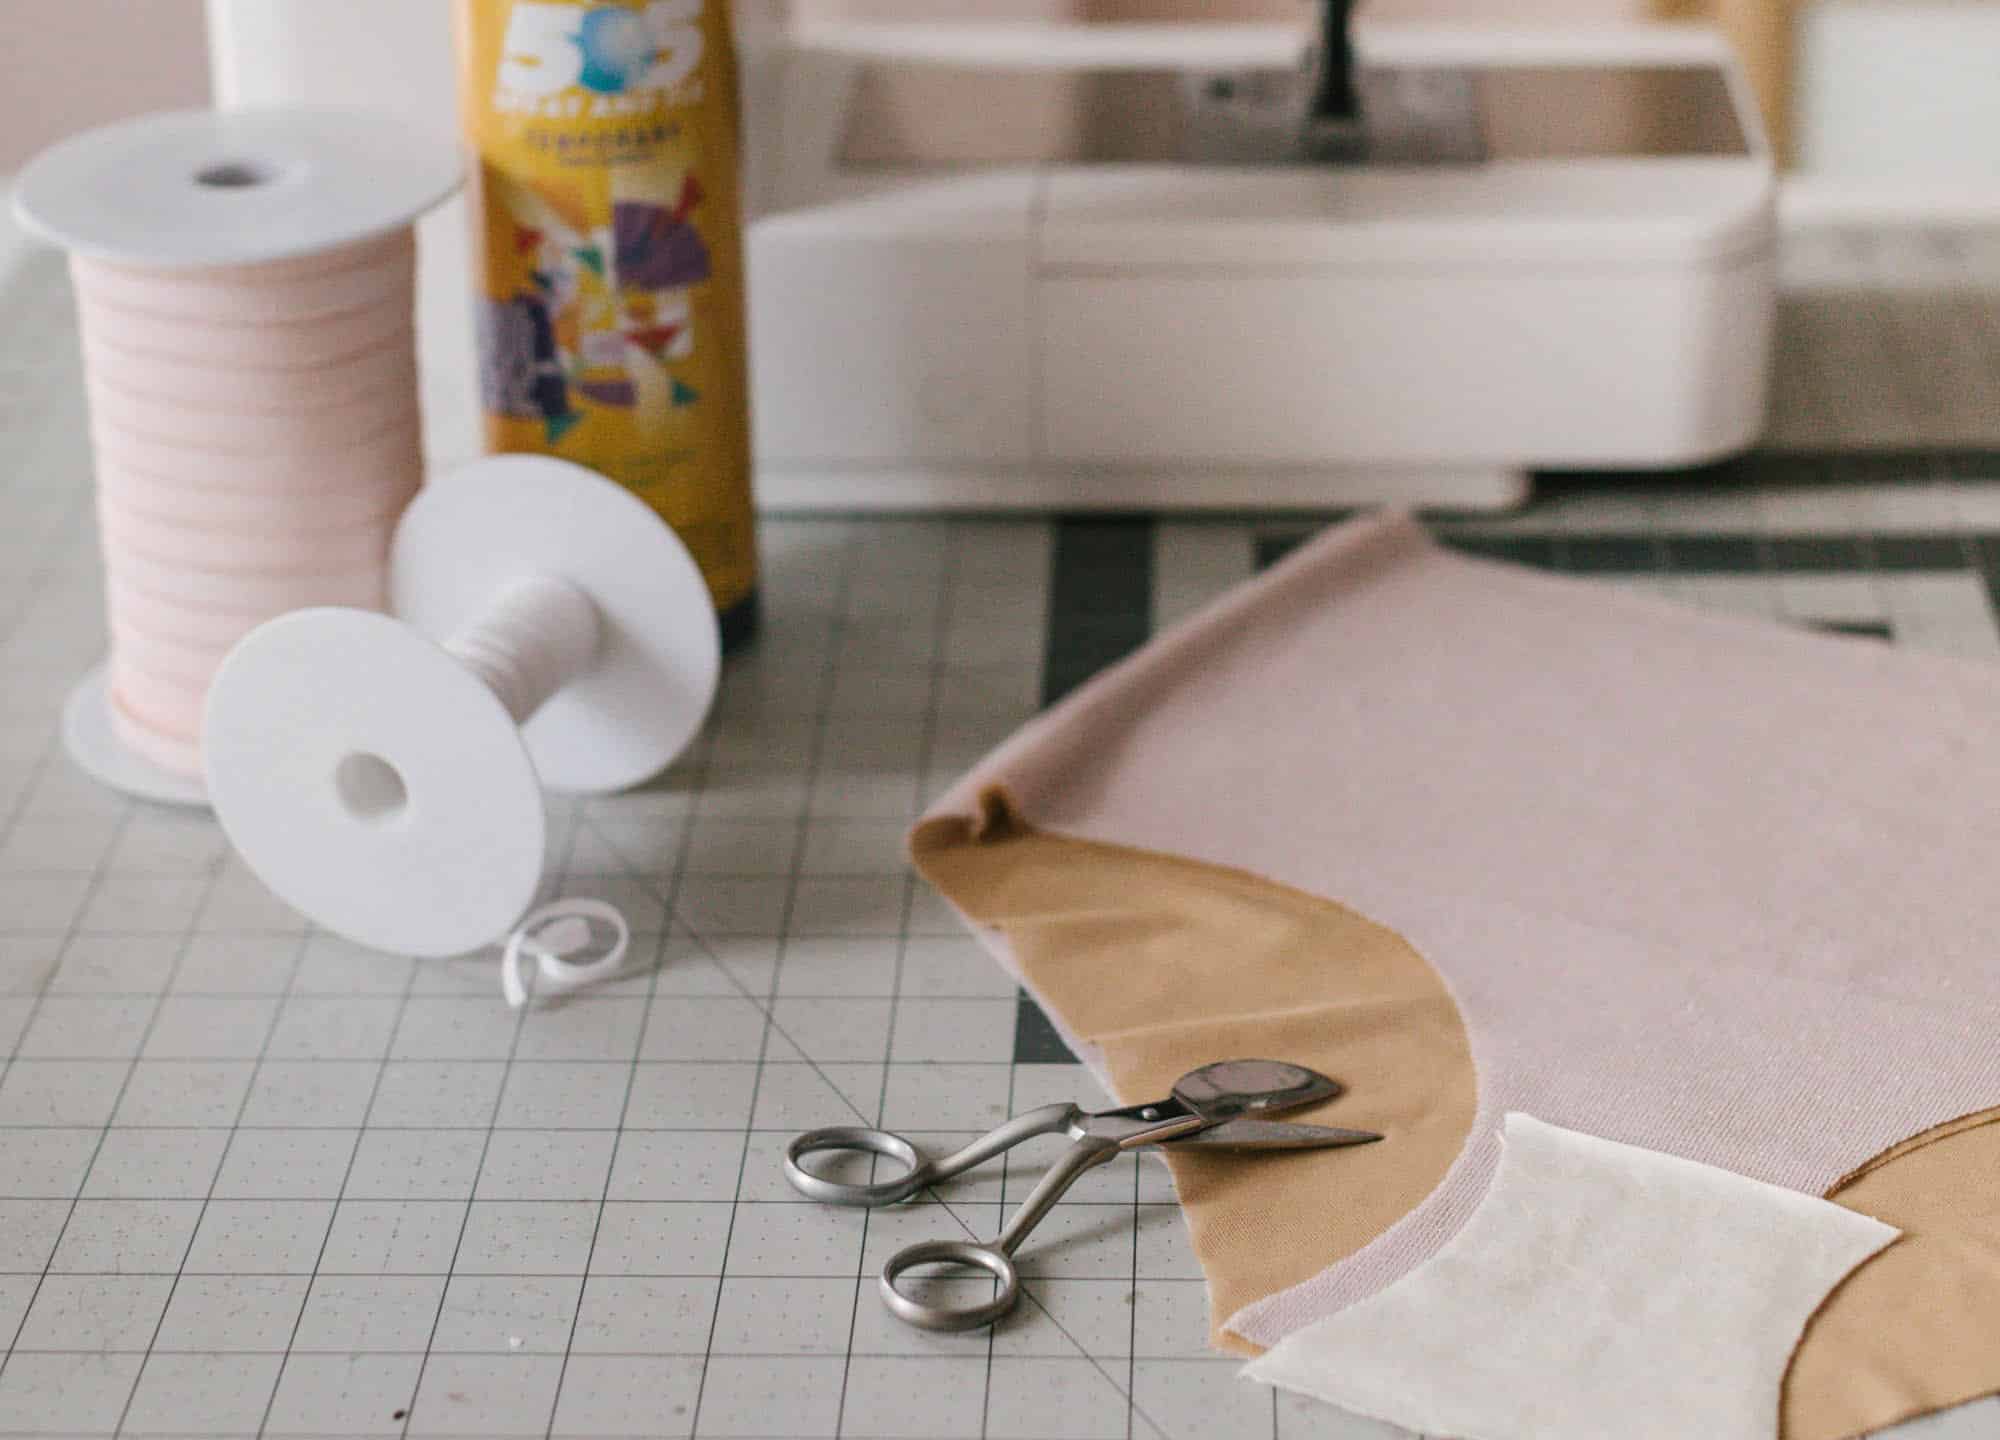
- Odif’s 505 spray adhesive
- Ballpoint, stretch or microtex needle. I suggest a size 70/10 for sewing through just the mesh/lace and a size 12 for sewing elastics
- Regular pins
- Polyester thread
- Duck billed scissors
- Rulers – curved and straight
- Marking pen
PATTERN ALTERATIONS
For the center front cup, you want the scallop lace to end 1/2” below the original strap point to allow a ring to be fold back:
- Mark seam allowances at center front, then use a circle to indicate the cross points of these 2 lines.
- Mark ½” down from strap point and then ¼” in (or the seam allowance). Then use a circle to indicate cross points of these 2 lines.
- Connect the two circles- this will be your new center front neckline. You do not need to add seam allowances since it will be on the scallop lace edge.
For the side cup – you want to increase the width of the strap point so that it is 1/2” wide – wide enough so that a ring can be folded back.
No changes to back band. Woohoo!
CUTTING
Let’s go to page 13 of your PDF pattern. Follow all the instructions provided – the only thing you are going to do different is:
- Cut the center front neckline on the scallop lace edge with the high point of the scallop hitting the strap point and the center front seam (basically, those dots made during the pattern alterations).
- Cut the lining align so that it aligns with the low point of the scallop lace edge. You’ll also want to cut out that rectangular portion at the center front. This will allow you to sew the center front seam.
Now, you might be thinking about direction of greatest stretch? You can only cut the pattern in one way, which happens to match the direction of greatest stretch indicated on the pattern.
SEWING
For the most part, construction is the same. You just have to change the order of operations at the beginning. Looking at page 15 of your PDF pattern – instead of sewing the center front cups together first, which is in paragraph 1, you are going to:
- Finish the center front neckline edge with picot elastic. With fuzzy side of picot elastic facing up and picot edge facing towards the scallop lace, sew 2 rows of zig zag stitches on either side.
- Finish center front cut out with picot elastic as per the instructions.
- Sew the vertical cups, clean finishing them as per the instructions.
- Then sew the center front seam, ensuring the scallop edges meet at the center front.
Once these steps are complete, you can proceed with the instructions by attaching the elastic at the underarm and top back band, sewing the bottom band elastic and then finishing with the shoulder straps.
No Comments