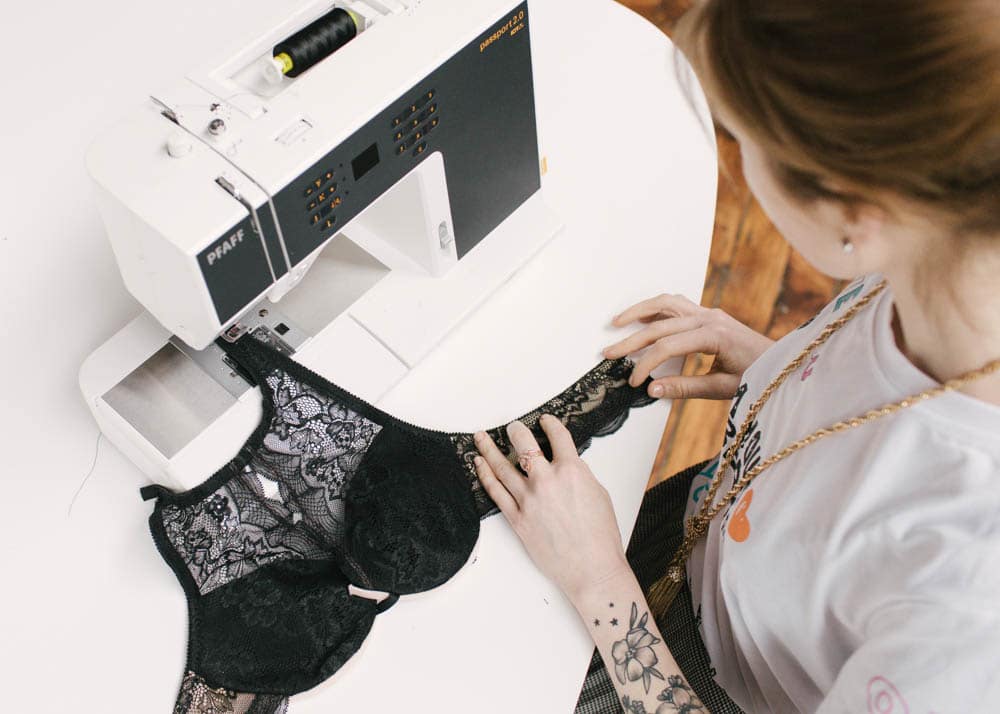
PASSPORT 2.0: MY SEWING MACHINE FOR LINGERIE
SOUND: Since it’s usually the first comment someone makes after sewing on a Passport, I figured it would be the first thing I’ll mention in this post. “It’s so quiet and smooth!” – I estimate that statement comes out of 90% of people mouths and I back it up 100%. It’s not a loud machine and it won’t shake and dance around your sewing table if you start to sew fast.
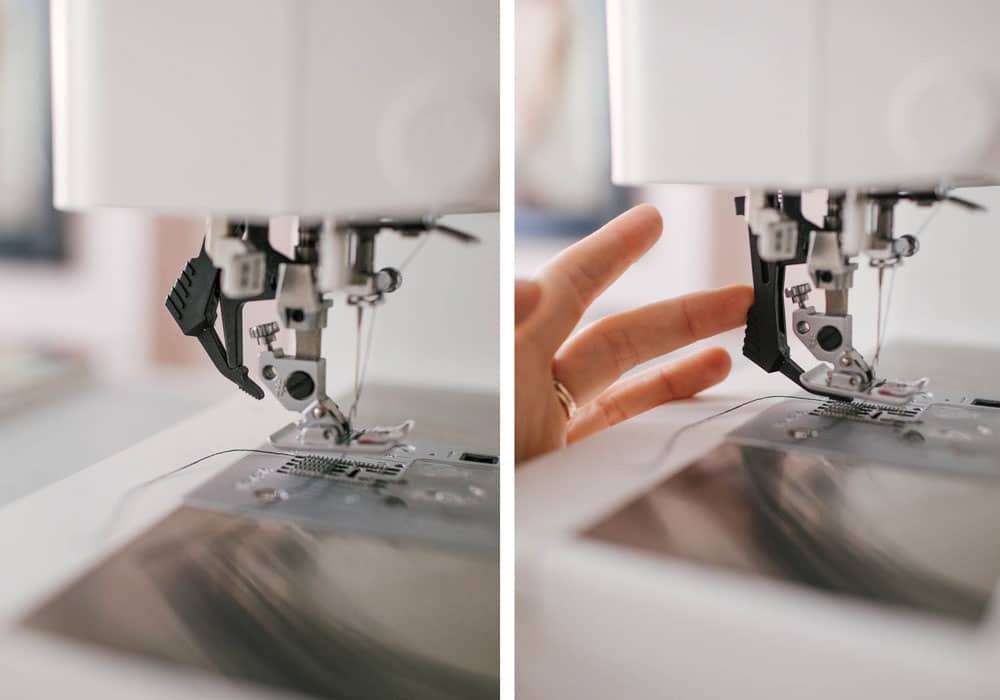
IDT: I can’t write a post about PFAFF and NOT mention their IDT system. IDT, say what? It stands for Integrated Dual Feed System. Basically, it’s a built in walking foot that gives controlled, no-slip sewing. It helps fabric feed evenly from the top and the bottom so that pieces match up, don’t stretch out, and line up perfectly… yippee! For sewing lingerie, this is important. Two words: game changer.
See that little black contraption at the back of the presser foot? That’s the IDT and when you get the machine, all you have to do is press it down to engage it. No tools, no extra assembly. It comes standard with the machine. Come on, how easy is that?
I’m not sure if it is the IDT at work. It could be that Pfaff has specific timing, which means it has very little tolerance for other needle brands. When I posted my first review of the Passport, a few PFAFF users commented that they use Schmetz and Organ needles with no problem. So it could be me. I just tell myself that I’m saving money by buying one type of needle ; )
THREAD: I’ll say it 3 times because it’s that important – poly, poly, poly. Choose a polyester thread over cotton folks. Why? Because most likely you will be sewing stretch fabrics for lingerie. Polyester thread has give to it, cotton thread doesn’t. So you run the risk of your thread breaking (read: boob slippage).
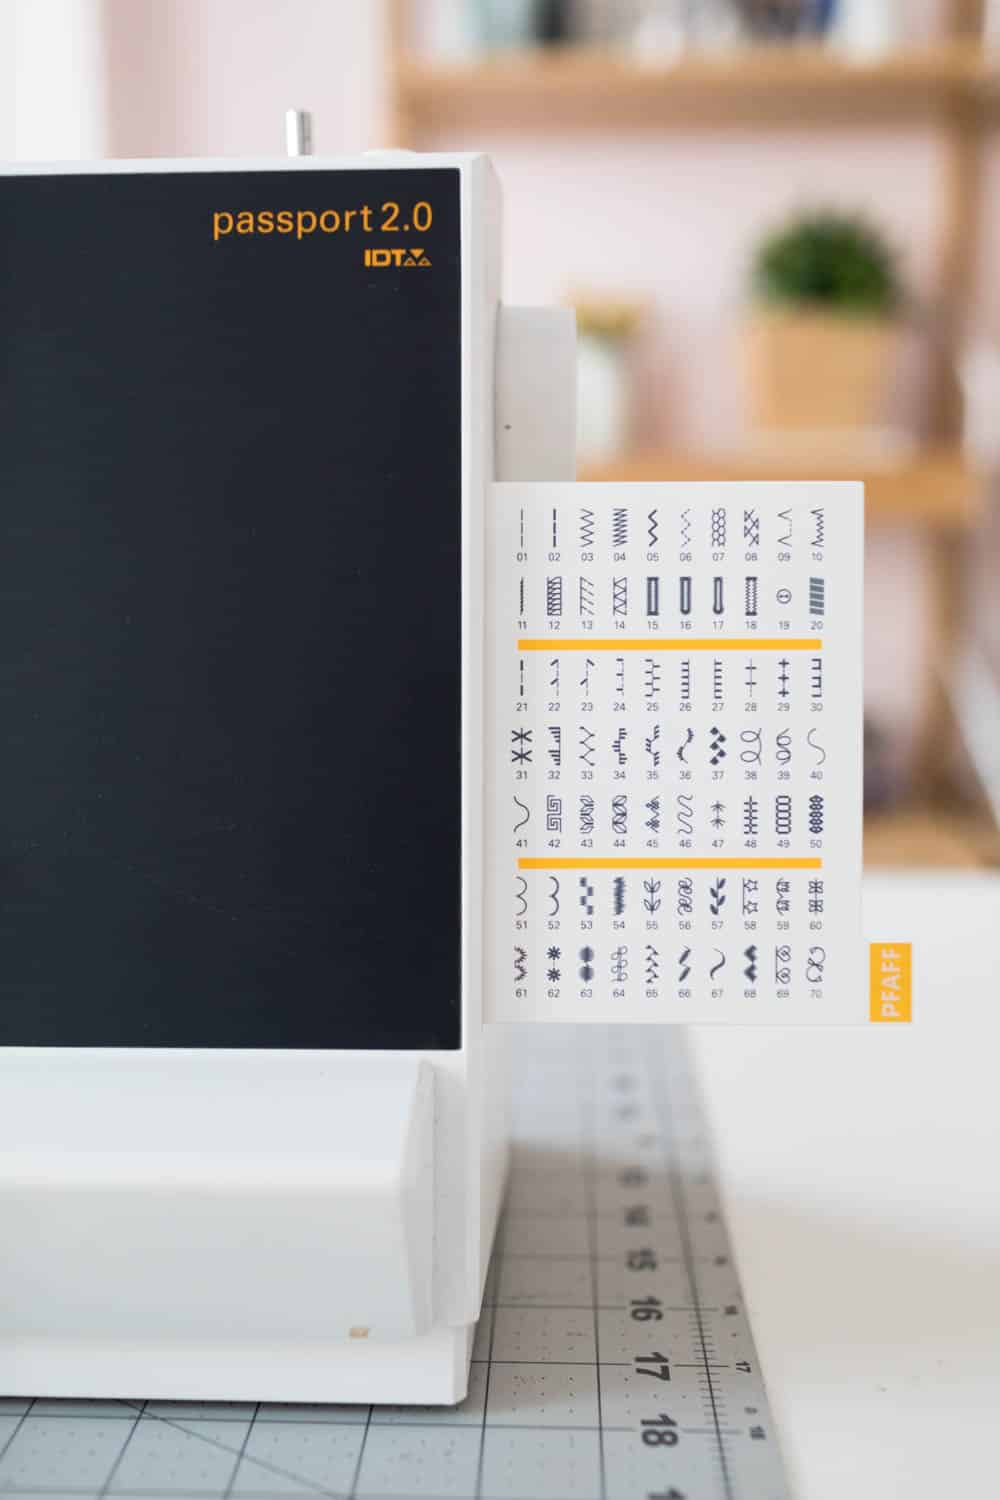
STITCHES: Okay, now to specific stitches. I only use 3 stitches on the Passport – 01, 03, and 06. That’s it! The Passport has a pull out tab on the right hand side of the machine that shows all the stitches. Below is when I use each stitch as well as the stitch length and width I use for specific applications.
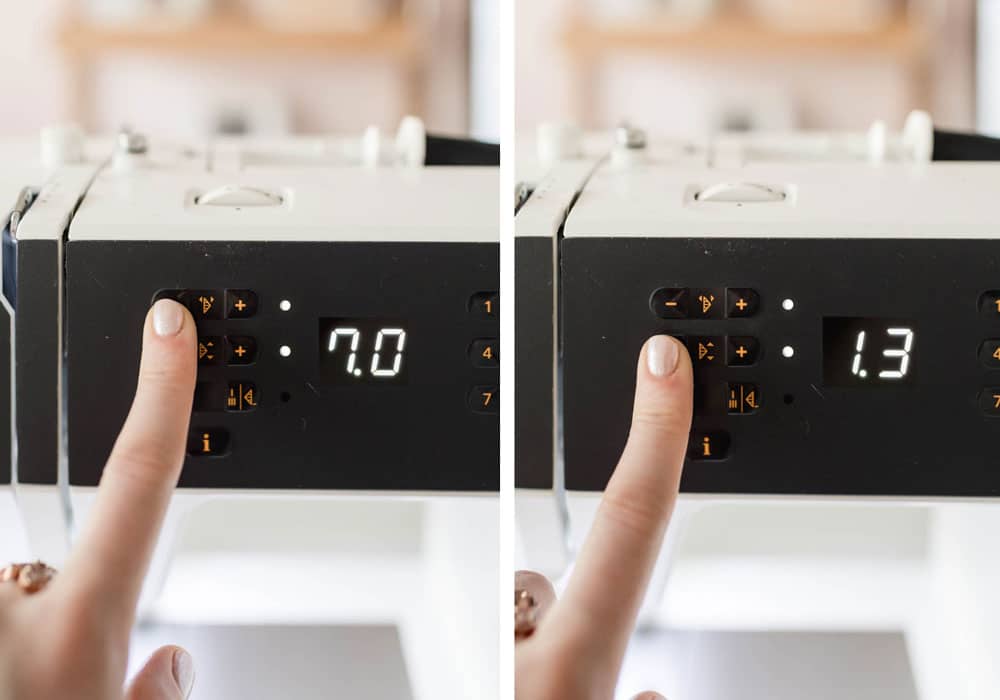
01 – Straight Stitch: For sewing vertical seams on lingerie. Normal stitch position is 3.5, which is right in the middle. Normal stitch length is 2.5, unless I’m topstitching, in which case I increase the stitch length for 3.0+. When I’m sewing eyes onto the back band, or rings + sliders for strap elastic, I’ll adjust the needle position all the way to the right, which is 7.0. For eyes, I wouldn’t be able to sew onto the tape – the hooks would block it. For rings + sliders, it allows be to stitch close to the hardware.
03 – Zig Zag Stitch: For sewing horizontal seams and elastics between 1/8”-5/8”.
1/8” narrow elastic (usually flat/narrow kind like this for finishing edges of scalloped lace): Stitch length and width is 2.0
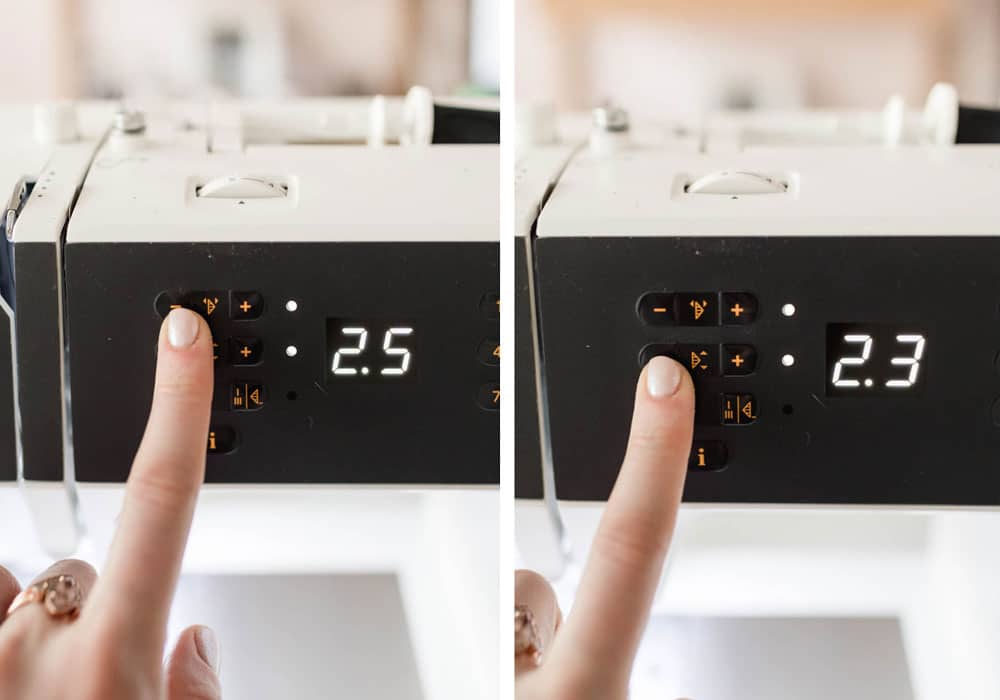
1/4”-5/8” elastic (usually picot plush kind like this for finishing underarm, bottom band): Stitch width is 2.3 and stitch length is 2.5. Generally, this type of elastic is sewn in 2 passes. While there is no “right” or “wrong” width to zig zag stitches, having it at this setting produces 2 zig zag stitch passes that don’t overlap each other, which could look messy.
06 – Triple Zig Stitch: For sewing elastics that are ¾” and wider (like this or this). Depending on how wide the elastic is, there are two options for this. I set this stitch width width to 7.0 and stitch length to 1.3. If it spans the width of the elastic, then I’ll only use this stitch. If it doesn’t, then the elastic will have a “lip”. In that case, I’ll sew 2 rows of regular 03 zig zag stitches at the top and bottom using the settings above.
PRESSER FOOT: I use 2 presser feet for lingerie sewing, both of which come with the machine.
Fancy Stitch Foot 1A: Used for decorative stitches, which include a zig zag stitch. There is a groove on the underside that is designed to flow smoothly over the stitches
Fancy Stitch Foot 2A: When sewing decorative stitches, which include a zig zag stitch. This one is the same at 1A, but designed for stitches with less that 1.0mm stitch length. I’ve used it for stitches that are more than 1.0mm in length and haven’t had a problem. So no biggie.
TENSION: Always set between 5-3, usually closer to 5.
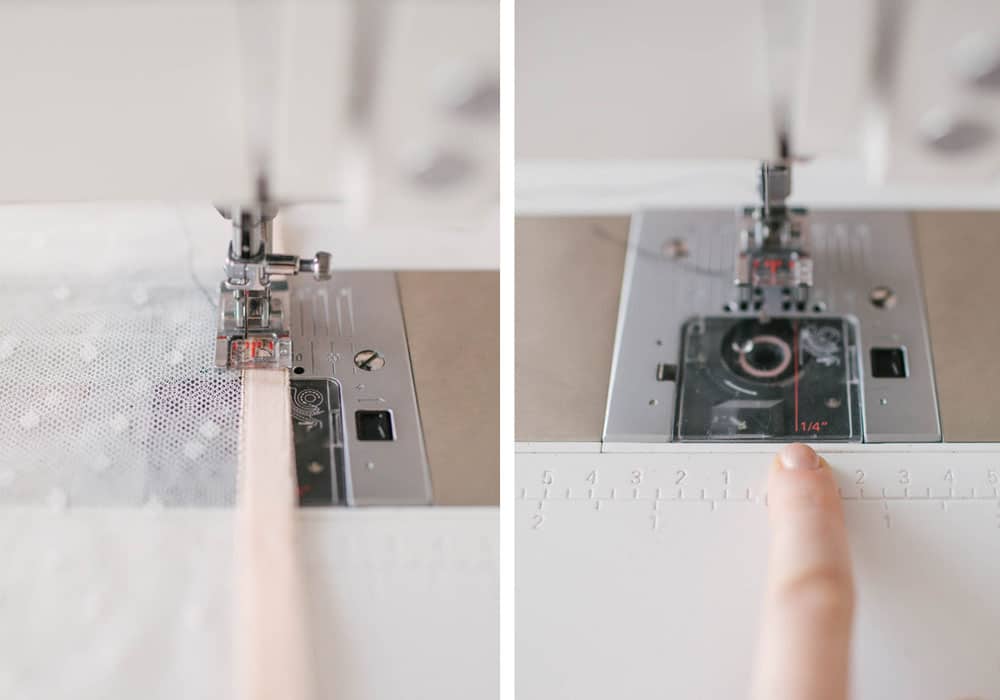
SEAM ALLOWANCES: The machine also has a red guideline that indicates ¼” seam allowances, which is great because almost all seam allowances on lingerie is ¼”. When sewing 3/8” elastic, which I do about 75% of the time, the Fancy Stitch Feet are great because I can align the edge of the elastic with the edge of the pressure foot and use that as a guide.
Read my first review of the Passport here.
Shop Madalynne lingerie kits and and start sewing your own lingerie!

