Simplicity Bralette Variation 3
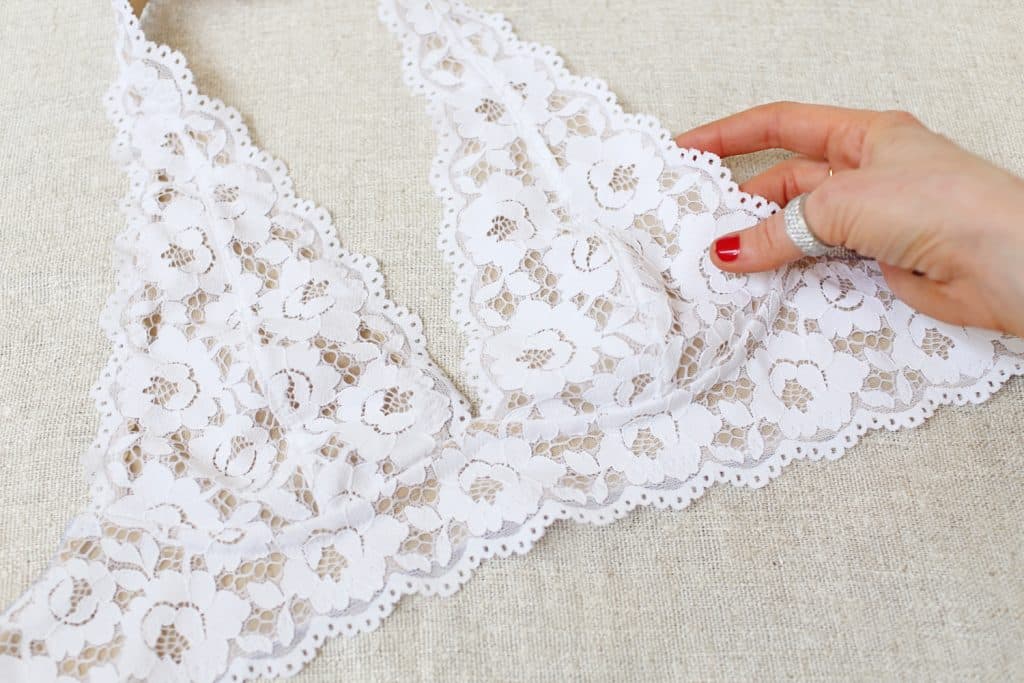

The first two tutorials dealt with the 8228 racerback bralette – how to clean finish the seams, add stability and remove the racerback and then how to add a ruffle bottom band and halter straps. Today, we’re moving onto the halter bralette. I’ll be showing you two alternative methods to finishing the edges of the cups.
First I want to note that there have been some comments that the length of the halter has been short, so I’d definitely cross check your body measurements versus the pattern measurement before cutting. How would you do that? First, measure the length of the vertical seams of the cups for your size (don’t include seam allowances). Times that number by two. Then, using a tape measure, measure underbust to underbut with tape wrapped around your neck (underbust = directly under your bust, where your breasts meet your ribcase/chest wall). Do those numbers roughly match? If not, adjust your pattern accordingly by making a horizontal line through the cup patterns (point chosen arbitrarily but ideally through apex) and the slashing or opening.


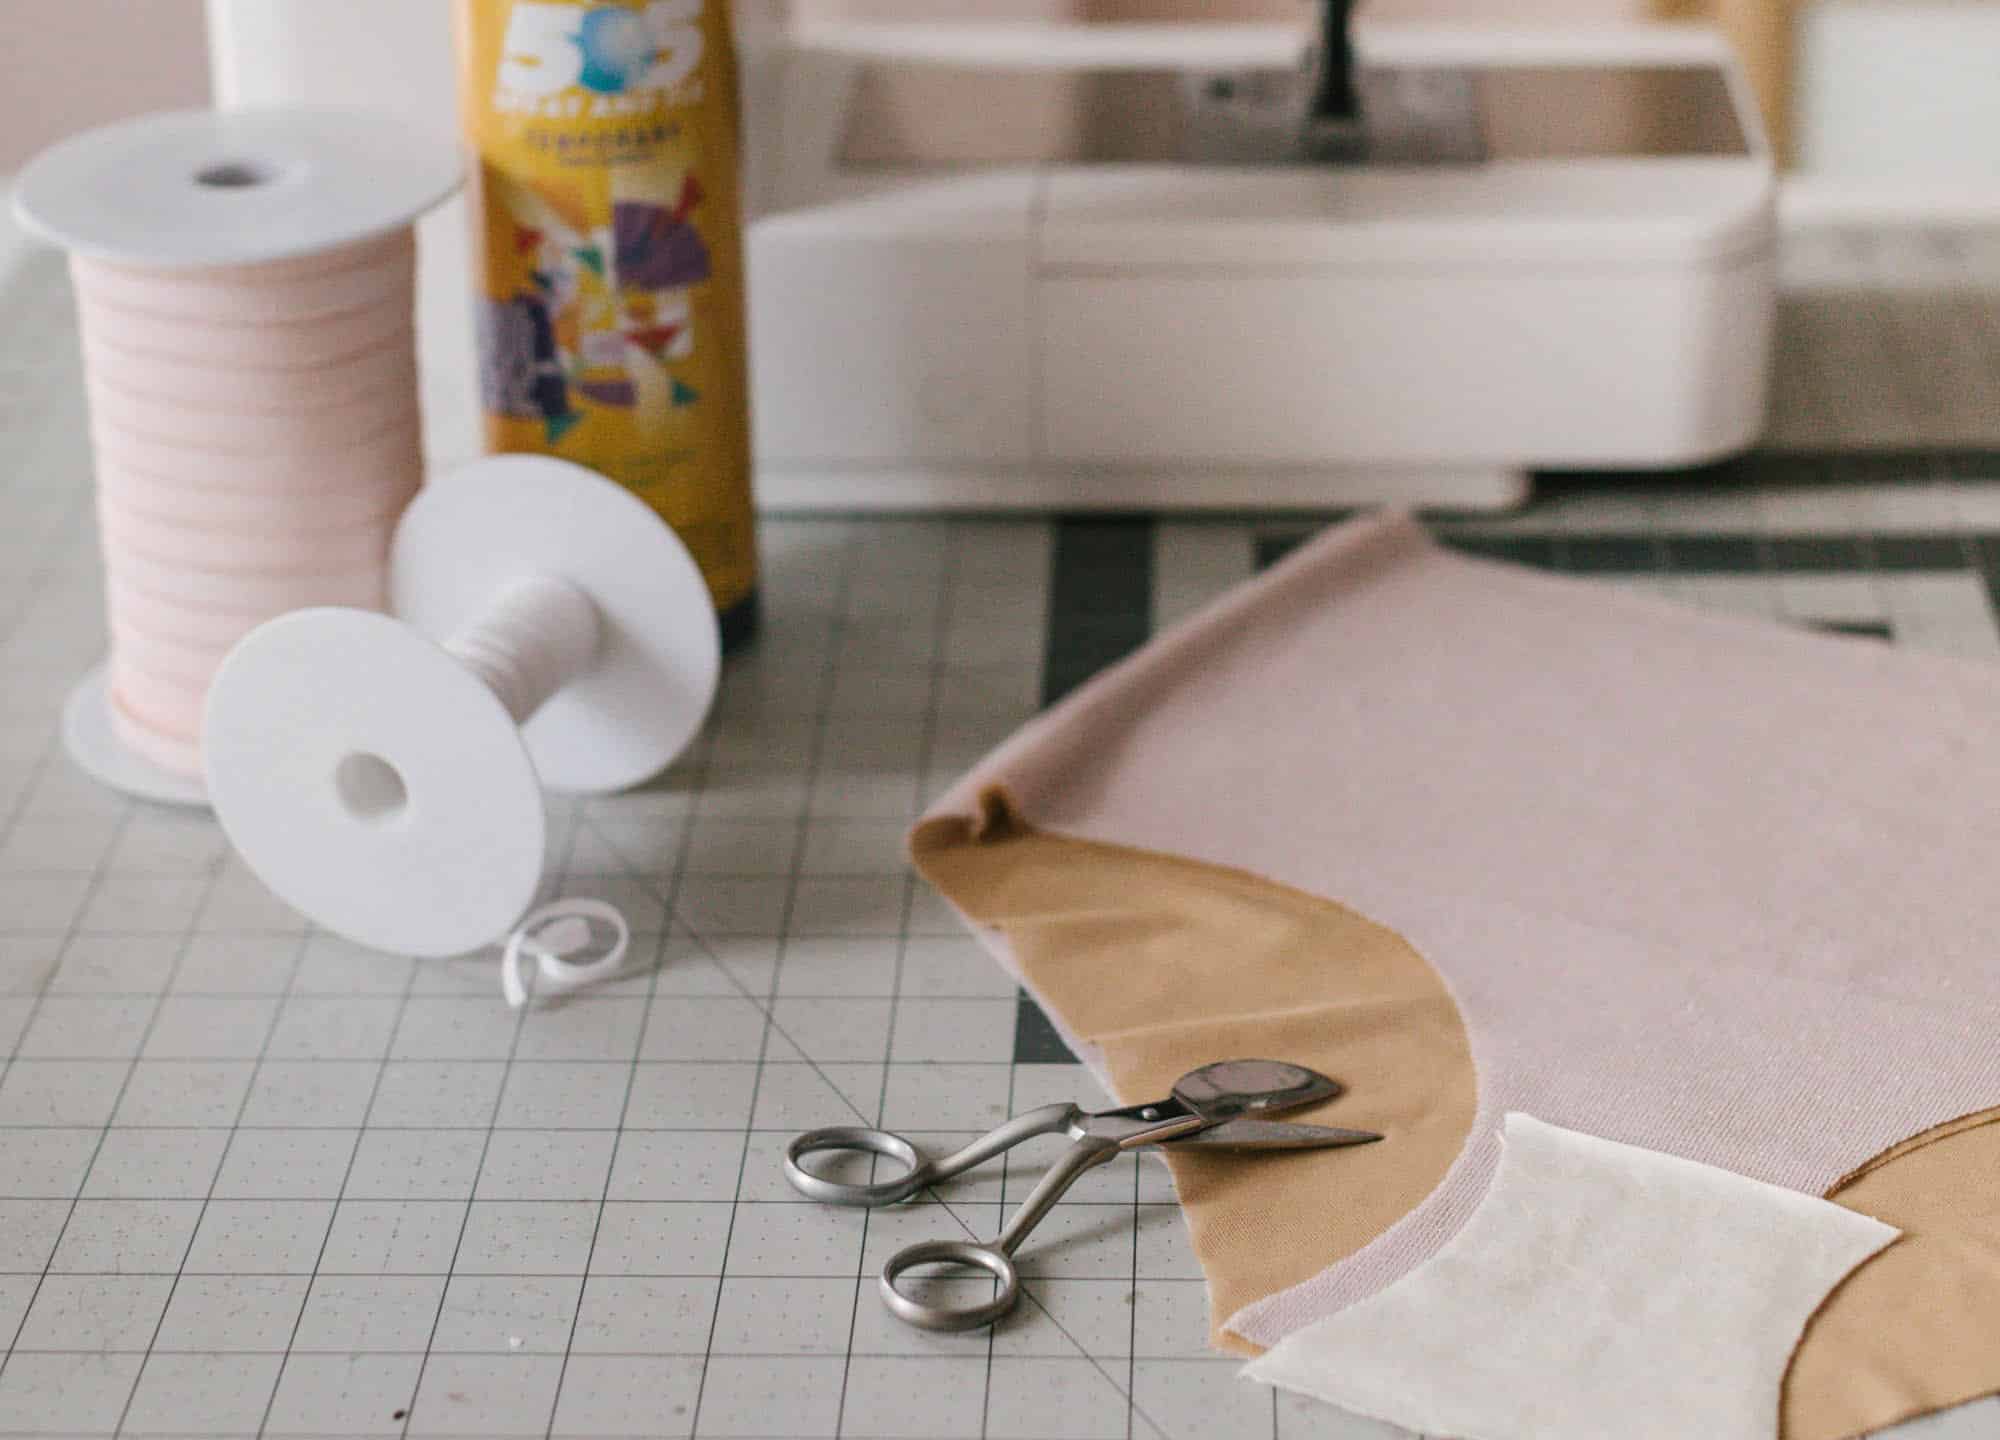
Step 3: Let’s do the more difficult of the two methods. Fold back the lace and lay a piece of thin elastic on the wrong side of the mesh, then sew down using a zig zag stitch that is approximately the width of the elastic. To prevent the elastic from shifting while sewing, I used this spray adhesive. It’s much more efficient than using pins. Also note that when sewing, you’re only sewing through mesh and elastic, not the lace.





No Comments