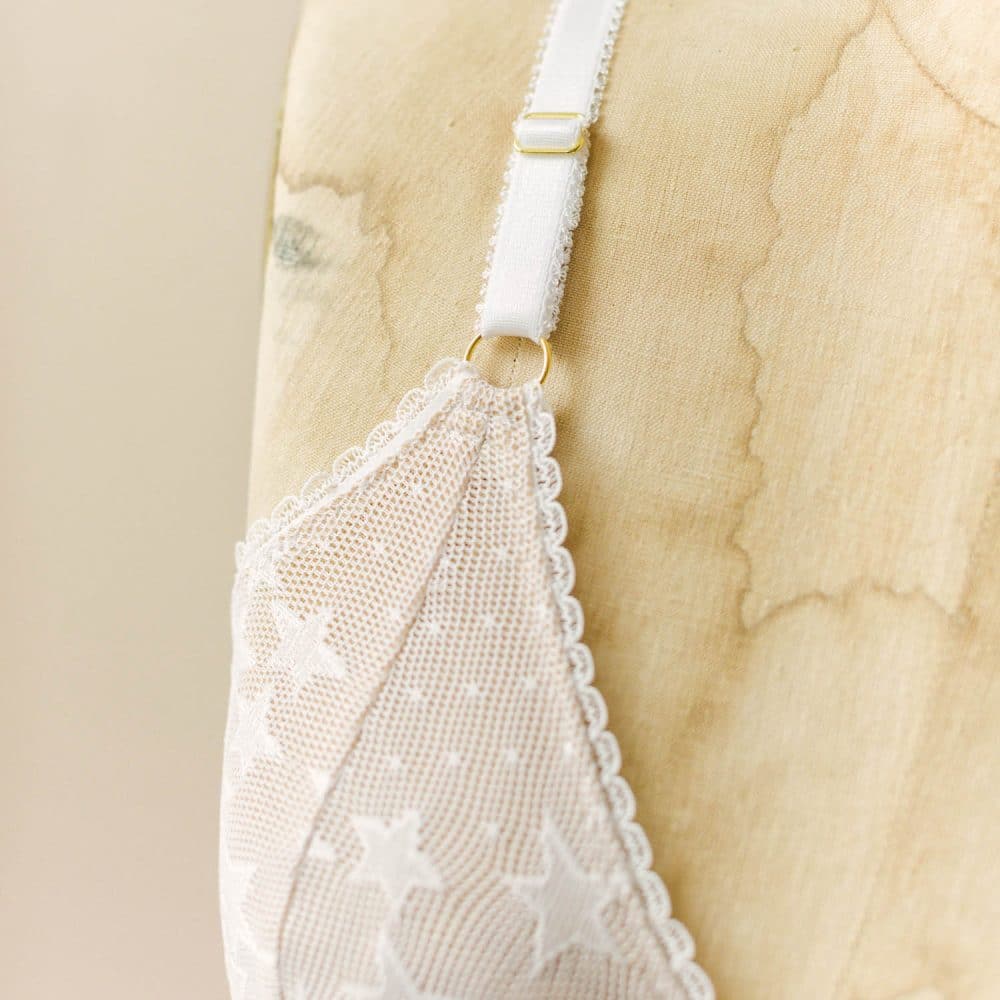
How to sew shoulder straps on a bra – it’s not hard, just a lot of steps. When repeat students come to workshops, they always tell me, I remember everything except how to make the straps! So, this post is for them and others who are sitting at home with strap elastic in their hands thinking, “What the heck do I do now?”
To make and attach adjustable bra straps, you’ll need two things – bra strapping and a pair of rings + sliders. Both are available for purchase in the lingerie notions + trims section of the webshop. Be sure to check out the half dozen and dozen listings for rings + sliders! I lose those things like I do socks, so it’s wise to always have a good stock in your stash.
Before we get to sewing, let’s briefly discuss elastic shoulder straps and rings + sliders.
Elastic shoulder straps offer adjustability and comfort, which is especially important because the length of a women’s torso can vary greatly. Can you imagine if shoulder straps were non stretch? Not only would they dig into your shoulders, but the length would be different for everyone! Elastic shoulder straps are available in a variety of widths, with the standard being 3/8″ or ½”. Spaghetti strap elastic is 1/8″ and is used on the Eloise bralette. For larger band/cup sizes, I suggest 5/8″ or 3/4″ wide elastic shoulder straps.
Rings + sliders also come in a variety of widths and qualities. The width should match the width of the elastic. If you’re short, you can get away with going 1/8″ up. So if you’re strap elastic is 1/2″, you could use a ring + slider that is 5/8″. Perfection is overrated, right? But I wouldn’t suggest going down. The elastic will be so tight in the ring + slider that you won’t be able to adjust it.
Last, the ring and slider can be either at the front or back of the bra. For this tutorial, the rings and sliders are at the front. This is called “boutique” straps, which mean you can adjust them from the front.
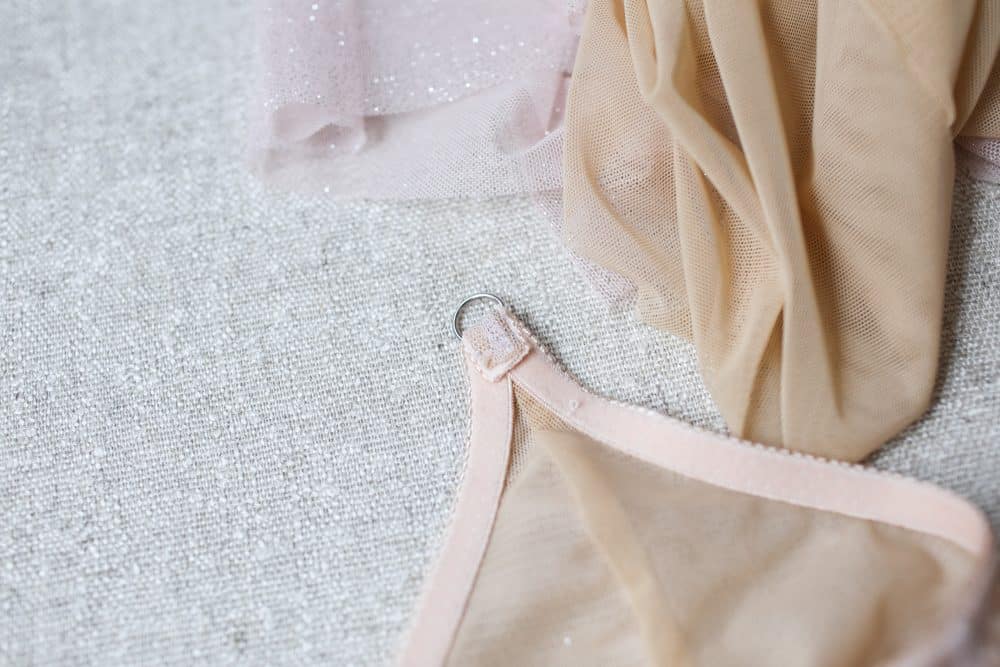
Put rings through strap points and turn back 1/2” (or however much your pattern instructs). Sew a bartack as close to ring as possible. Trim close to stitching. Tip: apply fray check or clear nail polish to end of strap elastic to prevent it from fraying/wearing.
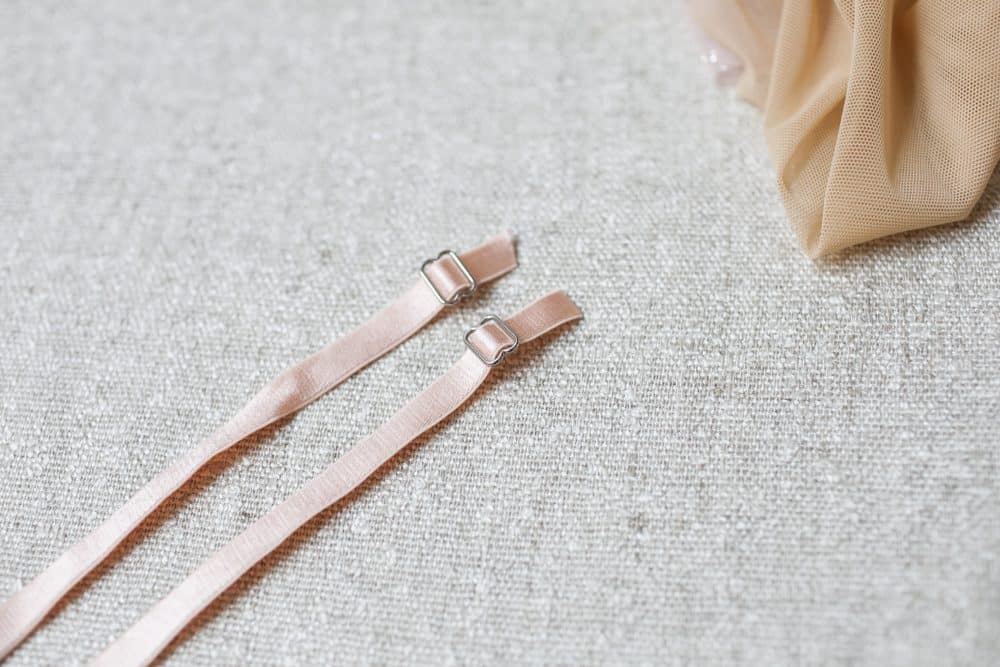
Cut two lengths of shoulder strap elastic 19” long each. Depending on the length of your torso, your straps might need to be shortened or lengthened, but this is a good length to test. Also, shortening or lengthening straps is a super quick fix. Feed ends of the strap elastics up and through the bottom of sliders, over the center bar, and then down through the other side. It should look like a belt buckle with one short end and one long end.
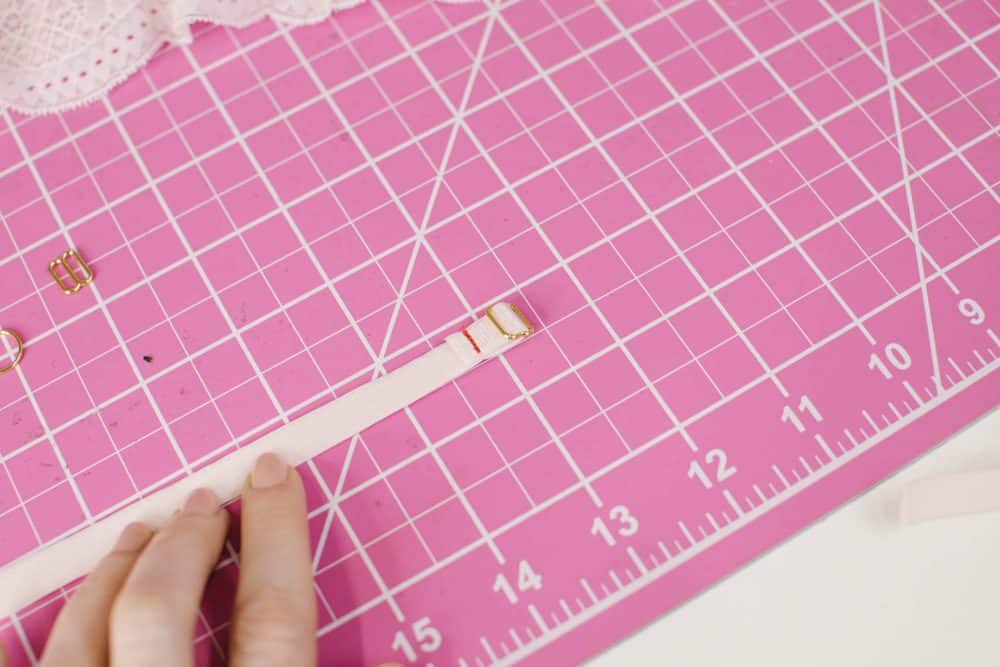
Fold the short side down and sew a bartack as close to the slider as possible. Trim close to stitching.
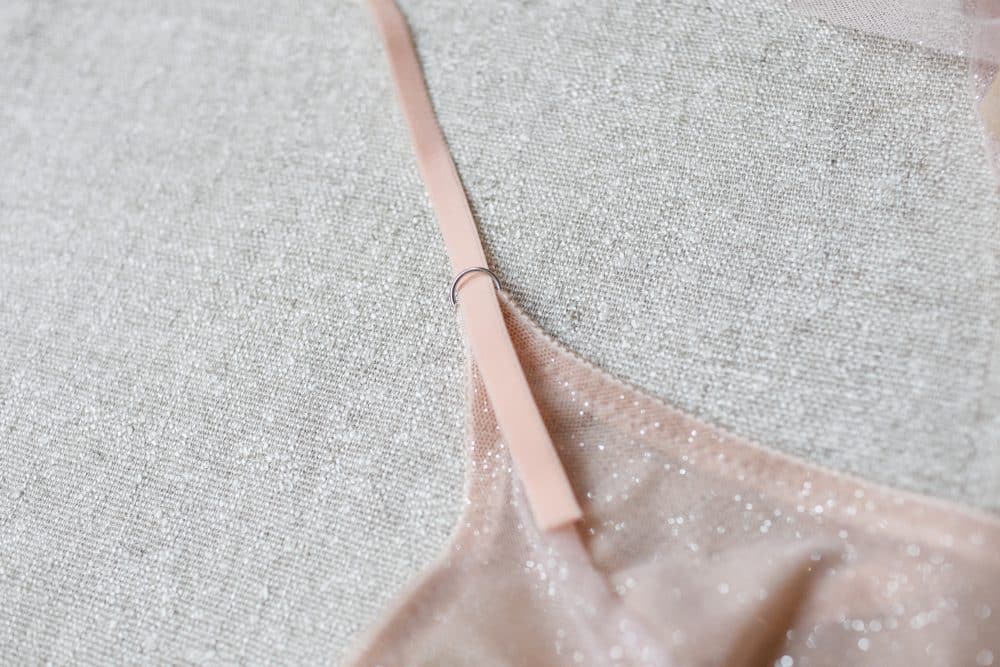
Weave long sides of the strap elastics through rings from back to front. Then weave up and over center bar again just like in previous step.
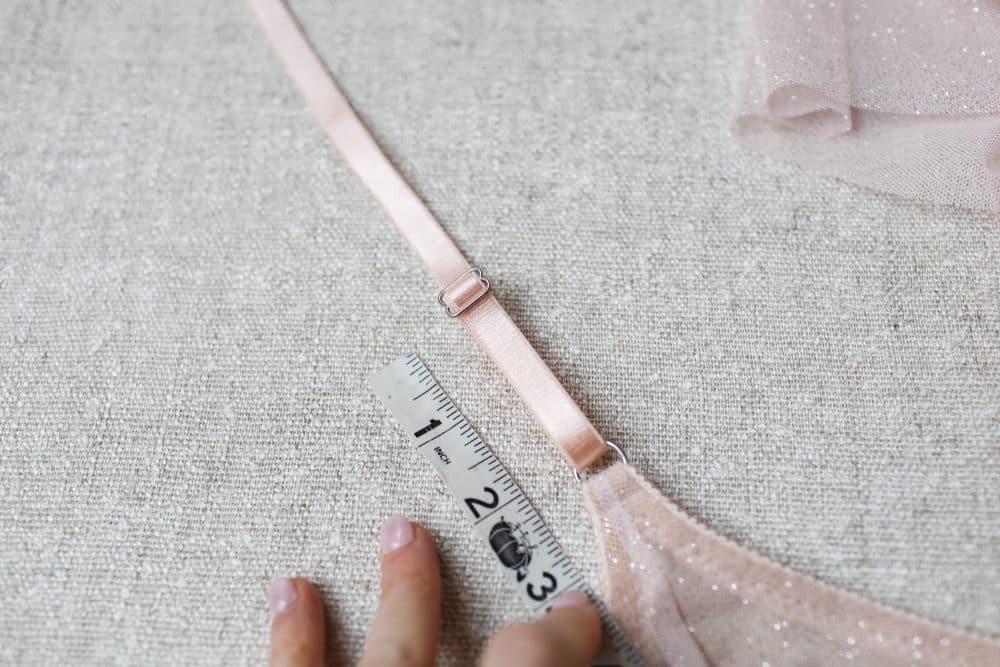
The “standard” length from slider to ring is approximately 2”.
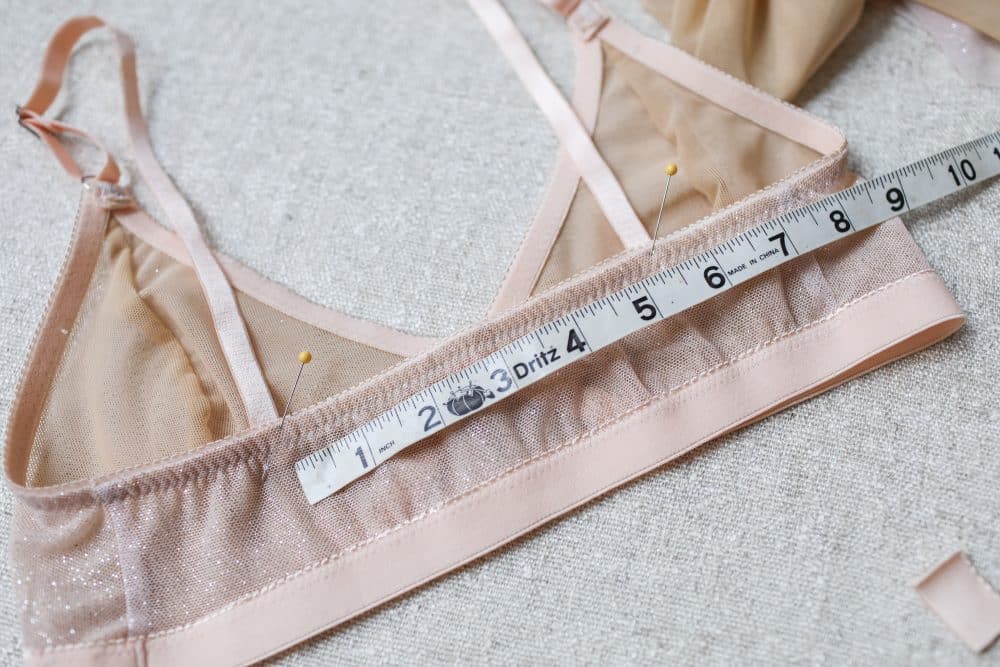
The last step is to attach the straps to the top of the back band. With bralette facing right side up, place straps at strap point. For this tutorial, it’s 5 1/4″ as shown in the image above. The shoulder straps should extend approximately 3/8” below top of back band on inside (the width of the elastic). Sew a bartack approximately 1/8” below the top edge of the back band. You can sew another bartack just below for extra security. For additional support, you can also have the elastic extend to the bottom of the bralette and attach it where the bottom band meets the bottom of the bralette.
Download the *FREE* Barrett bralette
Shop Barrett bralette DIY lingerie kits

