 Today I am sharing a quick tutorial on how I underlined and pieced together the lace for the bodice on Maxine. It’s not super difficult – just a few steps that are much easier to show via pictures rather than words. Also, I didn’t want it to get lost in the last post, so I saved it until today so I could dedicate an entire post to the process. Okay, ready? Here we go.
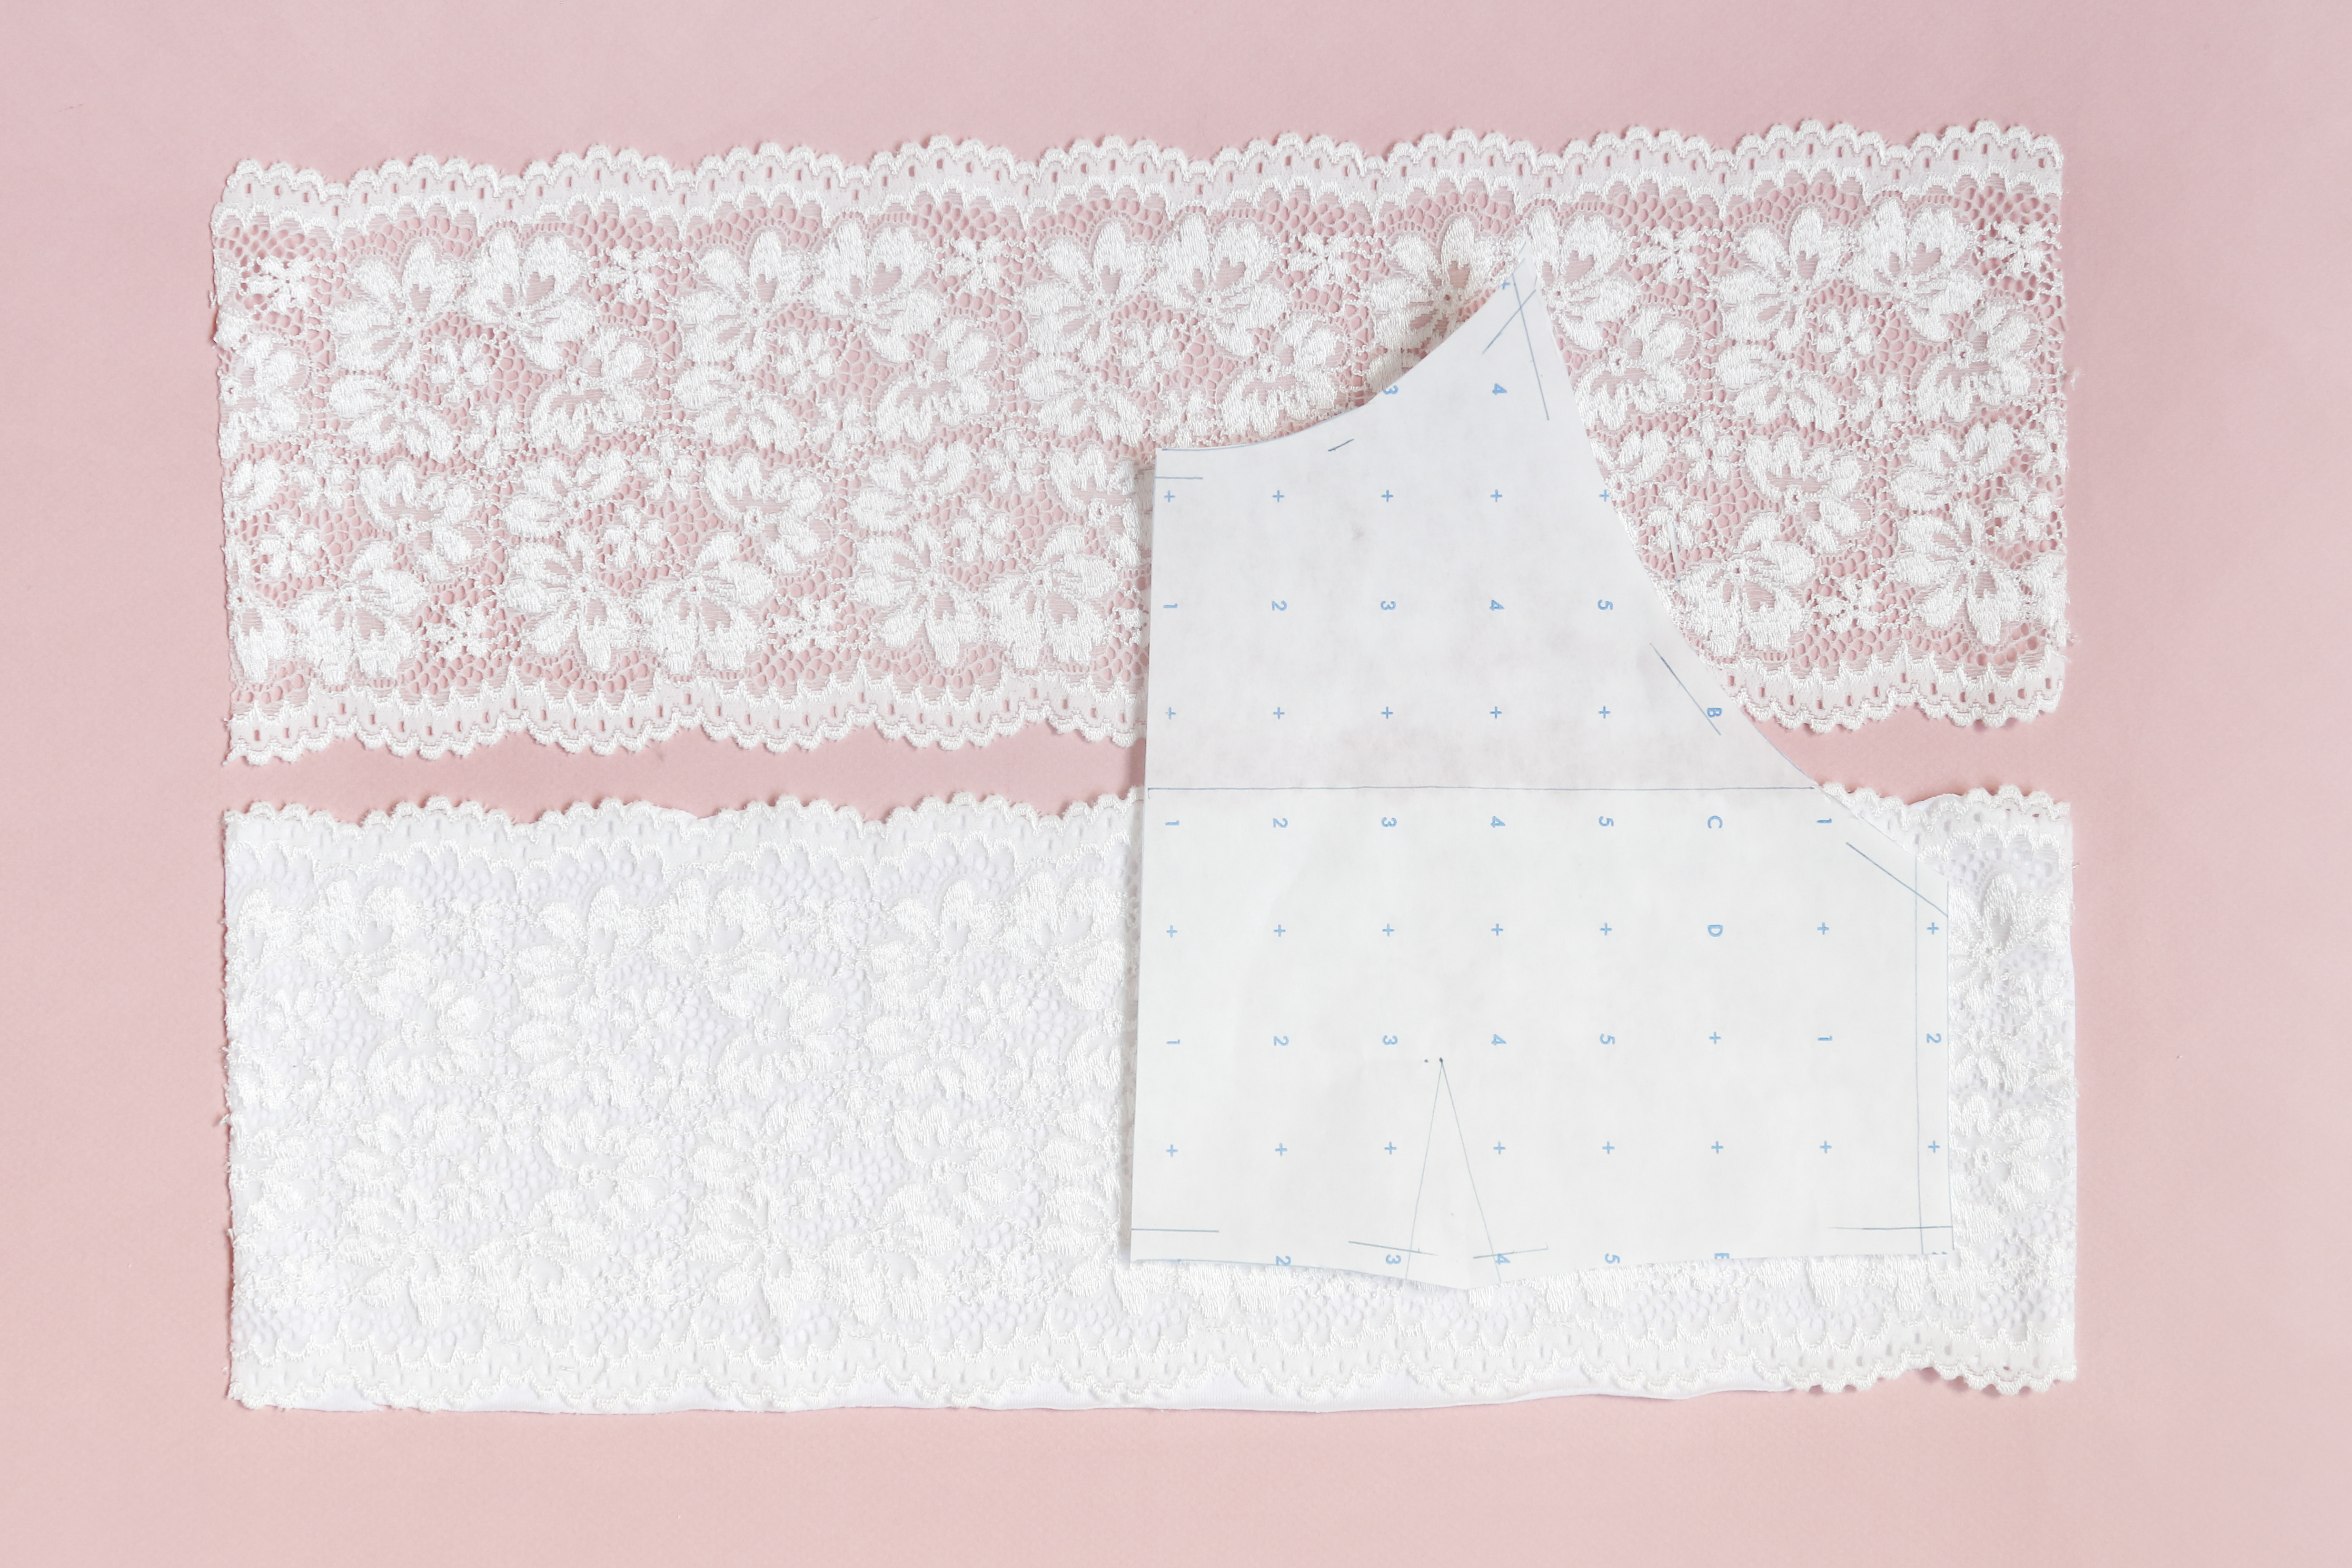
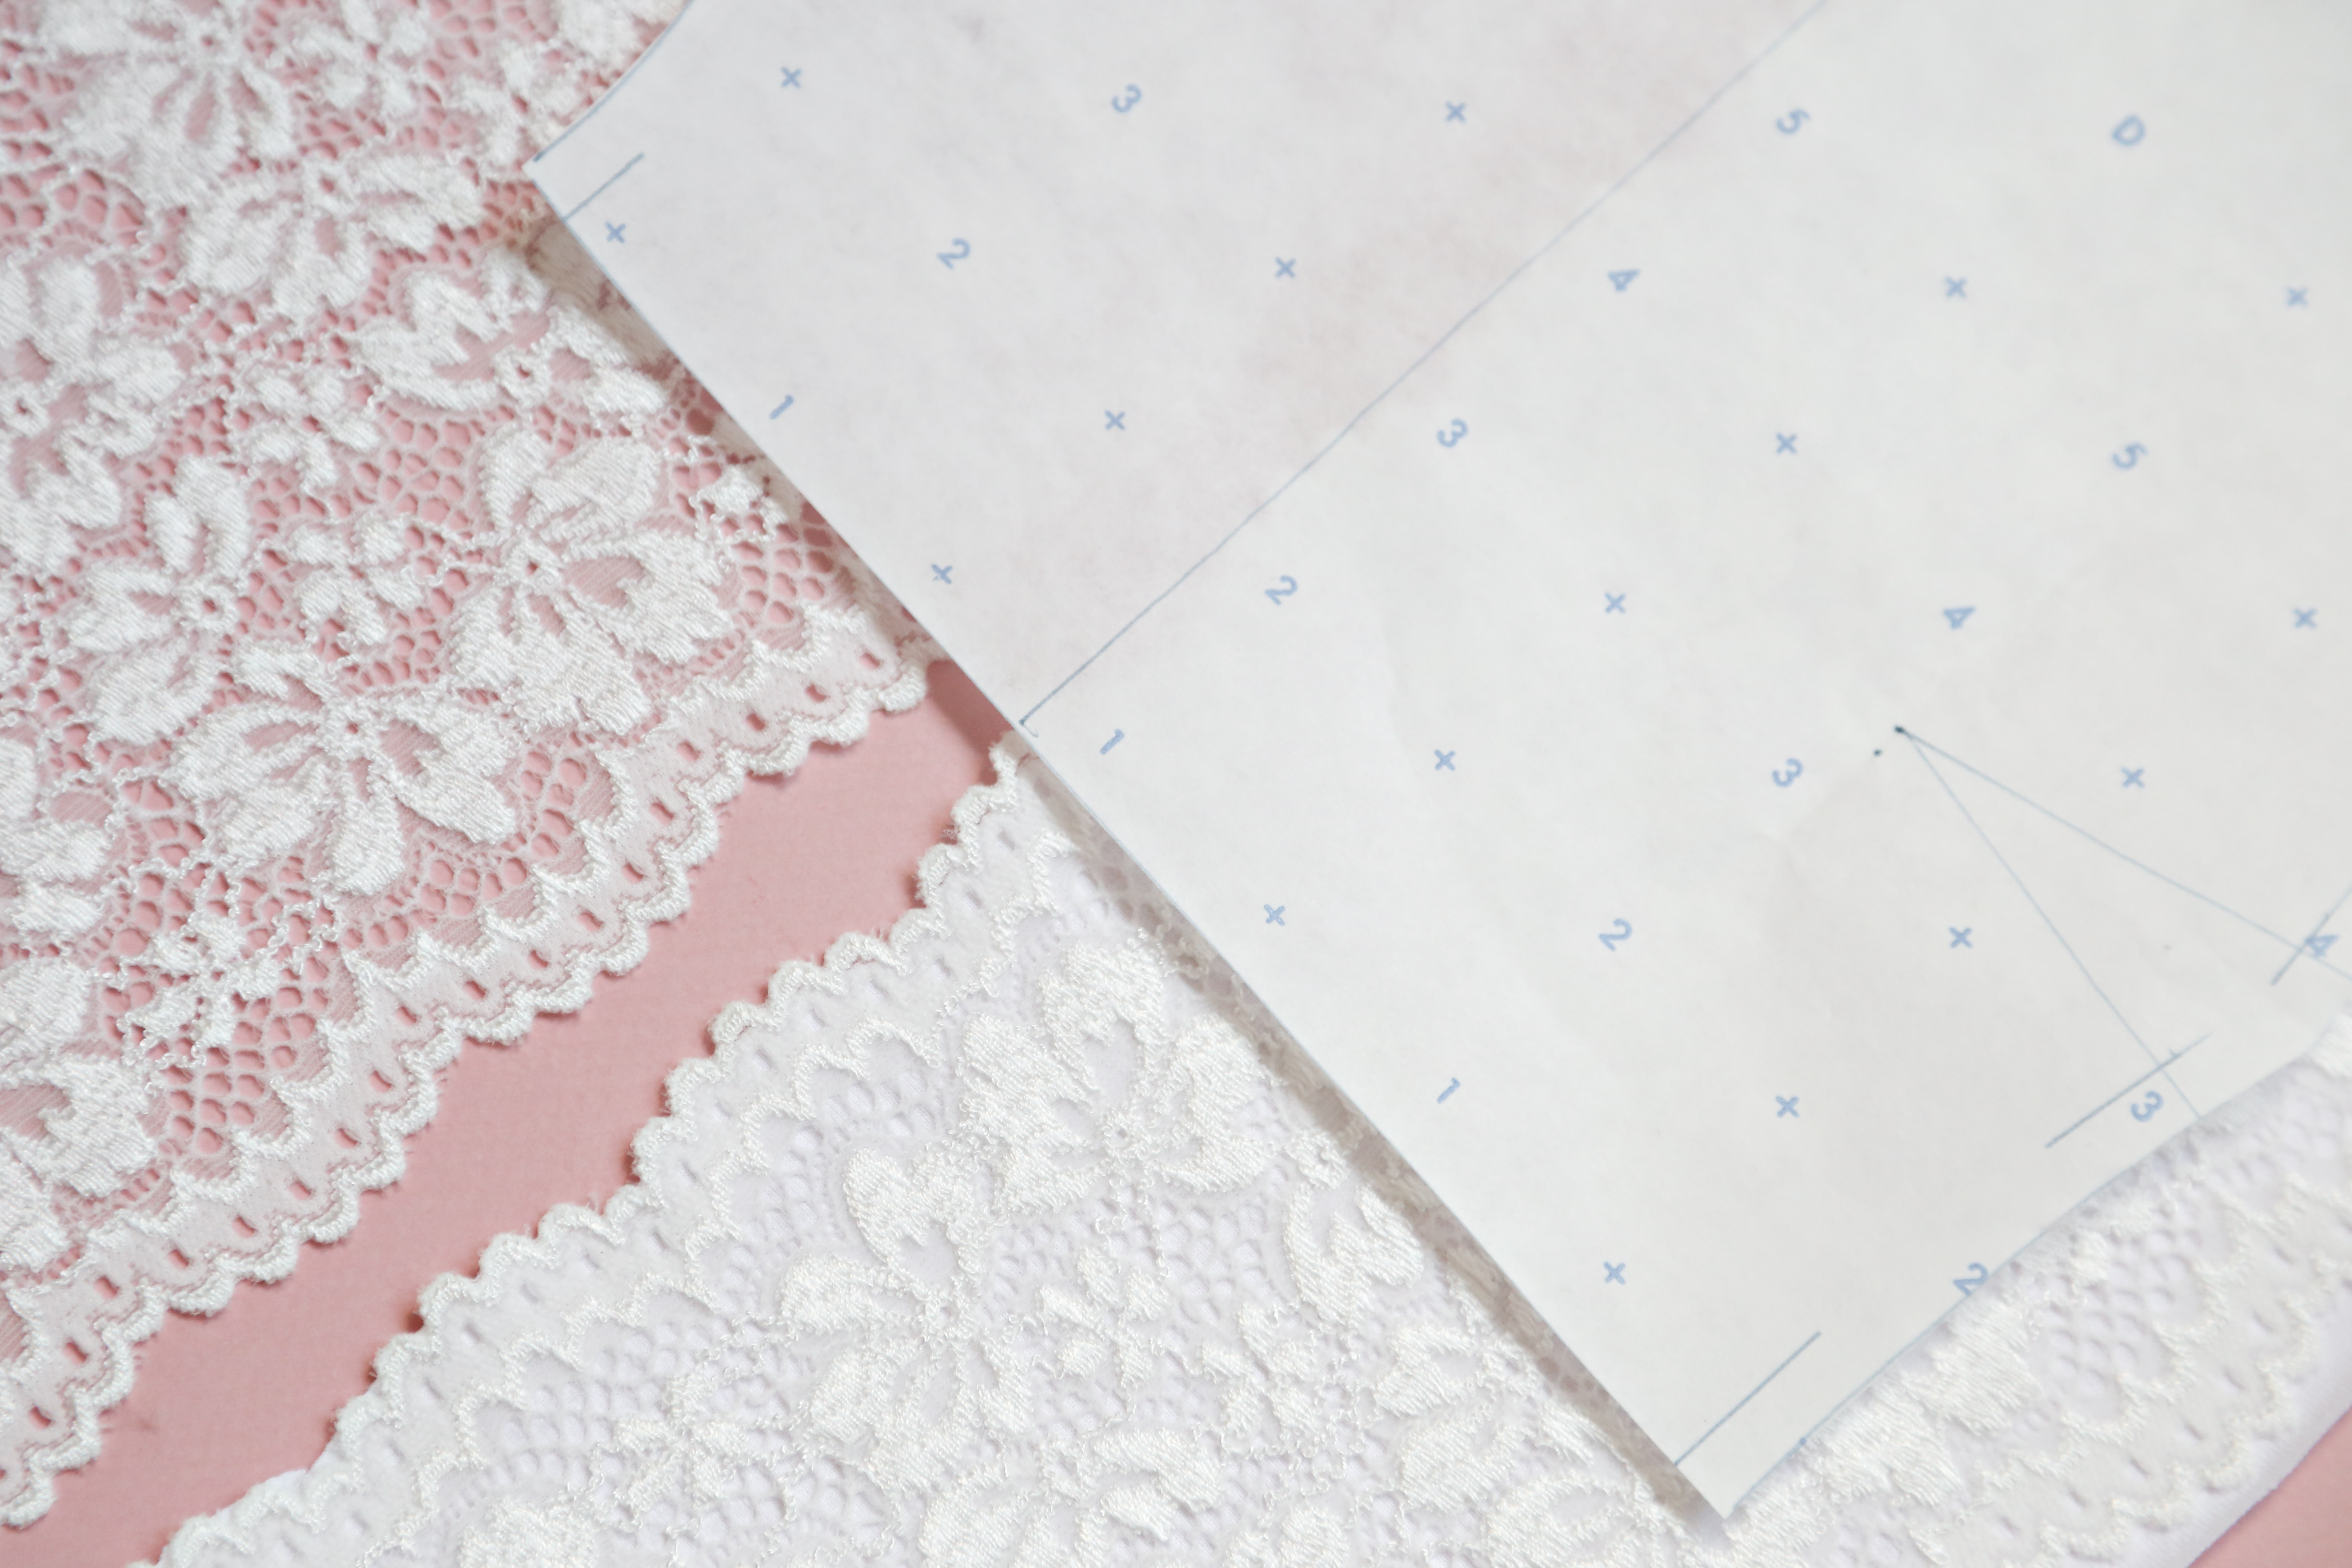
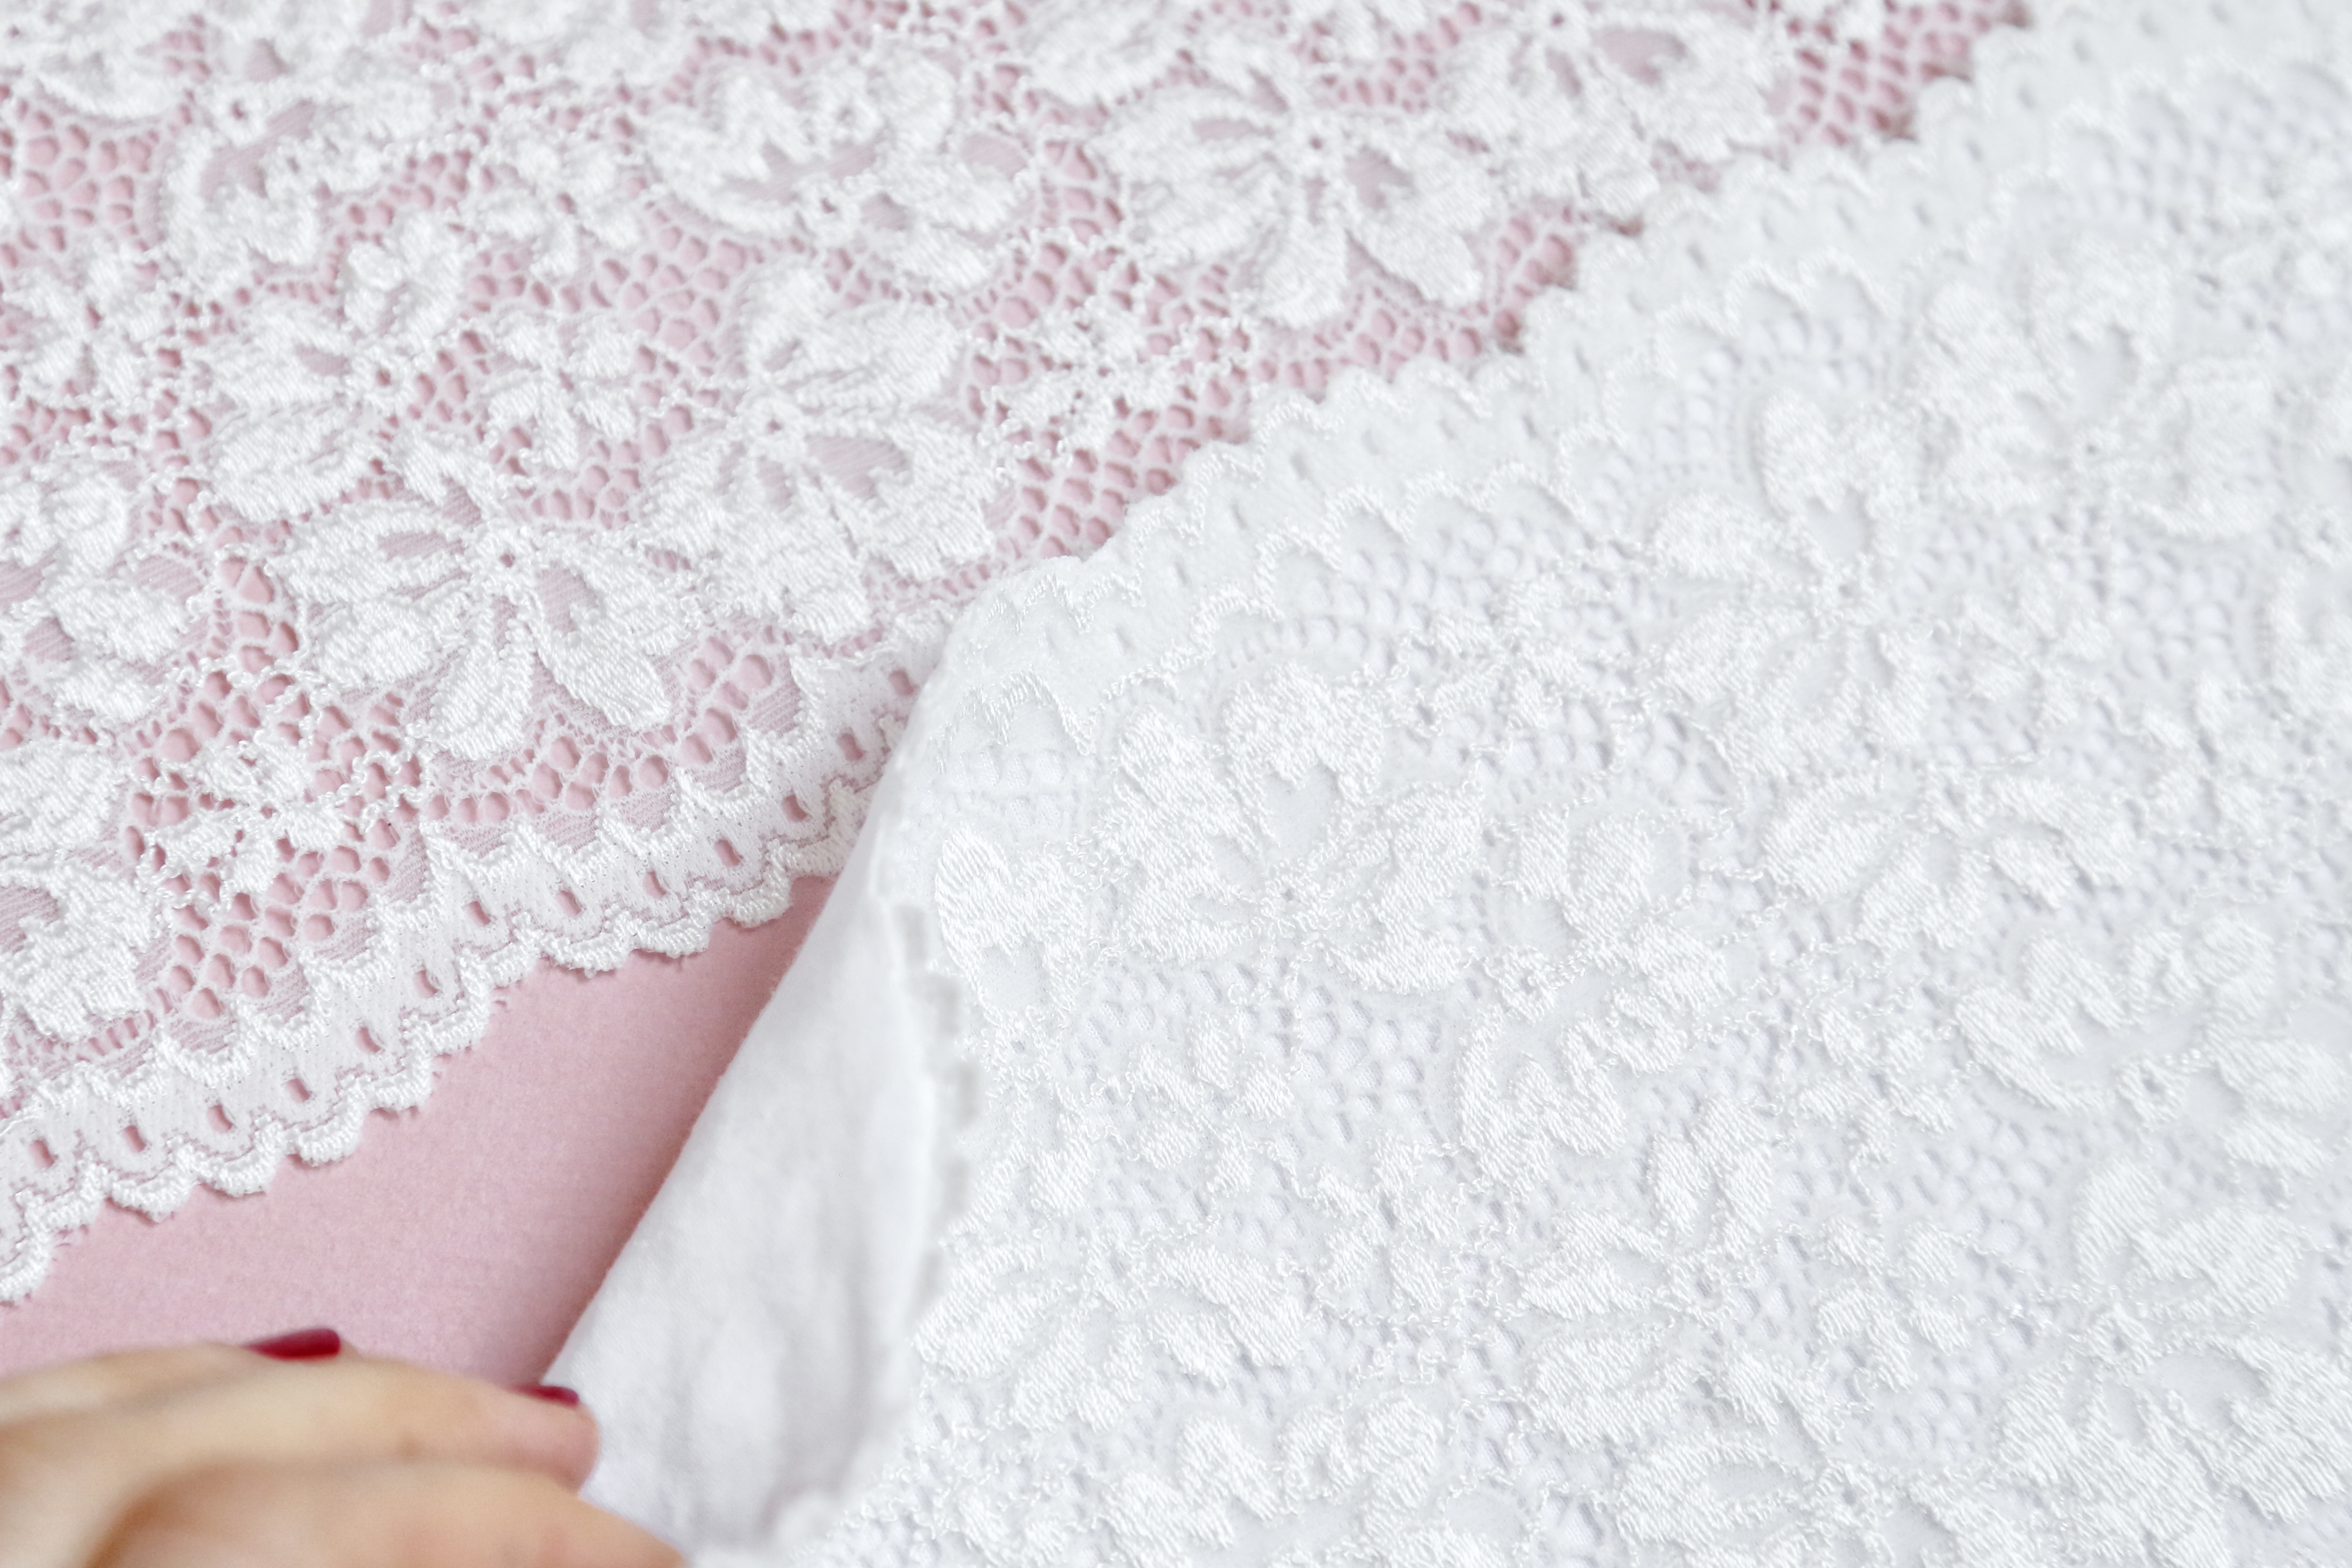
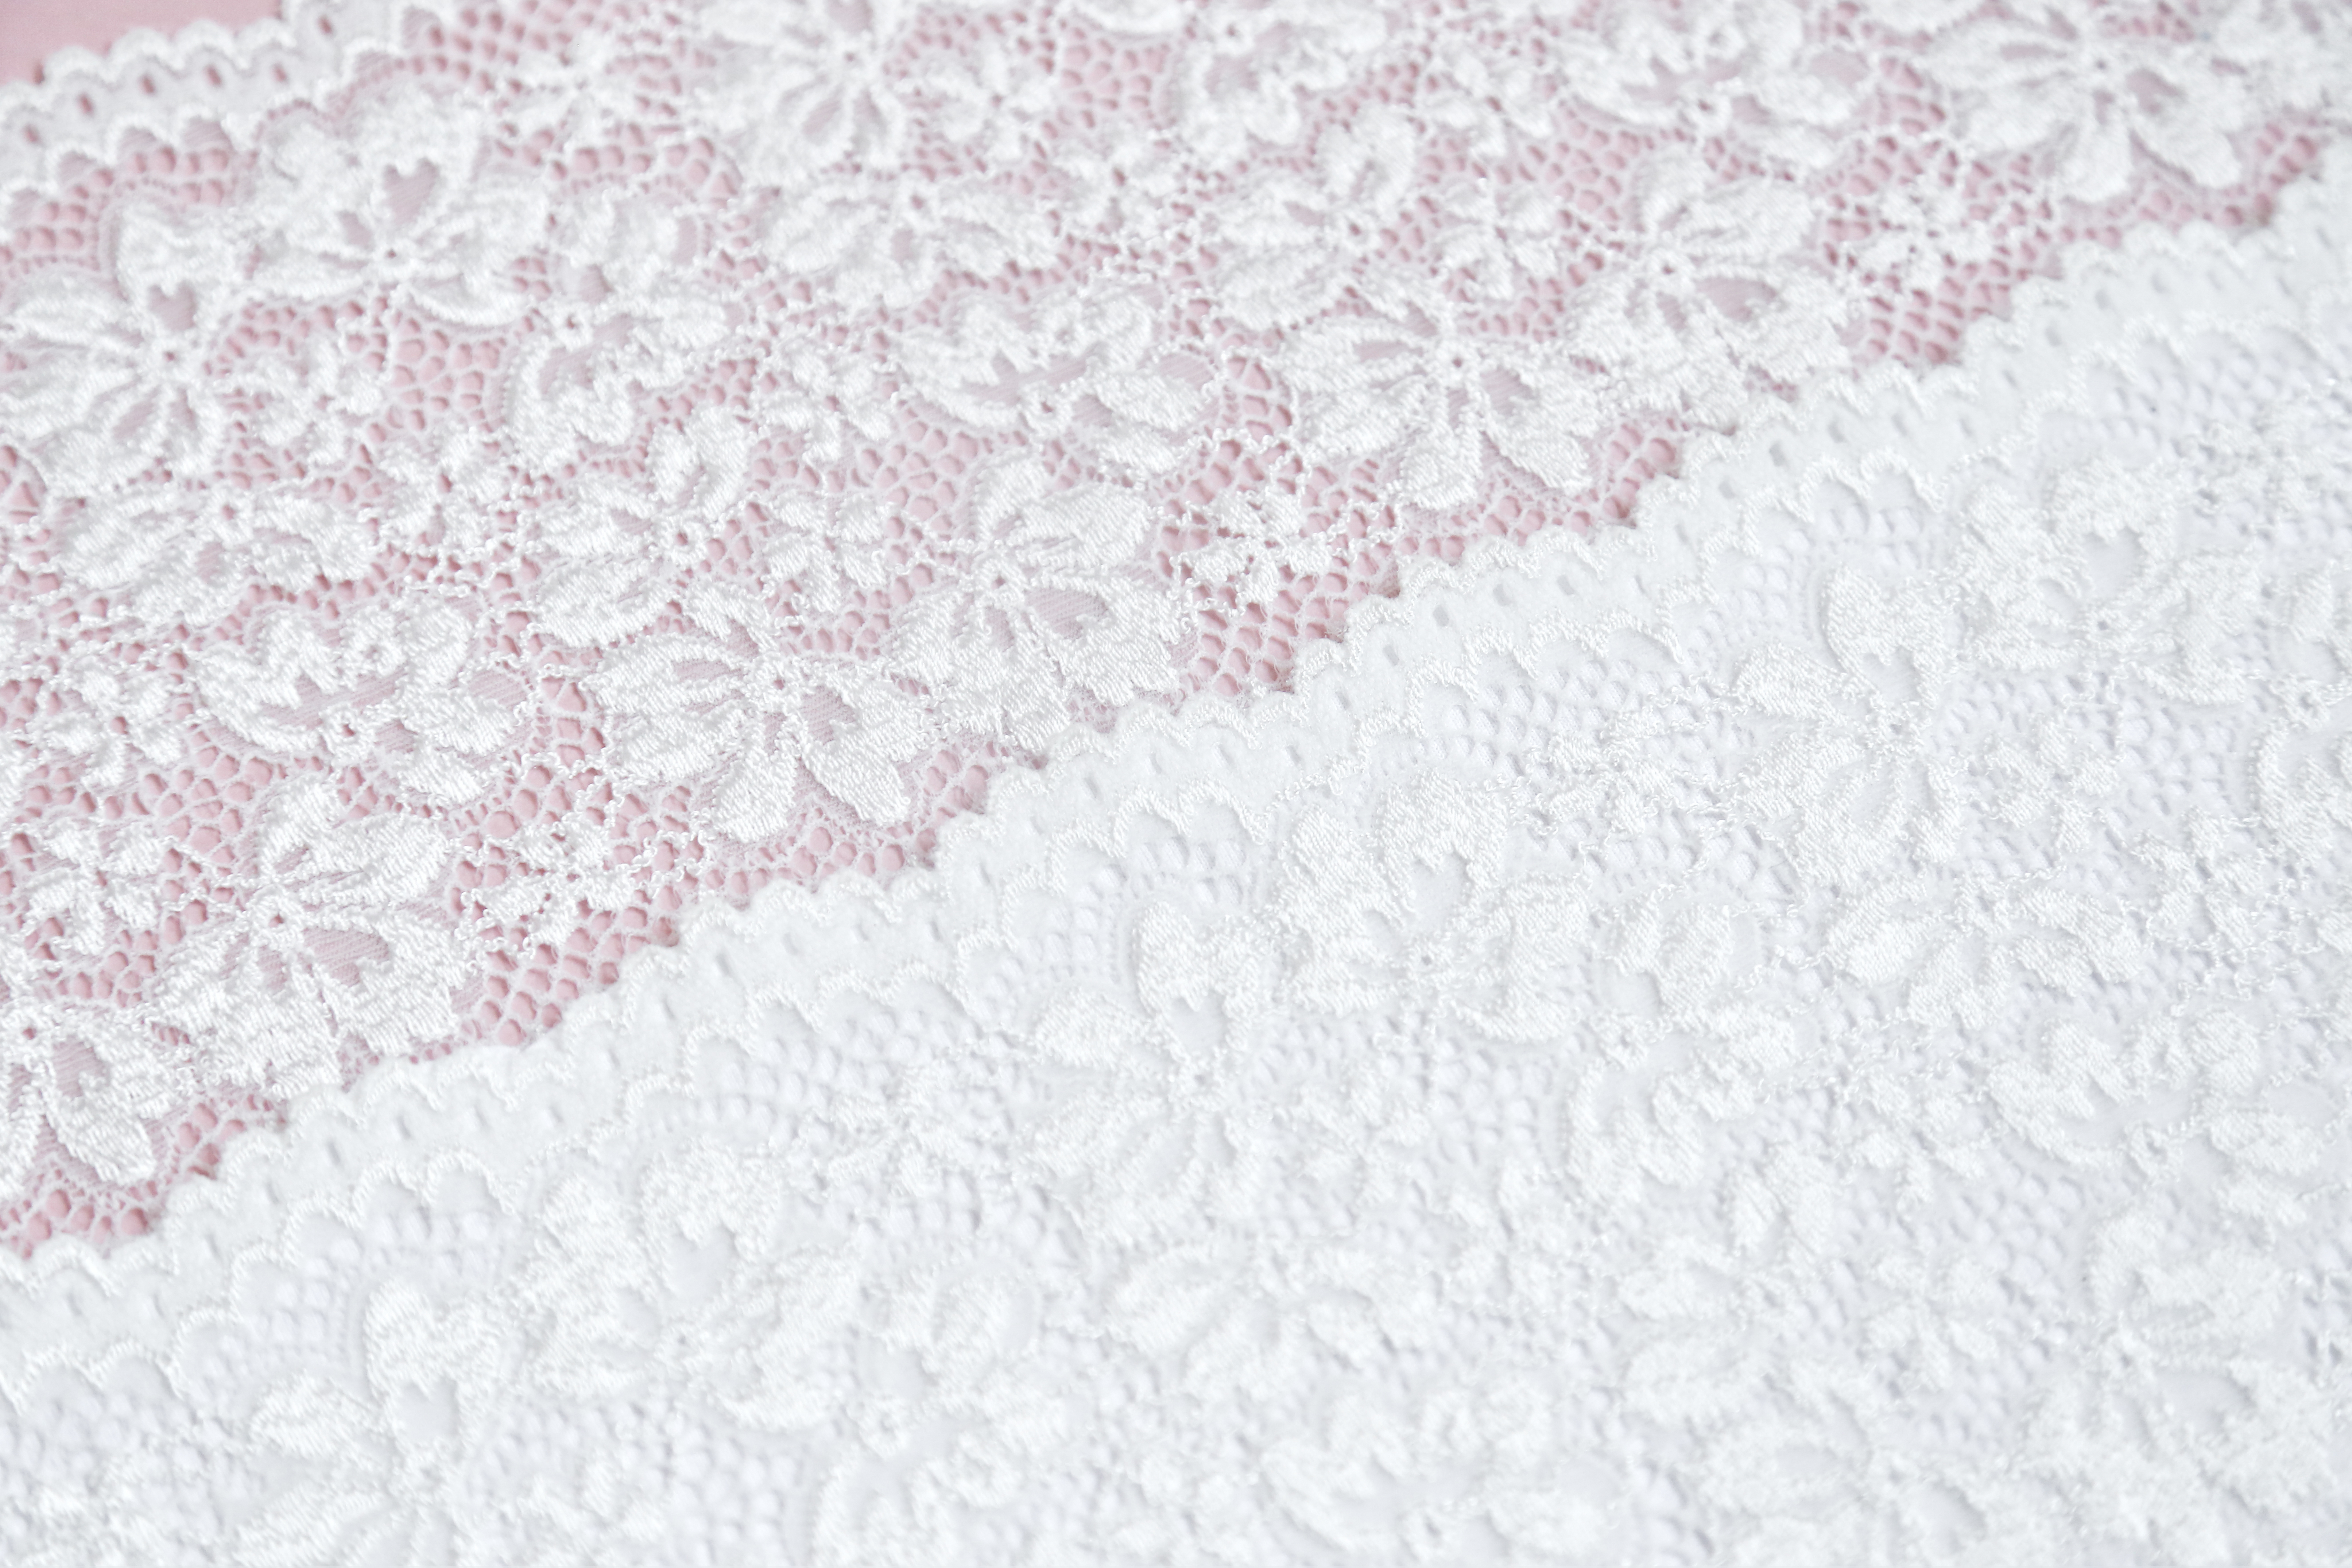
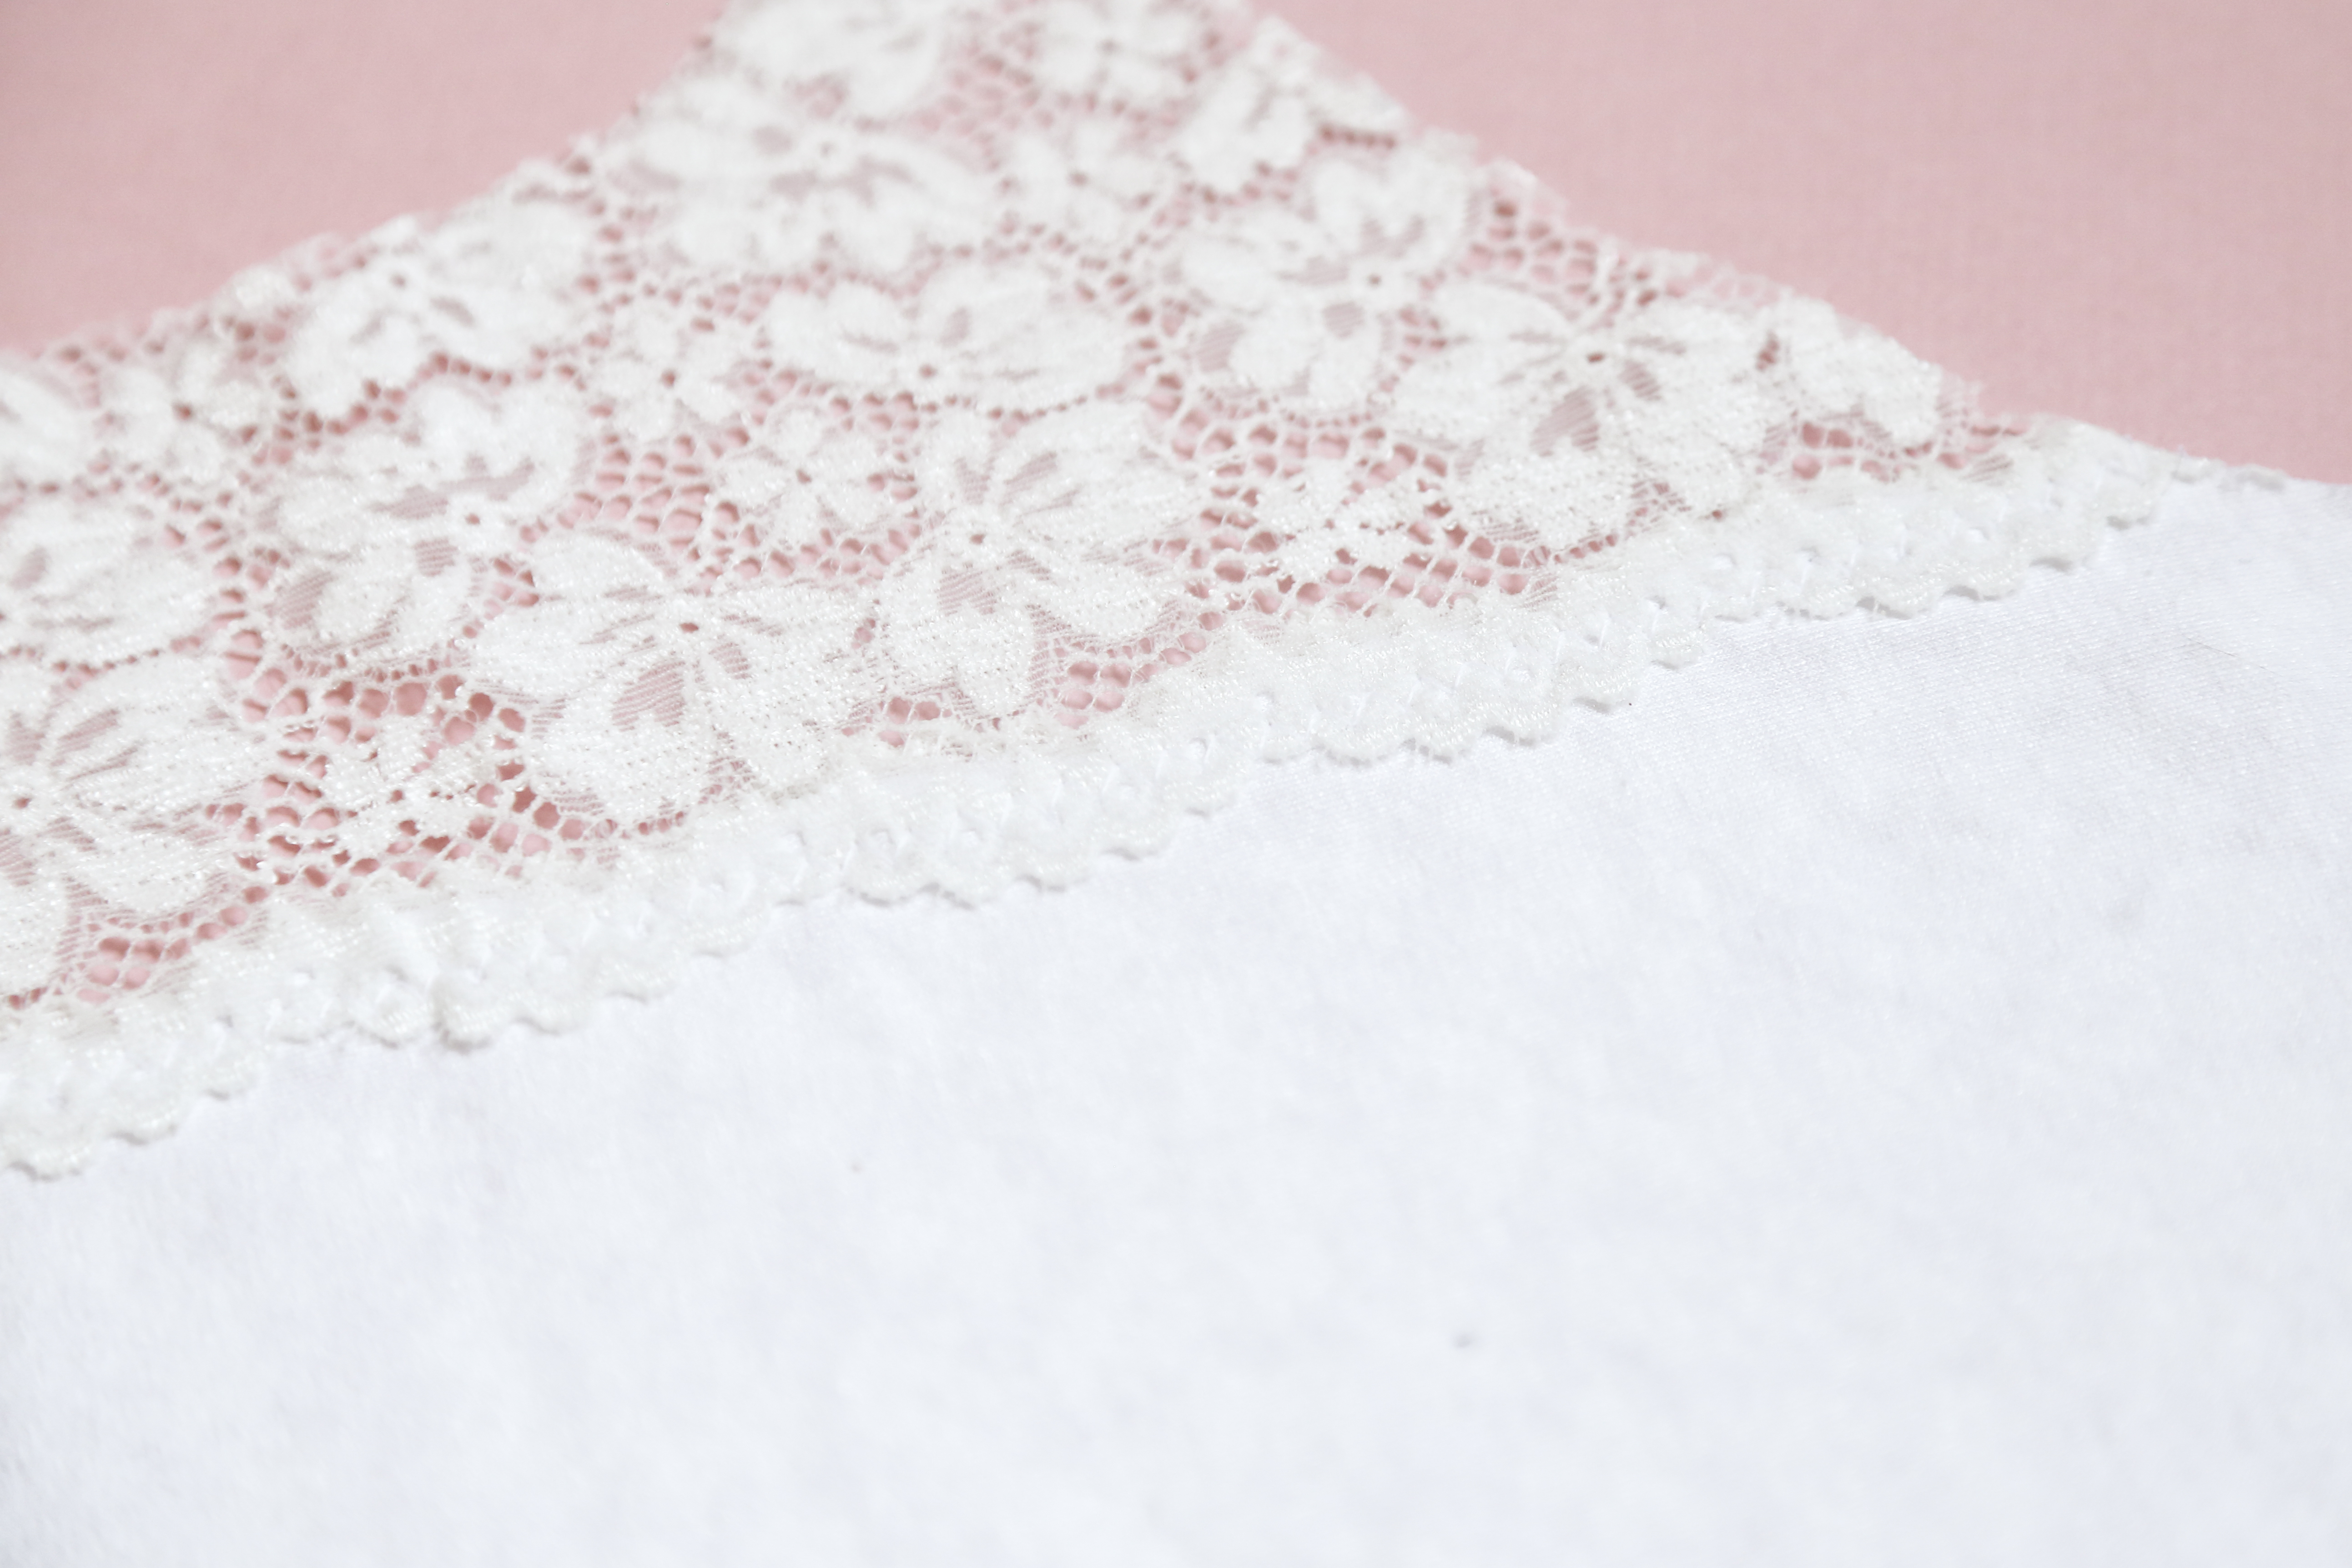
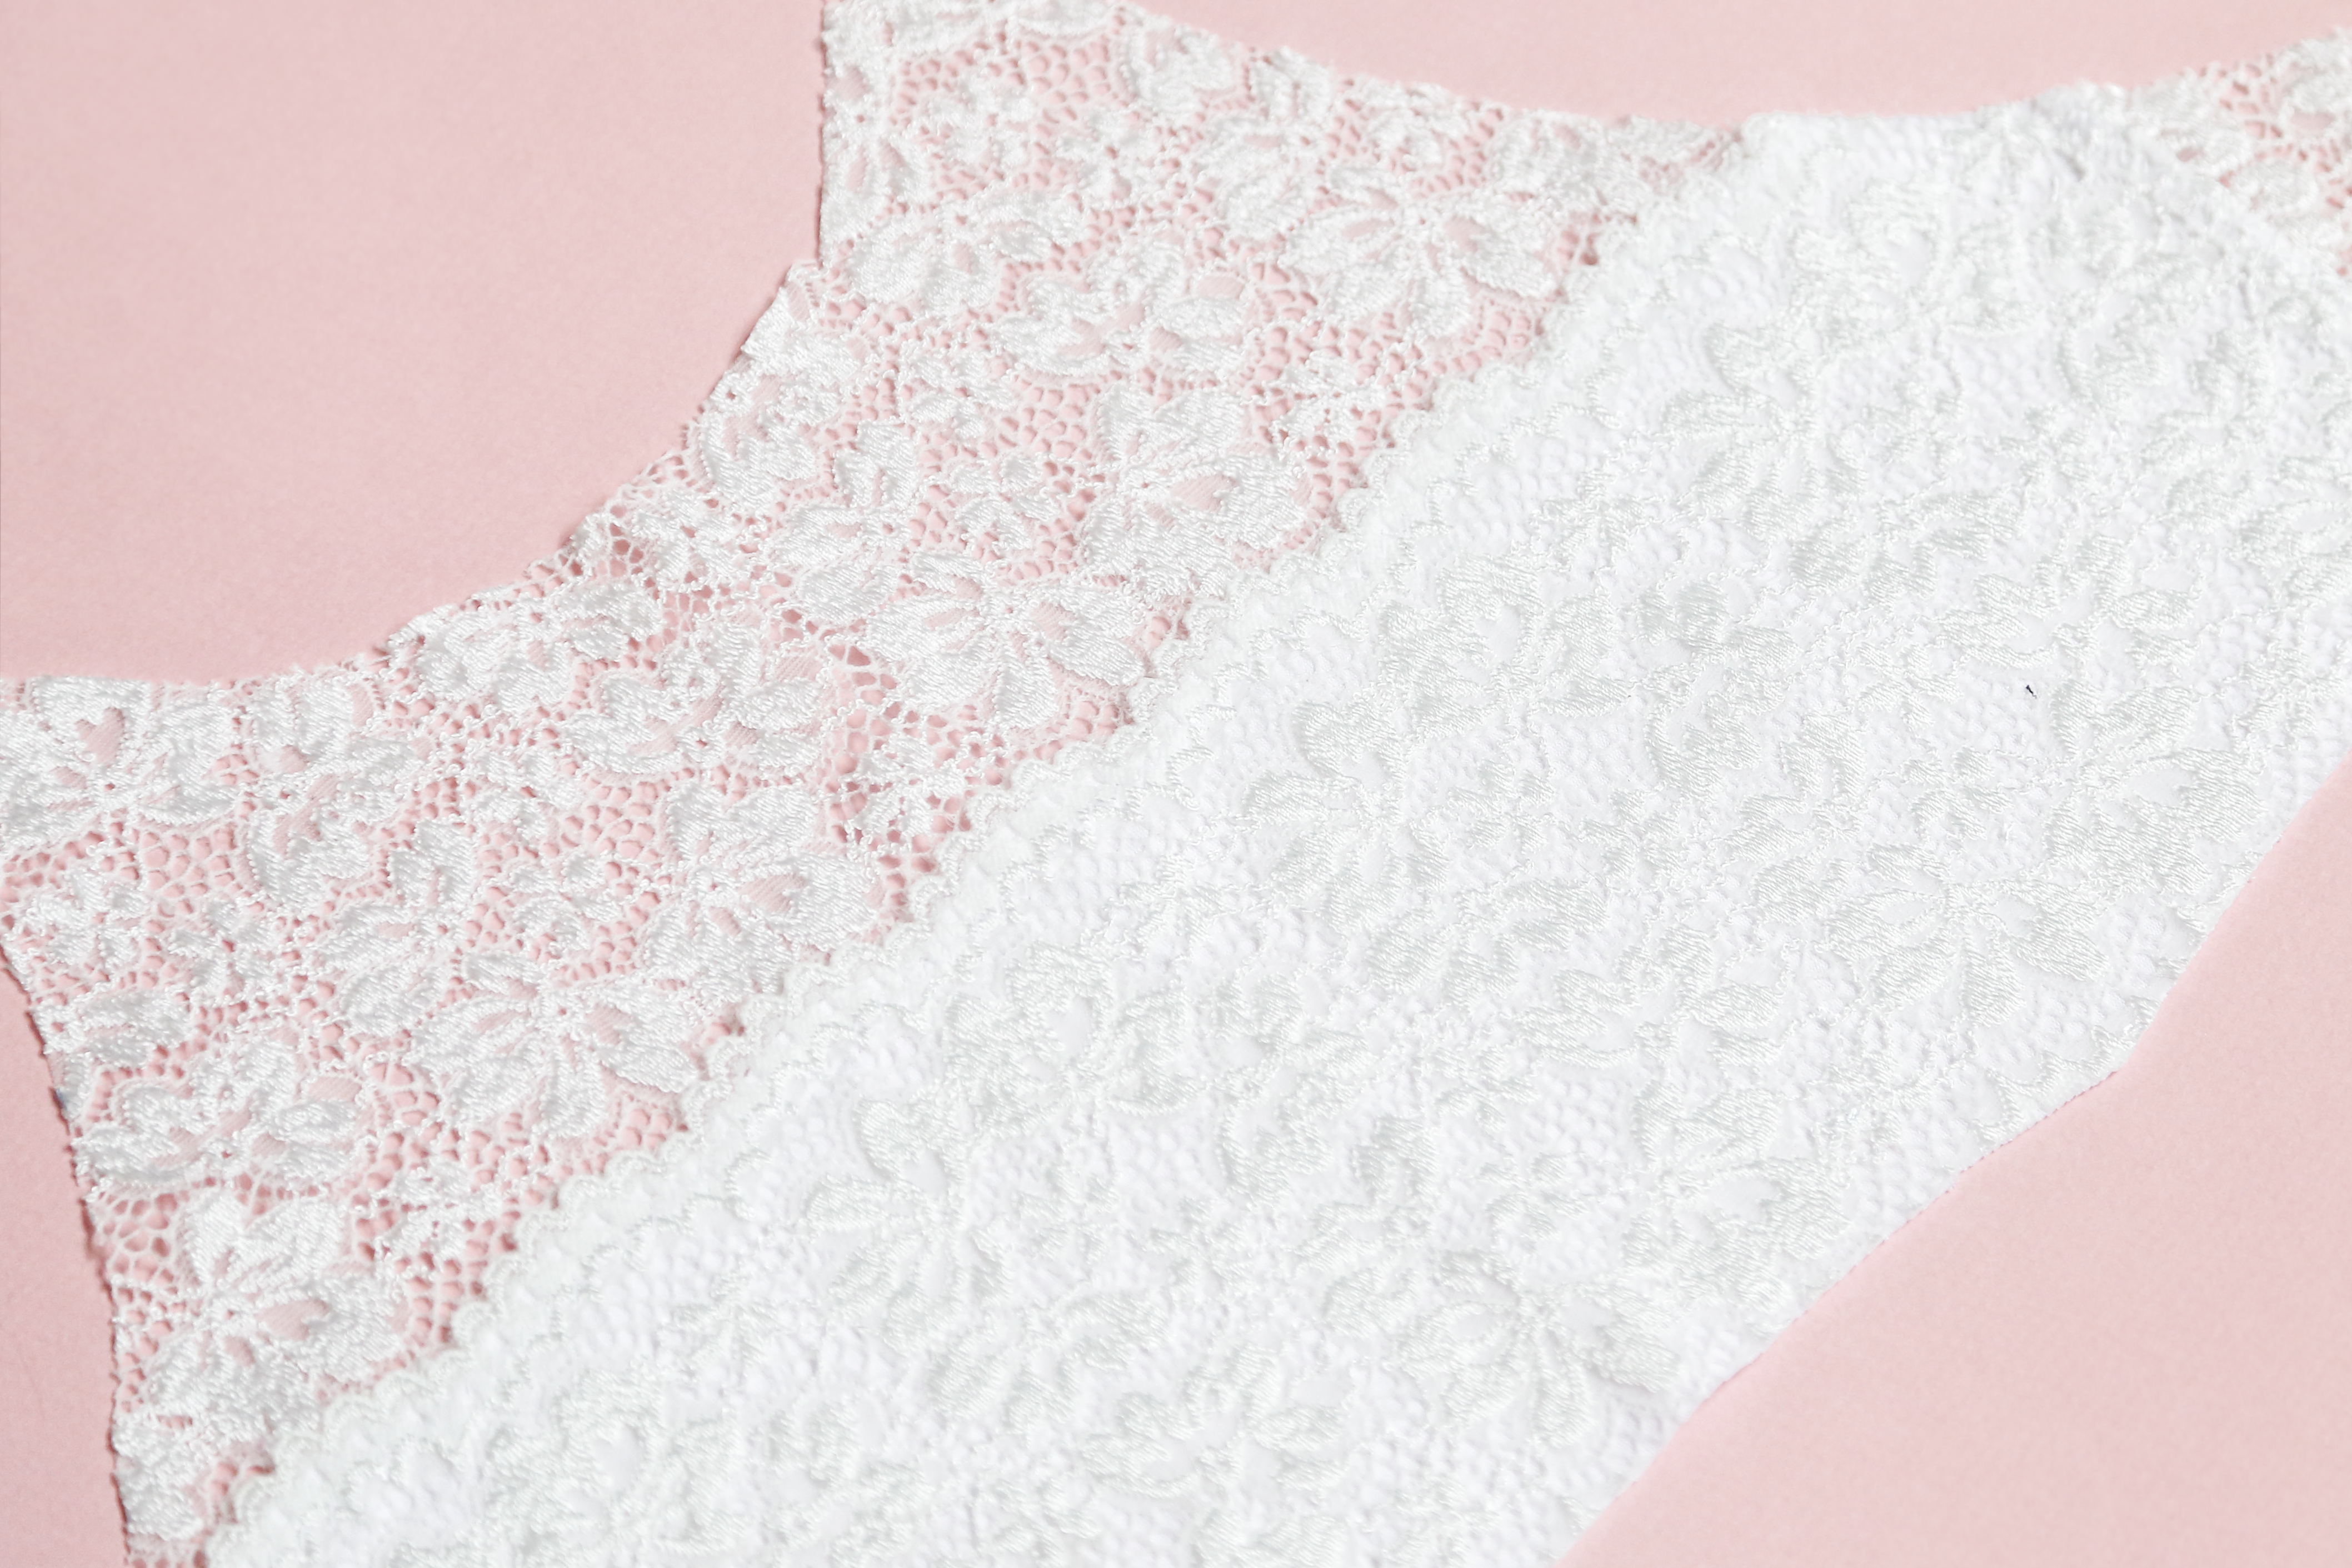
The first step was to figure out the design – where I wanted the scallop edges to overlap and where I wanted the underlined portion to end. I was going for a no-visible-nipple look, so I decided above the bust point and drew a horizontal line on the pattern just above the apex. Then, I cut two equal lengths of lace and underlined one with white jersey knit. To underline, I used Odif’s 505 to spray baste together, and then cut just inside the scallop edges using an 18mm rotary cutter. After, I overlapped the two laces so that the high point of one scallop aligned with the low point of the other scallop. I don’t like using pins – it distorts fabric, especially fine fabrics such as lace – so I used a washable glue stick to adhere the two strips. Then, I used a zigzag stitch and sewed a straight line from one end to the other. After, I cut cut out the bodice pattern. What I like most about this finish is that the edge of the jersey is sandwiched between the two lace layers, so it doesn’t have to be finished with a serge/overlock.
See, it ain’t so hard! Got any tips of your own? Share how you piece lace together in the comments below!