Madalynne X Simplicity 8624 Sew Along: Day 1


In this post, we will be going over a description of the 8624, intended bra makers, fabric + trims, and cutting.
Before we get started, a few things I want to cover:
- If you missed the announcement, hop on over to this post to read all about it. I also did a post on the inspiration and ways to wear the 8624.
- I love seeing what you make, so be sure to share your in progress and finished 8624 on Instagram. It also helps other bra makers too. Tag @mmadalynne and use the hashtag #bramakingwithmadalynne
- All fabrics and trims that I use for this sew along come from my kits, which you can purchase here.
DESCRIPTION
Even though I covered this in the announcement post, I want there to be a description of the pattern in this series. So, the 8624 is a high neck, partial band underwire bra with foam cups and keyhole front opening. It features adjustable shoulder straps, a hook and eye closure at center back, and is available in sizes 32A through 42DD. The 8624 also comes with a low rise cheeky undie pattern, but I will not be covering how to make it in this series.
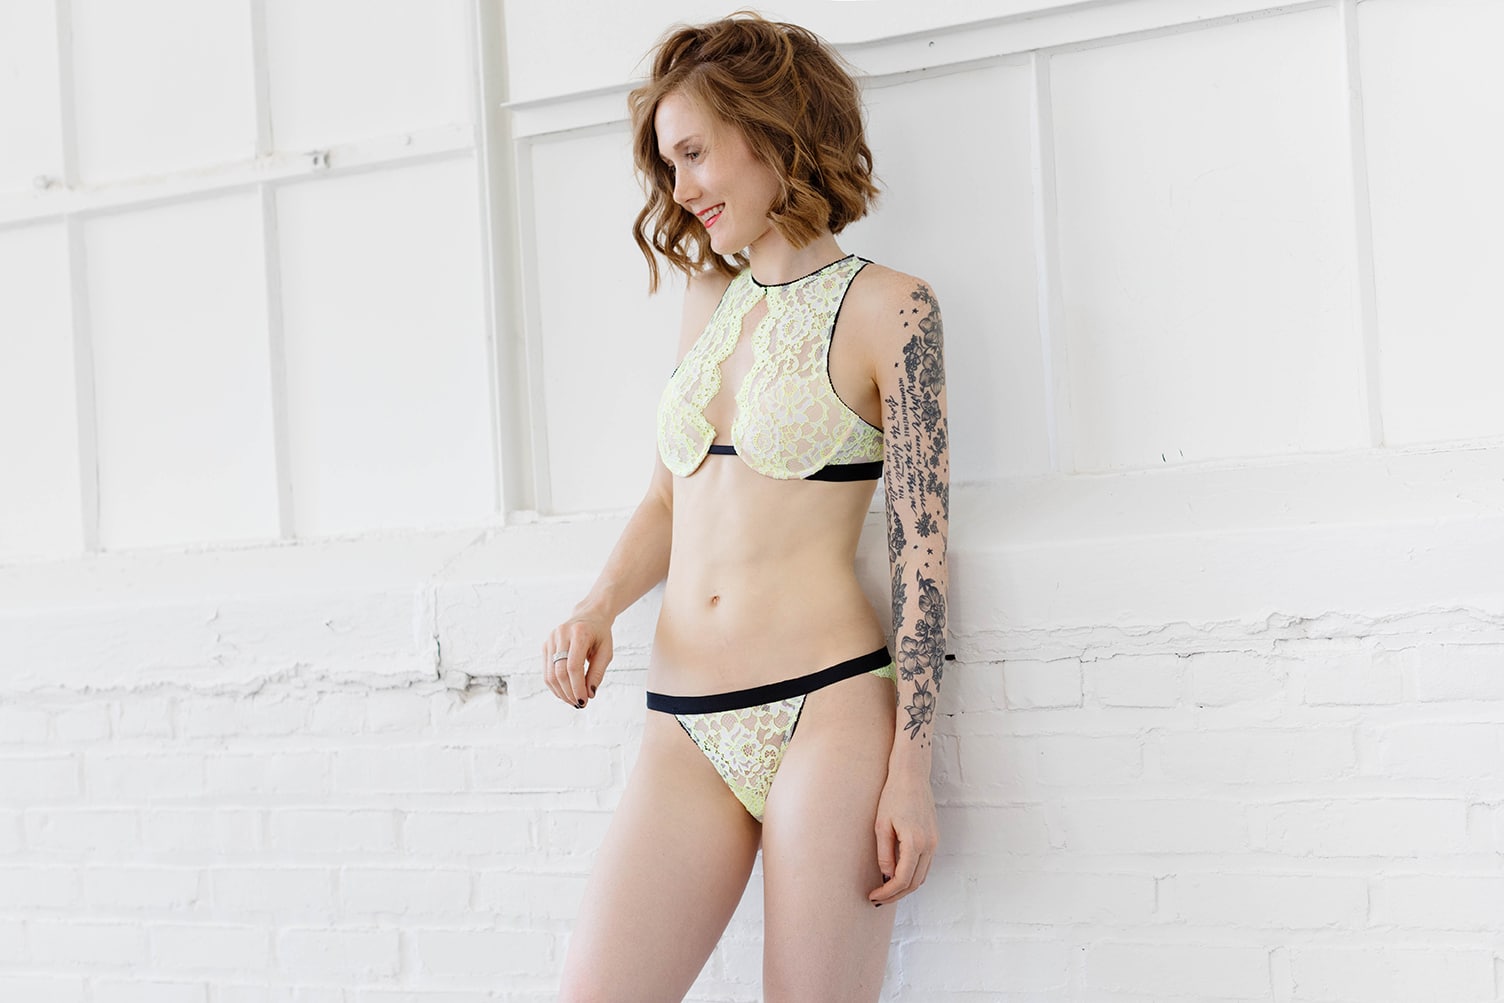

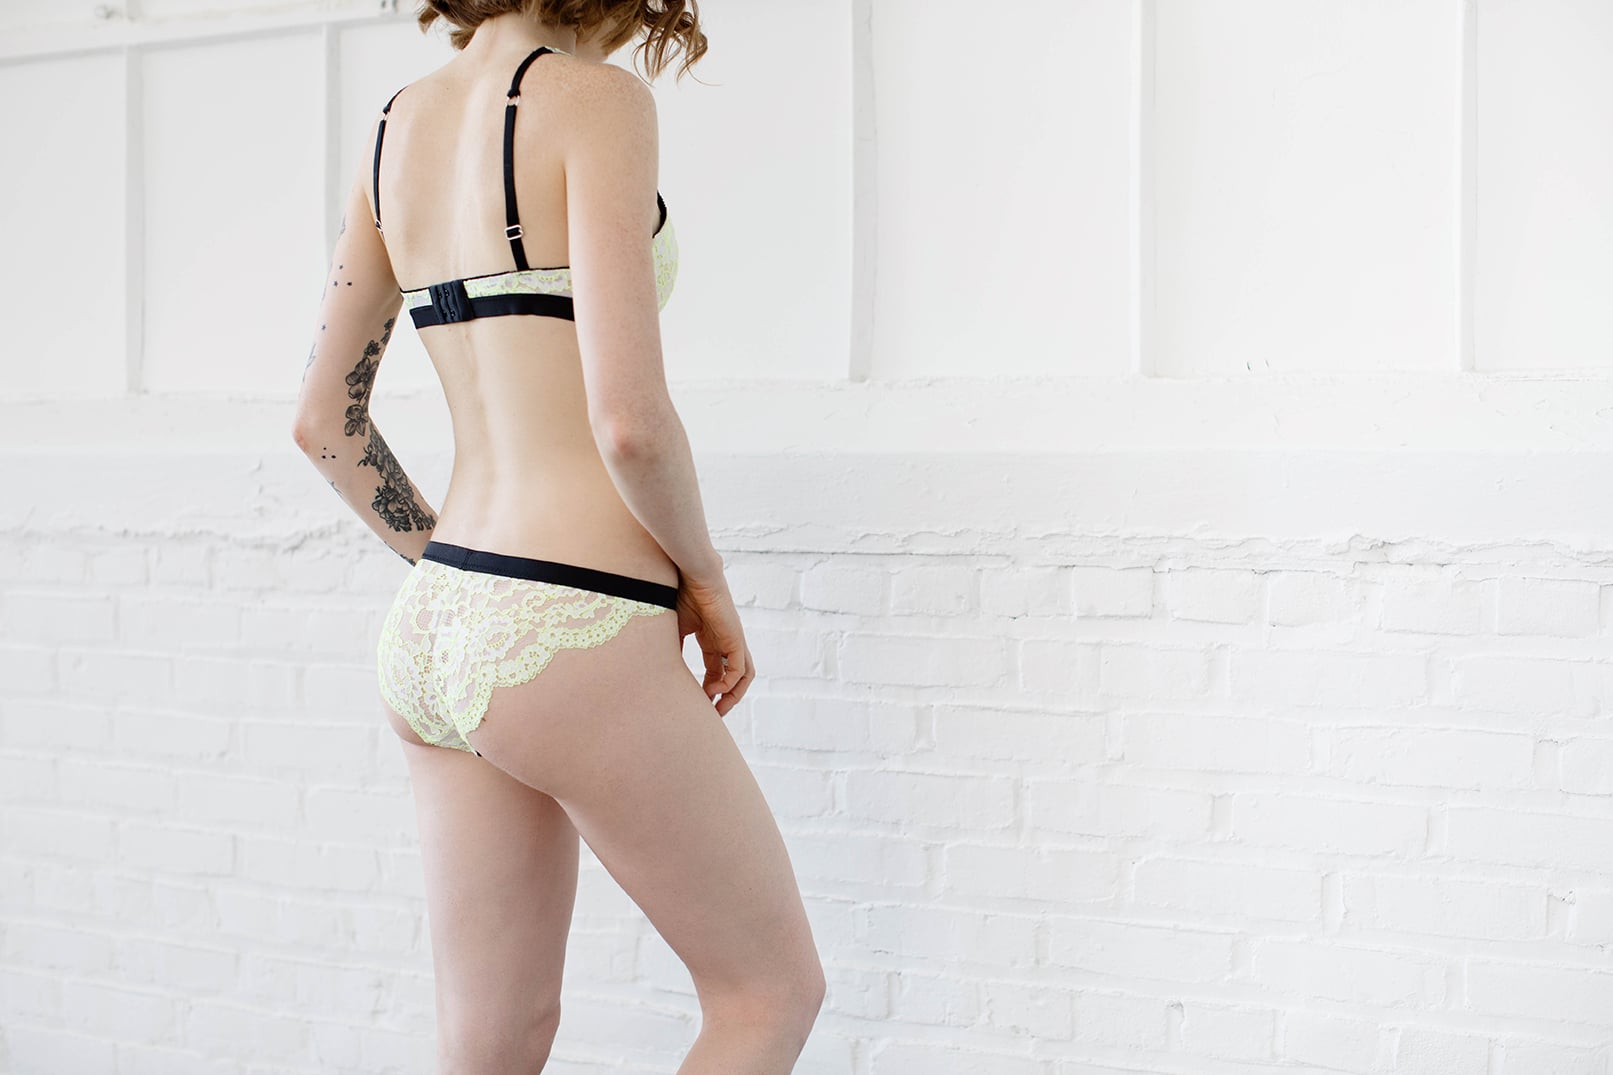

As opposed to my other 4 lingerie patterns with Simplicity, which are basic styles (click here to scope them out), it was my goal to create a more complex, fashion forward design with the 8624. It’s the most challenging pattern I’ve come out with and is intended for intermediate/advanced sewists. With that said, however, my first sewing project was a fully lined strapless dress with boning and a bubble hem. I had never sewn anything before that peach taffeta number, but I made it through. So, even if you’ve never sewn a bra, I don’t want to discourage you. Go ahead! I’ll be your biggest cheerleader and say, “you can do it!”, especially with the help of this sew along.
FABRICS + TRIMS
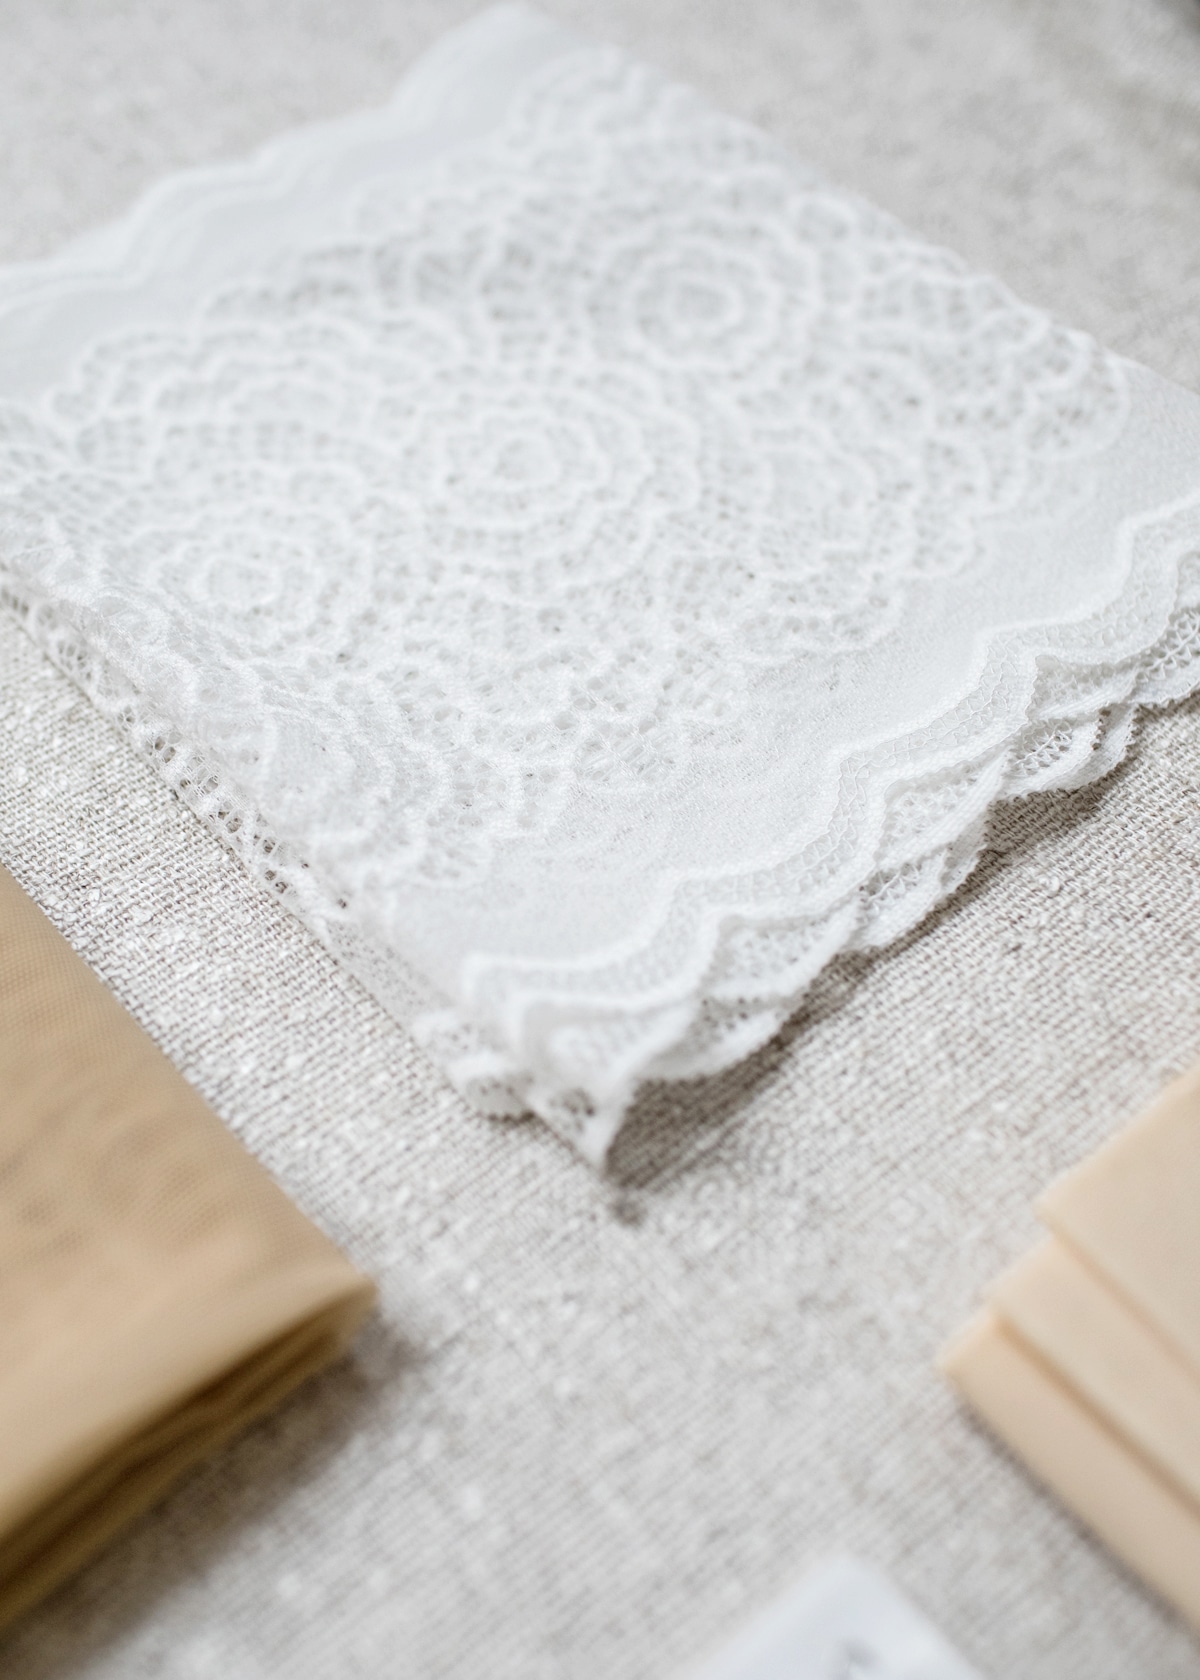
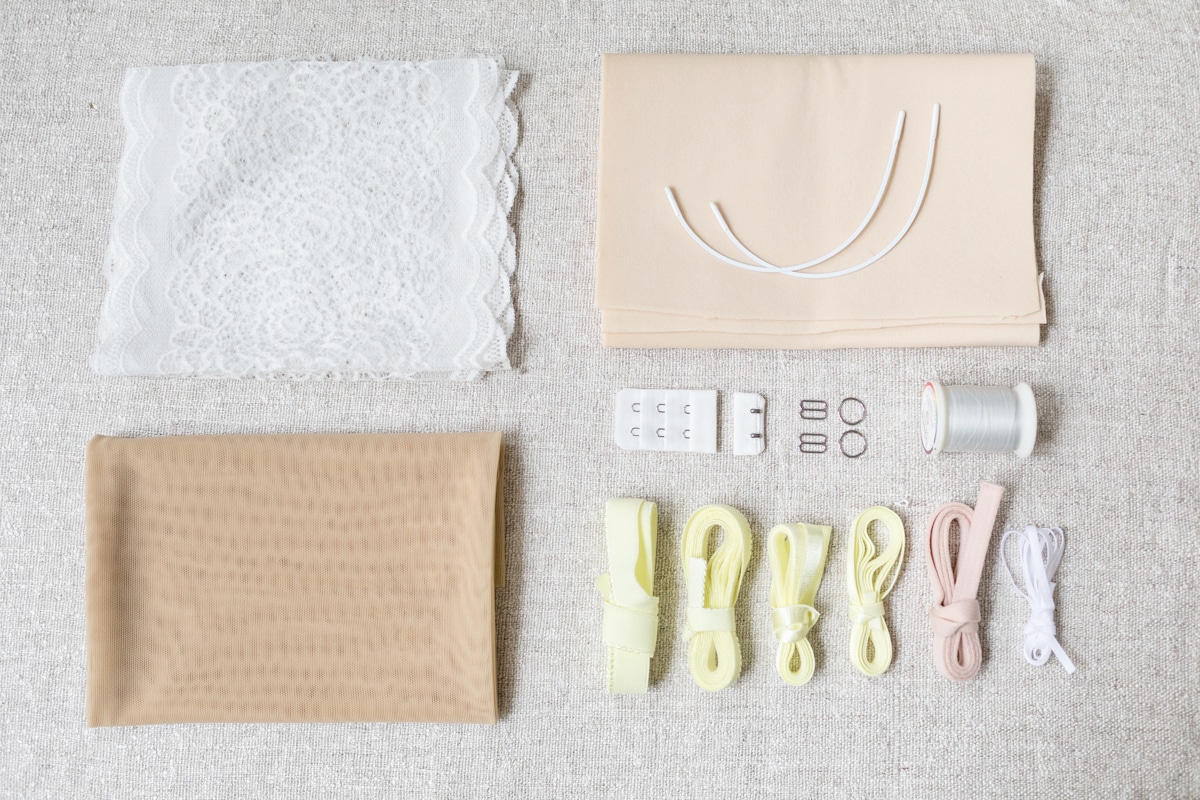
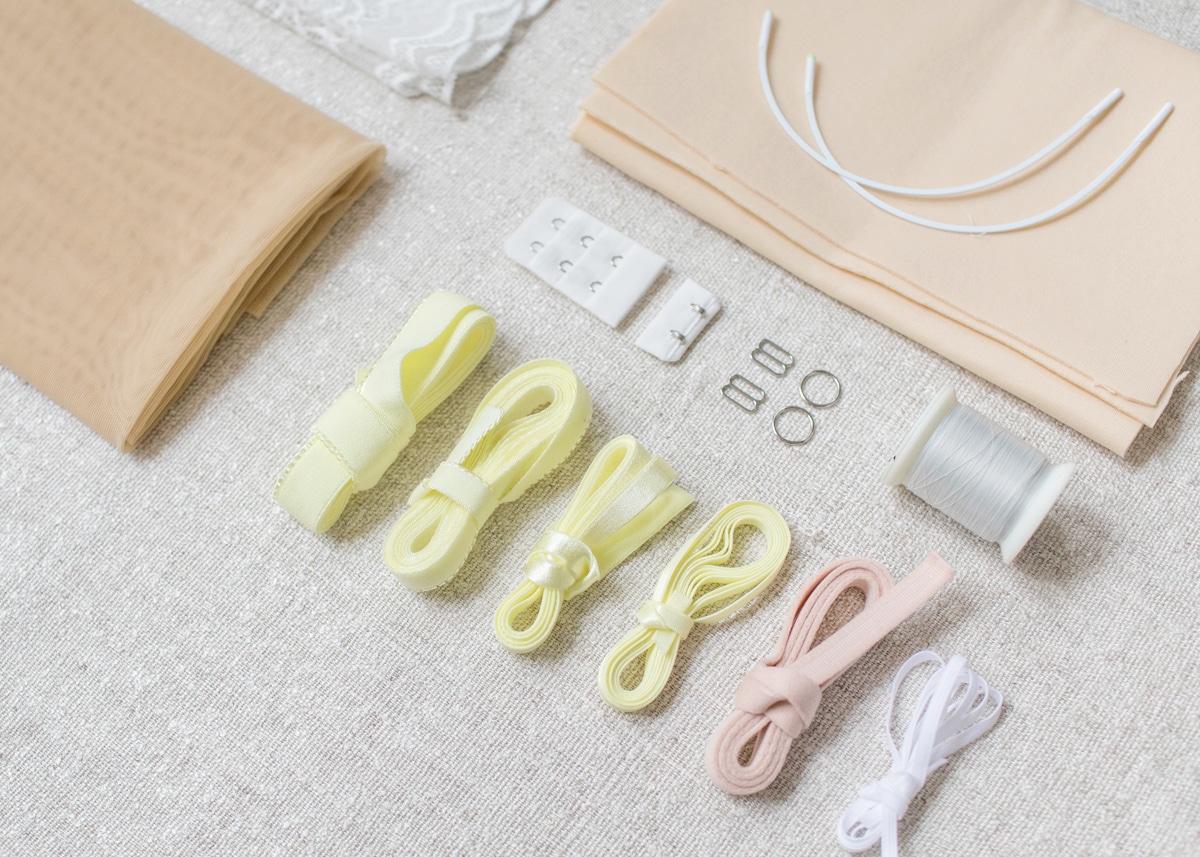
For self/main fabric for the front overlay, I suggest using a stretch or rigid galloon lace – 1.5-2YDS. For a size 34B, which is the size I’m making for this sew along, the lace must be at least 6.75” wide. If you’re making a larger size, let’s say 42DD, then you’ll need a galloon lace that is at least 8.75” wide. If your galloon lace is not wide enough, not to worry. You can piece together two or more galloon by overlapping ¼-½” and using a zigzag stitch. I have a tutorial here.
You may be asking yourself, what is a galloon lace? As opposed to full width fabric that is 36″, 45″, or 60″ wide, galloon lace has a scallop edge on both sides and is usually narrower – anywhere from 1/4″ wide to 20″ wide, even wider. What makes galloon lace, galloon lace is the fact that it has a scalloped edge of both sides.
For this sew along, I am using a stretch galloon lace, which will provide enough support for my size, 34B. If you’re a C, D, DD or larger, however, I suggest using a rigid galloon lace for the front overlay or lining your lace with a firm fabric such as 15 denier tricot or sheer cup lining. Both can be purchased here.
For self/main fabric for the back band, I suggest using a stretch galloon lace. If you’re using a stretch lace for the front overlay, then you can use it for the back band as well. If you’re using a rigid lace however, you’ll want to get a another stretch lace that coordinates or a different stretch fabric such as Lycra, powernet, stretch mesh or micro mesh. No matter what size you are, the back band must have stretch to allow for breathing and daily movement.
Some additional comments on lining – for both the front overlay and the back band, it’s optional and depends on the type of fabric you’re using. If you’re using fabric similar to mine, or you purchased one of my kits, I suggest to leave the front overlay unlined and line the back band with a stretch mesh. I could line the front overlay with stretch mesh – it would provide a little bit of support – but I wanted my bra to be more dainty.
Last, you’ll need polylaminate foam for the cup front and cup side front.

- 1.5 YDS ¾” picot or flat elastic (to finish the bottom of the back band)
- 2 YDS 3/8” picot plush elastic (to finish the armhole/top back band as well as neckline
- 1YD 3/8” shoulder strap elastic
- 1.5 YDS 1/8-1/4” shoulder strap elastic
- 1 YD 3/8” plush channeling
- 1 YD narrow elastic
- 1 PAIR 3/8” rings and sliders
- 1 SET 2×3 hook and eye
- 1 SET demi underwires
- Ballpoint needle size 12
- Polyester thread
- Rotary cutter
A few notes on the supplies…
For 95% of my lingerie sewing, I use a rotary cutter versus fabric scissors. It gives the cleanest cut. I prefer this 28mm size. The 18mm is too small and the 45mm one is hard cut into small curves.
Be sure to get polyester thread, not cotton. Cotton doesn’t stretch, so you run the risk of your stitches breaking when you wear your bra. I am a HUGE fan of Superior Threads Bottom Line thread. You can read my review here. I sew with mostly light colored fabrics, and can use this thread for every project instead of changing the thread for different colors. It’s practically invisible.
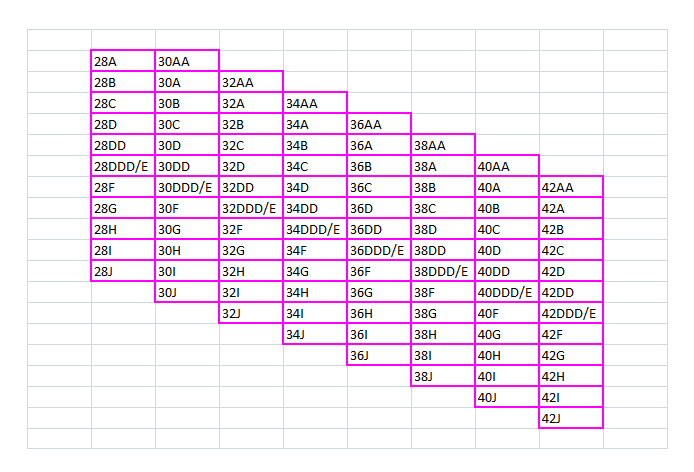
How do you know what size and type underwire to get? This pattern was drafted using a size 34B demi underwire. Most, if not all, underwires come in sizes based on a B cup. So, if you’re a 32F, you’ll have to find your sister size, which would be a 42. See chart below – all sizes that are on the same horizontal row are sister sizes. Don’t know what sister sizing is? Check out this blog post. When ordering underwires, I suggest ordering the size you think you are as well as one size up and one size down.

Speaking of sizes… I suggest making your most common RTW size. If this is your first time sewing, you’ll probably going to have to make another. I’m not being pessimistic, just realistic. Unless something fits me right out of the box, pattern alterations are almost always needed. And I think this bra is pretty true to size. I usually wear a 34B in RTW and I cut a 34B for the 8624 and it fits.
Something that you don’t need, but will make your lingerie sewing so much easier – Odif’s 505 temporary spray adhesive. I don’t only use it when I cut, which I’ll show you below, but I also use it when sewing, which you’ll see in this sew along.


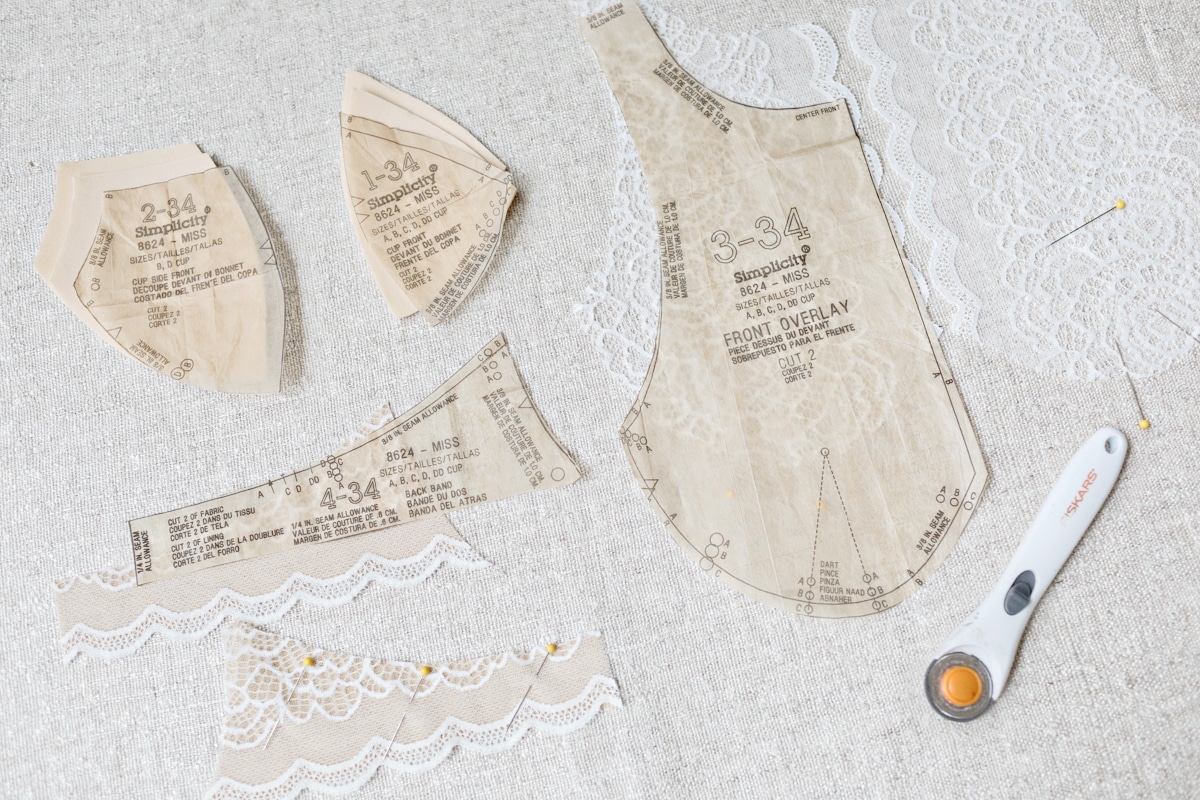
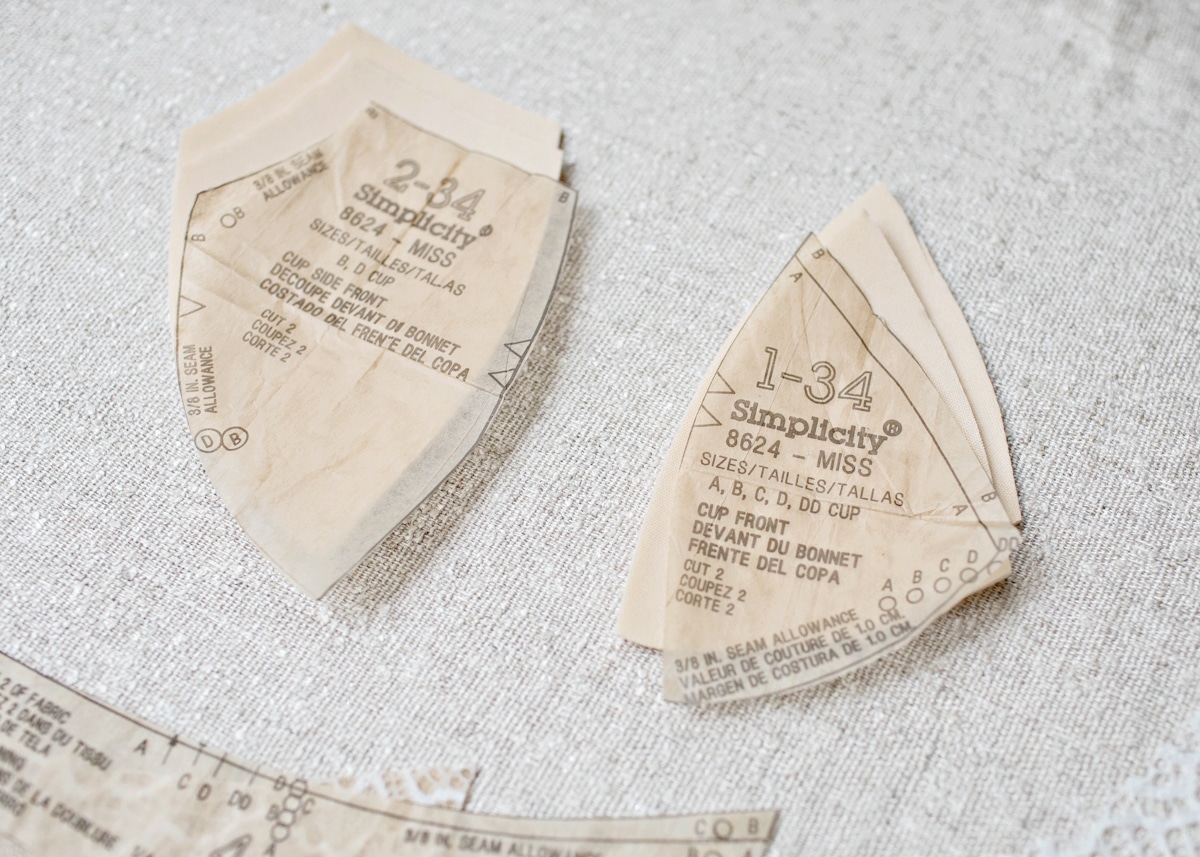
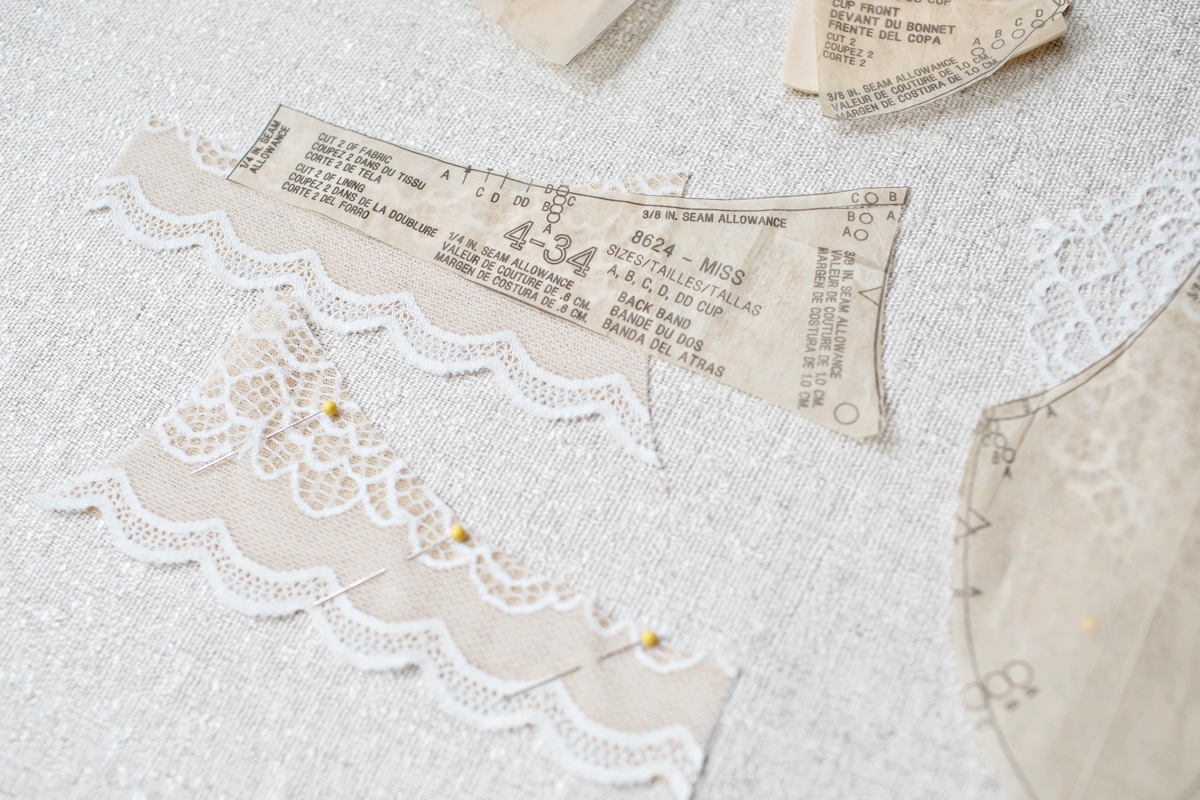
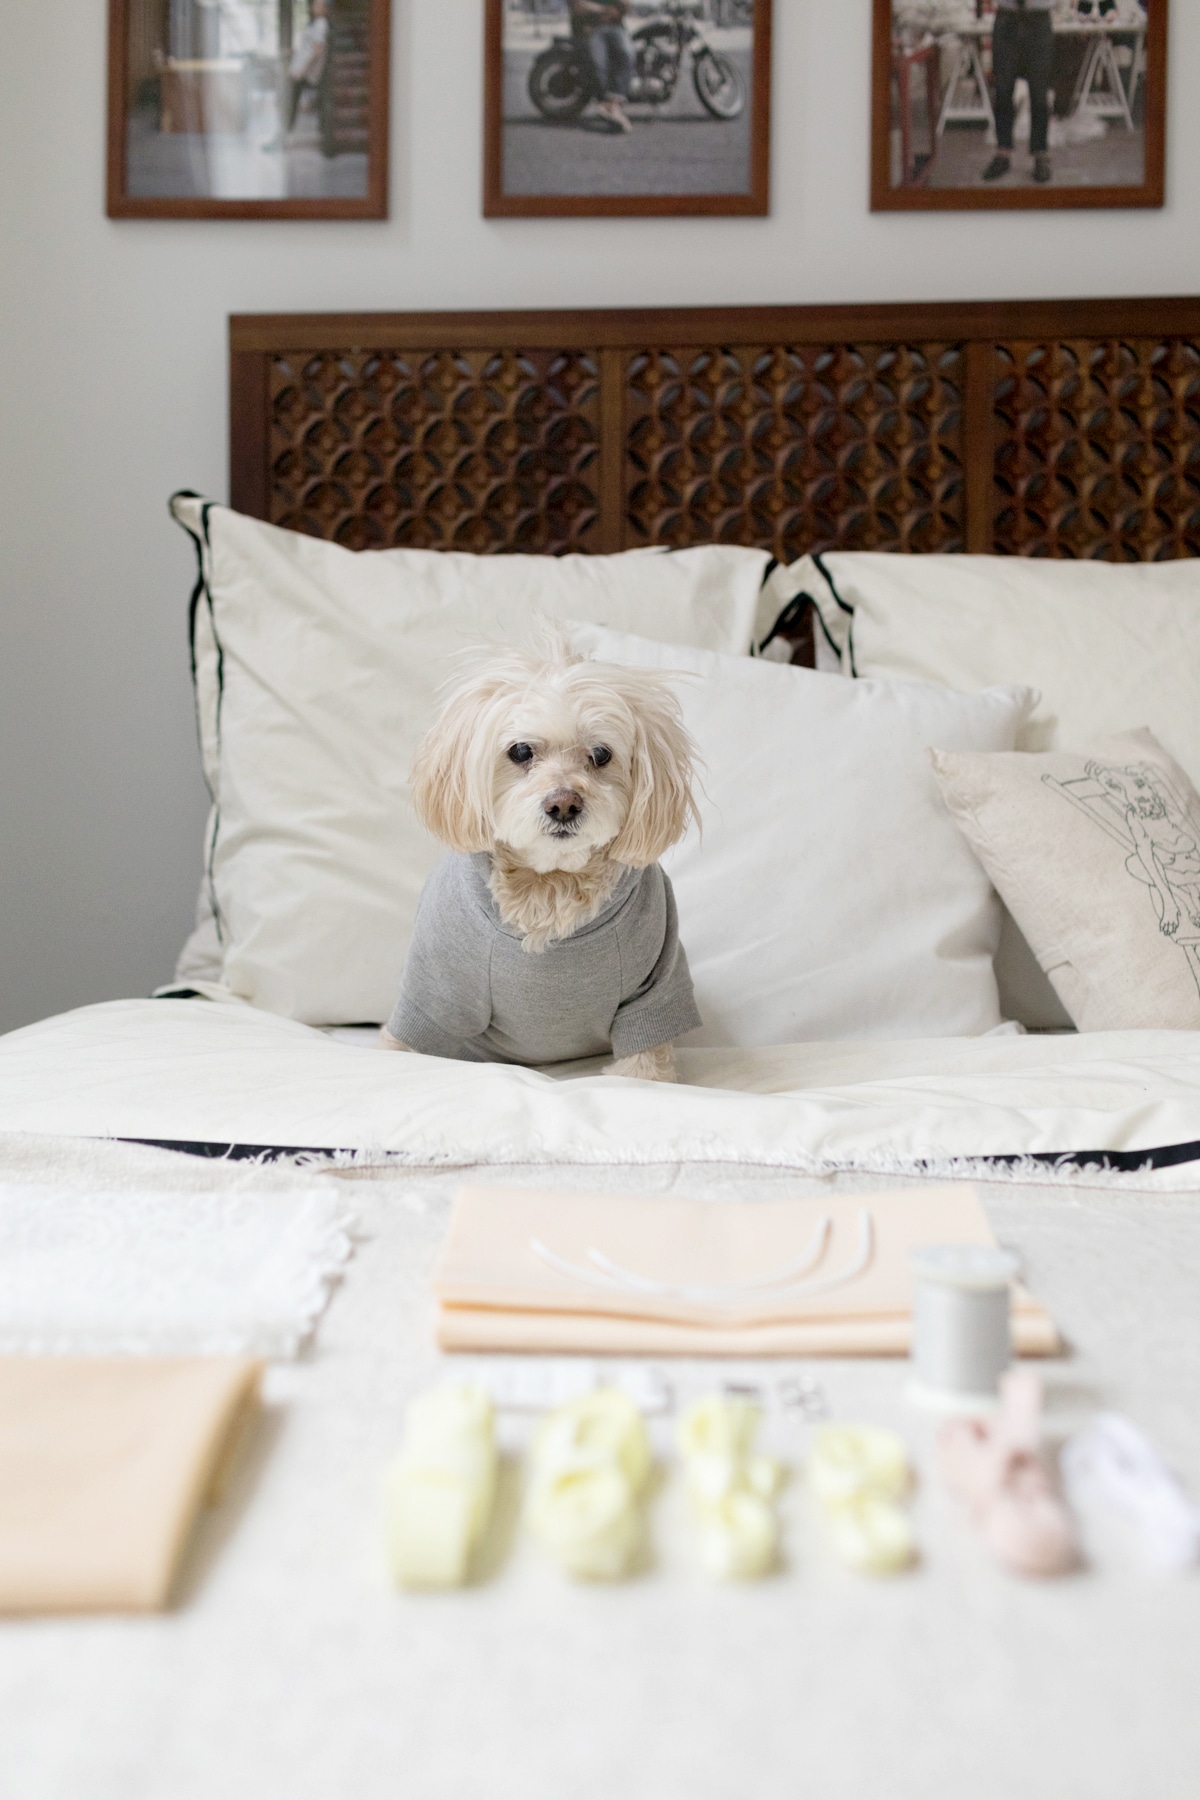
Below you will see several photos of my cut pieces – pattern pieces 1, 2, 3, and 4. The only pattern piece that I’m missing is 5, and that will be used later, so don’t throw it away!
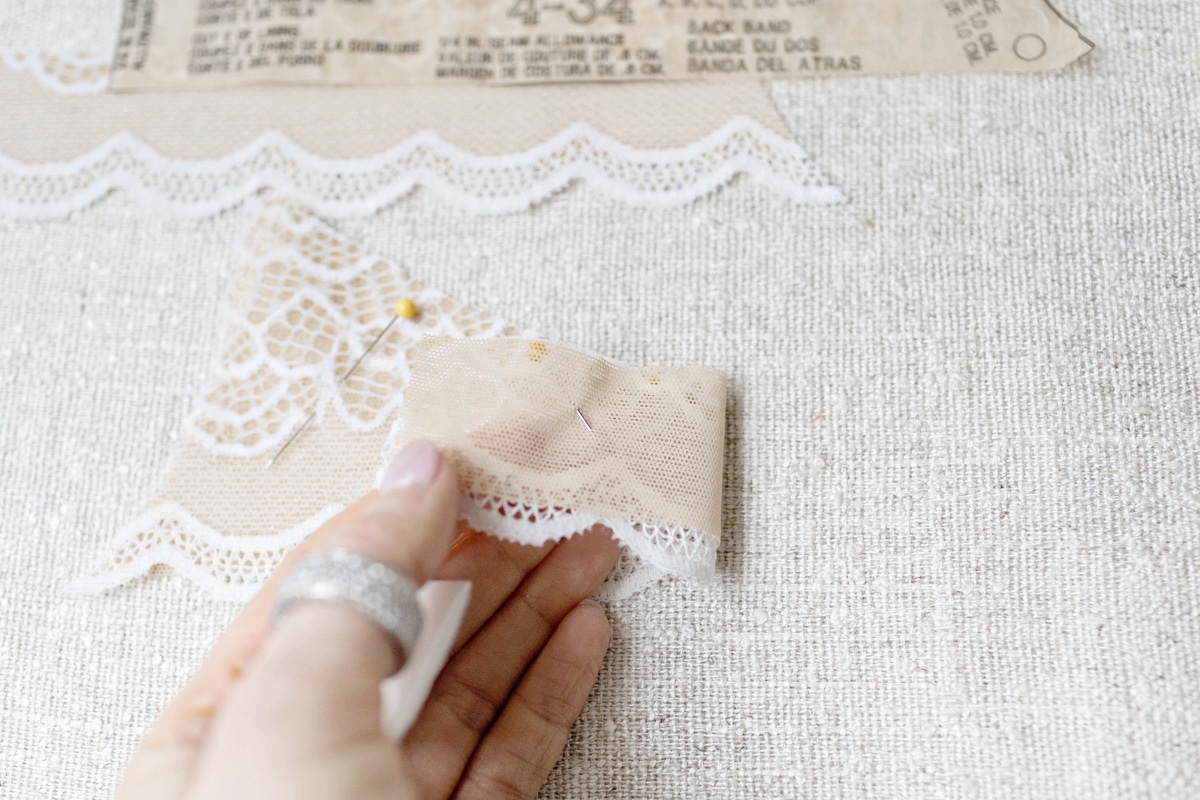
The pattern calls for the back band to be finished with a 3/4″ elastic at the bottom, which you can see in the photo above just below the description. For this sew along, however, the bottom of the back band will have a scallop lace edge. I didn’t make any pattern alteration for this. When I cut the back band piece, I had the bottom edge of the pattern align with the top/highest point of the scallop lace. For the lining, I first cut a straight line on the stretch mesh, and then aligned the cut edge of the mesh with the top/highest point of the scallop lace so that it wouldn’t show through. See 4th photo below.
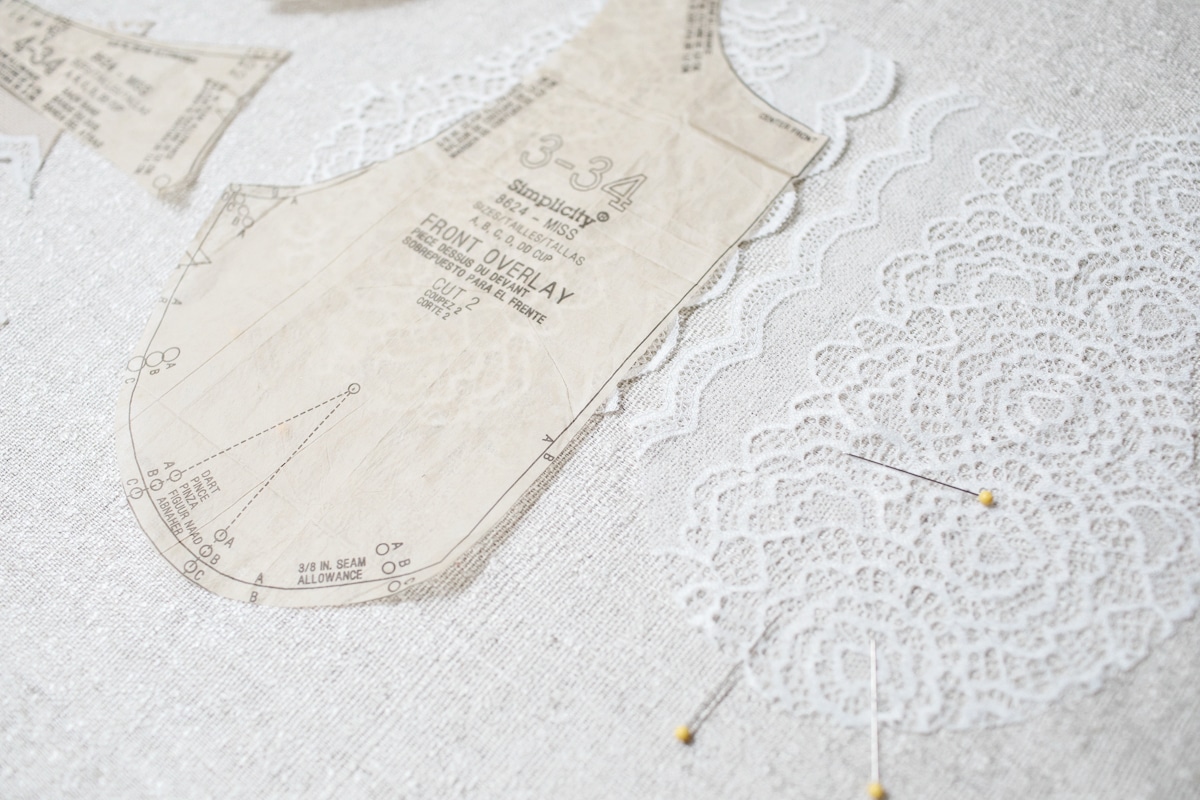
If using a directional lace, which I’m not, you’ll have to cut the 2 front overlay pieces so that the lace patterns match from left to right. If you don’t know what a directional lace is, click here to read an excellent post by Amy of Cloth Habit where she demonstrates how to cut directional lace.
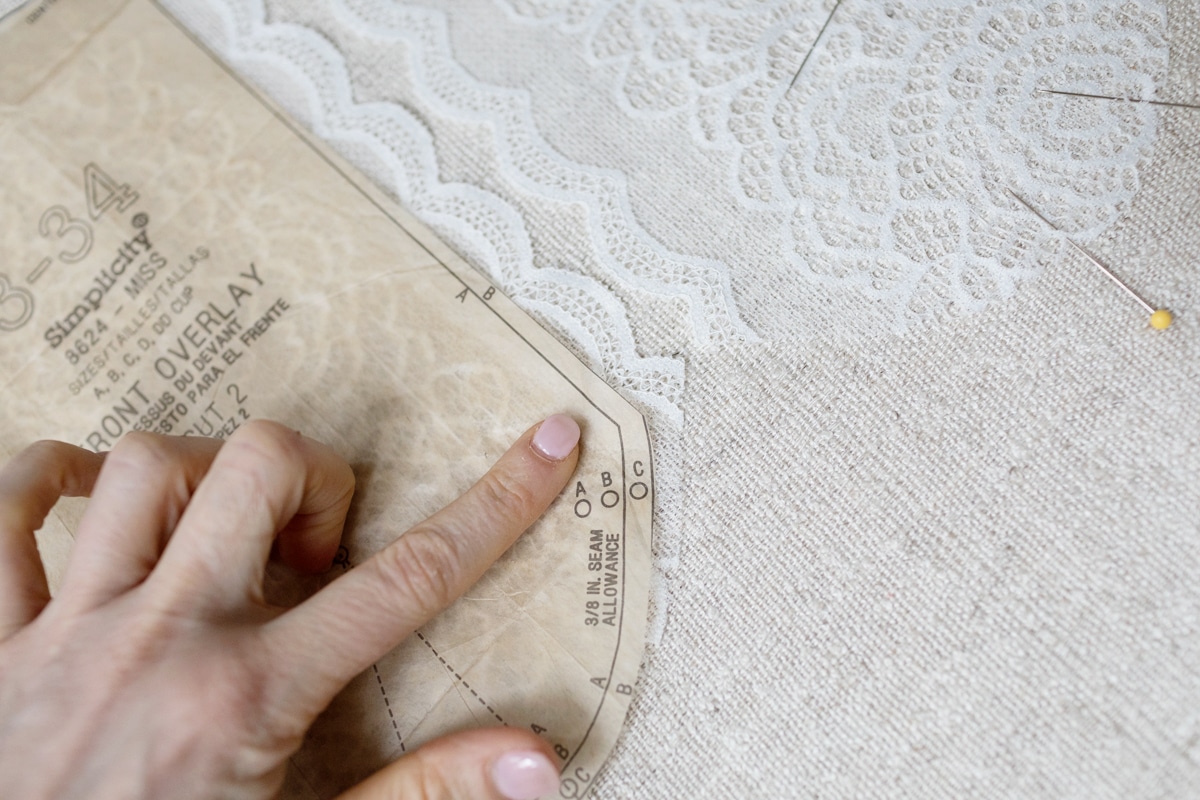
It’s important that at 3/8″ above the bottom of the front overlay on the center front side meets the high point/top of the scallop because this is where the channeling will be sewn. Once you have the pattern piece where you want it, trace and cut. See the last photo below.
Last, you’ll want to transfer your markings. Since the lace was so fine for my front overlays, I marked the darts with pins. The only other markings that I used (which I didn’t show) was to use pins to mark the notches on the foam cup along the vertical seam. This prevents me from sewing it upside down.






Stick around for day 2 where we’ll get into sewing the bra!

H Monaghan
Hello!
I’m really excited for this sew-a-long! I bought the kit and underwires in 34, 36, and 38. I measure as a 32D, but the 36 wire seems too small! The 38 underwire seems just right, but I’m worried the cup of a 32DD would be too big. Would it be better to adapt the 32D to the 36 wire, or take some volume out of the 32DD cup?
Many thanks in advance!
Maddie Flanigan
So glad that you bought a kit and are joining the sew along!
My first question is did the 38 underwire seem right when you held it up to your body? Or have you sewn the bra already and when you went to insert it, it was too short? Once I know this, I can try to answer your question.
With an underwire – the side near the underarm will sit just inside the wire/cup seam line. So if you compare an underwire to the pattern, it will seem to narrow. This is because when the bra is worn, it will “spring open”. Check out the post below and it will explain this theory in detail.
http://www.bramakingblog.com/tag/underwire-sizing/
zombiegrrl
Thanks, Jo! I’m so proud to be included on your blog roll! I really appreciate the shout out!
Maddie Flanigan
Of course! You’re welcome ;)
maxxer
Thanks so much for the post.Much thanks again. Really Cool.
zz
Hi I am having a hard time sourcing all the supplies. I was wondering if you were planning to restock your kit anytime soon. I was also wondering if there is anywhere else I could buy polylaminate foam other then tailor made shop.
Maddie Flanigan
Yes! New kits for all patterns will be coming out soon.
zz
Hi I was wondering if there was any substitute for polylaminate foam
Maddie Flanigan
I would only recommend using polylaminate foam.