


Madalynne X Simplicity 8624 Sew Along: Day 2
 Welcome back to the Madalynne X Simplicity 8624 sew along!! Today, we’re getting to the good part – sewing! If you’re a little behind, click back to day 1 and see what you missed.
The first step is to sew the bust darts on the front overlay. With right sides together, pin dart legs. Sew from bottom/wire seam to dart point. Backstitch at beginning, but do not backstitch at dart point. Sew off edge of fabric and tie in a knot at least 3 times.
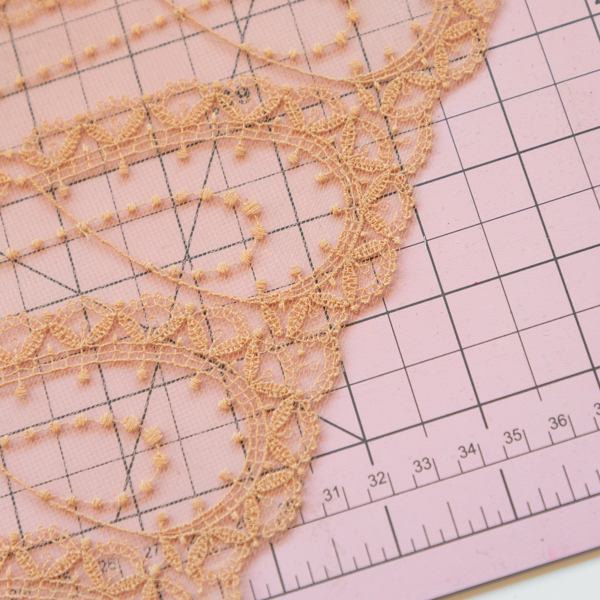
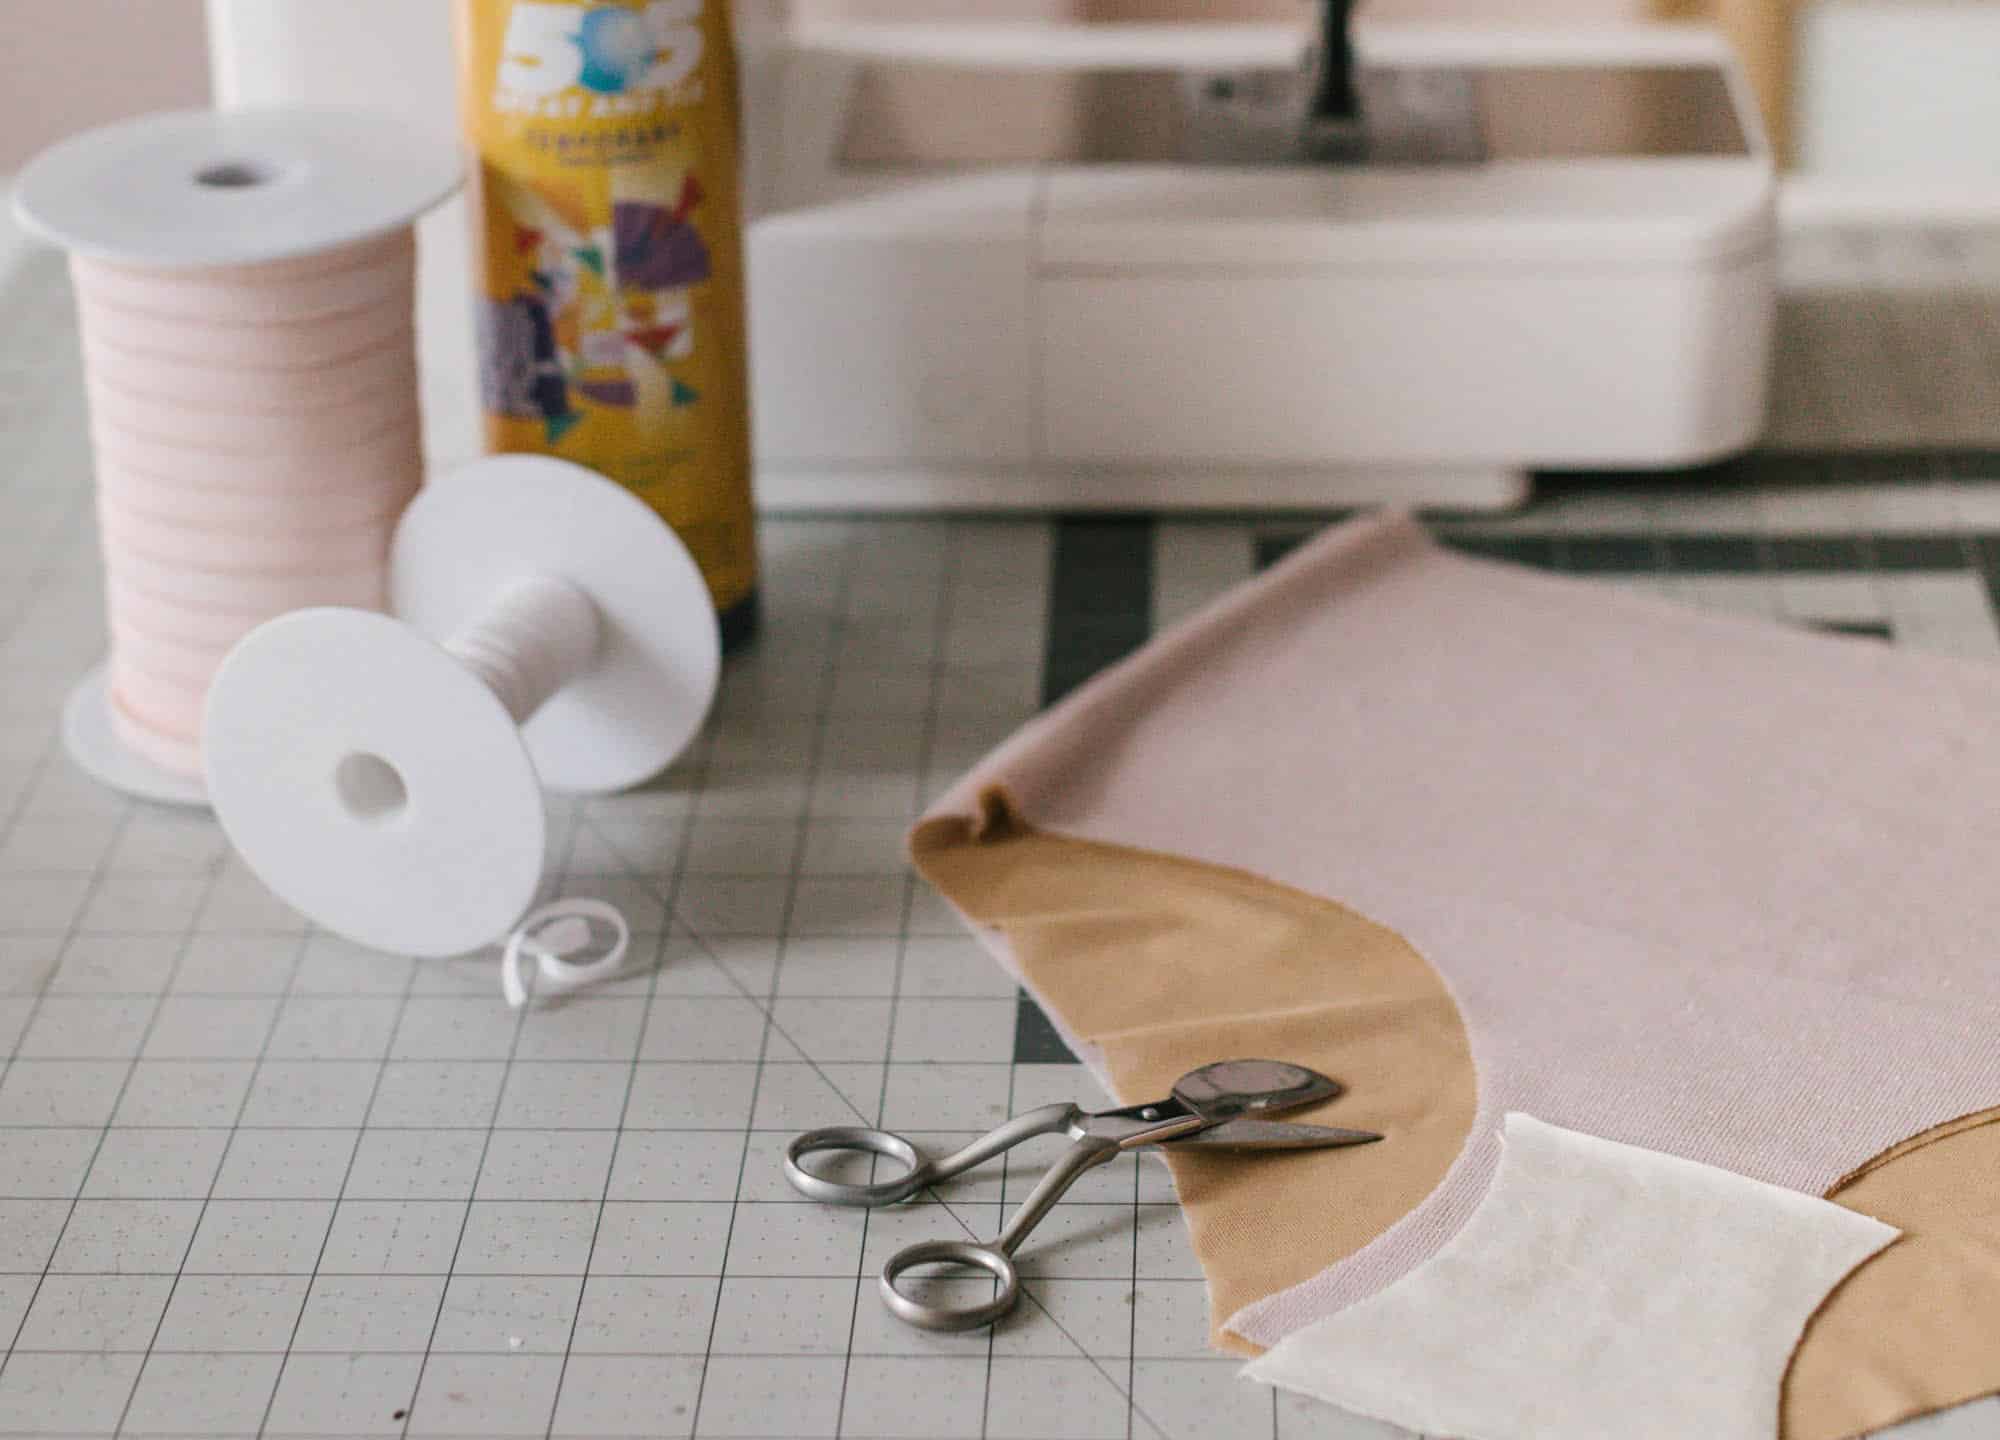
Stitching through lace isn’t easy since you’re stitching through pocket of air. To make it easier, I have two tricks. The first is shorten the stitch length. For this sew along, I shortened to 1.5mm. I normally sew with a stitch length of 2.5mm. The second is to use a strip of 15 denier tricot or sheer cup lining, which you can purchase here and here. It’s sheer, so you won’t see it on the exterior of the bra when finished.
When the dart is sewn, you don’t need to press it. Once we place it over the foam cups, it will be automatically pressed to one side.
Speaking of pressing – do I press my seams when sewing lingerie? It depends, but usually not. There are two common exceptions to that. The first is when attaching picot elastic. It can get wavy, and I will give it a light steam to block it back into shape like you would a neckband on a knit t-shirt. The other exception is when the bra is finished. I like to do the same – give it a light steam. It makes the bra look more professional. In any case, always, always, always use the nylon/wool/synthetic setting on your iron.

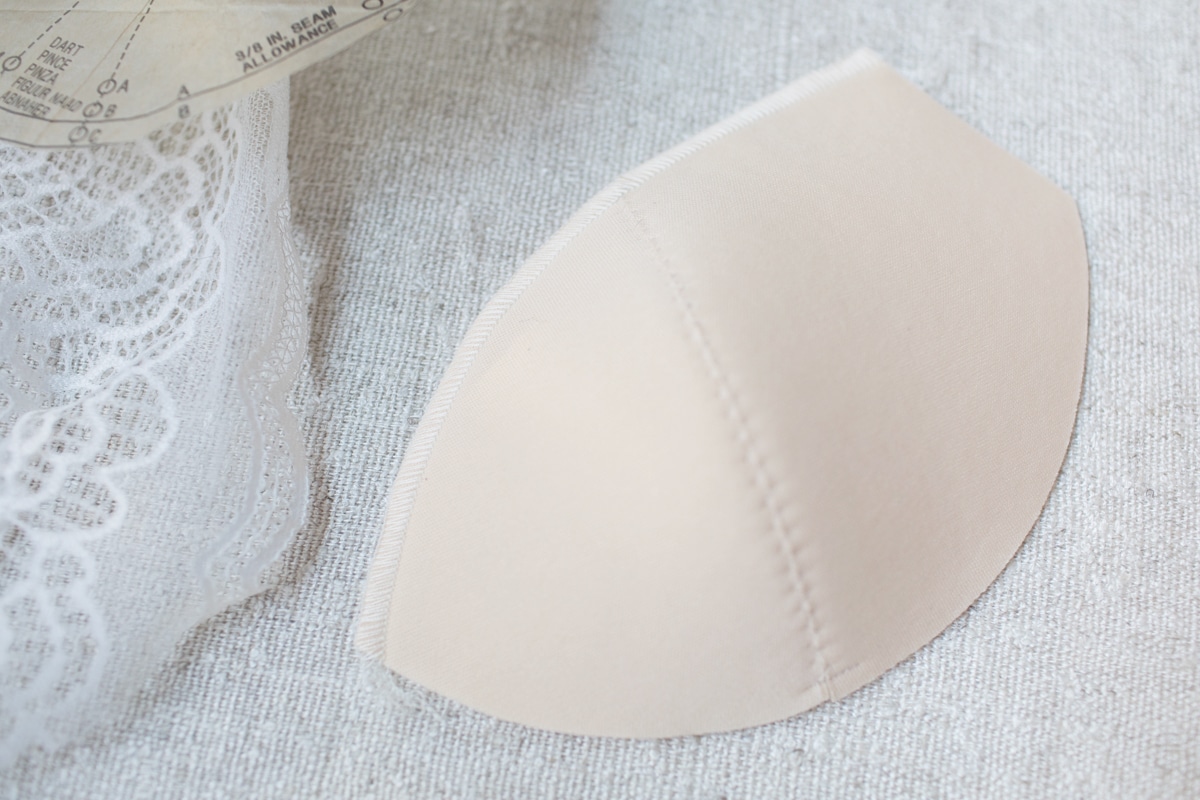
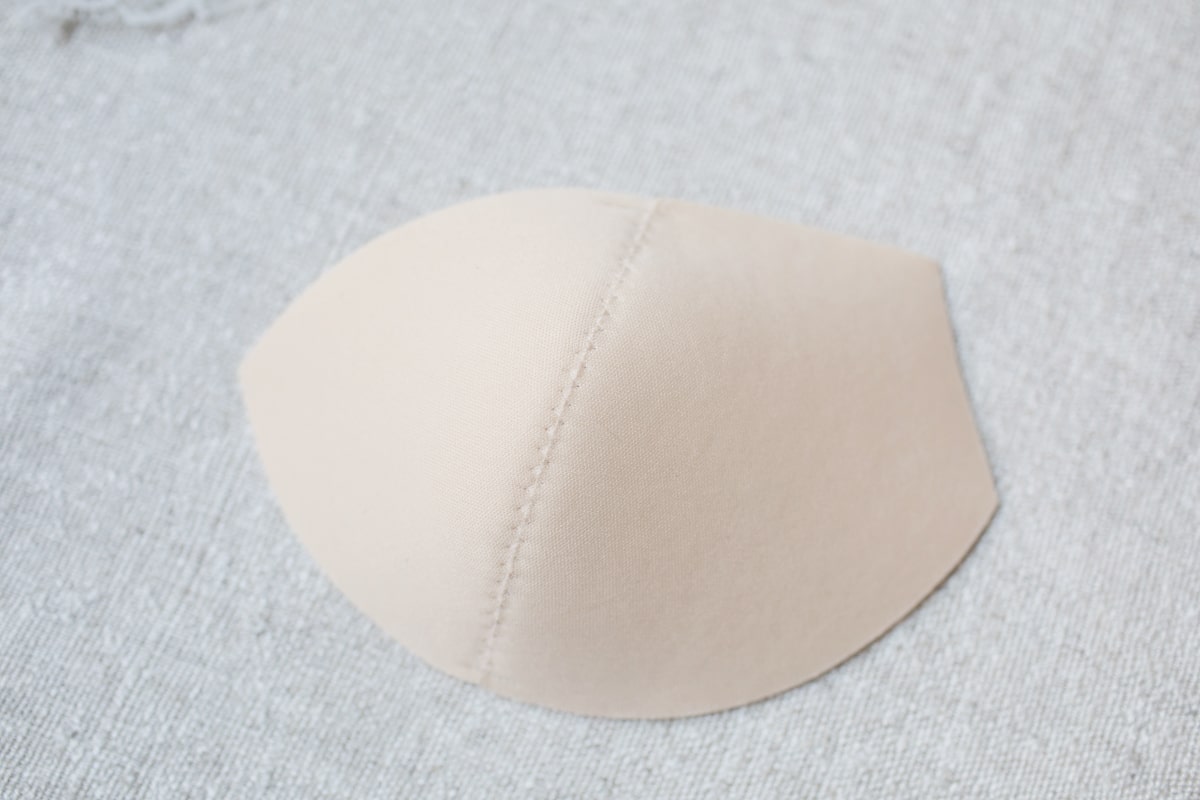 The next step is to assemble the foam cups. To do this, butt cup front and cup side front pieces together along vertical seam so that it is centered right under presser foot. See last photo above. Use a zig zag stitch that is wide enough to catch both sides. My normal zig zag width and length setting on my PFAFF Passport 2.0 is anywhere between 2.0-2.5, but when sewing this step, I set the width to 3.5. The length stays the same. As you sew, you’re going to continue to butt the edges against each other. You don’t want there to be a gap, but you also don’t want to squish them together.
I also add a bartack at the top and bottom about 1/8″ from edge. Even though the bottom will be sewn into the channeling and the top will be finished in next step, this prevent it from splitting open.
To finished the top edge, you can use a 3 thread overlock like I did. If you don’t have an overlock/serger machine, you can also finish with a zig zag stitch or use this video tutorial to finish with a strip of 15 denier tricot.
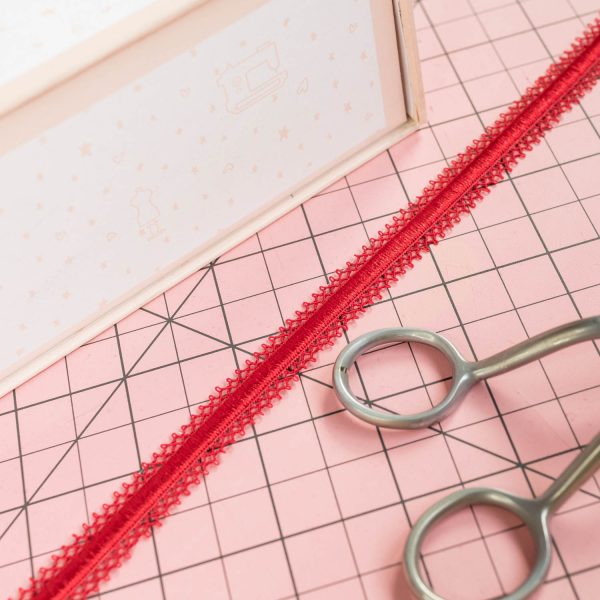
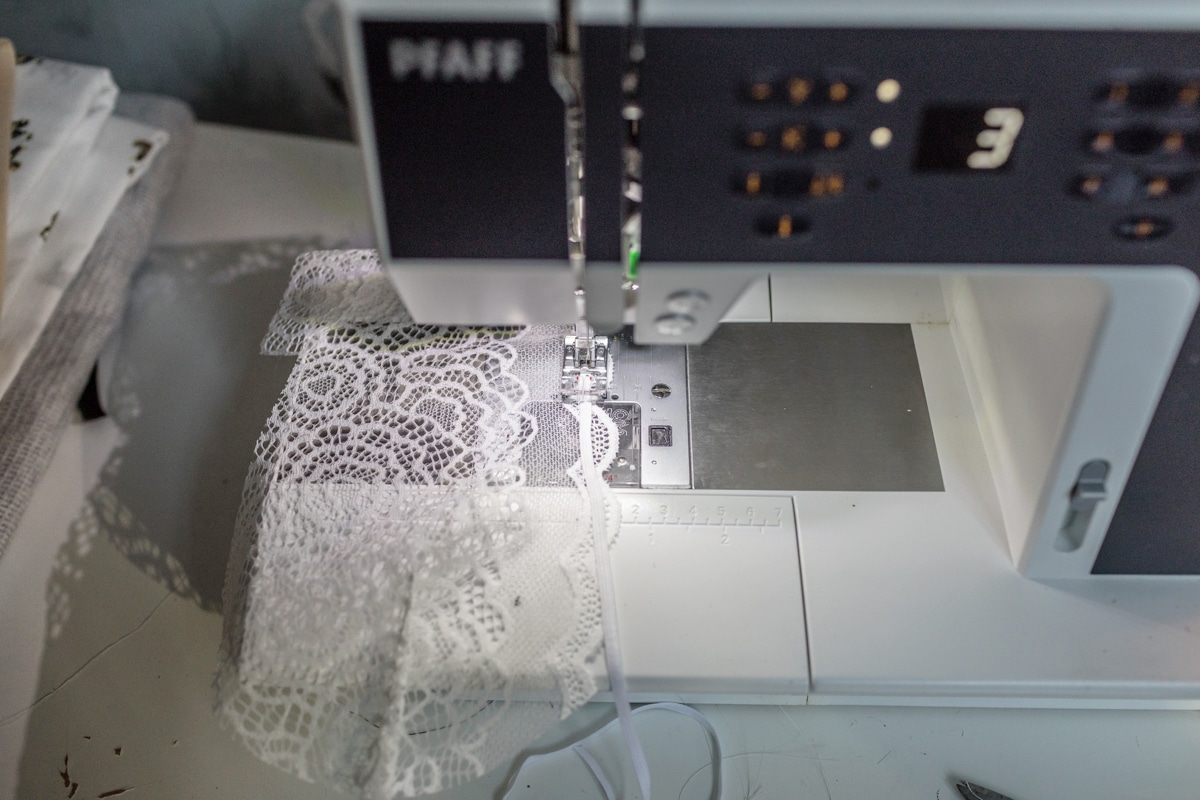
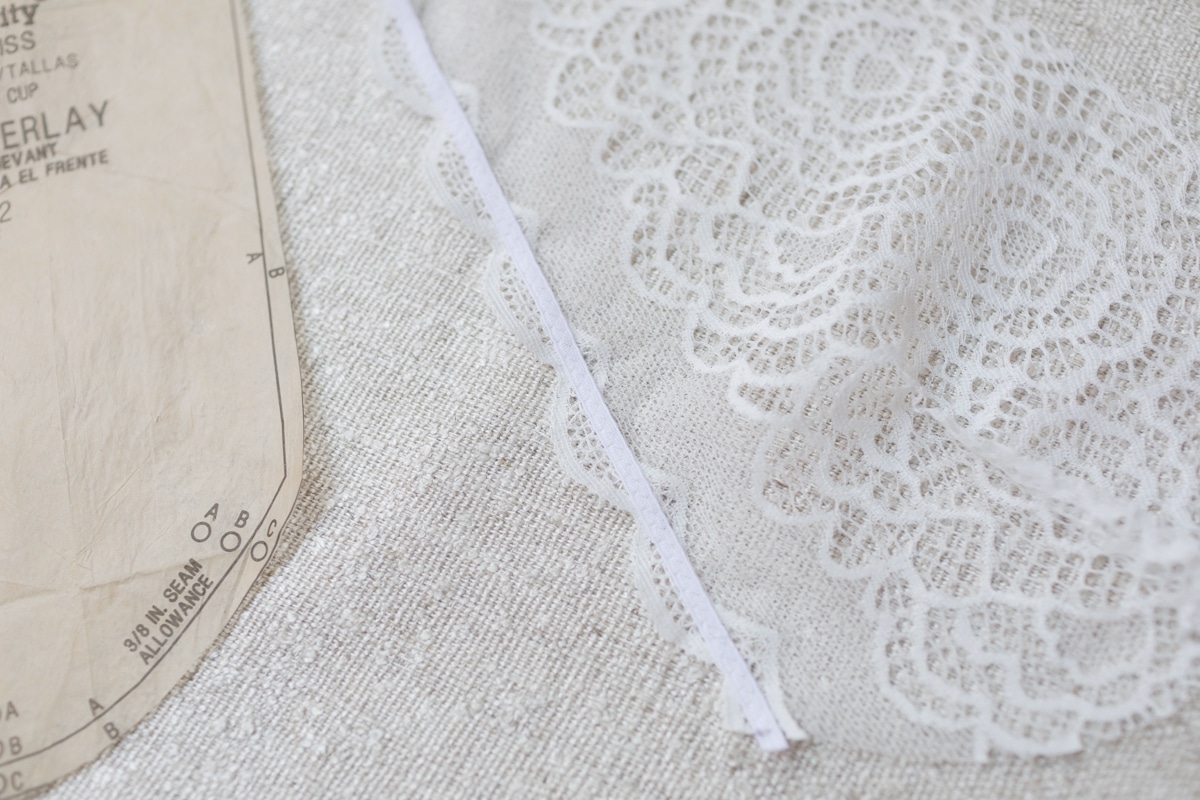
 Before we can attach the front overlay to the foam cups, we first have to finish the center front edges of the front overlay. With wrong side of front overlay facing up, place narrow elastic so that one edge is flush with the high/top point of the scallop. Sew through center of elastic with a zigzag stitch approximately the width of the elastic.
Narrow elastic is very tricky to sew. It moves a lot and I still have a difficult time sewing. The only advice that I have is go slow and take your time.
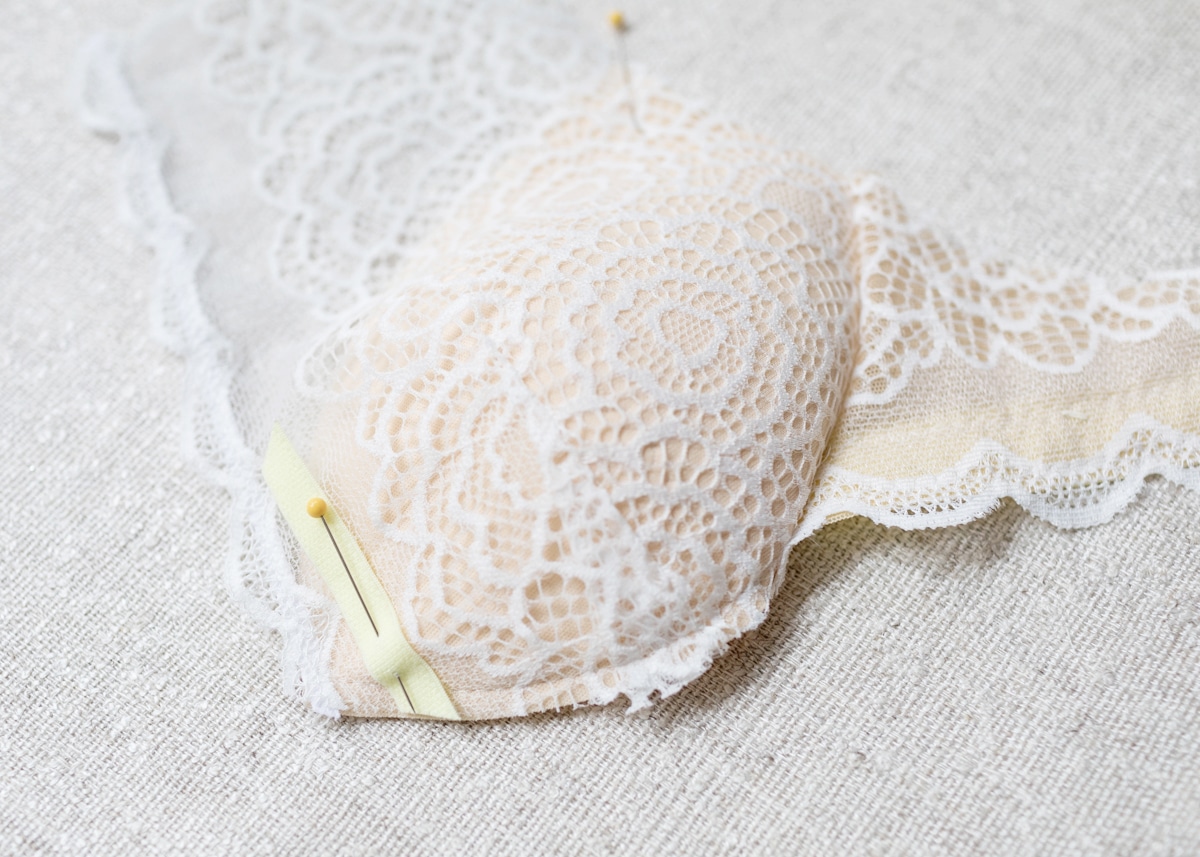
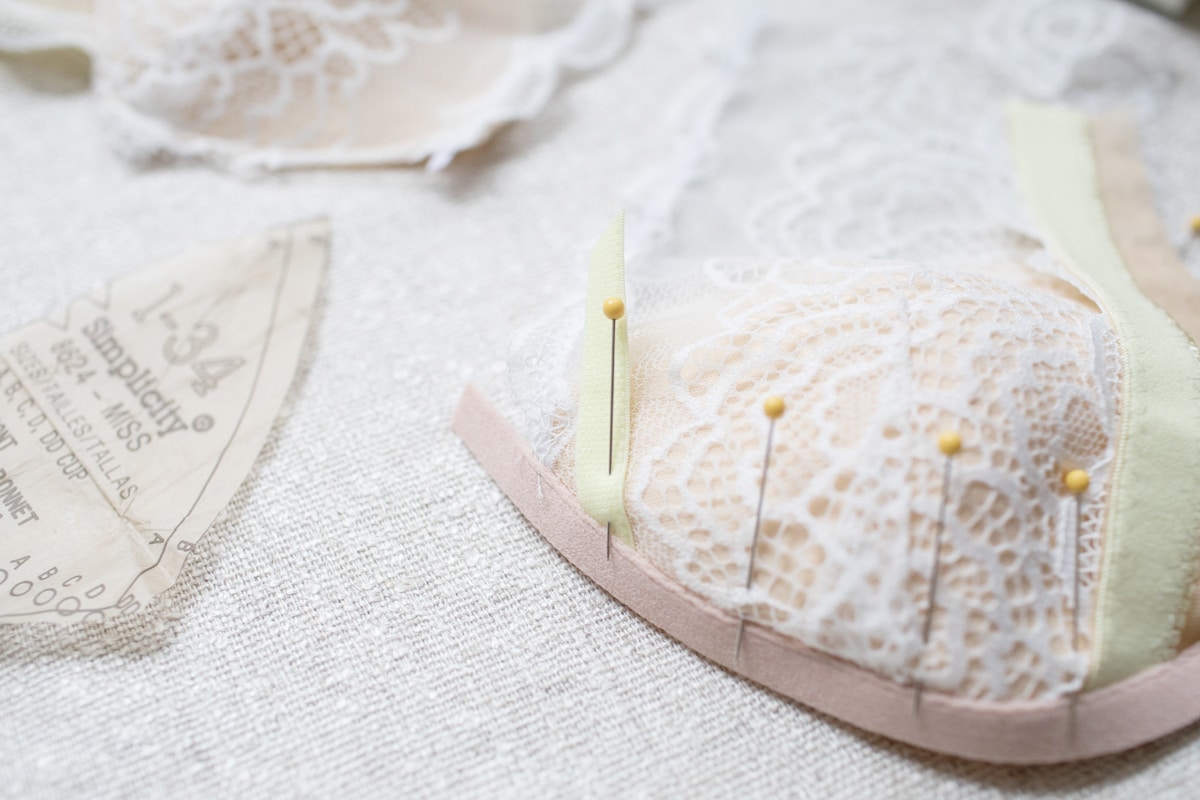
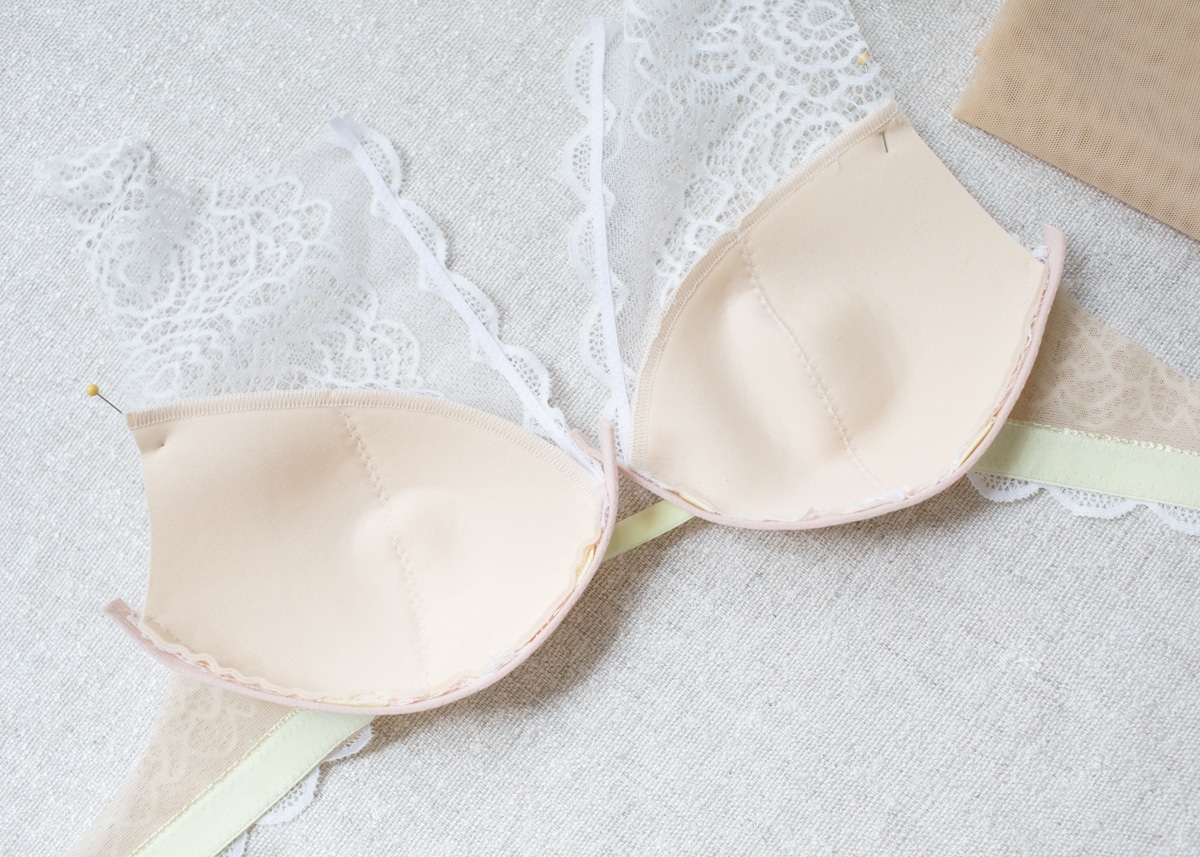
 Next, we’re going to cover the foam bra cups with the front overlap. Lay wrong side of front overlay on top of foam bra cup. Polylaminate foam doesn’t have a right or a wrong side, so you can use either side when pinning to the front overlay. Pin along bottom/wire seam and underarm and then baste approximately 1/8”-1/4″ away from edge.
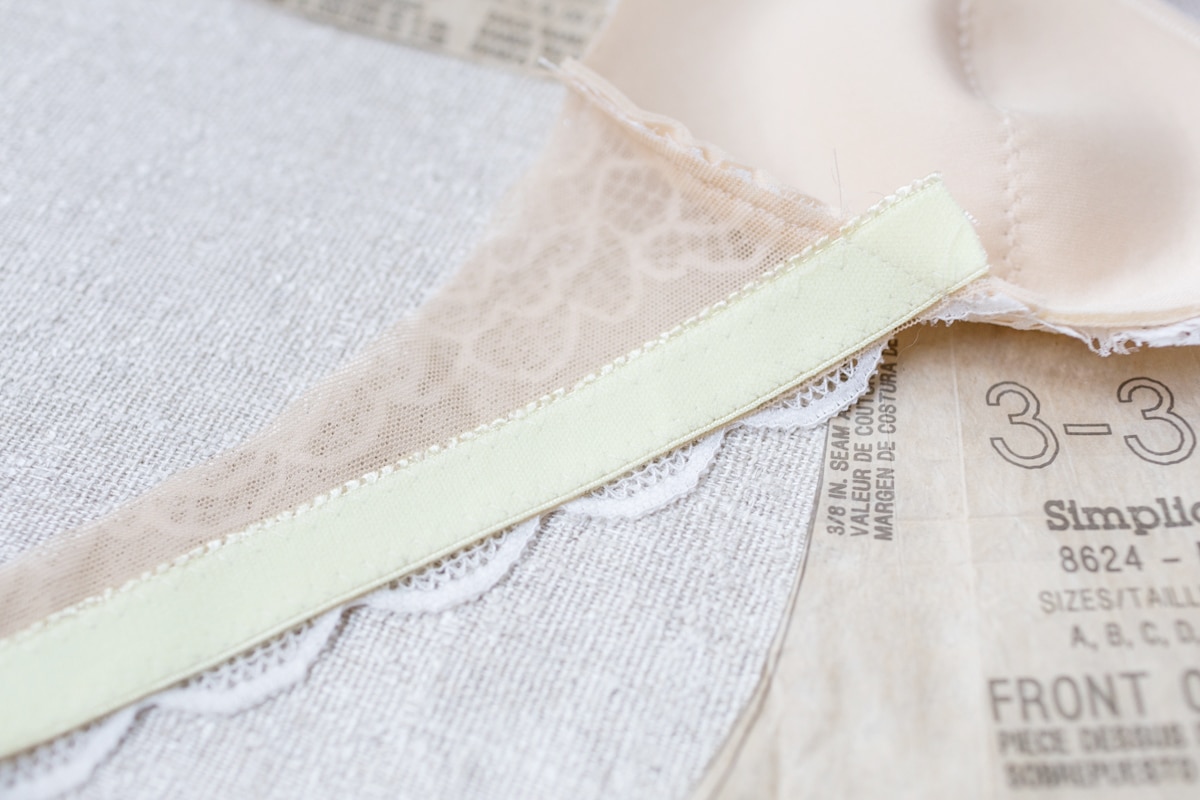
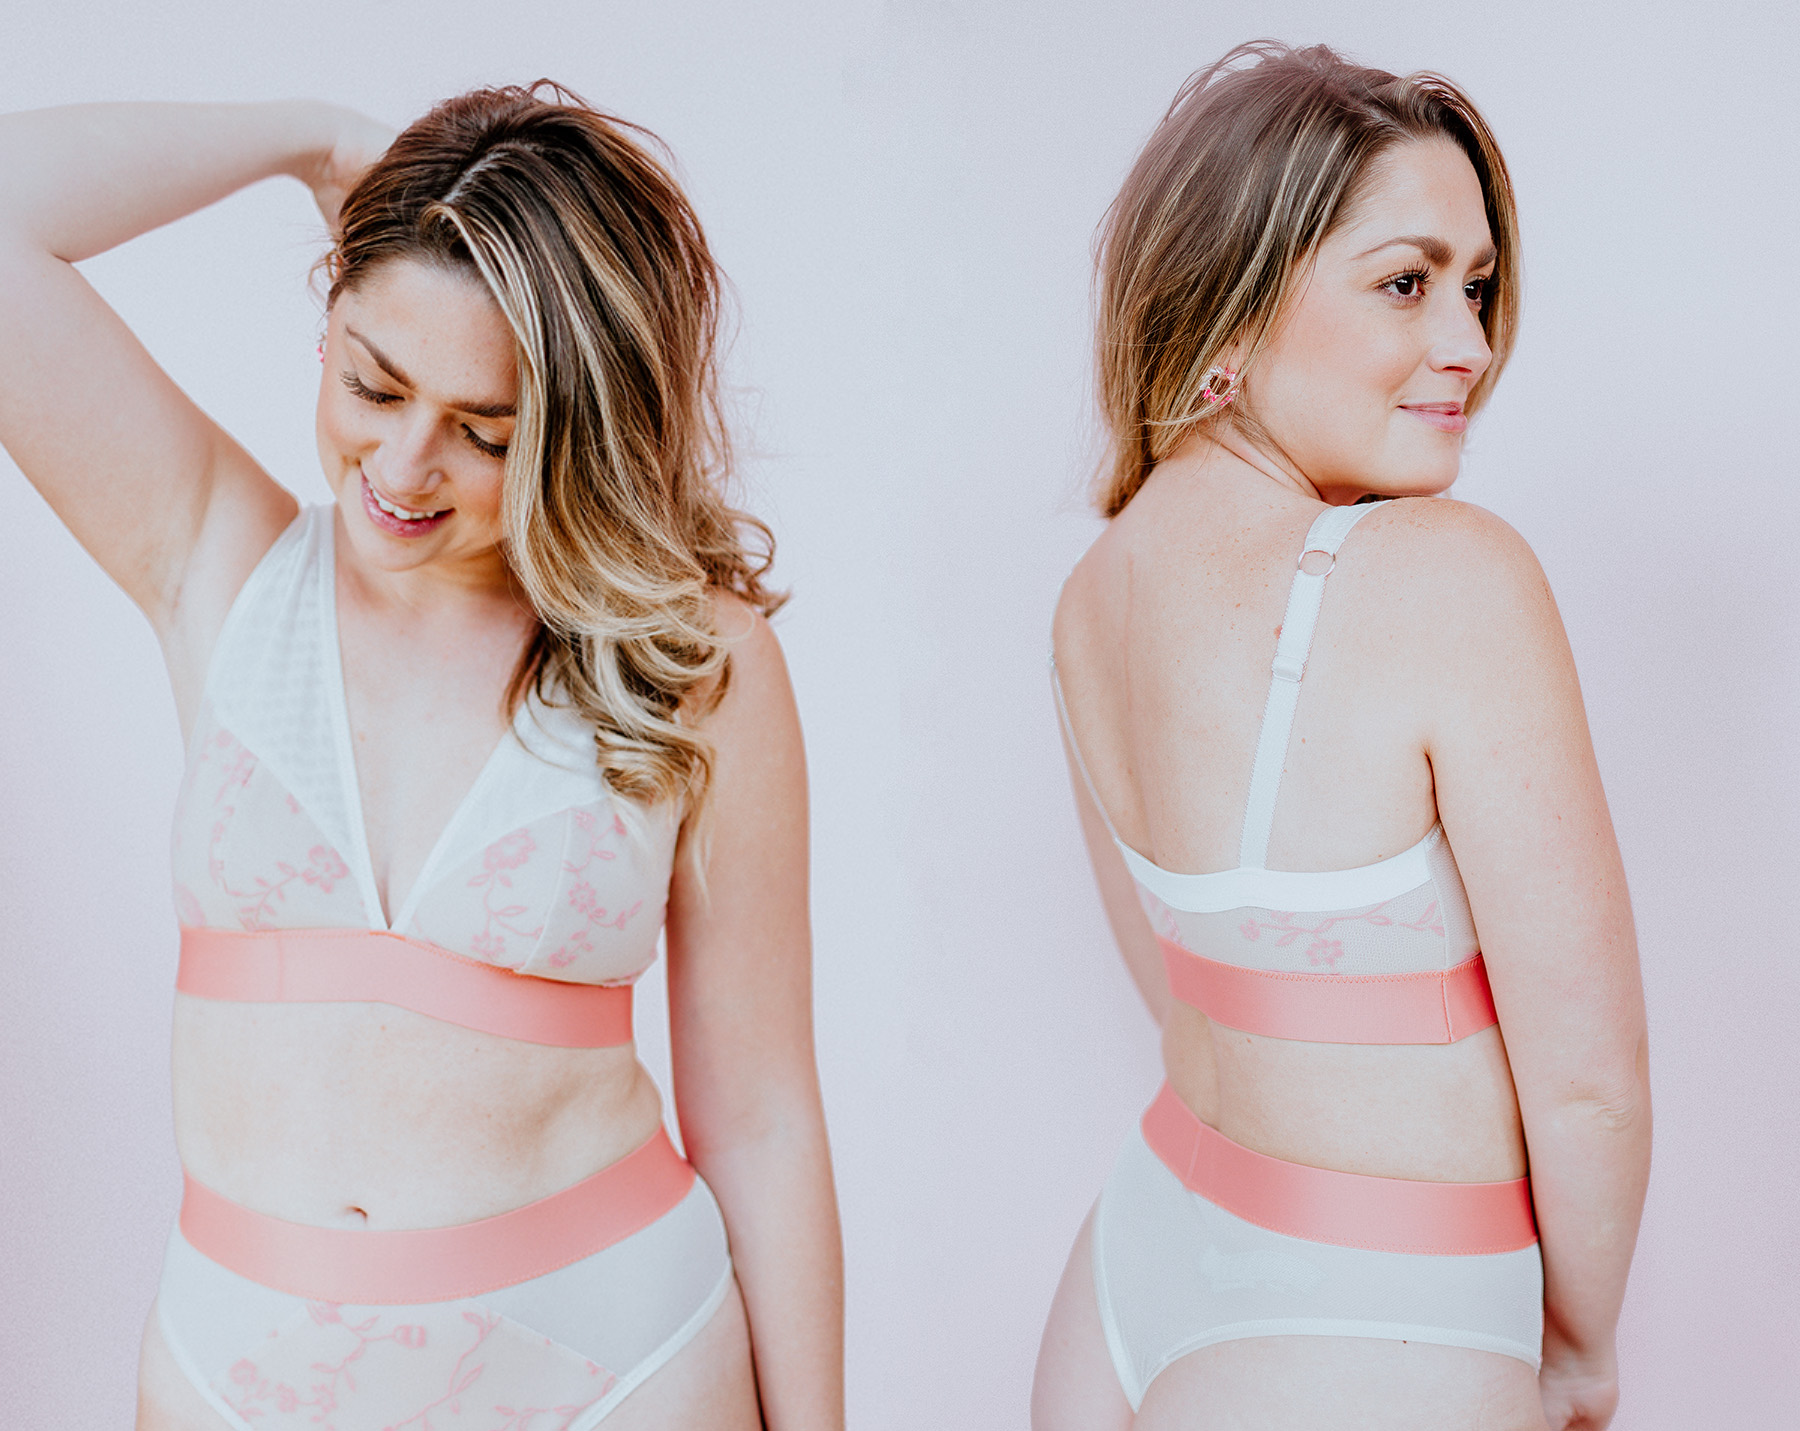
 Now we’re going to finish the bottom of the back band. I mentioned this in the intro post, but I’ll state it again – the bottom band on the bra that is pictured on the pattern cover is finished a different way. For this sew along, I wanted to show off the scallop lace at the bottom of the back band. So, with the bra wrong side facing up, place ¾” picot elastic down so that fuzzy side is facing up and the picot is facing towards the bra. The flat edge of the elastic should align with the high/top point of the scallop. Use can use a wide zig zag or you can use 2 rows of smaller zig zag stitches at the top and bottom like I did. After, sew bra cups to back band using a straight stitch.
 In my opinion, this next step is the hardest – adding the strap elastic in between the bra cups and attaching the channeling. If you’ve attended my workshops or taken a class with me, you’ll know one of my favorite sayings, “Perfection is overrated.” Even though I say this on repeat, at this step, you want to be as close to perfection as possible. If the strap elastic in between the cups isn’t put in at the right angle, the bra will be lopsided.
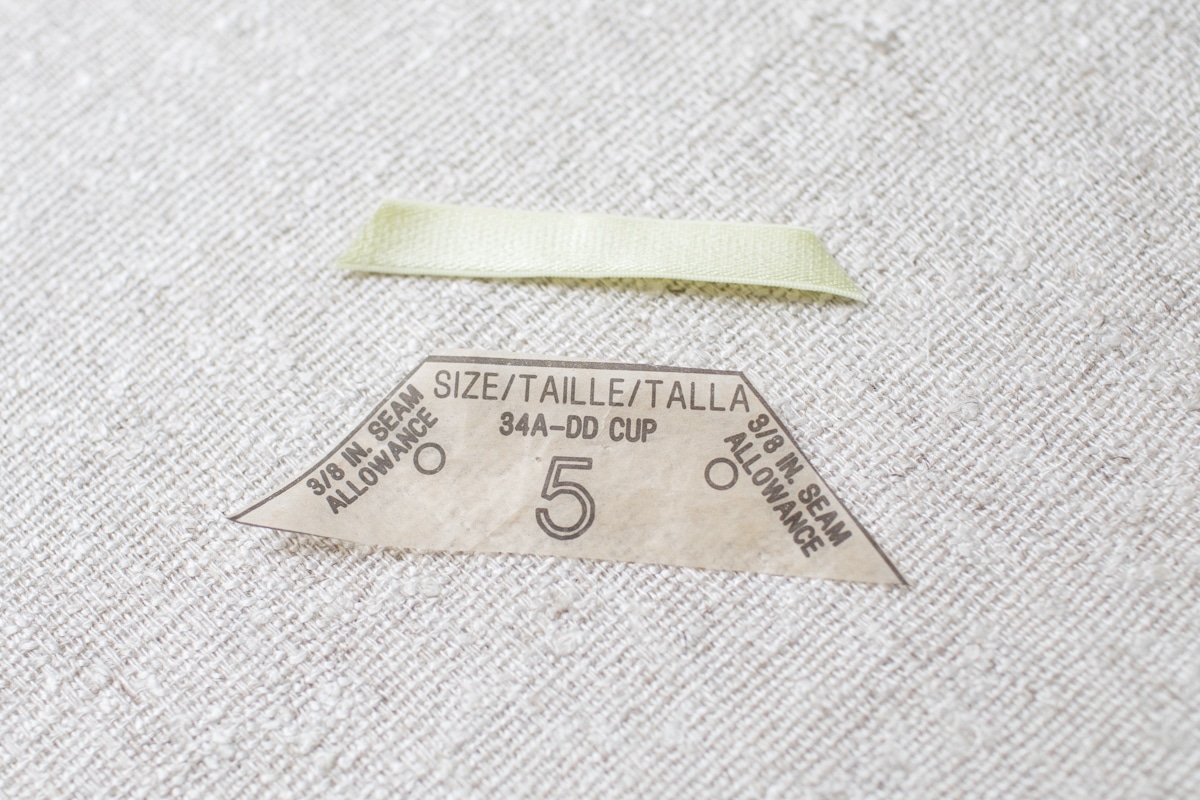
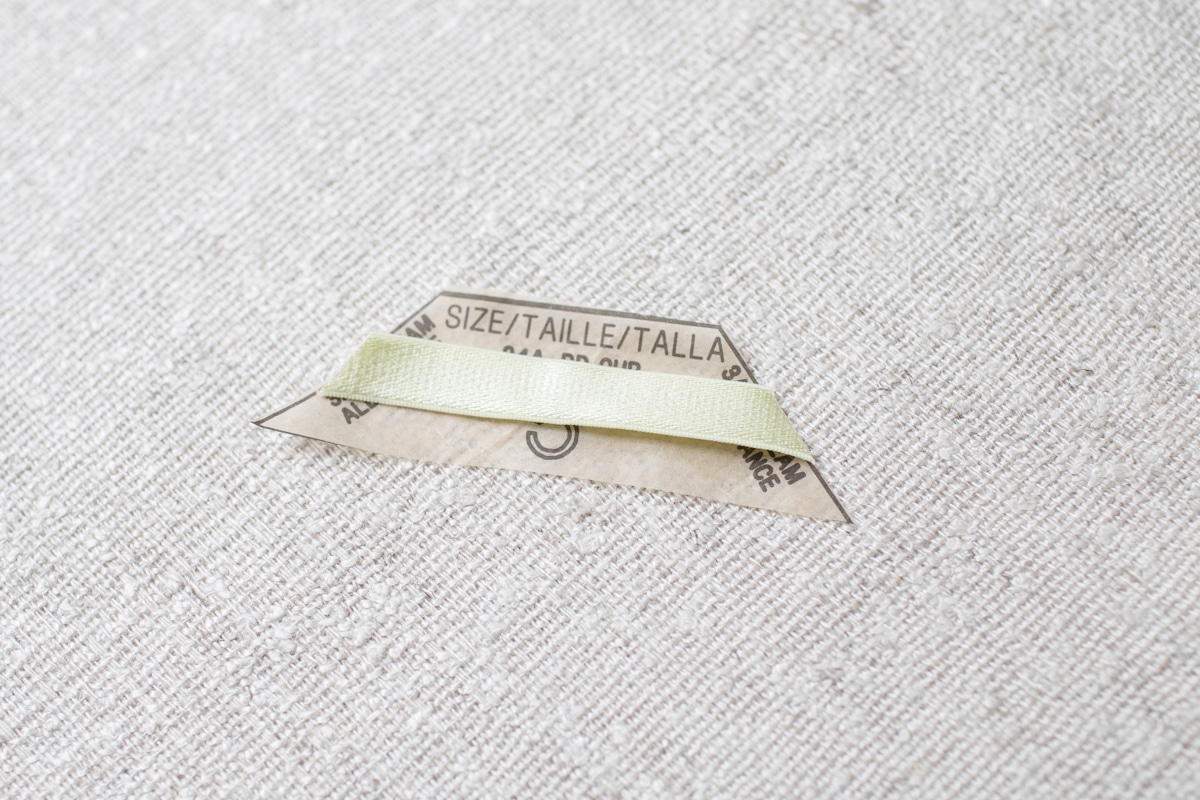
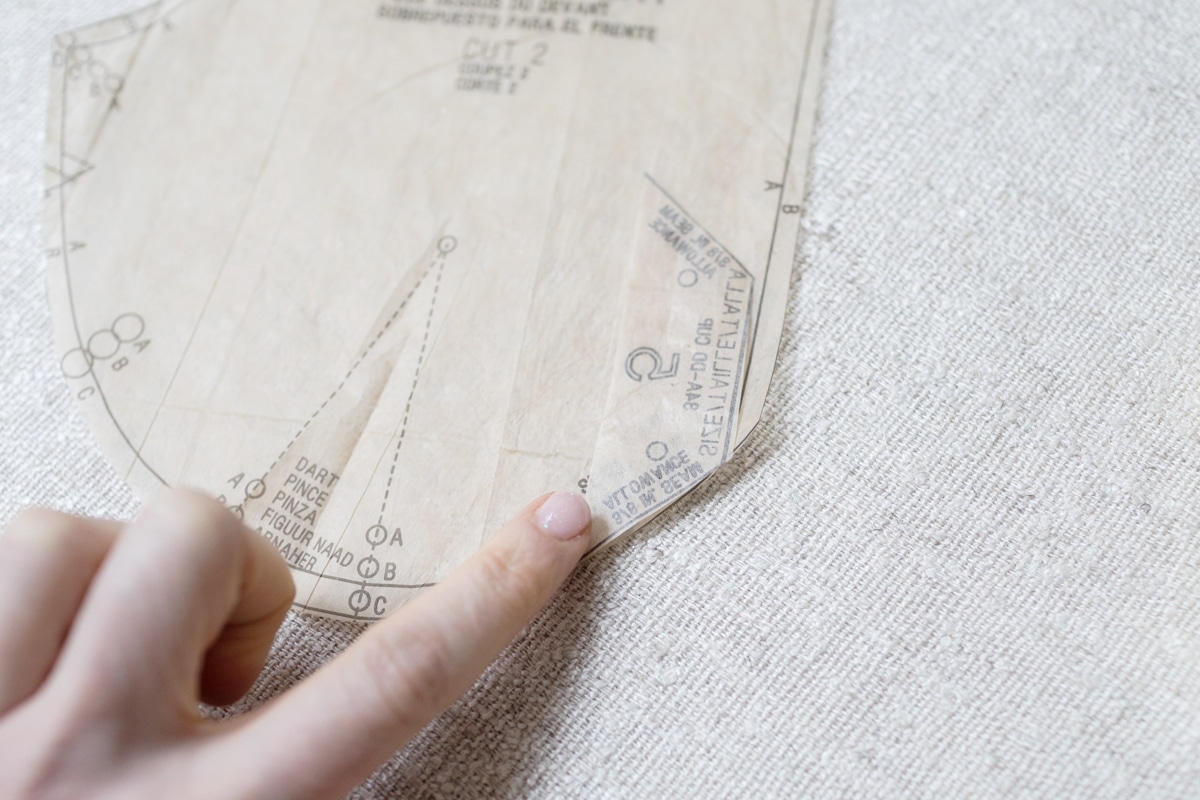
Use pattern piece #5 (front strap guide) to cut a strip of 3/8” strap elastic – lay it through the center of the paper pattern and cut the sides at the same angle as the pattern. You can also use ½” elastic.
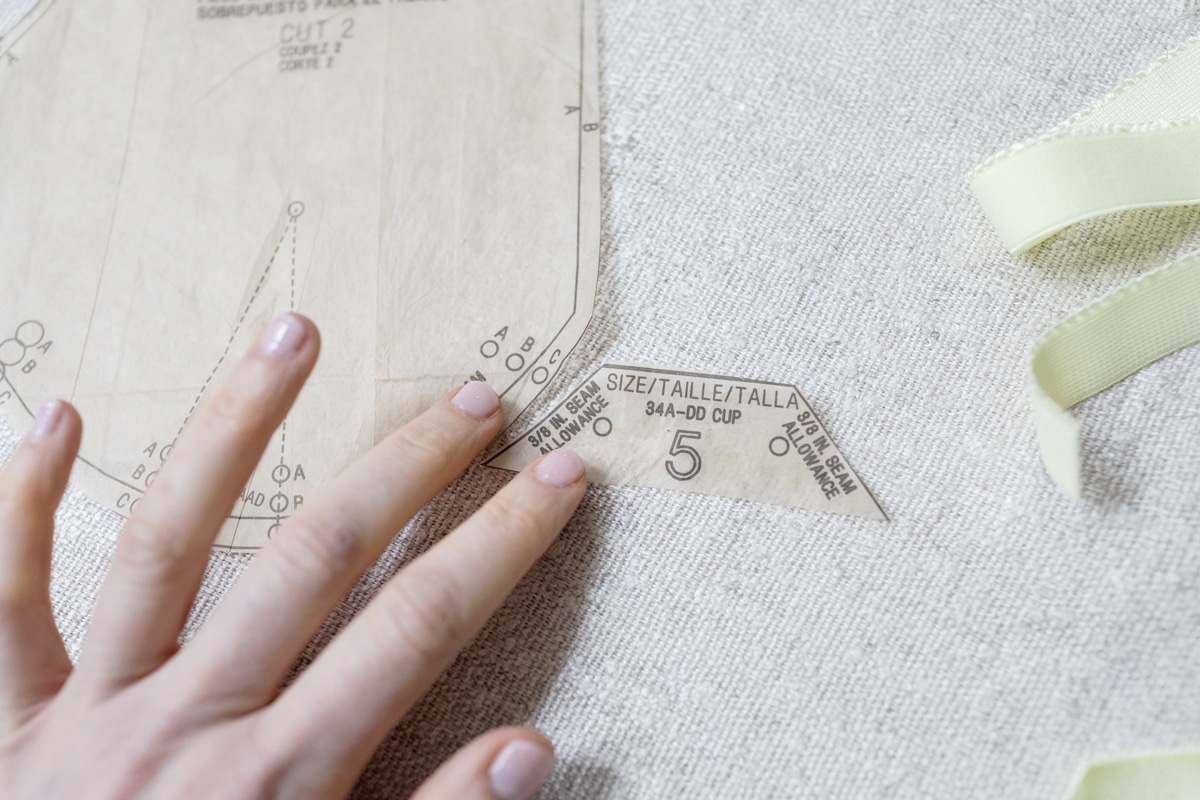
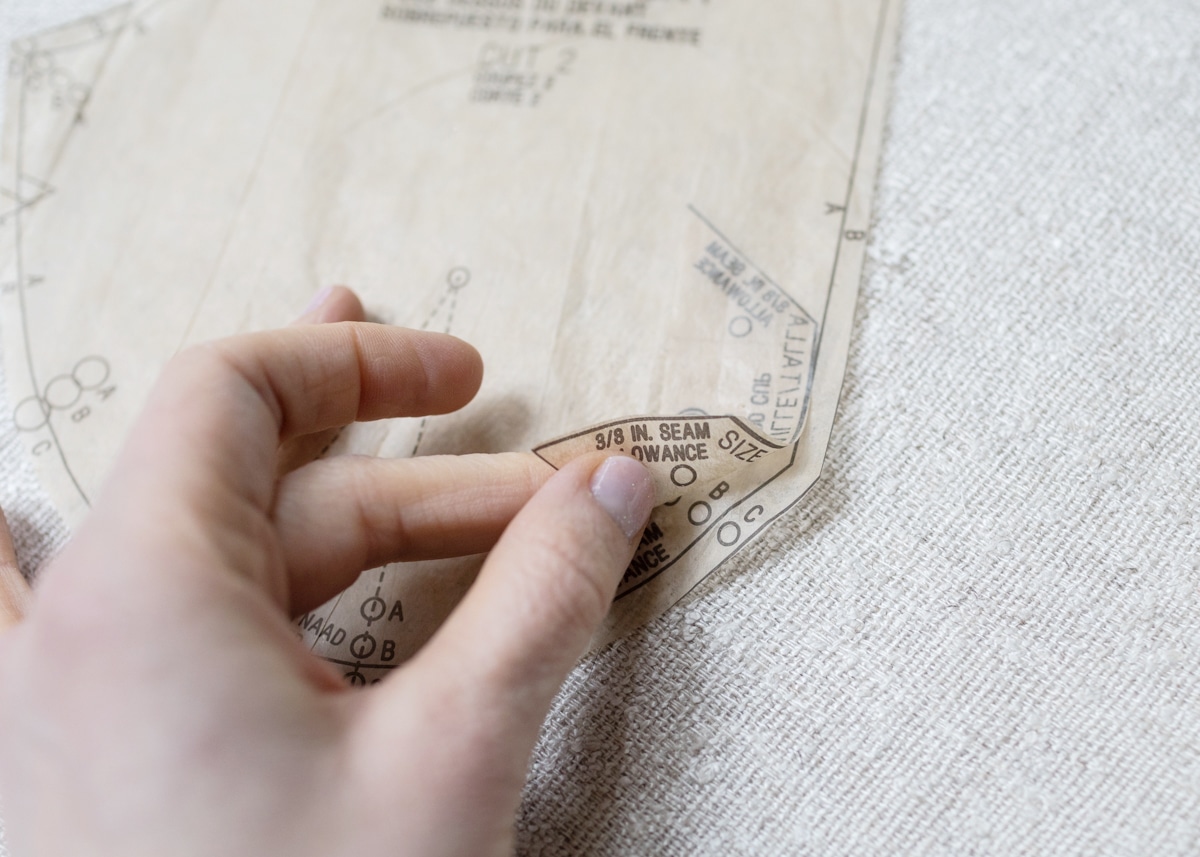
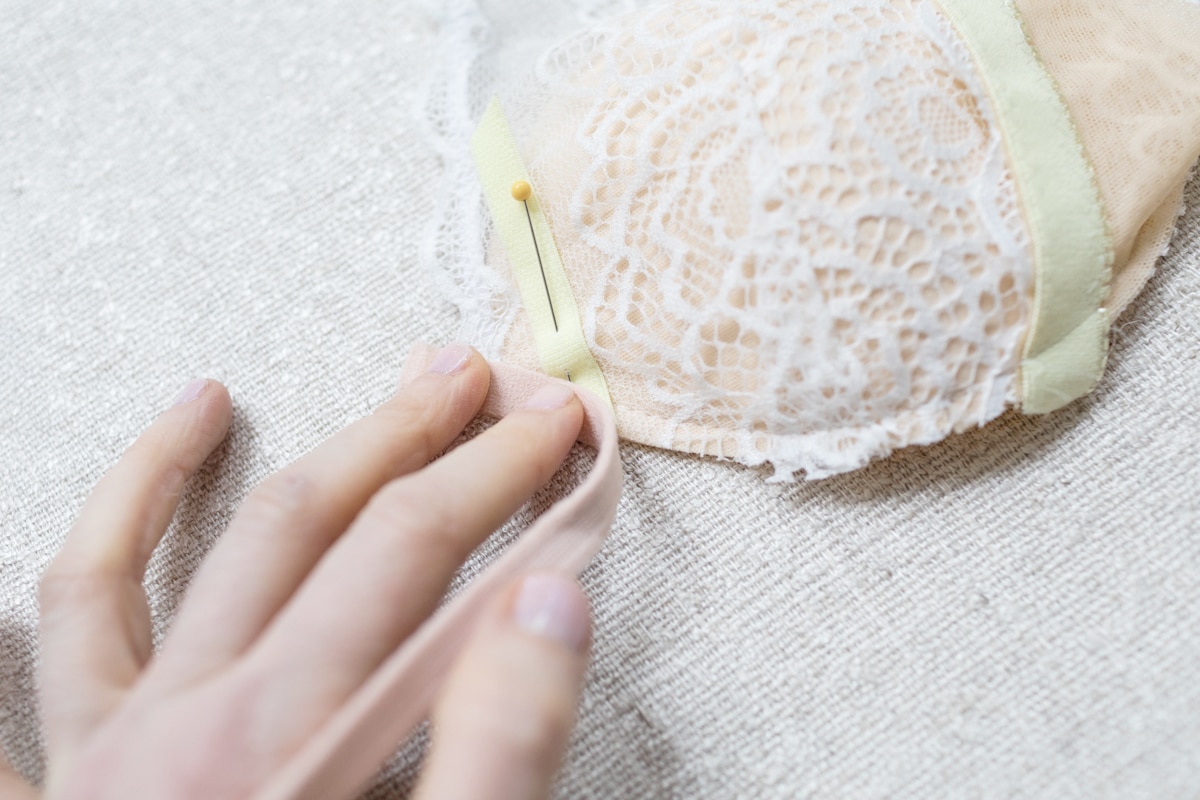
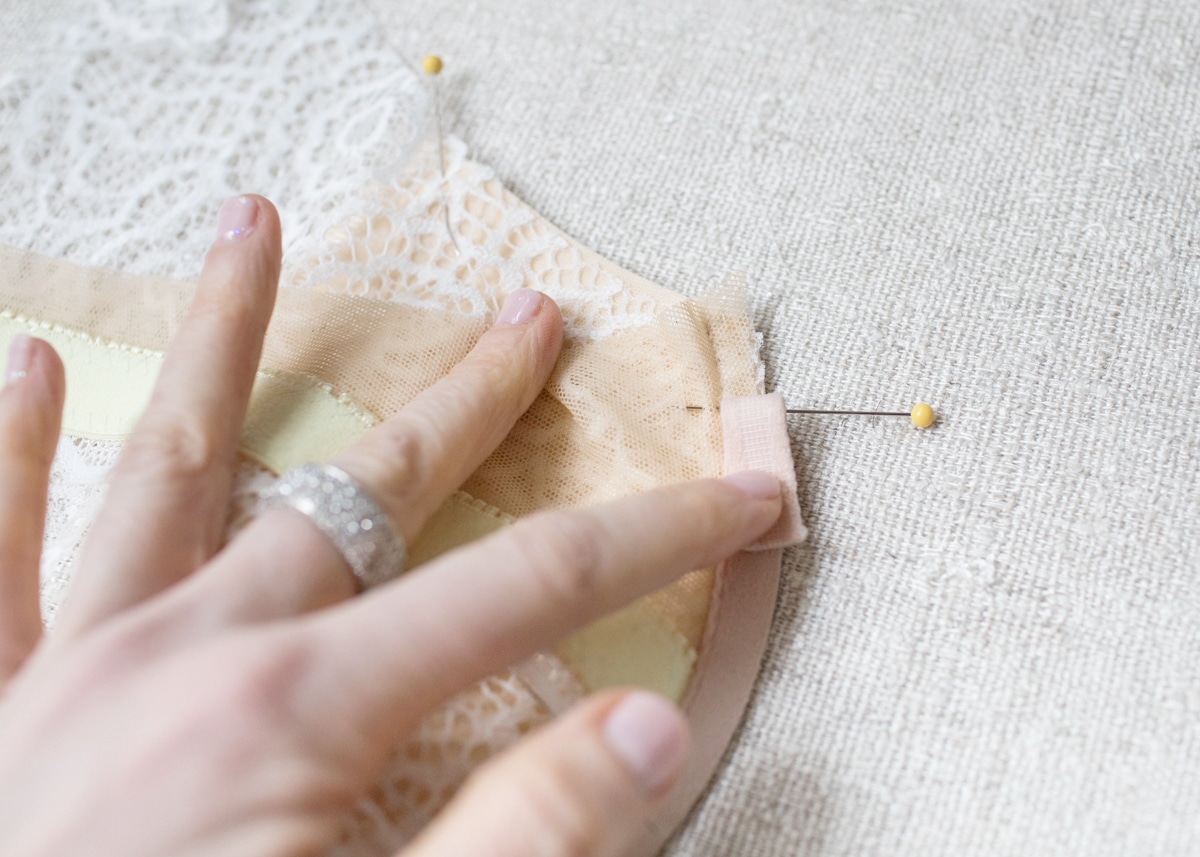
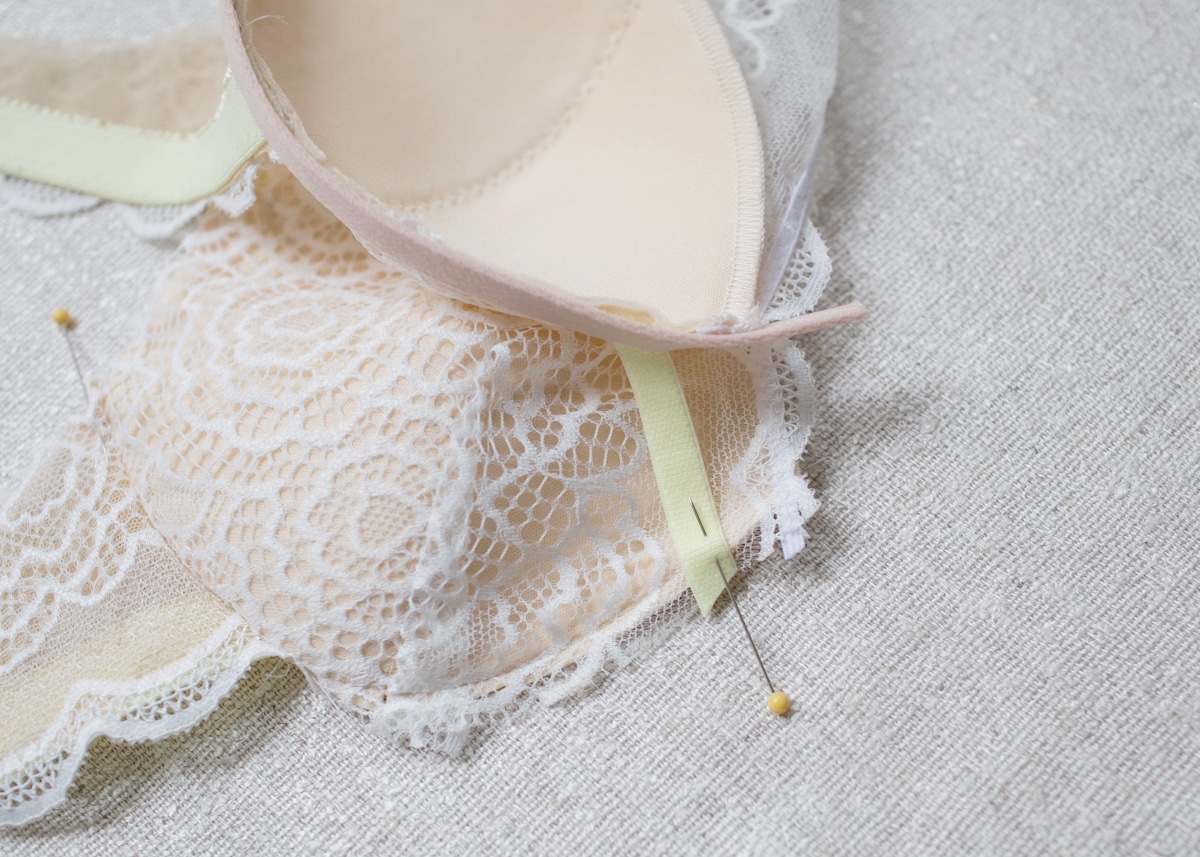
 If you haven’t done so already, mark where the dot that is on the front overlay pattern piece on the actual bra. I like to mark this now instead of when I was cutting the fabric because things could have shifted during sewing. Use markings to pin strap elastic to one front overlay/bra cup. Right/shiny side of strap elastic should be facing right side of front overlay/bra cup and should be at an angle as shown in the photo below. Basically, you want the angle on the strap edge to match the angle of the bra cup.
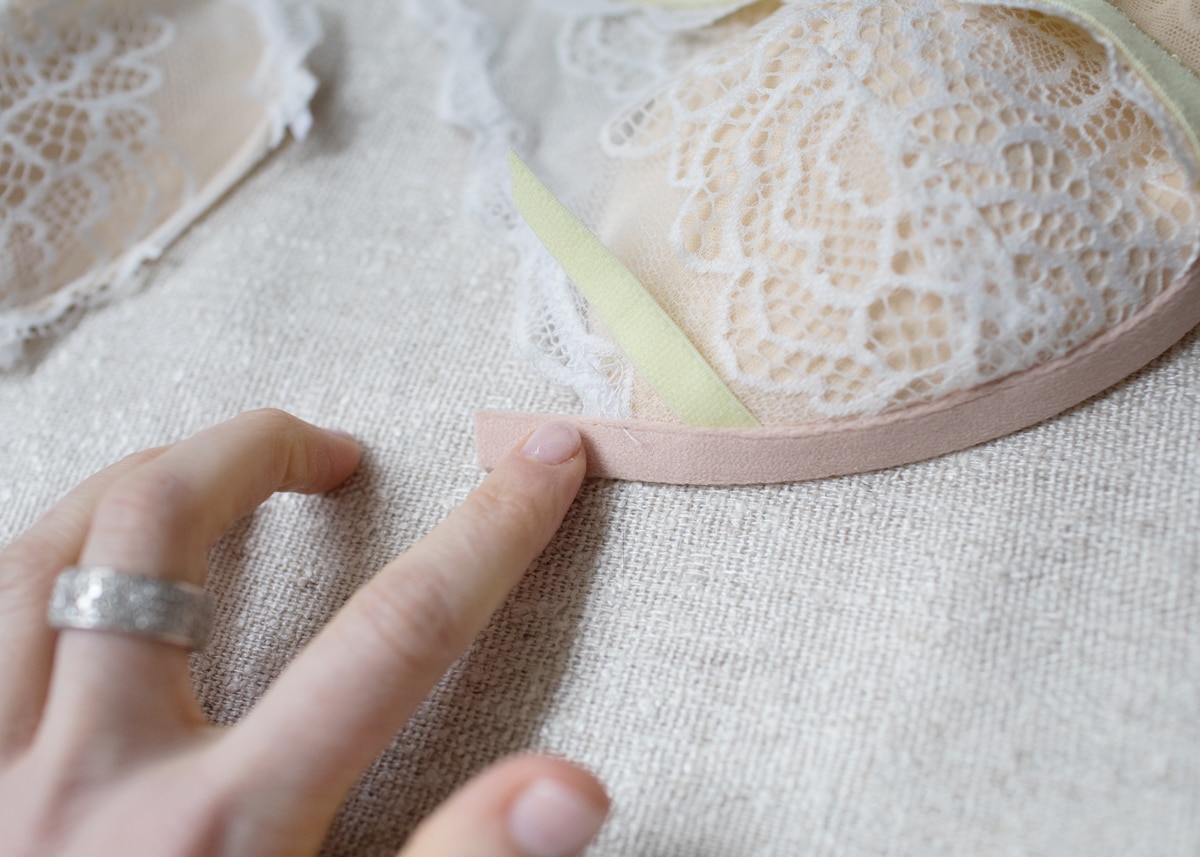
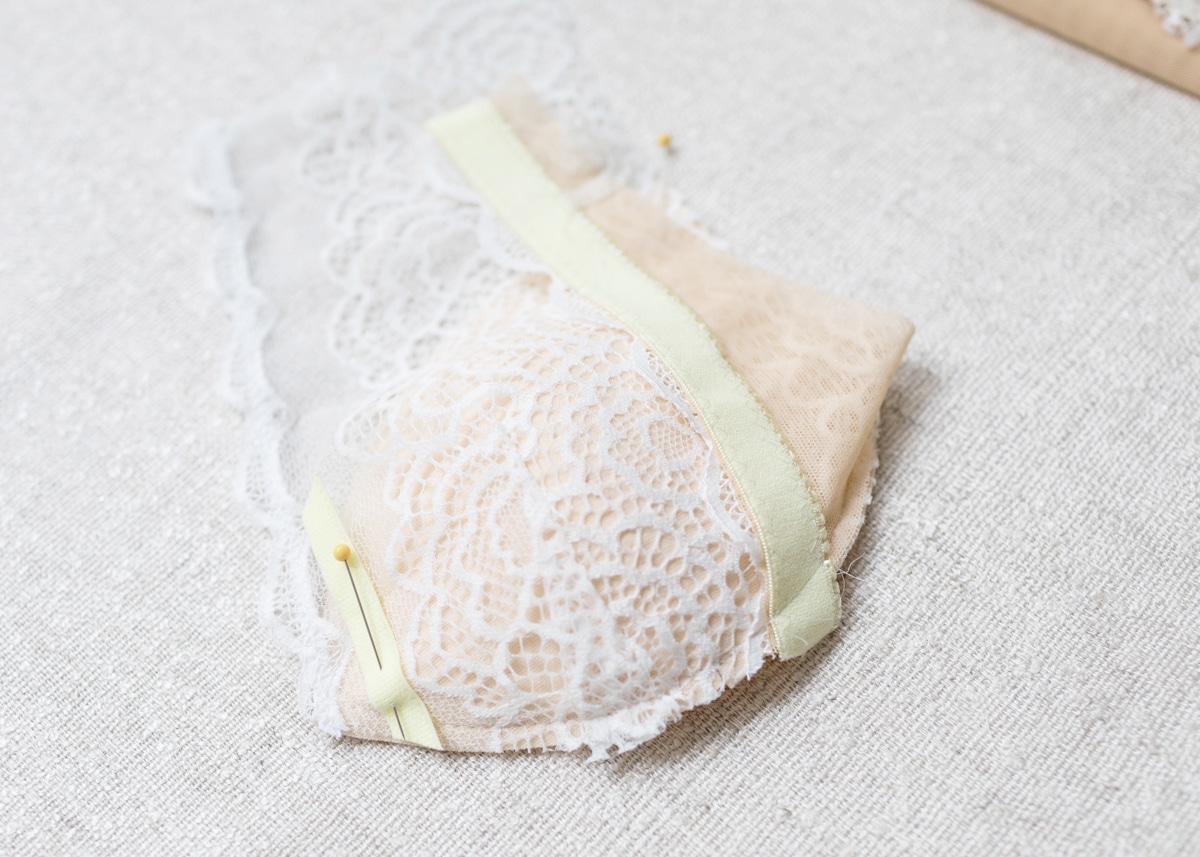 Then, fold back band back towards the bra and place channeling on top. The outer edge of the channeling should align with the wire/cup seam. Plush side should be facing up. Using a straight stitch, sew channeling to front overlay/bra cup about 1/8” from channel’s inner edge. Strap elastic should be sandwiched in between the channeling and the front overlay/bra cup. Stitch all the way from neckline to 1/2” – ¾” below underarm edge. After, trim/grade seam allowances to reduce bulk.
 Repeat for other side.
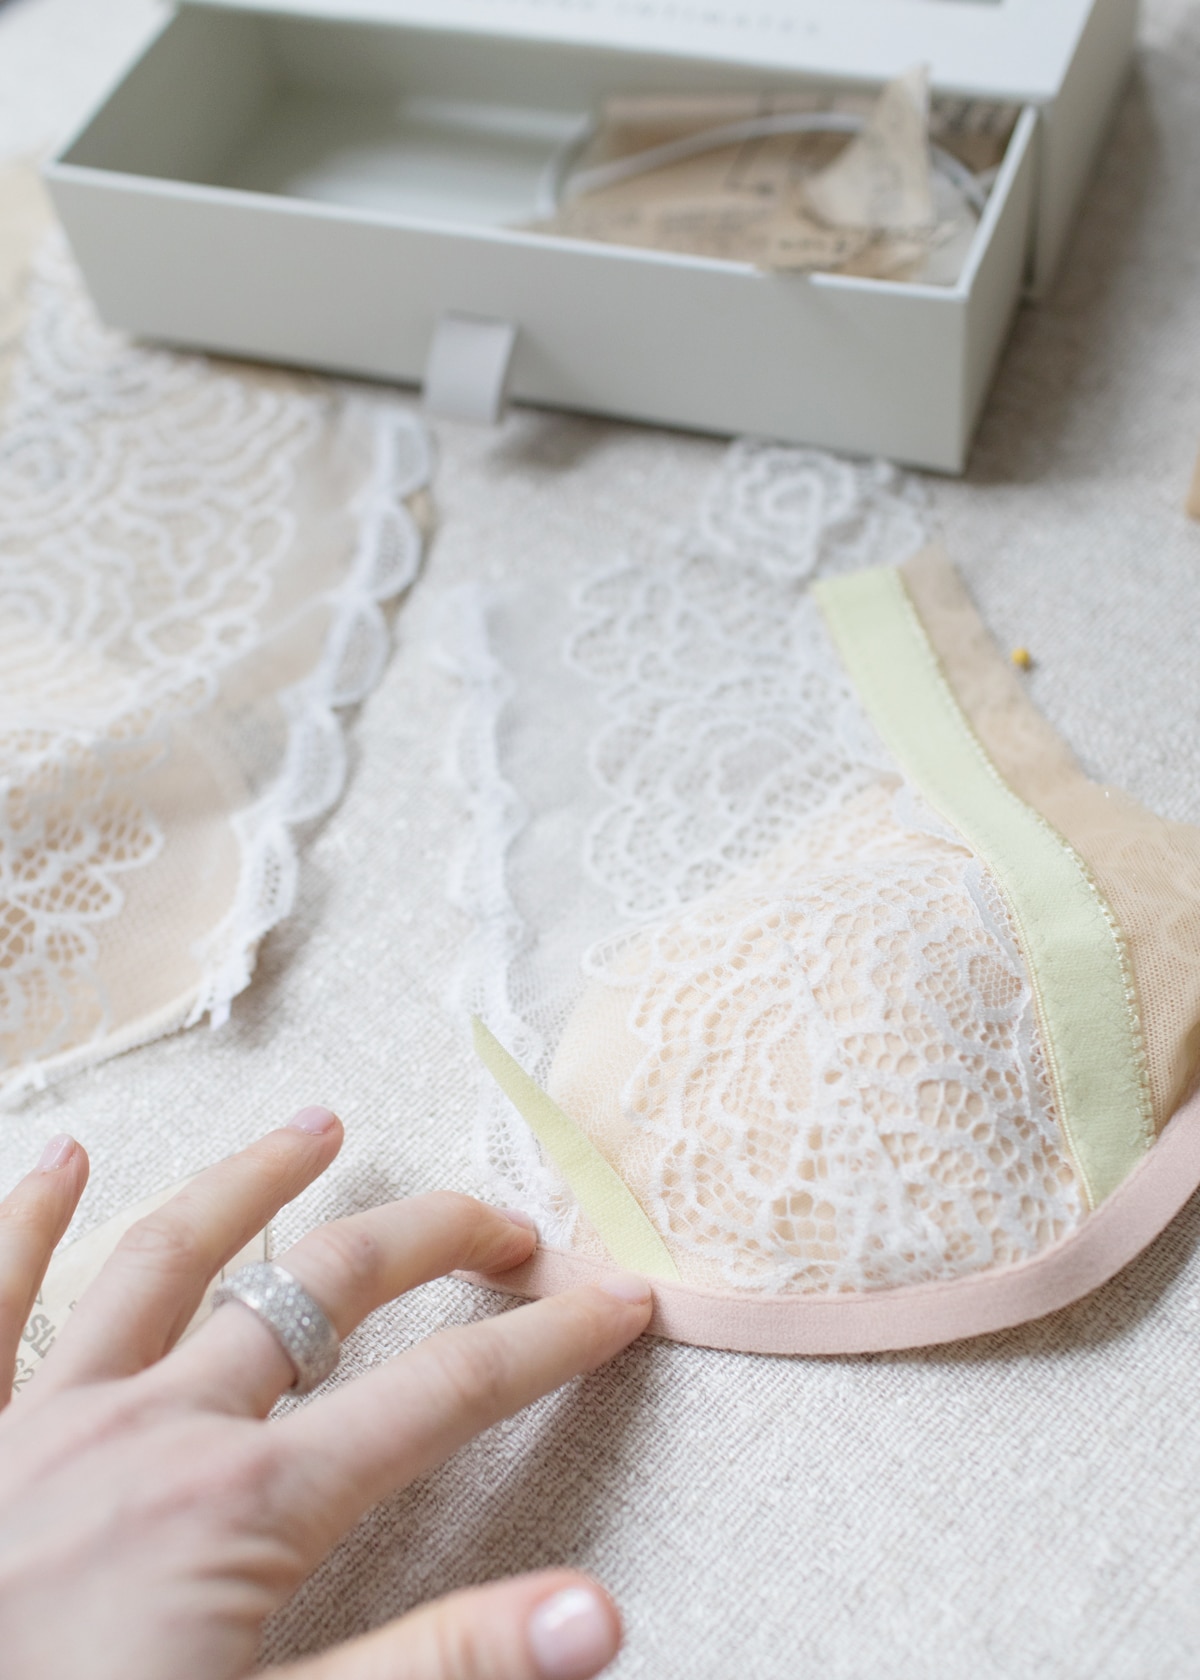
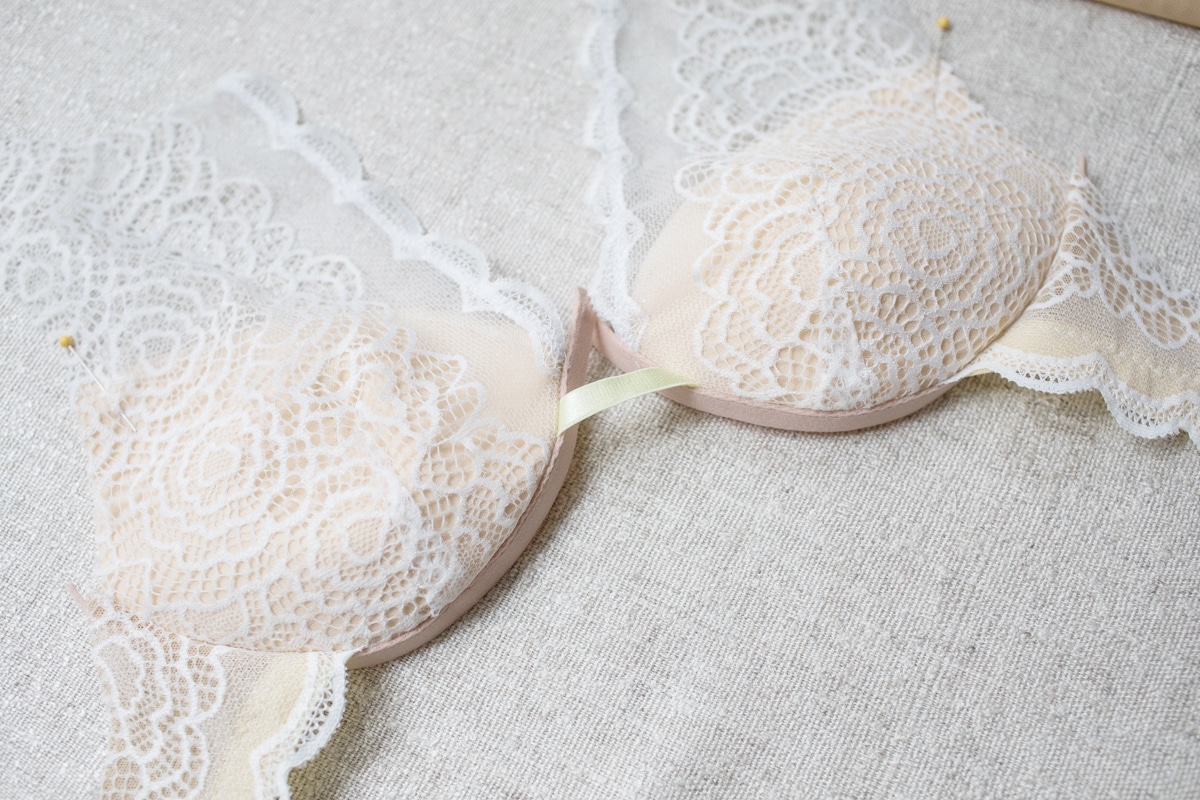
 Once you’ve sewn the channeling, your bra should look like this.
 One last note before I let you go for the second day. When designing the 8624, I chose to use an elastic strap between the cups to allow for flexibility in fit. The distance in between a woman’s breasts is very specific – even two women who wear a 34B might not have the same distance and even an 1/8″ off can throw off the fit. Because strap elastic stretches, it isn’t stable. For cup sizes A and B, I think this is okay and you’ll get enough support. For cup sizes C, D, DD and larger though, I suggest changing this to a trim that is more rigid. It will provide more support.
Phew! That’s it for now. If you’ve made it this far, give yourself a pat on the back. In my opinion, these are the hardest steps. Stay tuned to the next post where we finished the bra. Woo!
Don’t forget to share your in progress and finished 8624 on Instagram. It also helps other bra makers too. If you do, tag @mmadalynne and use the hashtag #bramakingwithmadalynne
1 Comment