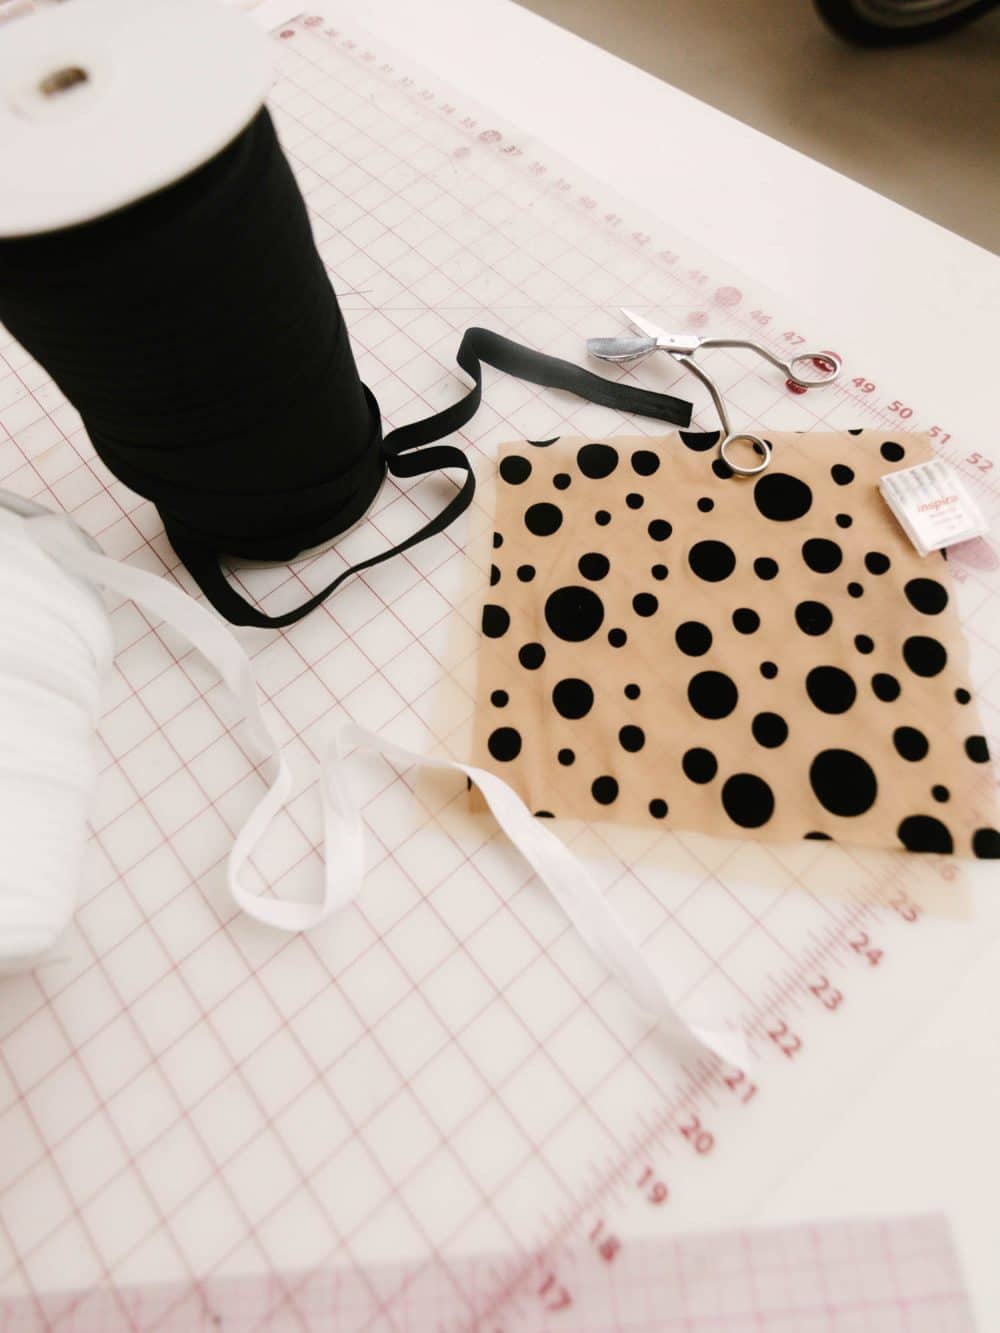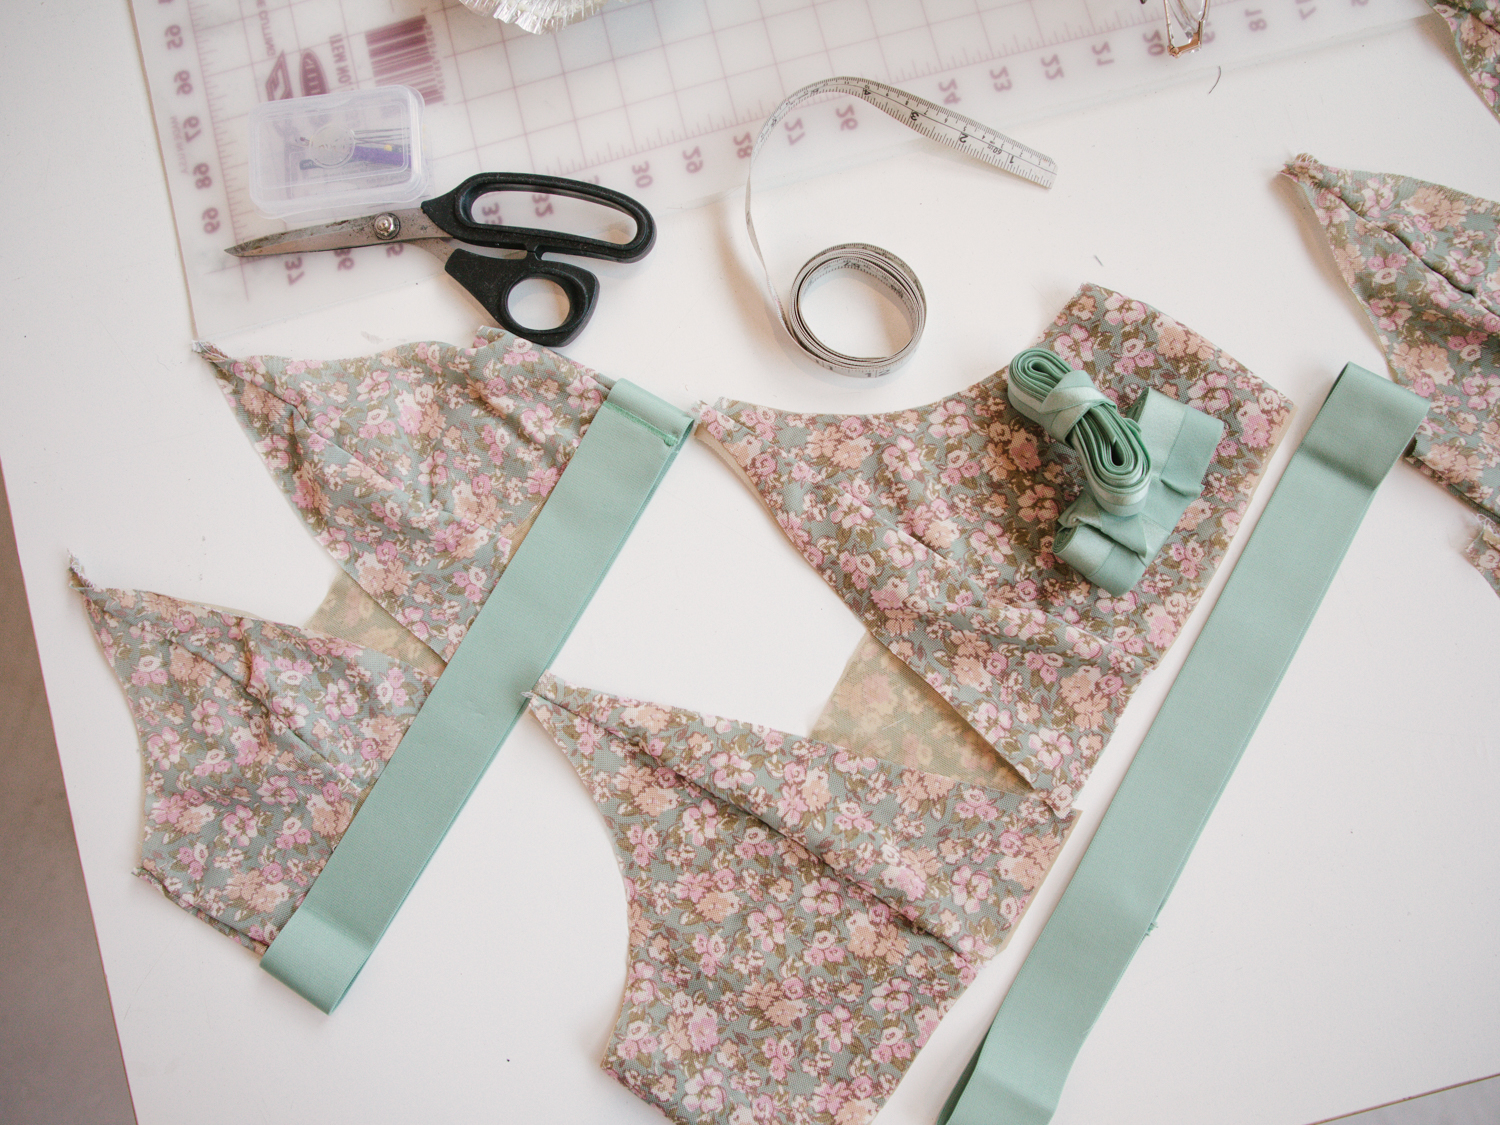
Fold over elastic binding is an alternative to sewing picot elastic and is usually used to as a binding to finish the neckline, armhole or bottom band of a bra or bralette, such as in the Madalynne X Simplicity 8229 underwire bra kit shown below. In the case of panties, it’s usually used as a binding around the waistline and leg openings. It usually has a shiny side and a matte side with an indentation down the middle – this is the where it is folded. Also referred to as FOE, it gives a sportier, cleaner look to edges as well as gives a contrast or pop of color to the main fabric.
Fold over elastic binding comes in many widths. The most common width of FOE is 5/8″ wide, which is about 3/8″ when folded. Narrower FOE is harder to handle when sewing and wide FOE doesn’t curve nicely. Madalynne carries 2 colors of FOE – white and black.
In today’s blog post, I will show you my favorite and easiest method for sewing FOE. Let’s get started!

First, if your pattern has seam allowances, you need to eliminate them because FOE is sewn at the finished edge. It isn’t turned back like picot elastic.
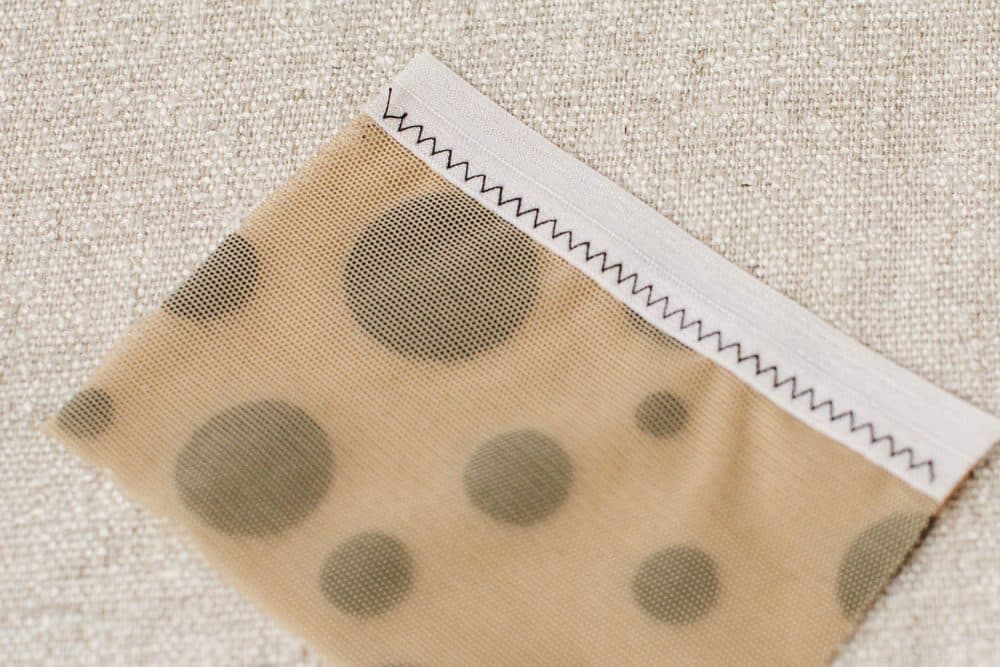
With wrong side of bra or panty face up, lay FOE on top. Shiny side of FOE should be face up as well, and the ridge/indentation in the middle should be at or just beyond the fabric’s edge. Sew the first “pass” with a zig zag stitch that is approximately 1/4″ wide.
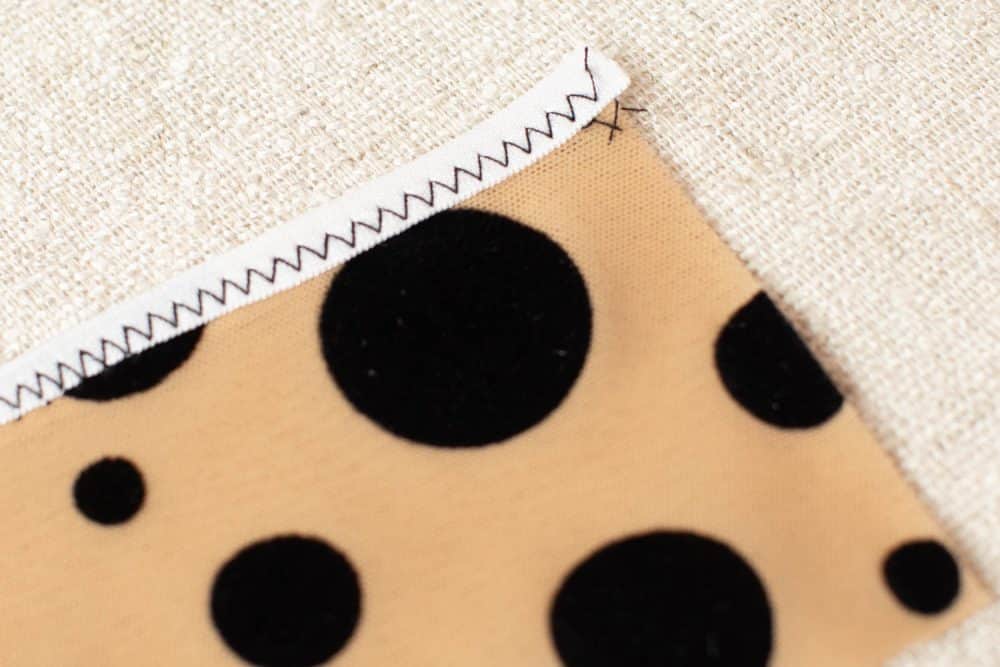
After, wrap the FOE to the right side and sew the 2nd “pass” using a zig zag stitch that is the same width.
A question that I get often is can you sew FOE elastic in 1 pass? Yes, you can if you use pins or spray adhesive to secure it in place prior to sewing, but I find that no matter how careful I am, it always ends up wonky. Since FOE is a decorative trim that is very visible on the exterior of a bra, bralette or panty, it’s noticeable if it isn’t straight. So even though the method above is double the work, it’s much more accurate.
How do you finish FOE elastic? I’m so glad you asked ;) There are 3 ways:
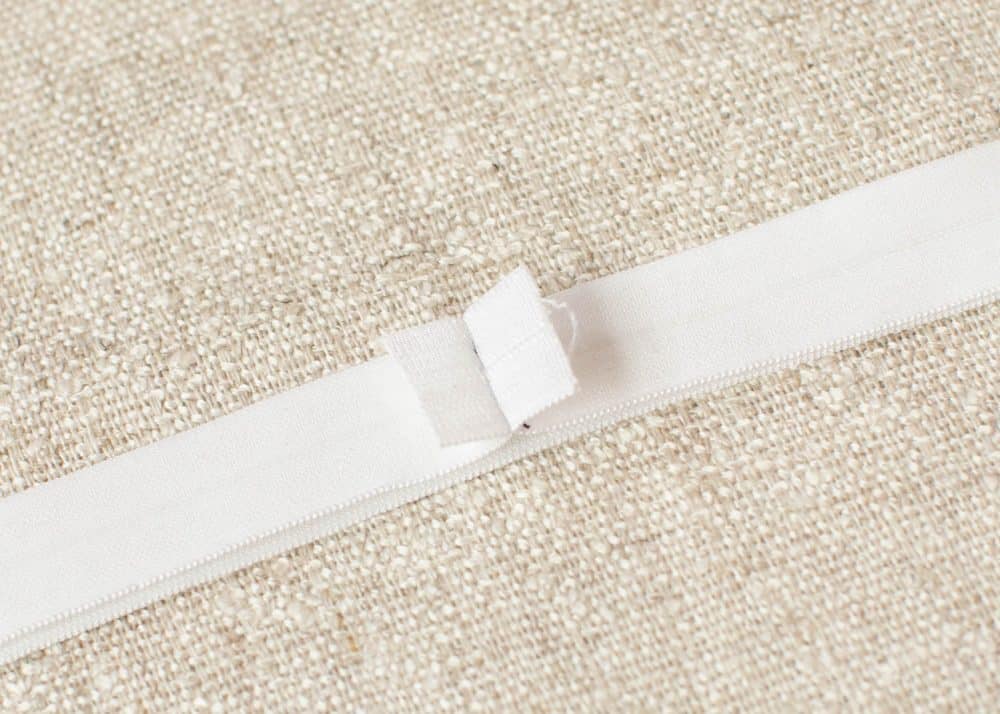
1. Finish the FOE before sewing. Measure the length of the edge, then add 1″ to account for 1/2″ seam allowances. Sew ends of FOE elastics with a straight stitch and after, press open using an iron on synthetic setting. Then sew down using steps above.
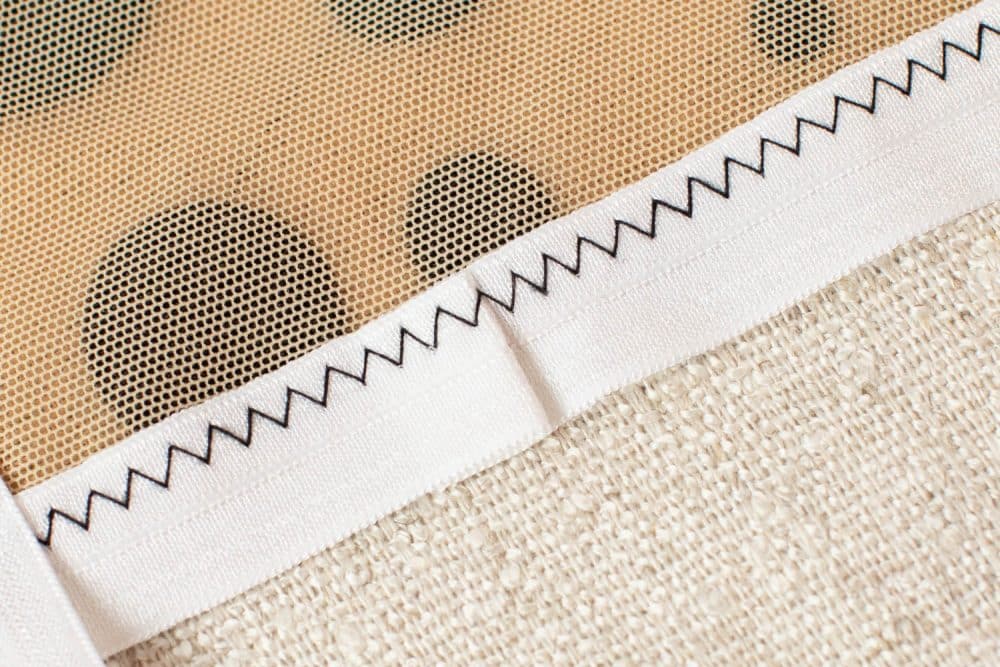
2. Overlap the FOE at end of the first pass 1″ and then fold back one end 1/2″. When you wrap it around for the 2nd pass, it will be finished.
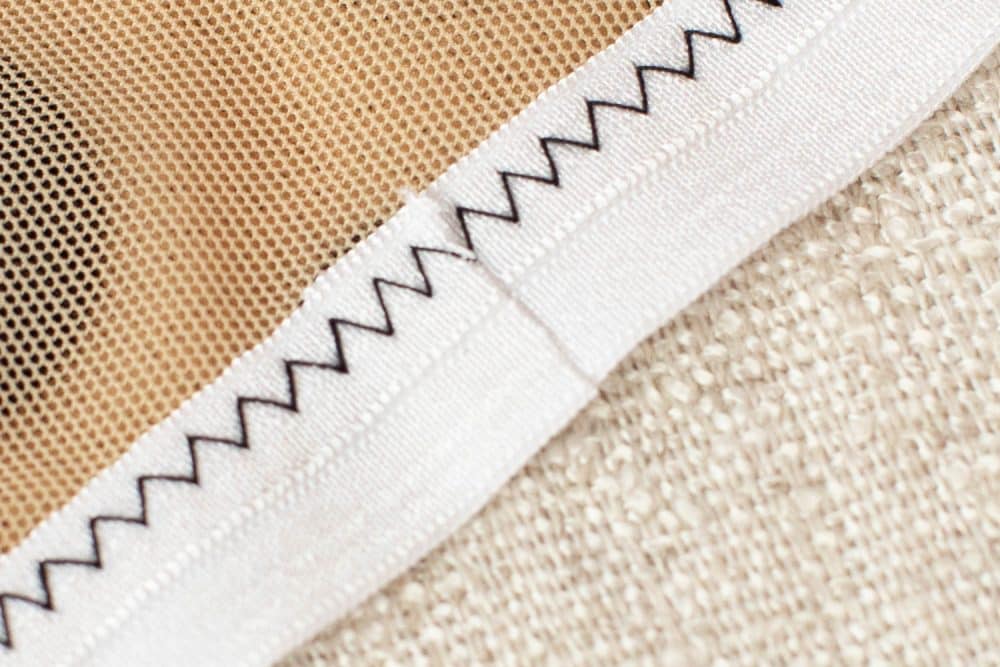
3. A quick way if you’re in a pinch for time or are being lazy is to just overlap the beginning and end of the FOE 1/2″, and then wrap it around and sew the 2nd pass. Apply fray check to the raw edges.
*I used a microtex needle, size 70
*No special presser foot
