It’s been about 10 months since Madalynne Studios got a huge upgrade in terms of sewing machines. Last October, PFAFF’s newest and top of the line machine – the creative icon™ – arrived (click here to check out my unboxing video). It was my first foray embroidery and since then, I’ve had my fair share of embroidery projects. Just like all of PFAFF’s other machines – passport 2.0™, ambition essential™ and quilt expression 4.2™ – it’s been very user friendly. Embroidery is intimidating, but once you get the hang of it, it’s a lot of fun!
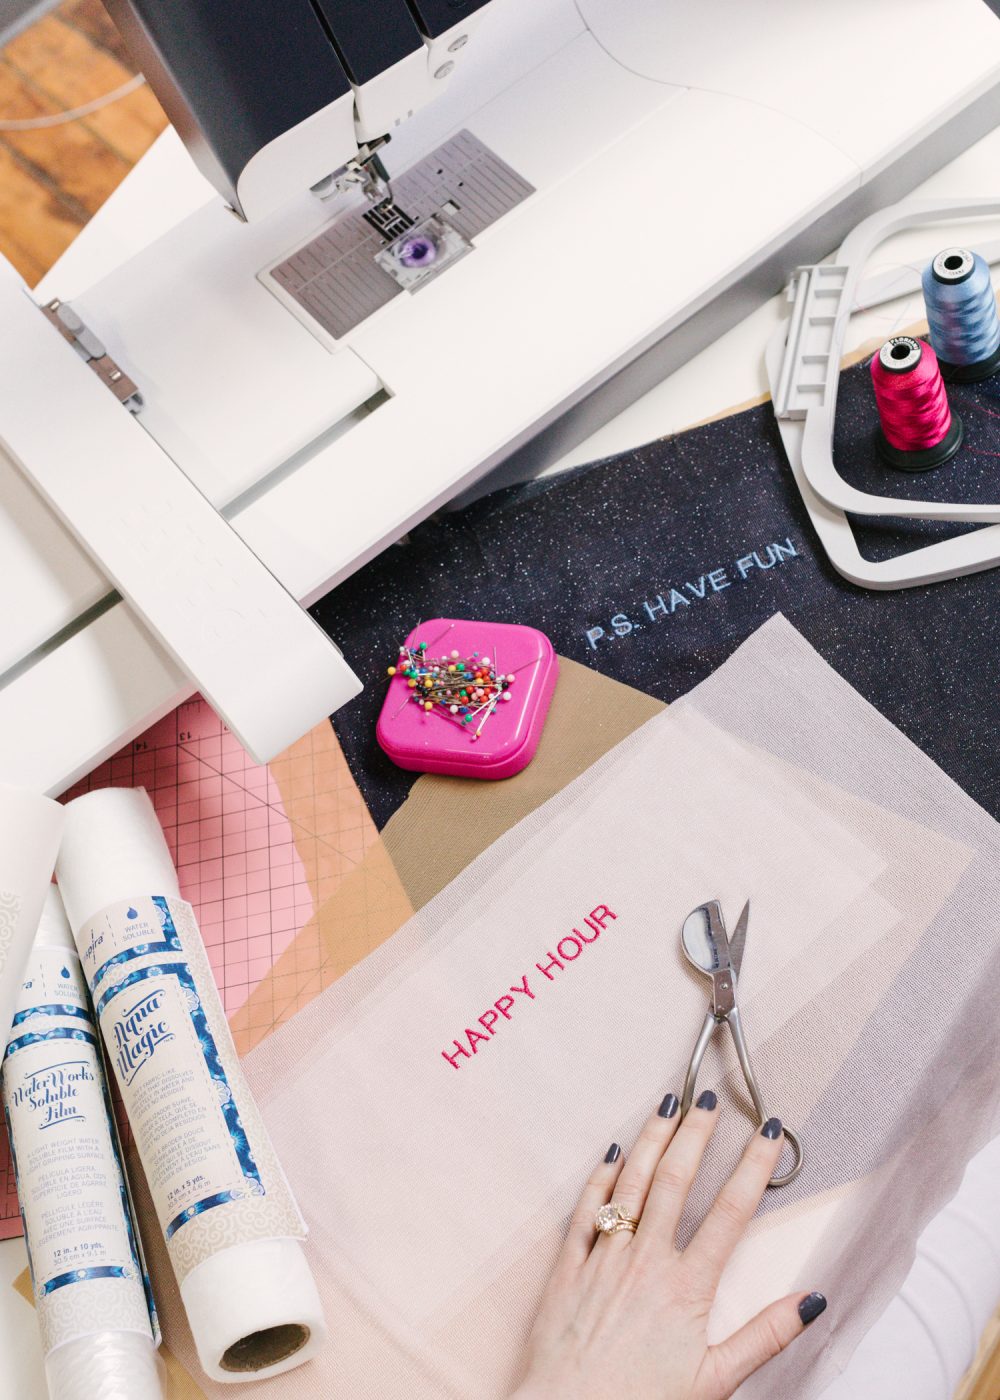
My first embroidery attempts were good, but could be improved. The tension was off – the stitches were sinking into the fabric and the top thread was showing through on the wrong side. It wasn’t the machine. It was my stabilization method. For my first embroidery projects, I used INSPIRA’s Aqua Magic Plus underneath and Inspira’s Water Works as a topper. You can see how I stabilized in this video tutorial. With the help of local sewing friend and embroidery veteran, Jo, we tried 2 different stabilization methods. For both, we used a sandwich method.
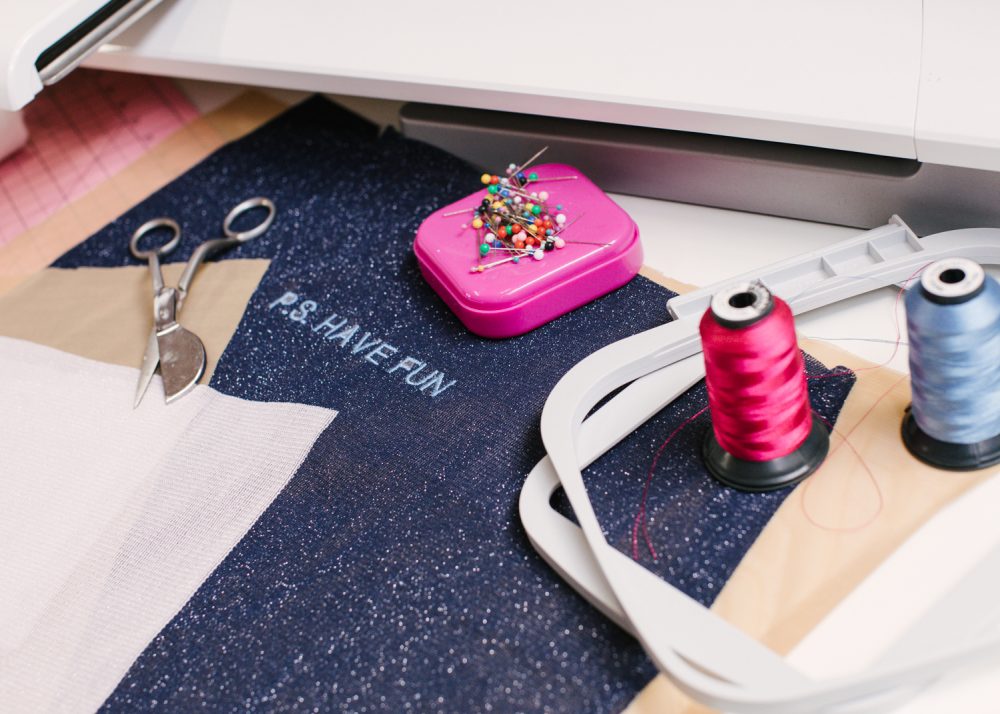
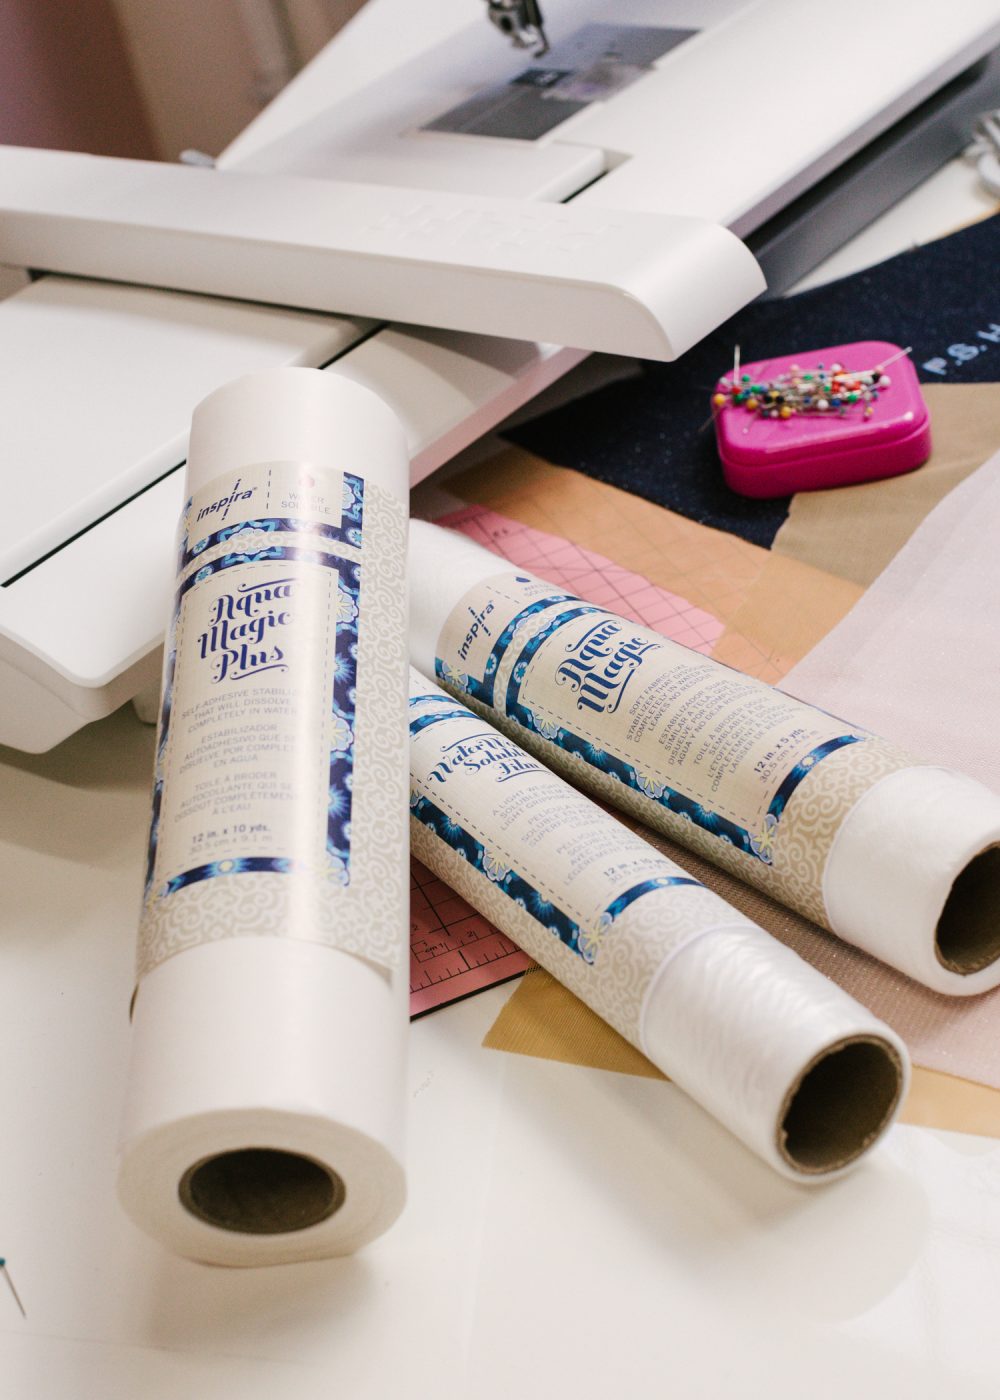
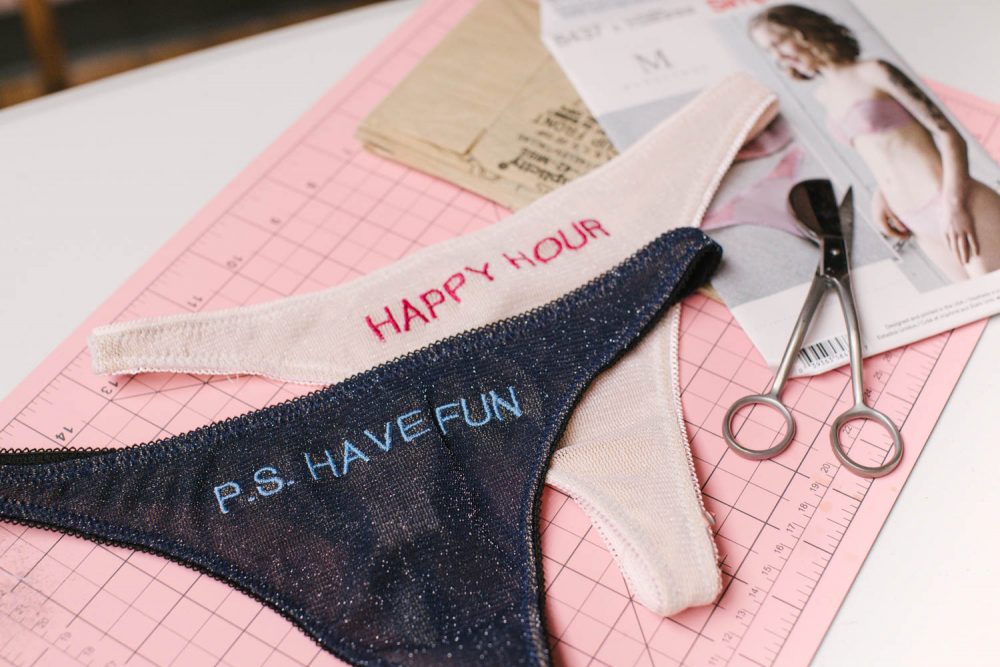
For the first method, we used a metallic blue stretch mesh on top and beige stretch mesh on bottom. Just like my first embroidery projects, we used INSPIRA’s Aqua Magic Plus underneath and Inspira’s Water Works as a topper. In between the metallic blue stretch mesh and the beige stretch mesh however, we sandwiched INSPIRA’S Aqua Magic Stabilizer. This helped tremendously!
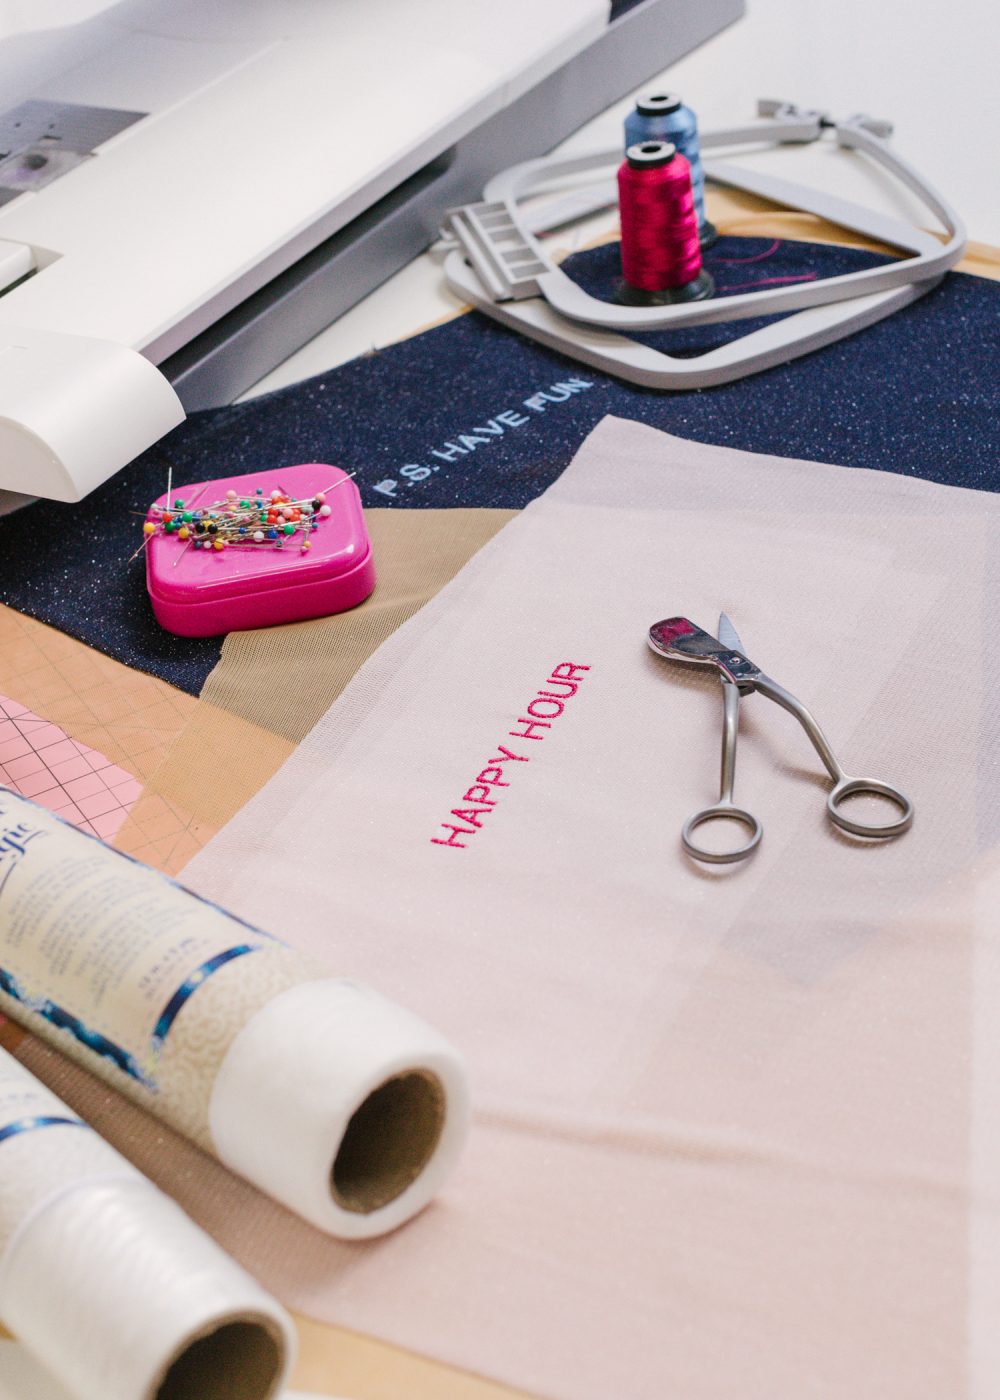
For the second method, we used a blush pink metallic stretch mesh on top and beige stretch mesh on bottom. Our goal was to encase the embroidery stitches between the top and the bottom fabric. The beauty of handmade is that you can add extra details that show you gave extra care to the garment. Having the stitches between the main and lining is a nice touch, and also, if anybody is sensitive to stitches, it’s softer again the skin. So we only embroidered through the blush pink metallic stretch mesh, placing INSPIRA’s Aqua Magic Plus and INSPIRA’S Aqua Magic Stabilizer underneath and Inspira’s Water Works as a topper. This worked well, but after washing, the text/stitches became slightly warped.
So thank you to Jo for helping out this embroidery newbie. I plan to use the first method to get more creative with embroidery designs.
Click here to watch the video tutorial!
Click here and here to shop the metallic blue and blush pink DIY underwear kits used for this tutorial!
