PFAFF creative icon™ Embroidery 101
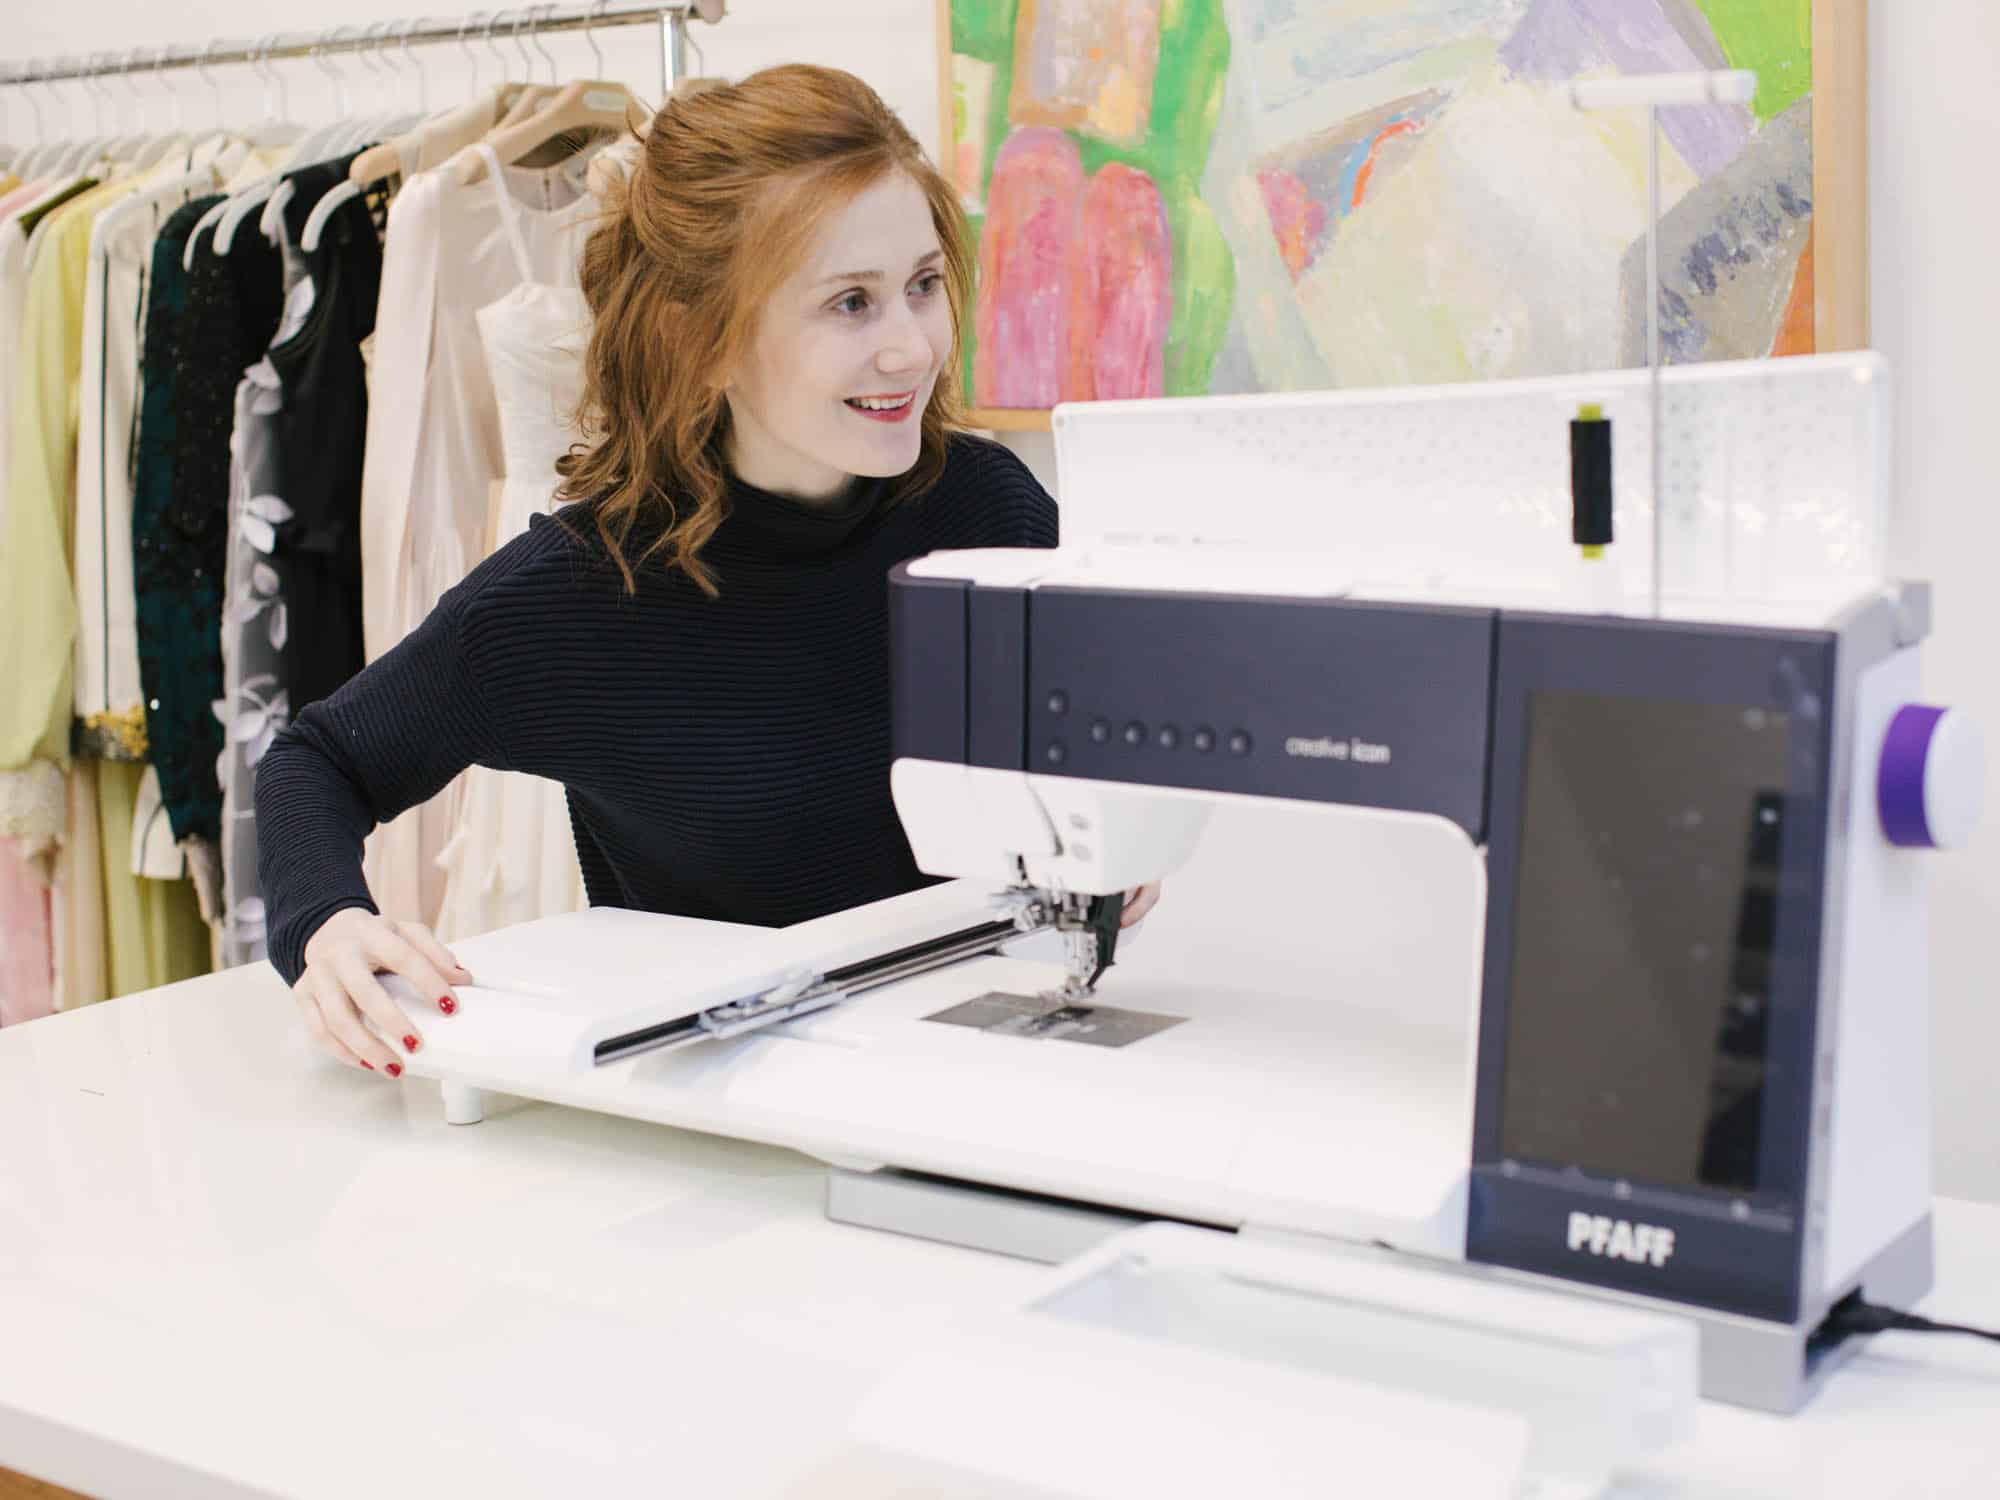

I started an embroidery 101 video series on my YouTube channel covering the basics – parts of the embroidery unit, how to attach the embroidery unit to the machine, which threads and stabilizers to use, and stitching out a project. Below is a brief overview and supplement to what is covered in the videos. Enjoy!
Click here to start watching the YouTube series!
PARTS OF THE EMBROIDERY UNIT
1. Embroidery socket – piece that allows the embroidery unit to communicate with the sewing machine.
2. Embroidery Arm – moves back and forth and attaches to the hoop in order to create an embroidery design.
3. Hoop Attachment – holds the fabric in place during embroidery. There are 3 hoops included with the creative icon™
-creative™ Supreme Hoop (360×260)
-creative™ Elite Hoop (260×200)
-creative™120 Square Hoop (120×120)
4. Release lever – this is what you push to release the hoop attachment from the embroidery arm.
THREAD
1. Cotton – non stretch and has a matte appearance. Since I’ll be sewing lingerie with mostly stretch fabrics, I won’t use cotton thread.
2. Polyester and Rayon – for lingerie, I’ll be using a polyester or rayon thread and the difference is like asking which brand of car or sewing machine is your favorite. PFAFF… duh! Poly has a higher tensile strength and is indestructible. That’s important for garments like jeans, not lingerie. For me, I prefer rayon because it has a more “silk like” appearance. It’s not super noticeable – just a tiny bit less shiny. For these video tutorials, I’m using Robison-Anton rayon embroidery thread, which you can find here on All Threads. Other brands include Hemingworth and Sulky.
3. Bobbin – Generally, you want your bobbin thread to have less thread count than your top thread. So, if my top thread has a thread count of 60, my bobbin thread should have a thread count of 40 (or anything below 60).
STABILIZERS
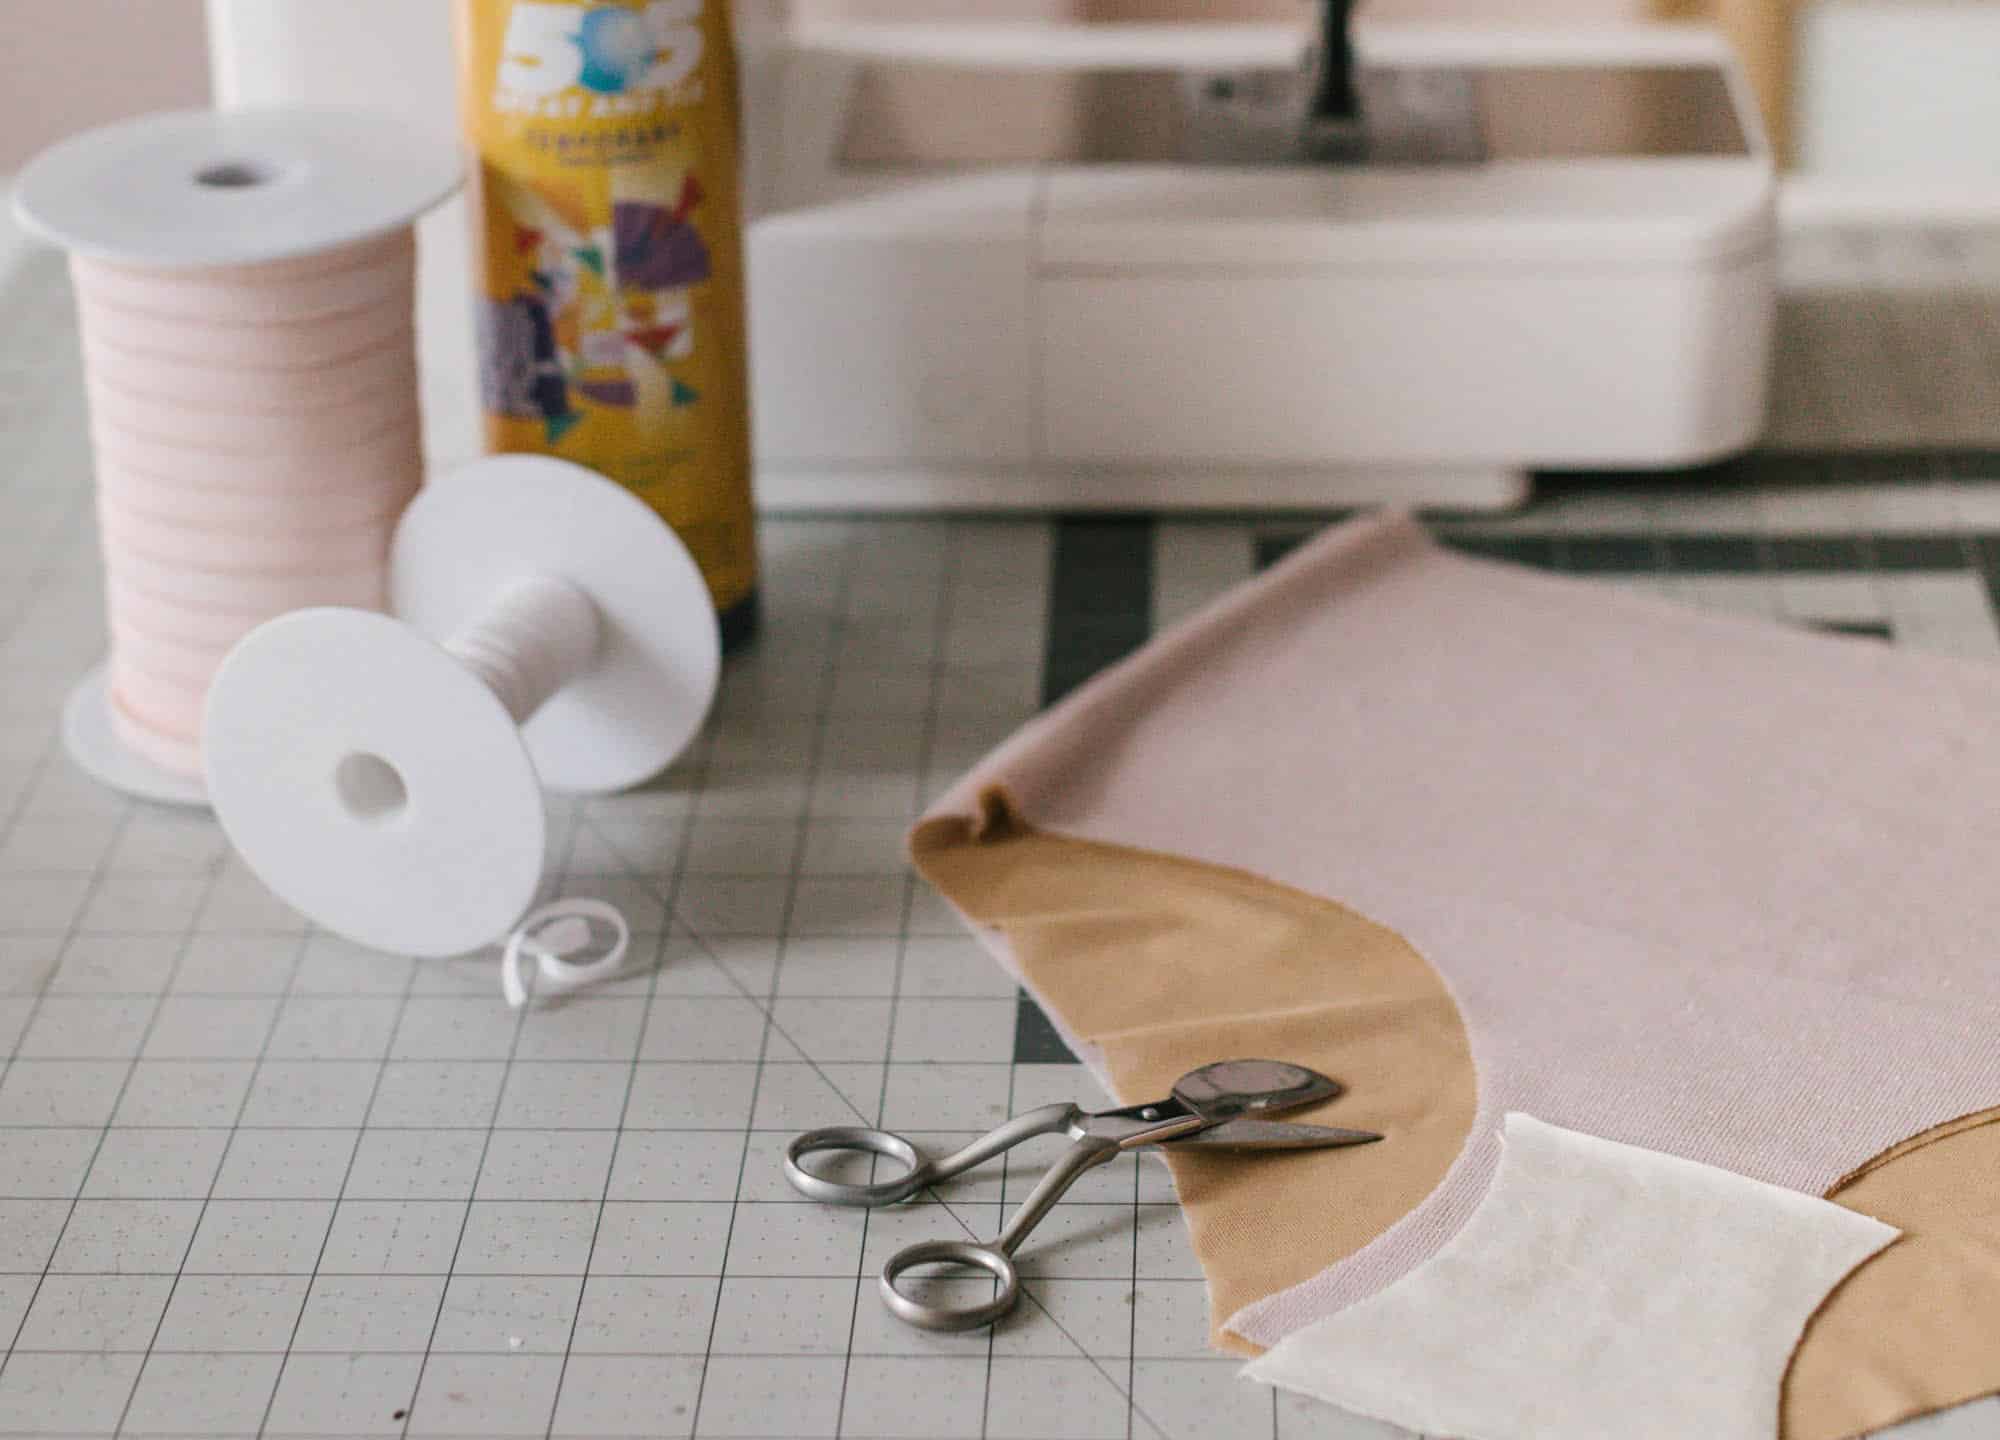
Stabilizers are the key to a successful embroidery design, especially in lingerie. They add stability and support to the fabric, help attach the fabric to the hoop, and also serve as a foundation to free standing designs like crochet. Which one you choose will depend on the fabric you’re using and the design.
1. Cut away – After the embroidery design is finished, the stabilizer is cut away. Cut-away stabilizers, like INSPIRA® Cut-A-Way Light Stabilizer, is ideal for medium weight fabrics, light to medium weight woven fabrics and stretchy knits. It’s softer than other stabilizers, so it’s good for embroideries that’ll be against the skin.
2. Tear Away – After the embroidery is finished, the stabilizer is torn away. Since it is very much like paper, tear-away stabilizers, like INSPIRA® Fast & Easy Tear-A-Way Light, is a good choice for heavier fabrics or for projects that won’t be washed or worn a lot.
3. Water soluble – After the embroidery is finished, the stabilizer dissolved completely in water. Water soluble stabilizers, like INSIPIRA® aqua magic, is perfect for free standing embroidery like crochet. This is the type of stabilizer I use in the videos.
Click here to scope out all PFAFF INSPIRA stabilizers
HOOPS
Hoops connect to the embroidery unit via the hoop connector and hold the fabric during an embroidery. Some things to remember about hoops:
- The hoop is face up when you can see the PFAFF logo
- There is an inner hoop and an outer hoop
- The hoop connector slides into embroidery arm and snaps into place
- The retention screw is at the lower right hand corner and sets the tension. If you cannot close the lever, you don’t want to force it. You want to release the tension via the retention screw until you can close the lever
- The center of the embroidery design is marked on the hoop with raised “dashes”. Don’t use the outer dimension of the hoop to determine the center.
ADDITIONAL RESOURCES:
PFAFF creative icon™ user guide
Do you have a PFAFF creative 1.5? If you do, scope out this embroidery series, which served the basis for this one.
Want to know what comes with a PFAFF creative icon™? Click here watch my unboxing video!
Sarah Gunn
Enjoy your machine, Maddie! Pfaff has certainly changed the world of machine embroidery with the Creative Icon. It is an absolute dream machine
Maddie Flanigan
Thanks Sarah! It certainly is a step up from the passport, which I normally use. I started with the most basic project just to get the hang of it, but am hoping to work my way up to more advanced projects like your embroidered McCall’s 7543. Love!
Pingback: Embroidered Lingerie Tutorial by Madalynne Intimates
Pingback: Madalynne Intimates + Lingerie - Bralettes to Buy and Sew!