Madalynne X Simplicity 8711 Square Neckline Variation
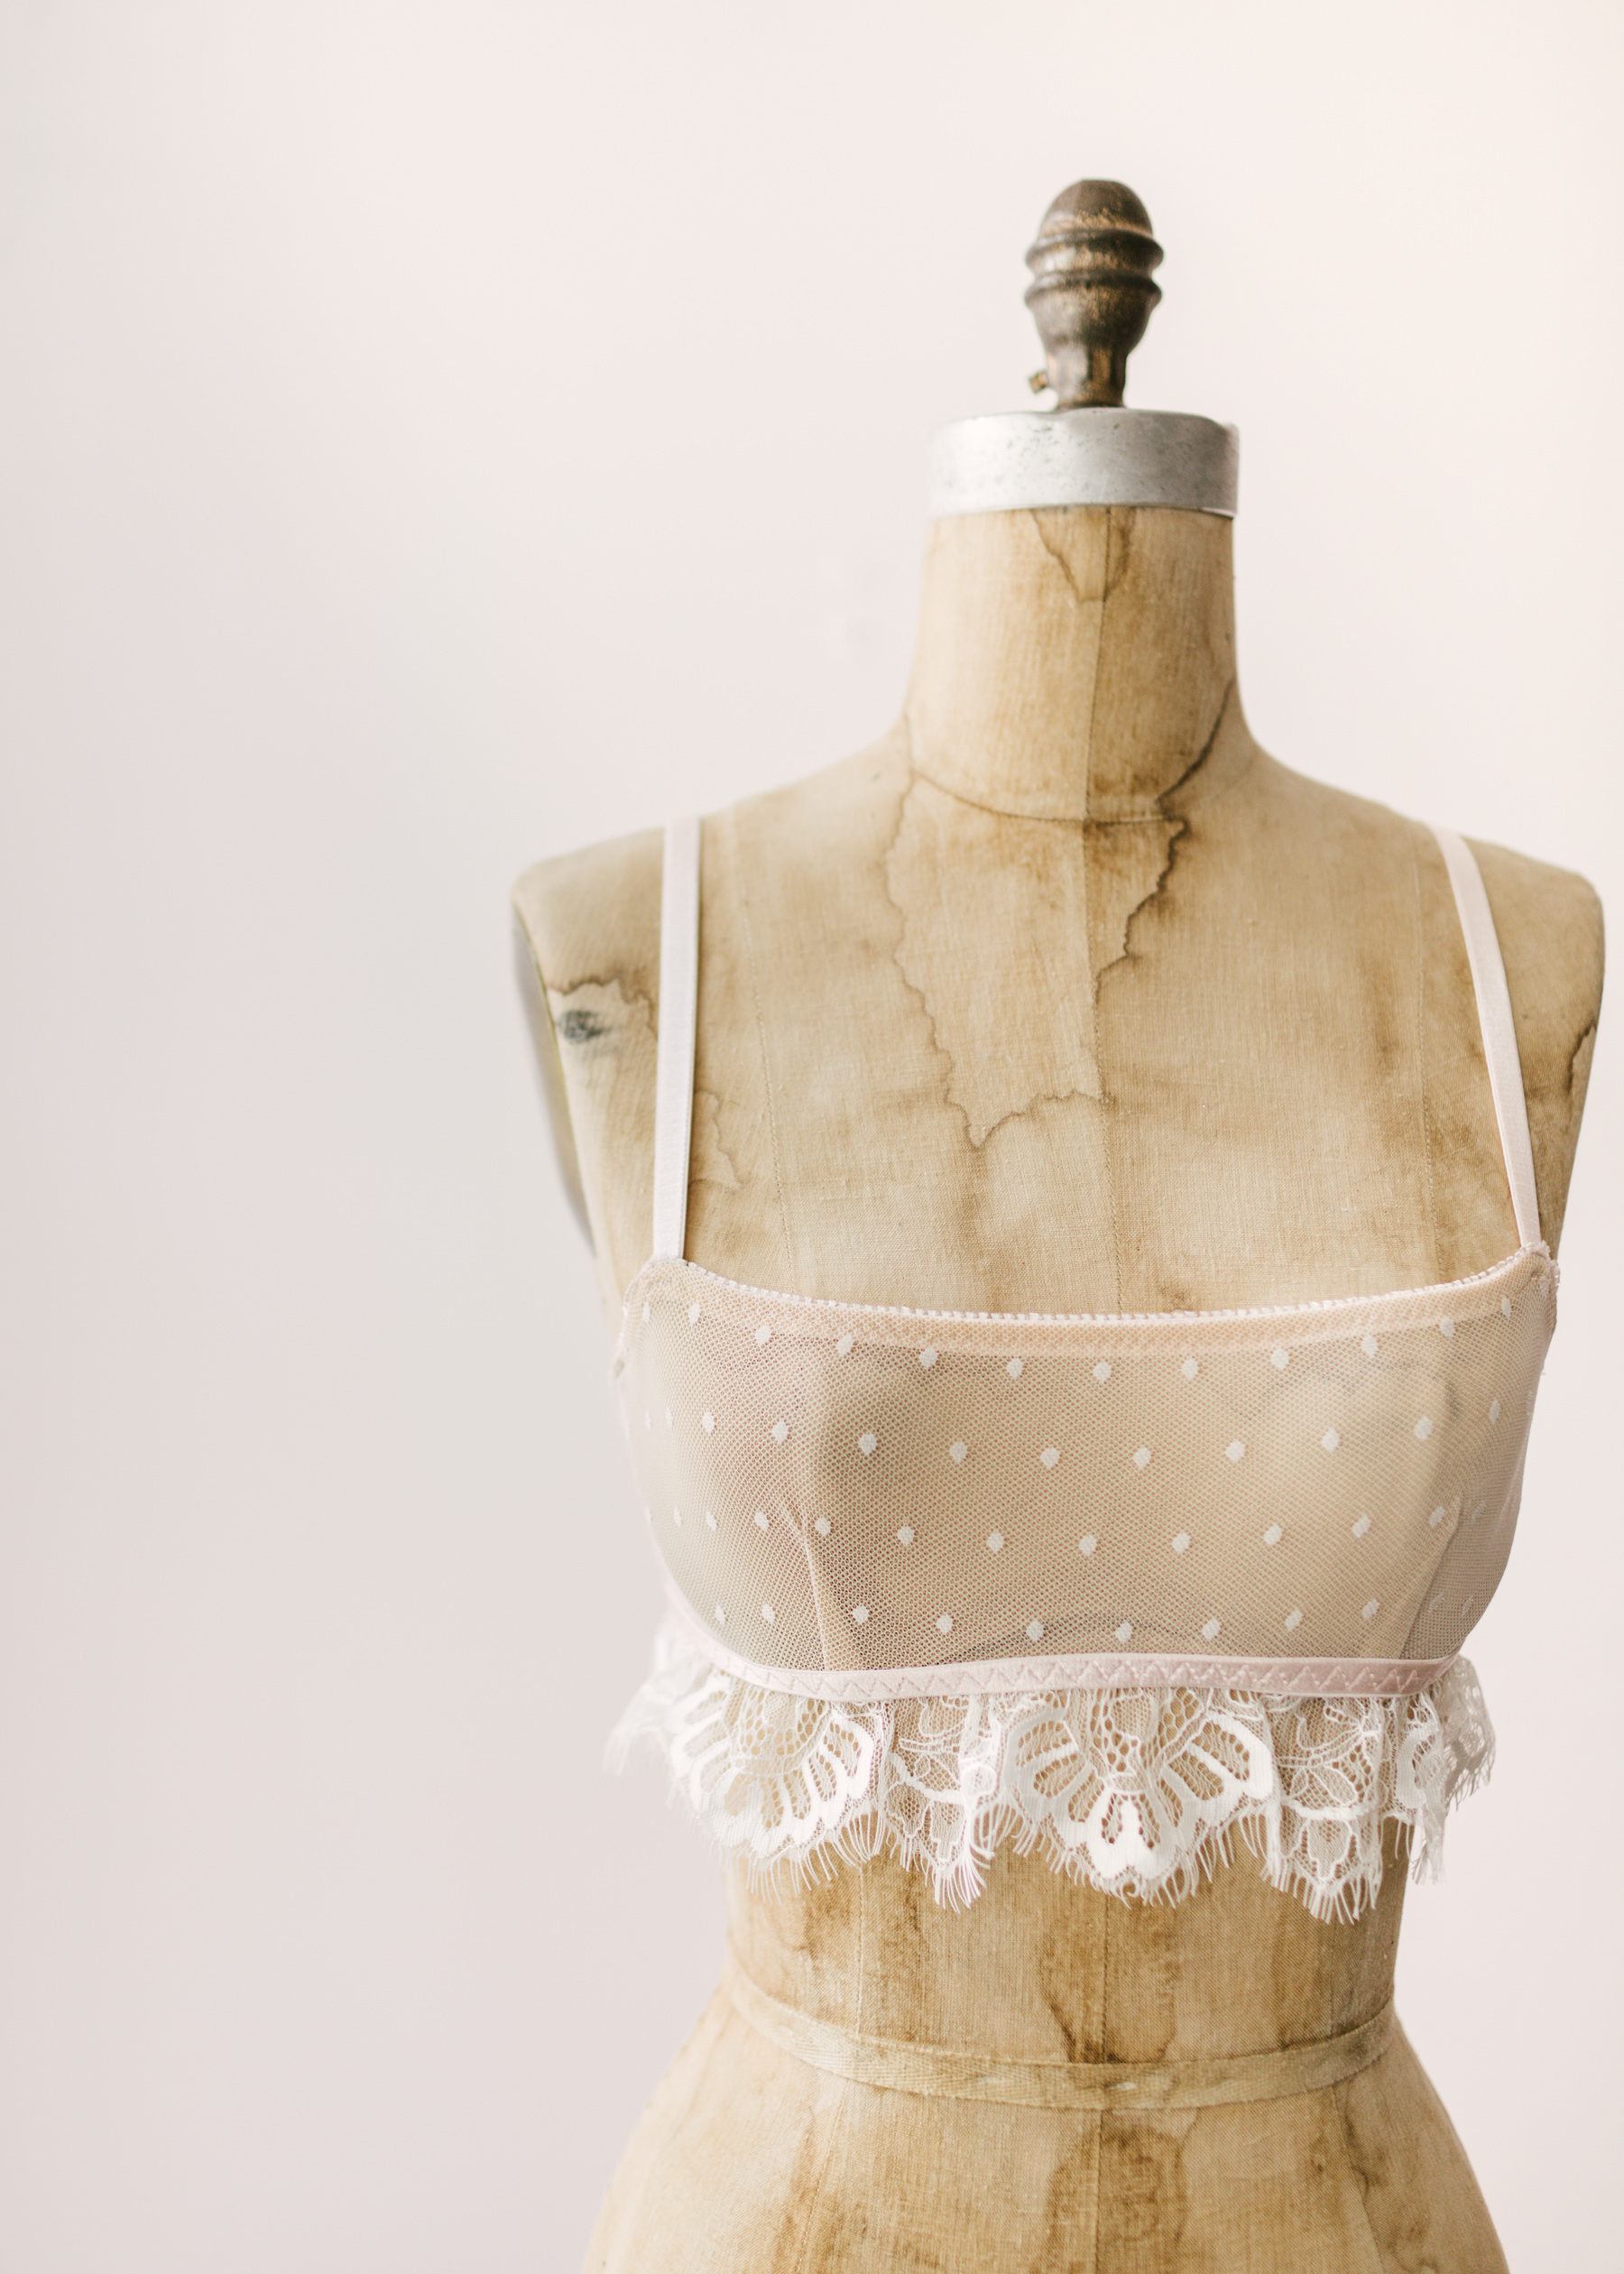
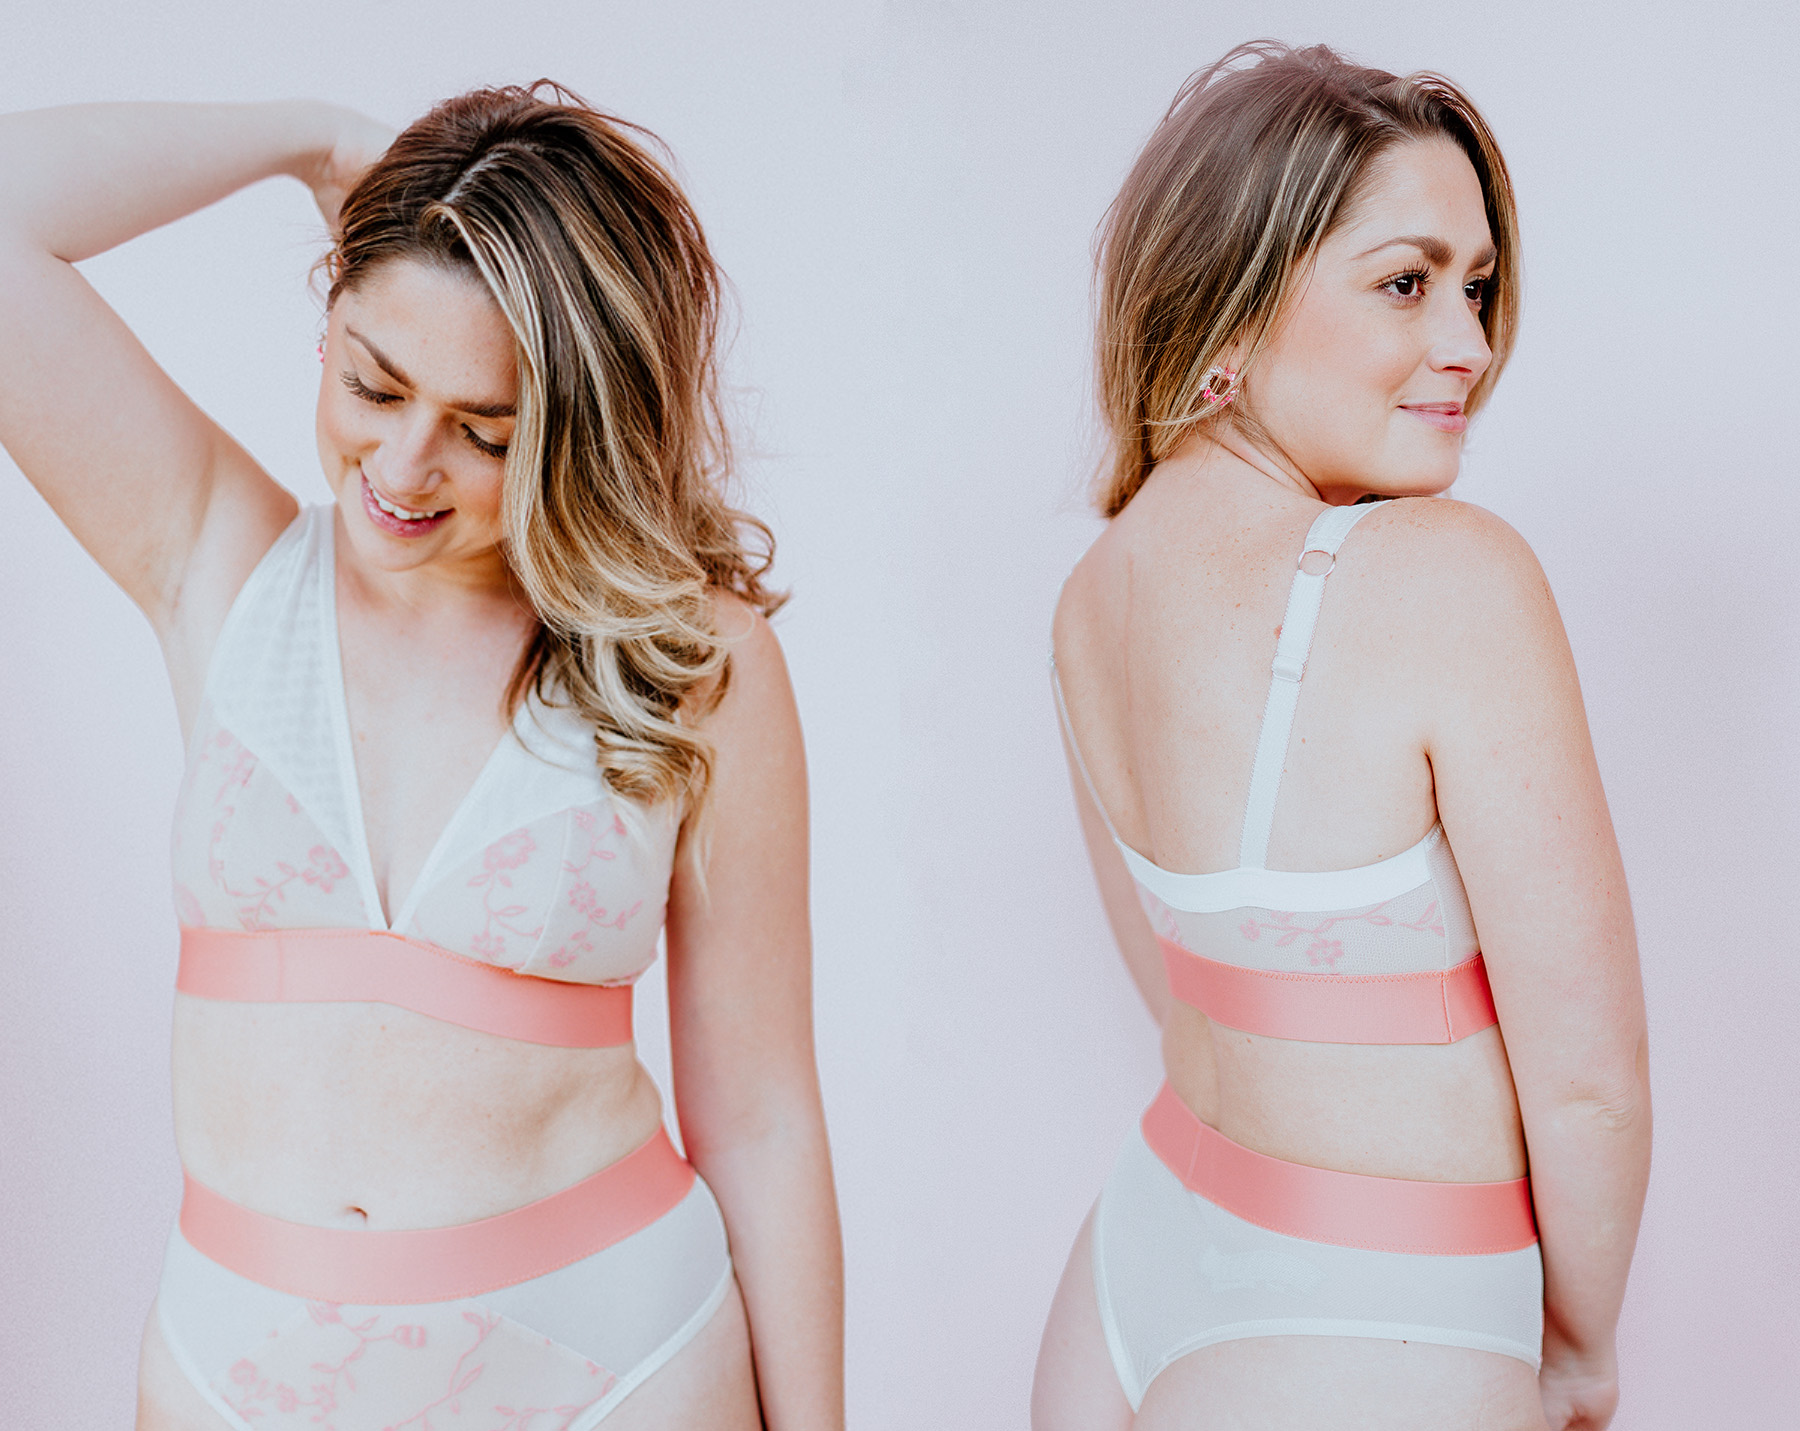
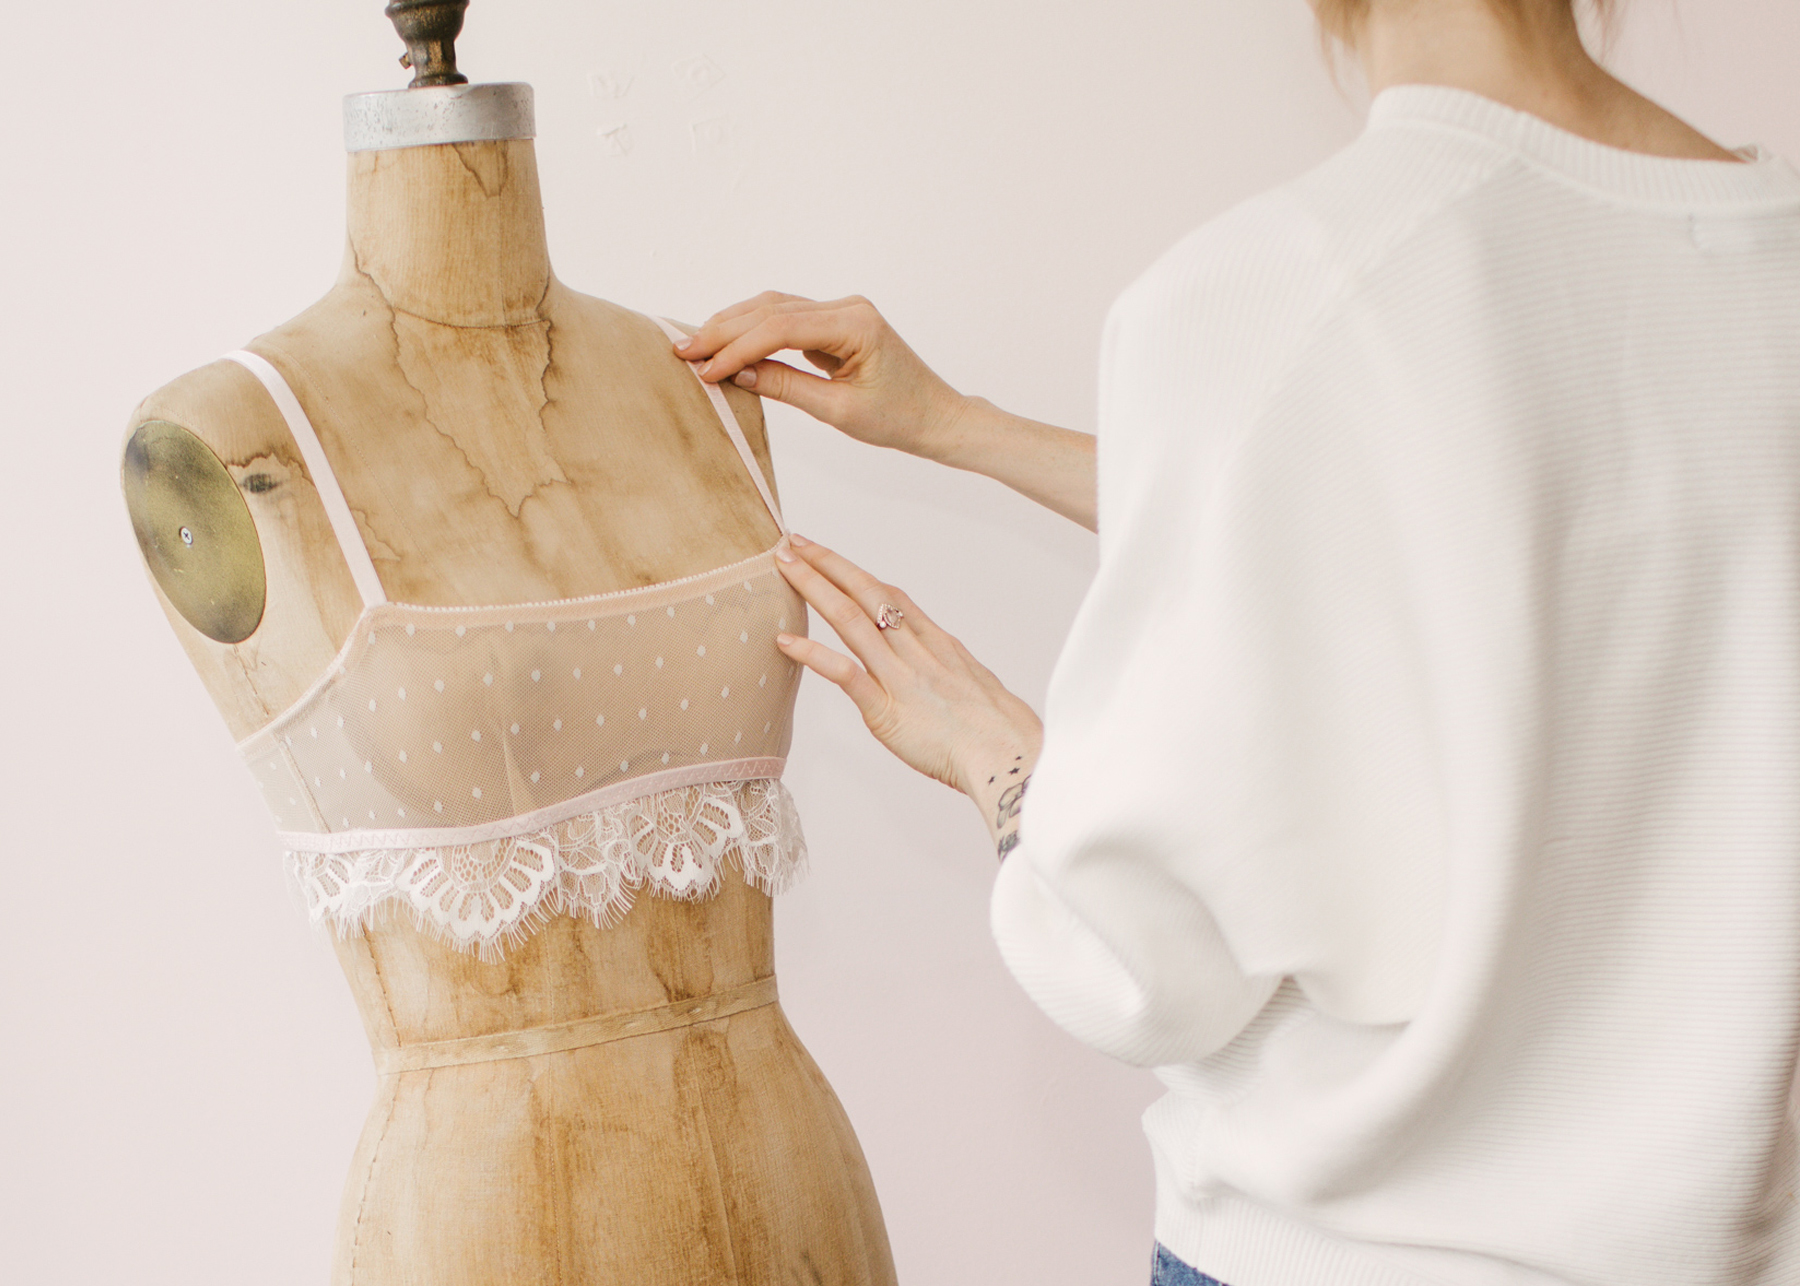 Maybe you’ve already made a Madalynne X Simplicity 8711, my newest underwire bralette pattern with Simplicity, or maybe you are the type of person that likes to change things up. Whatever the case, I’m sharing a quick and easy variation for the 8711 – how to change the rounded, more femme neckline to a square, modern neckline. Because variety is the spice of life, right? For this tutorial, I’m also using a combo lace for the bottom ruffle, which I think makes the bralette a little more interesting. Let’s get the party started!
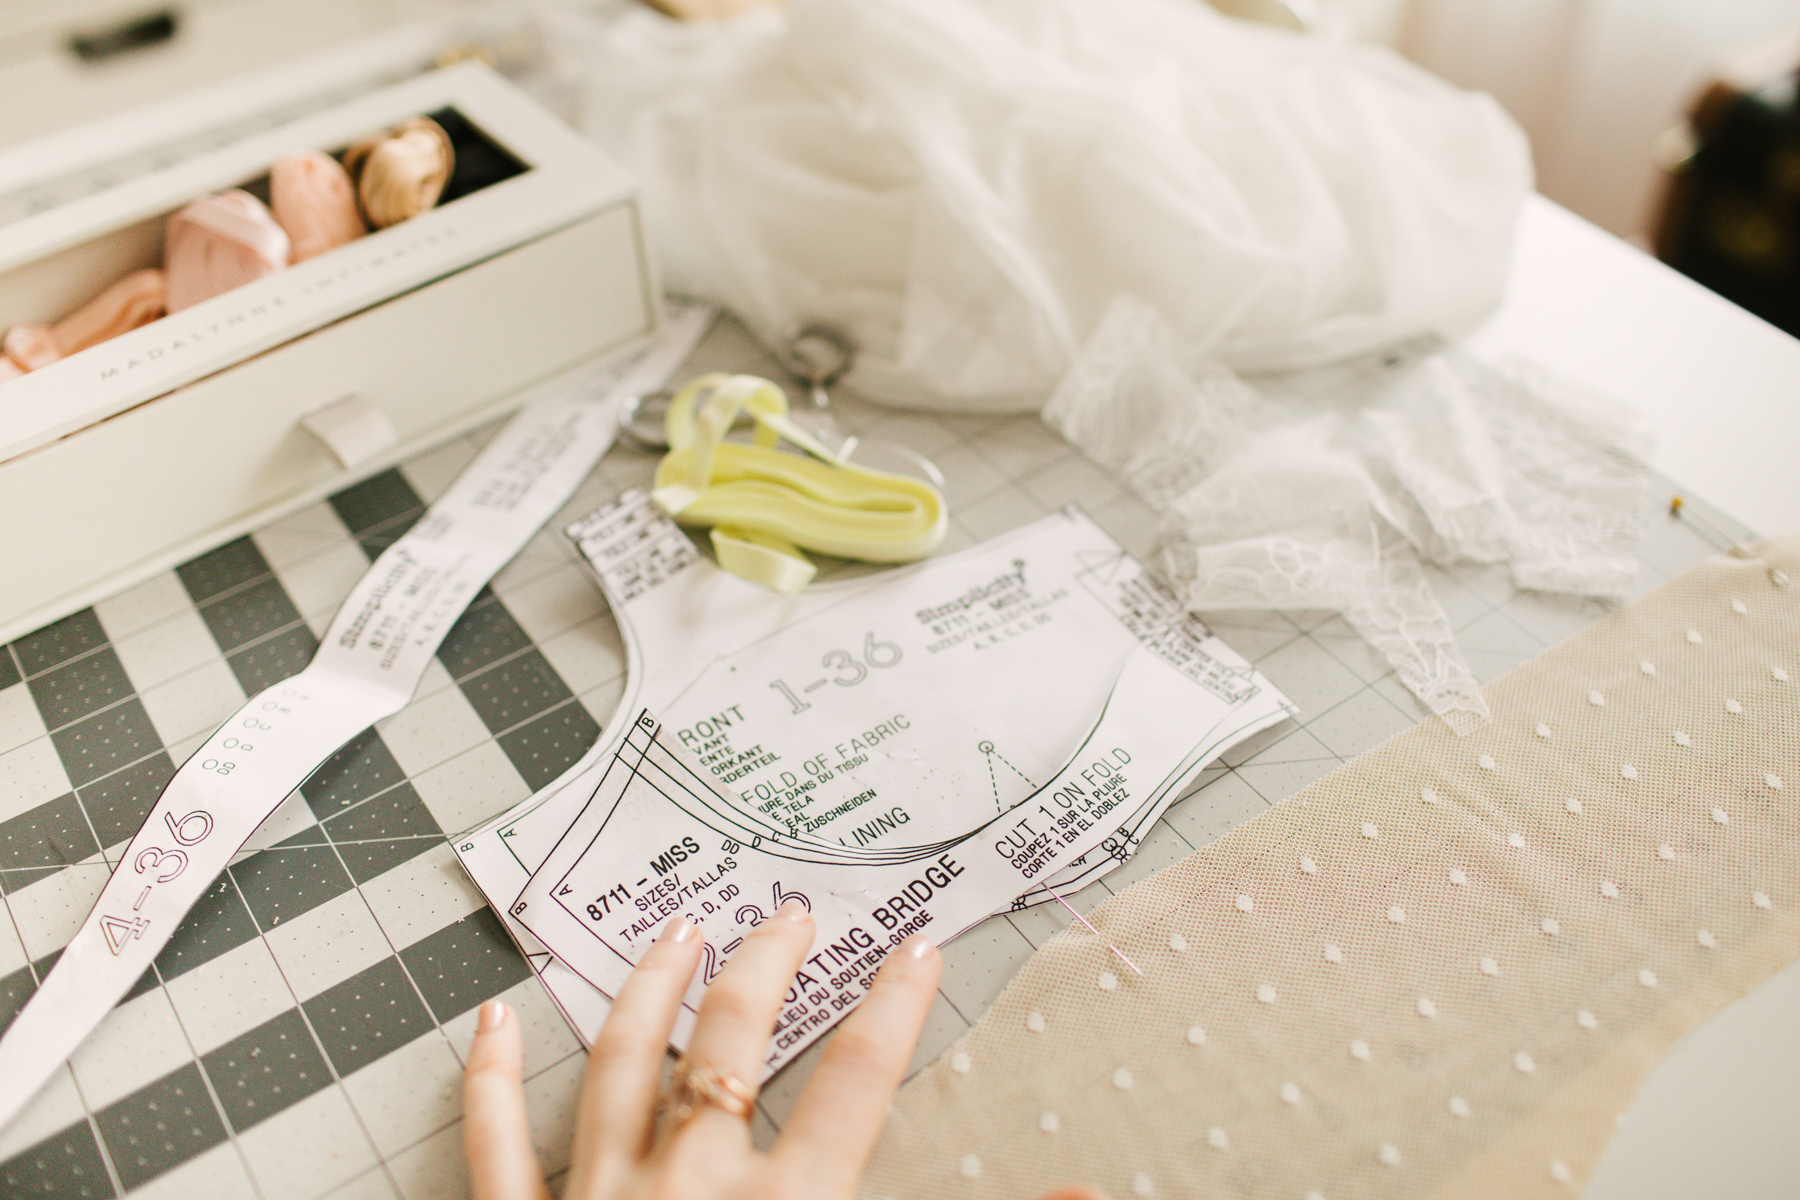 PATTERN ALTERATIONS:
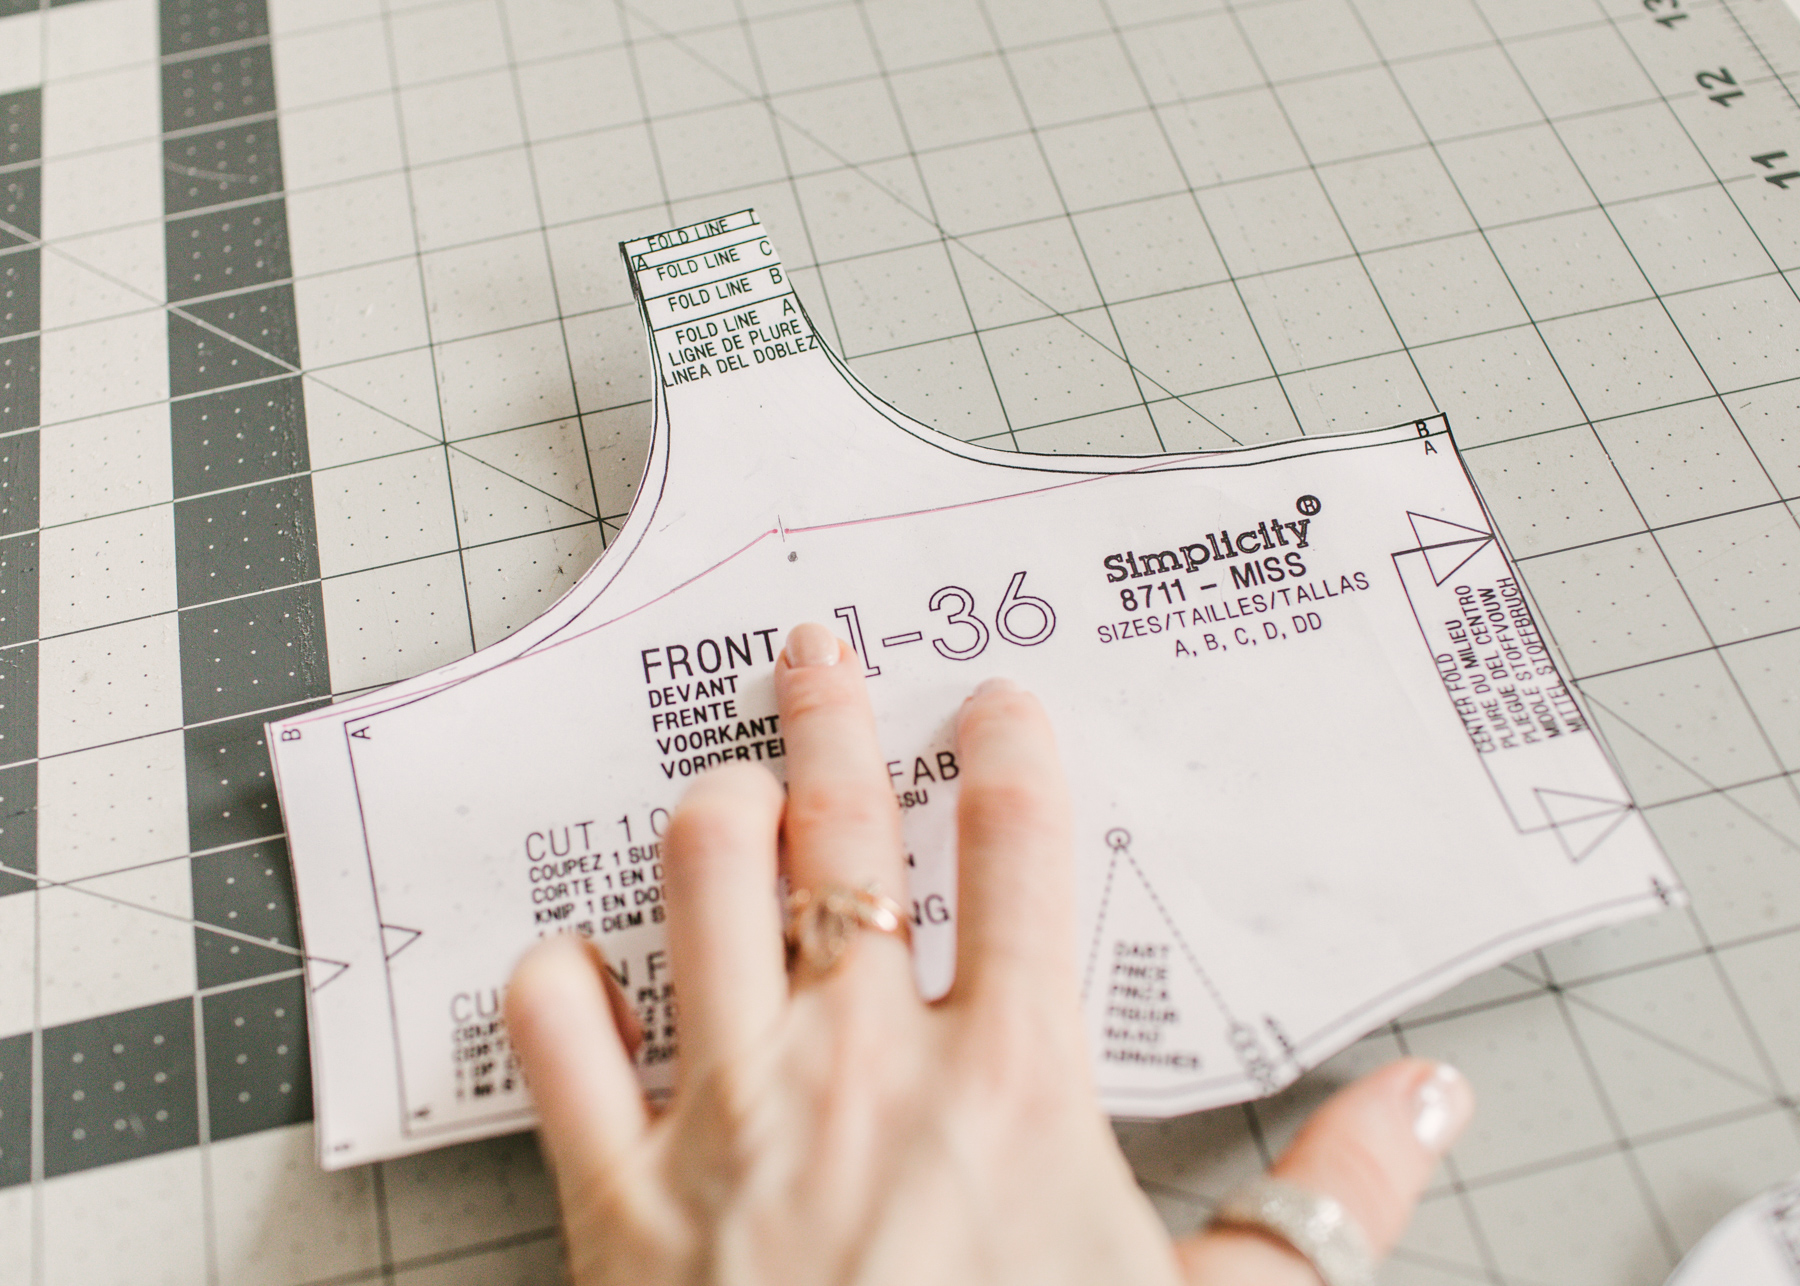
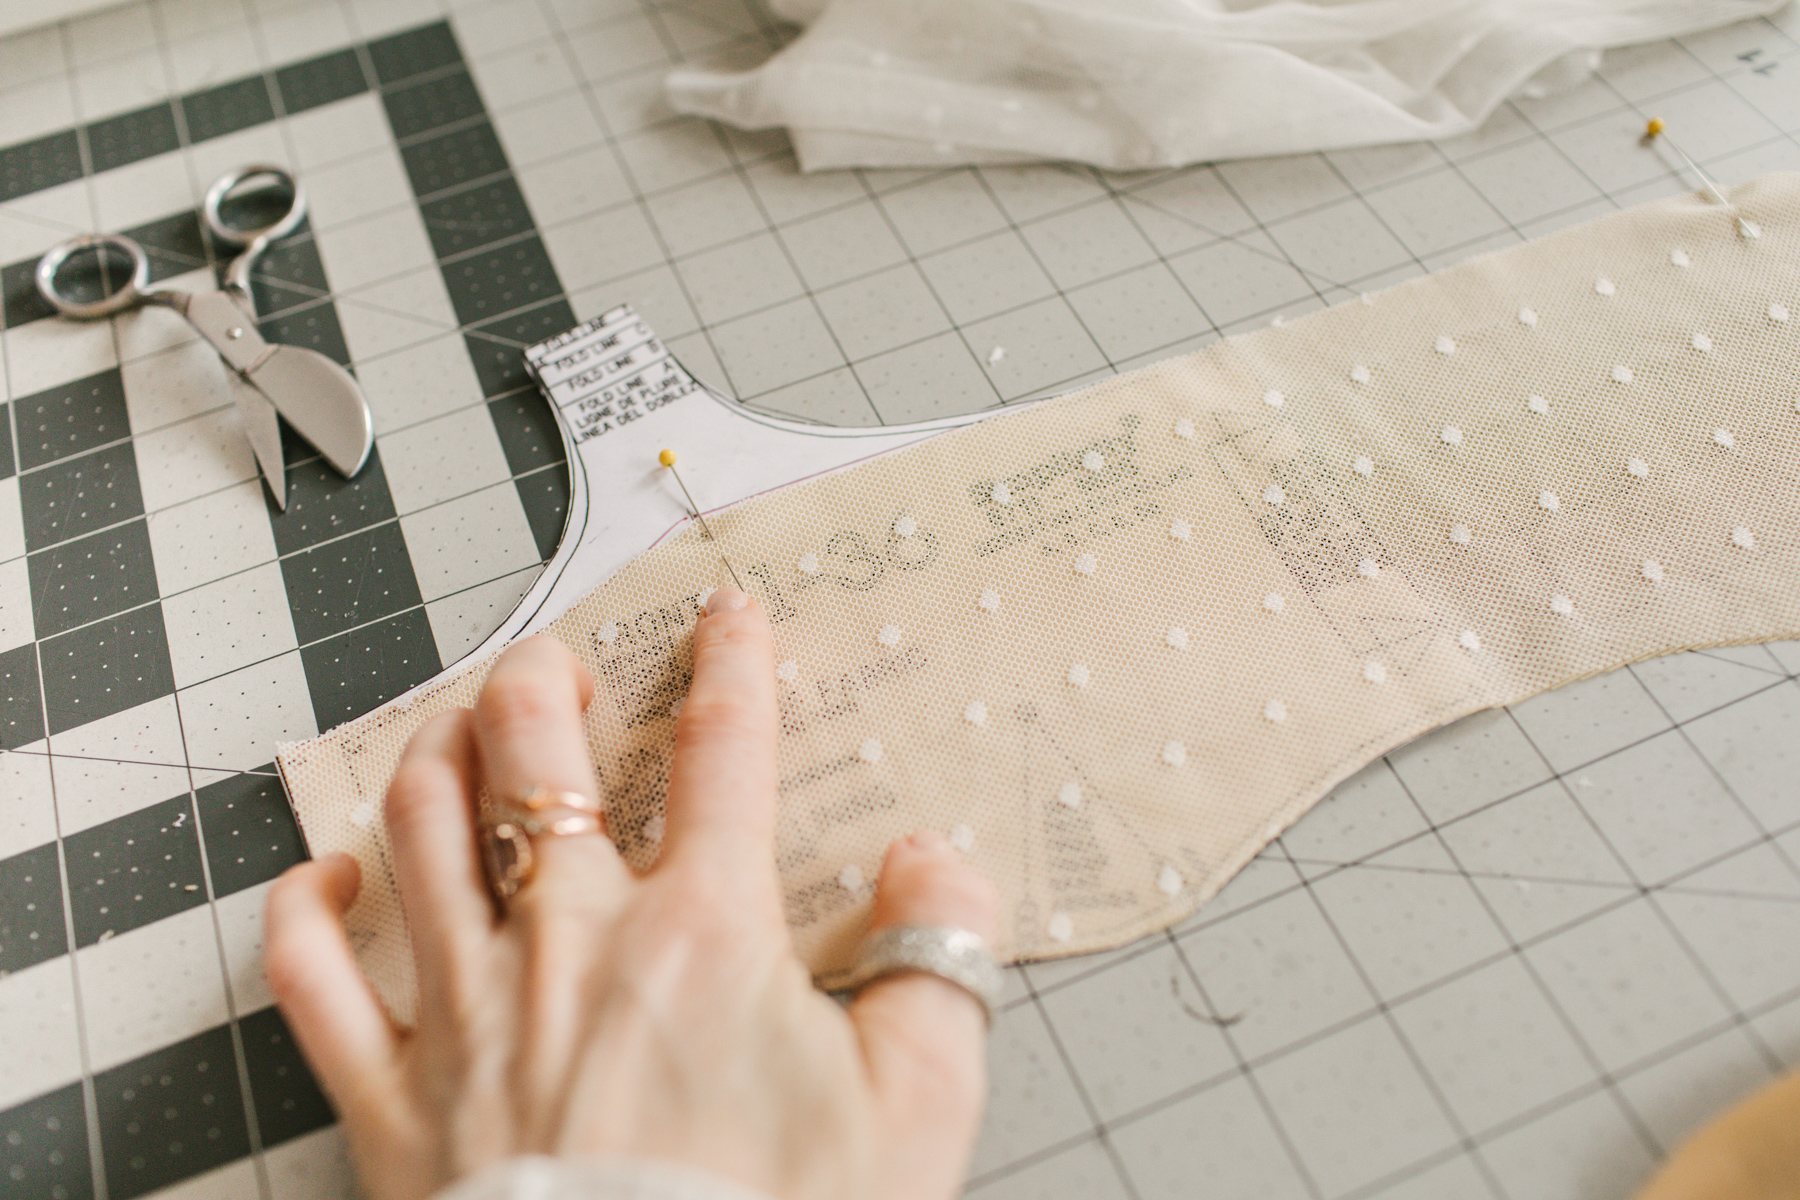
1. For the front pattern piece – draw a horizontal line from the center front to approximately the middle of the strap point, and then a slightly curved line from this point to the side seam.
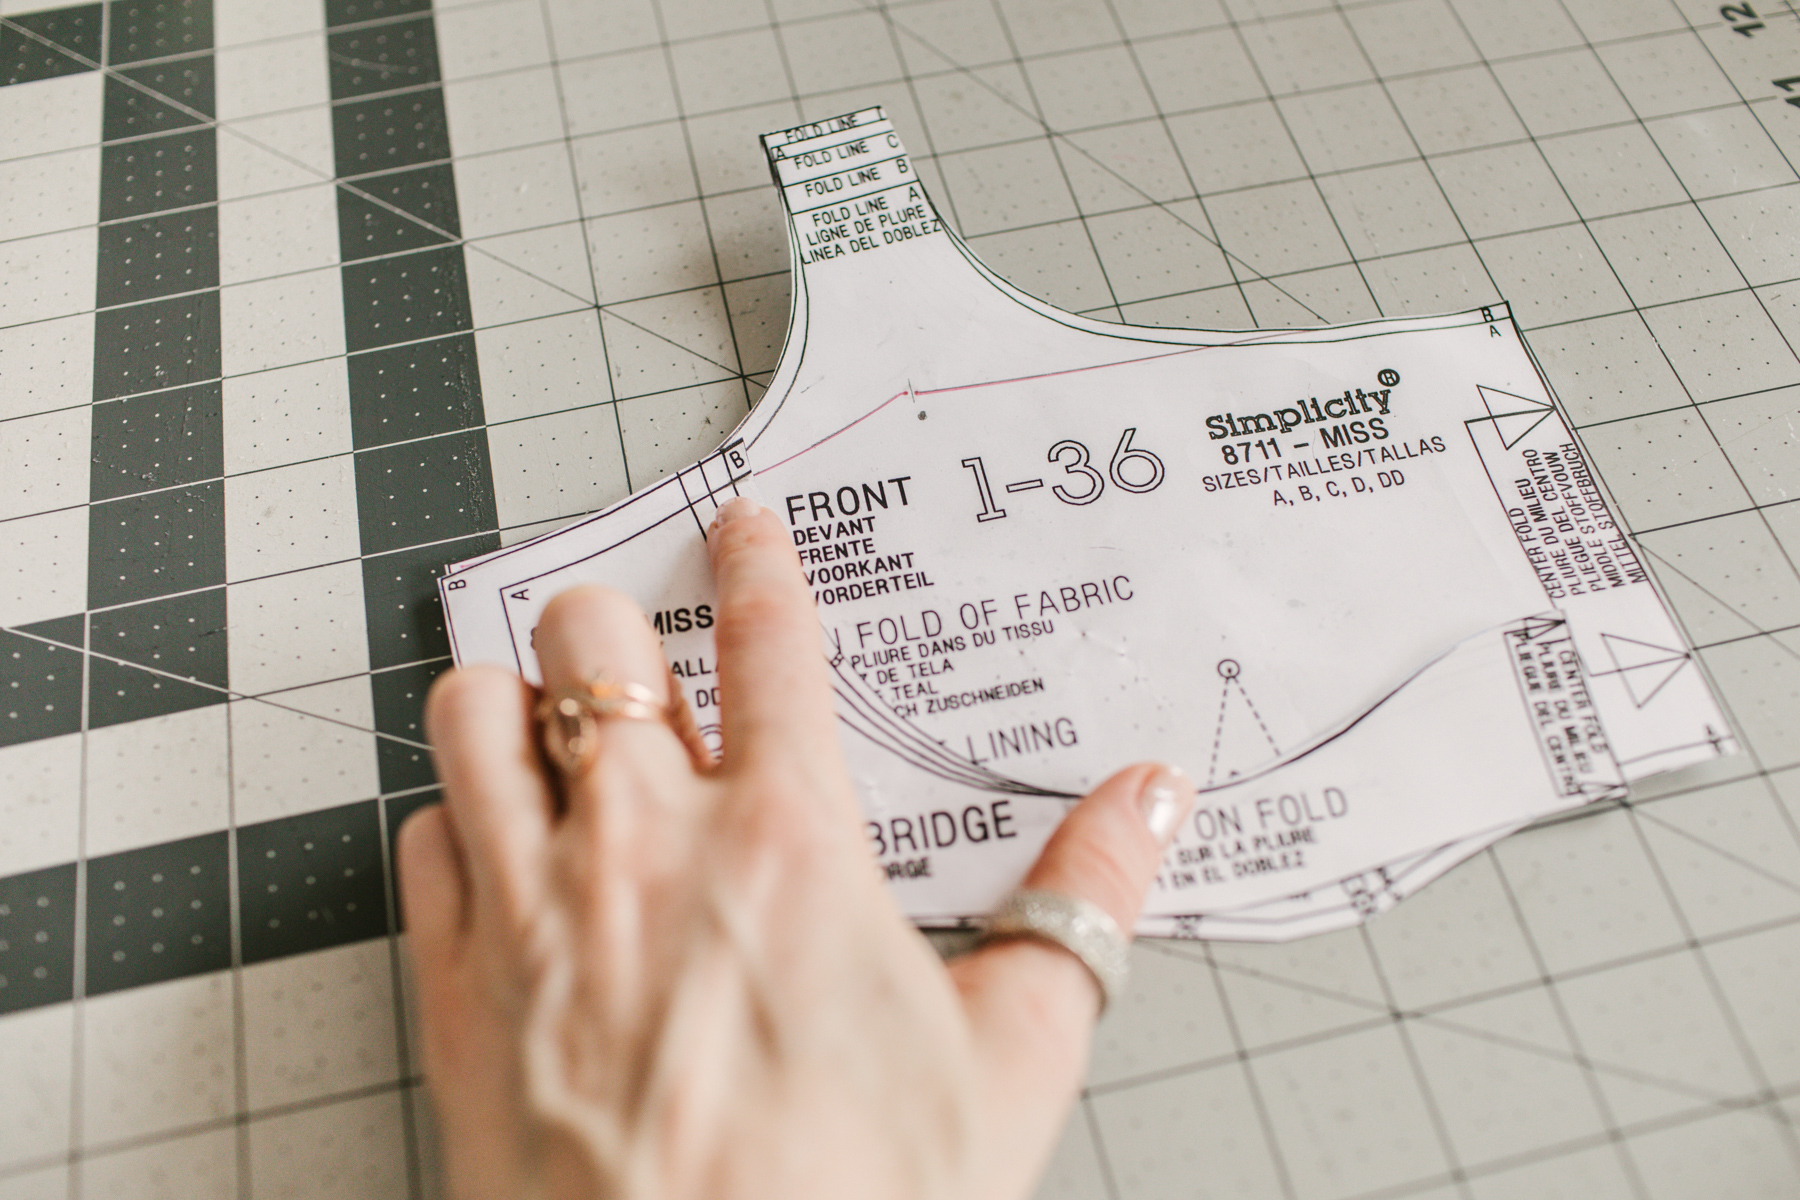
2. For the floating bridge pattern piece – place it over the front pattern piece and redraw the underarm curve so that it matches the new underarm curve on the front pattern piece.
3. For the back band – no pattern adjustments.
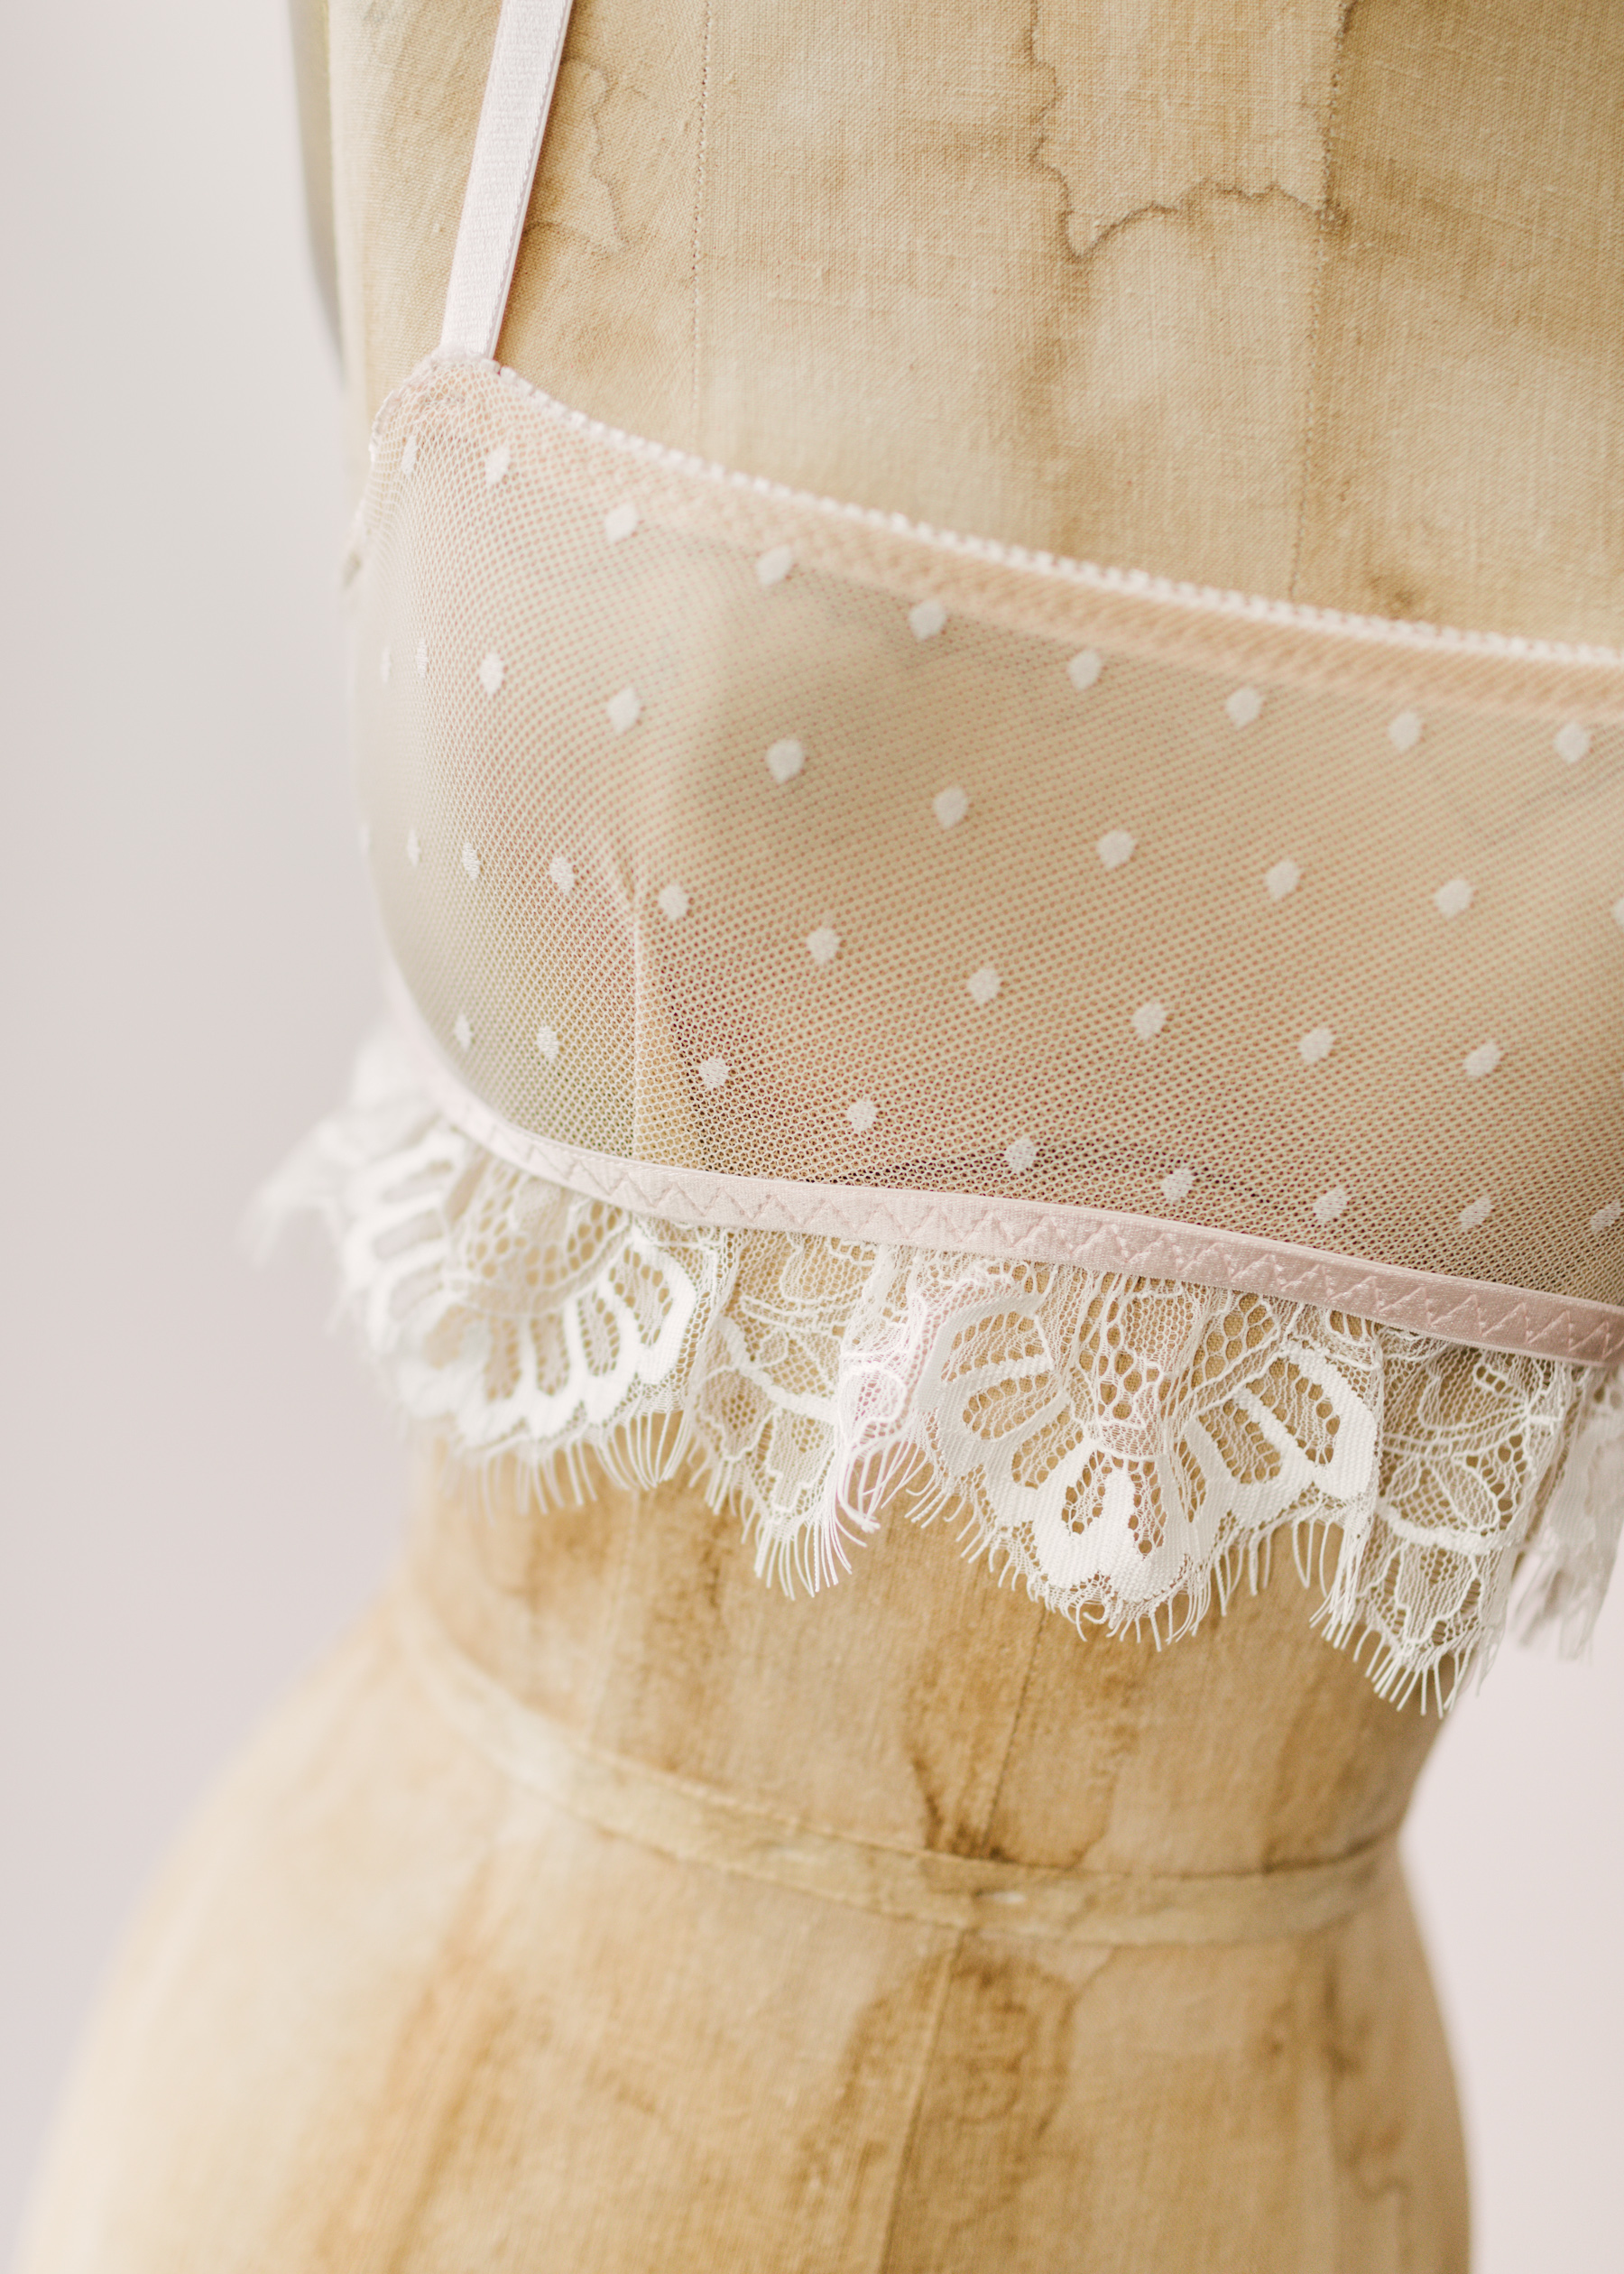
4. For the bottom ruffle – I used a combo white lace that pairs well with the white swiss dot kit. I think it makes the bralette a tad more interesting.
 SEWING:
1. First, mark the new strap points using a pin or temporary marker.
2. Sew the bust darts and assemble the floating bridge. Then attached the floating bridge, front and back band together at the side seams.
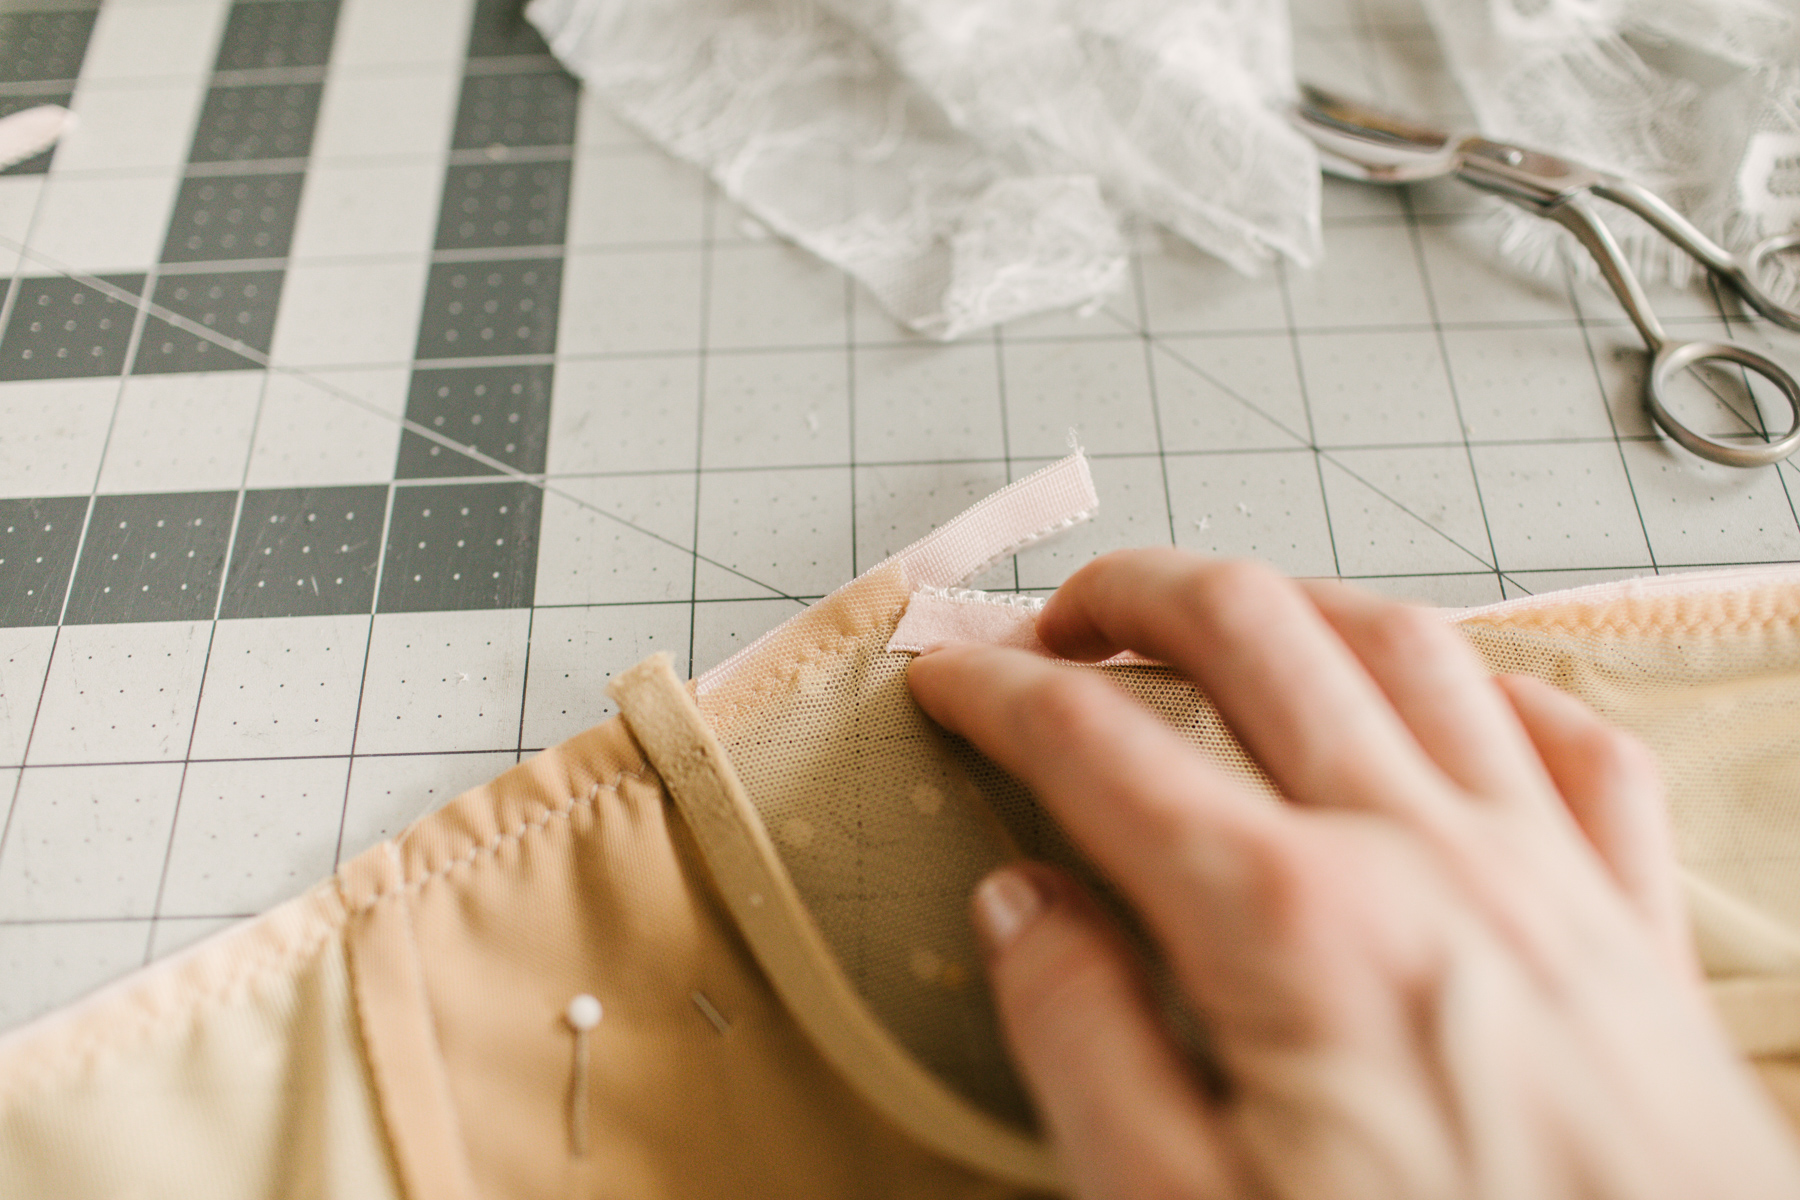
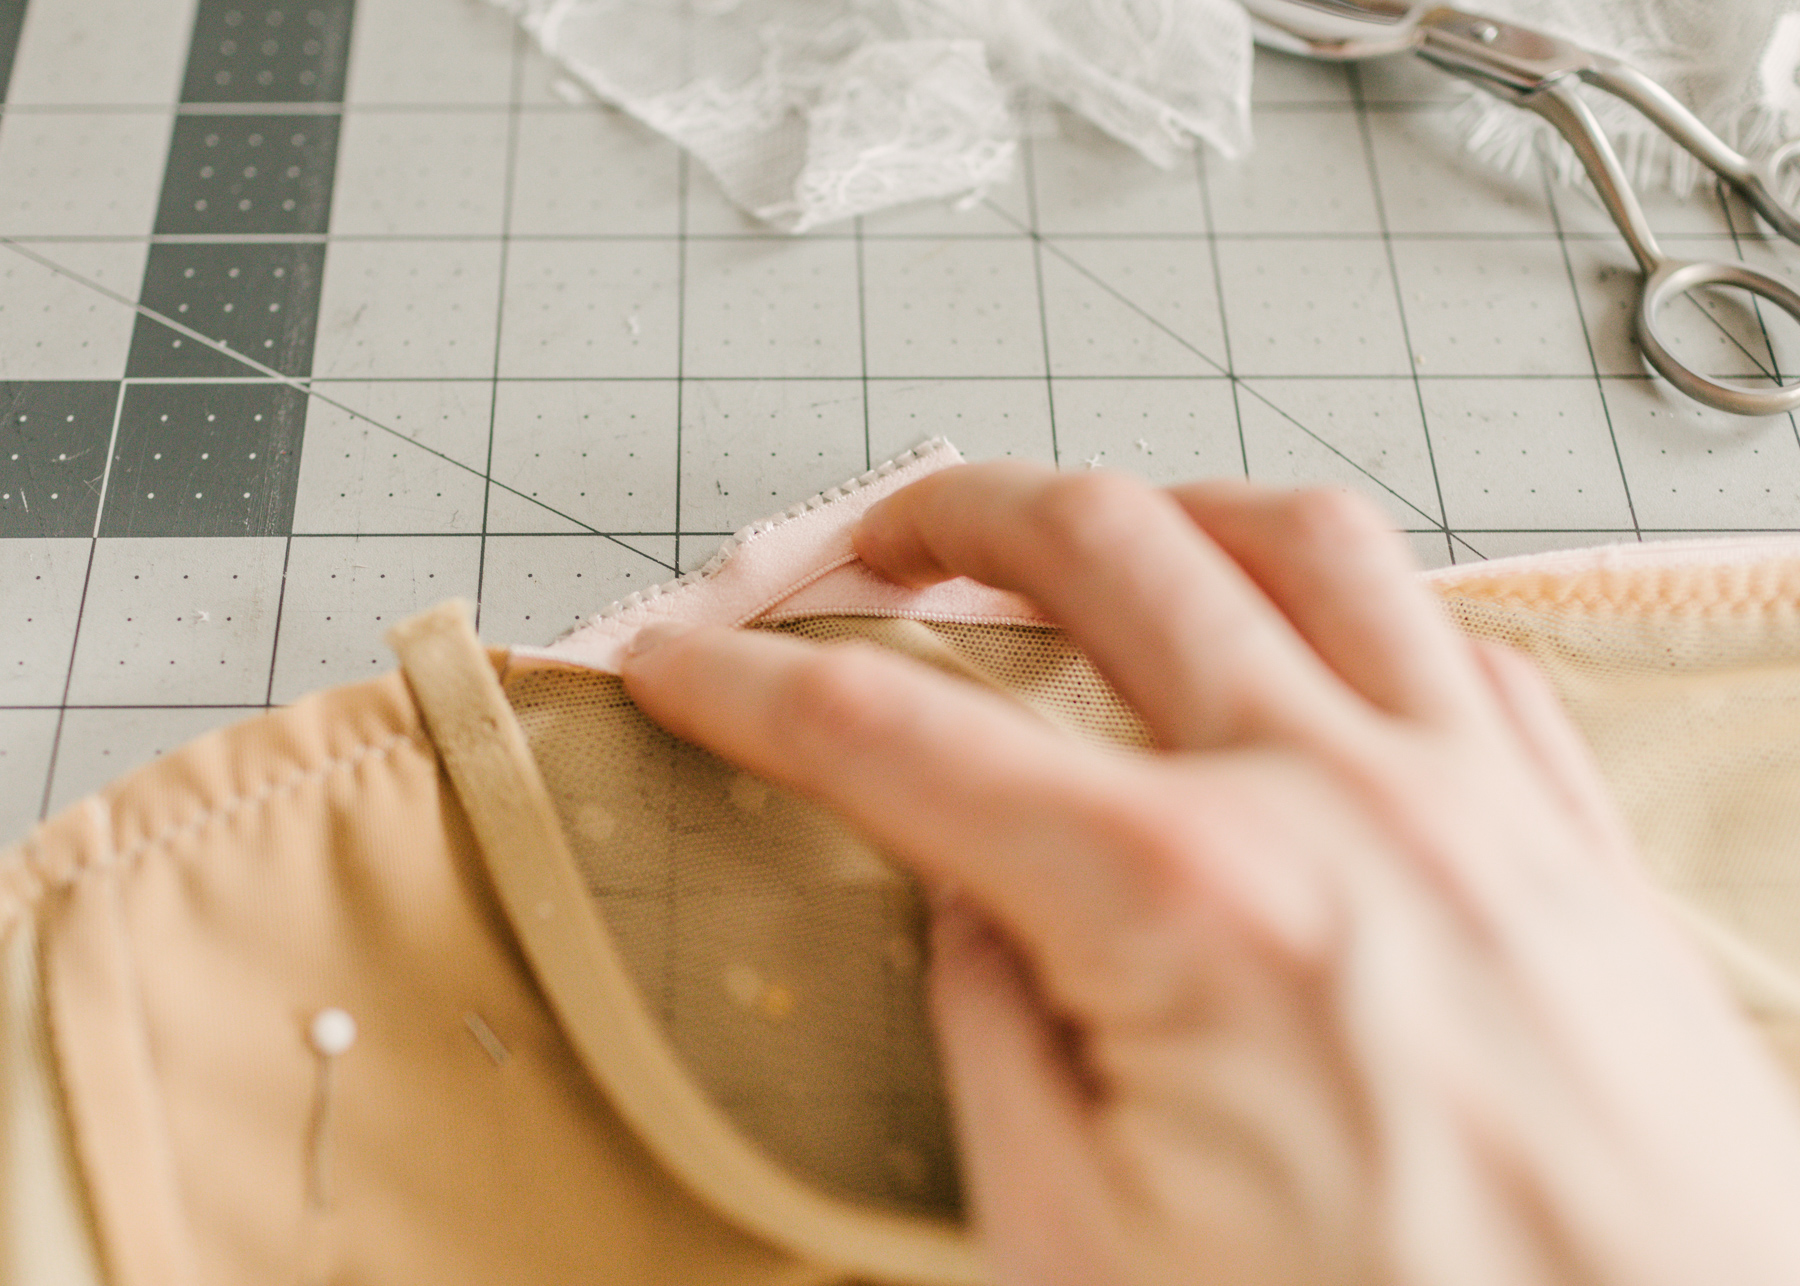
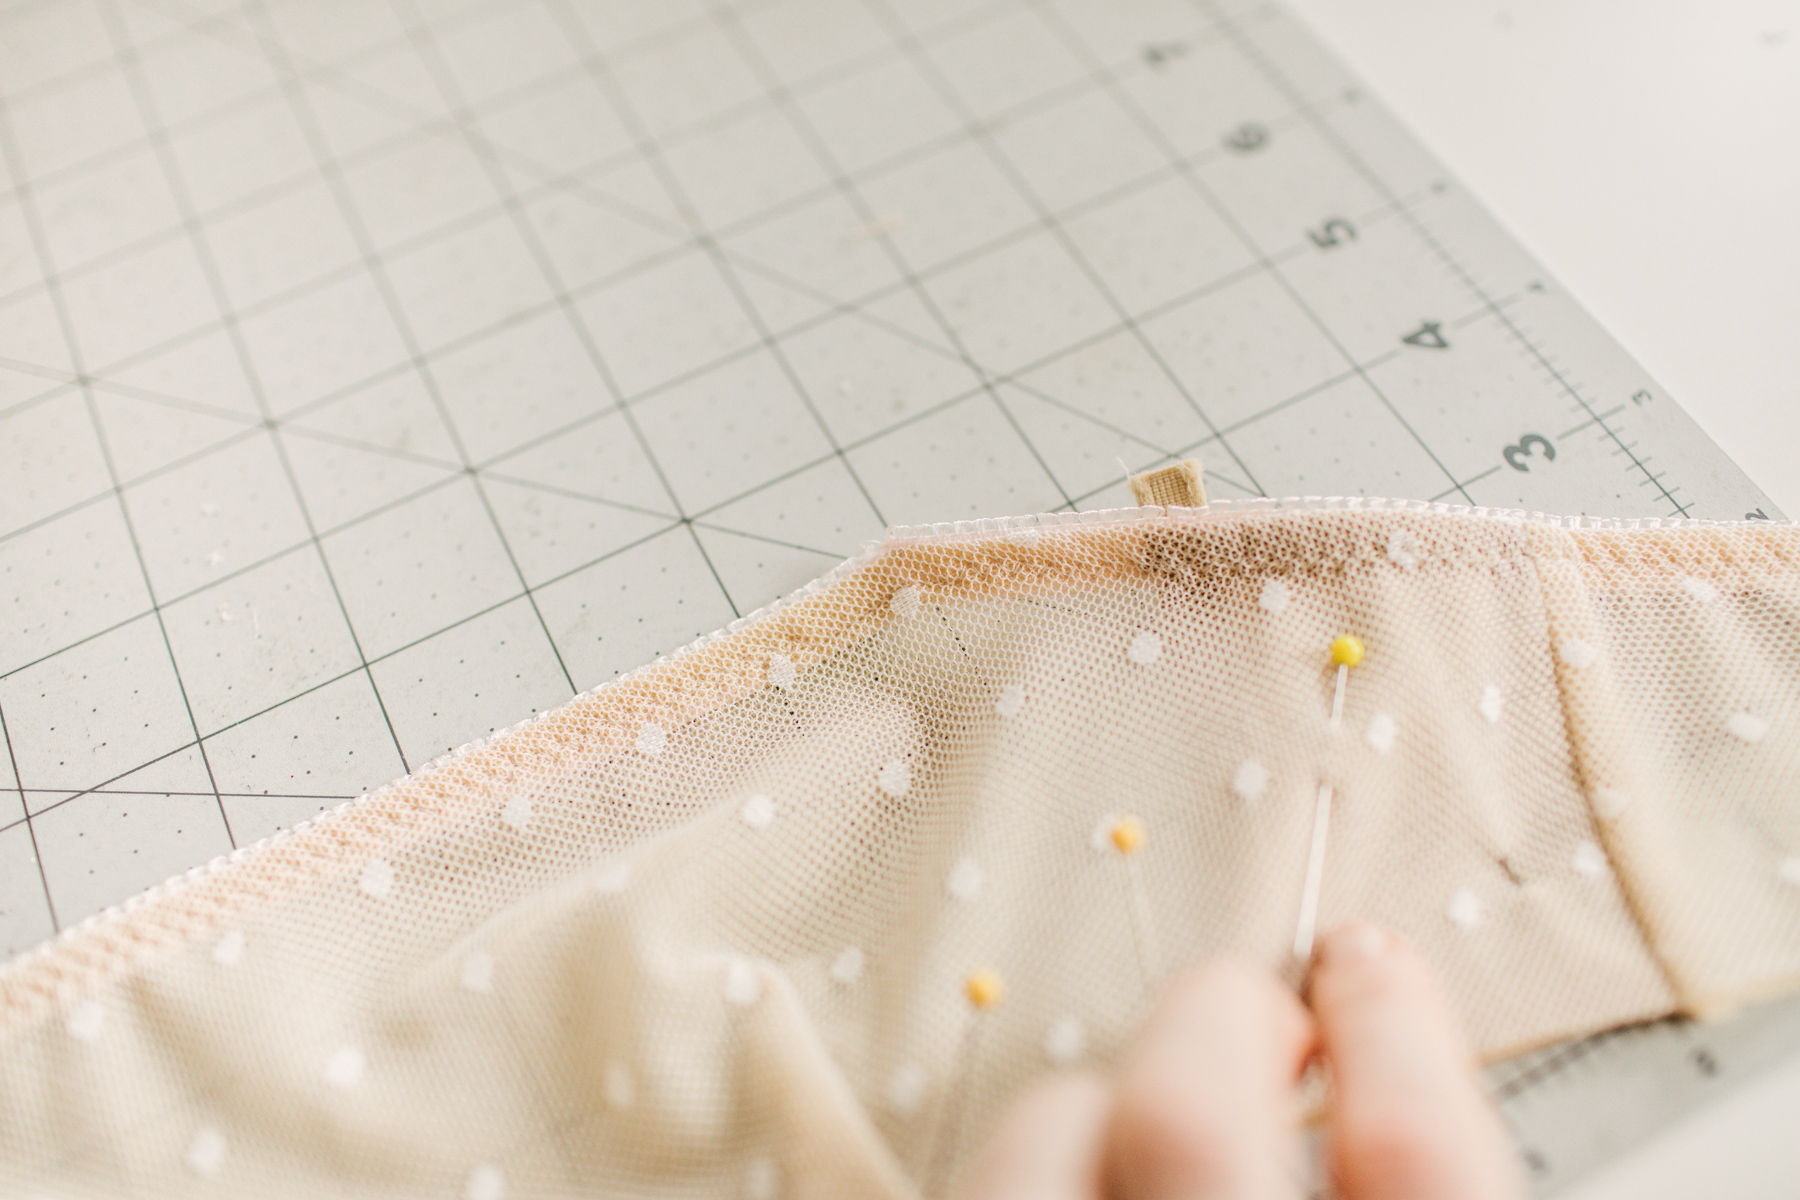
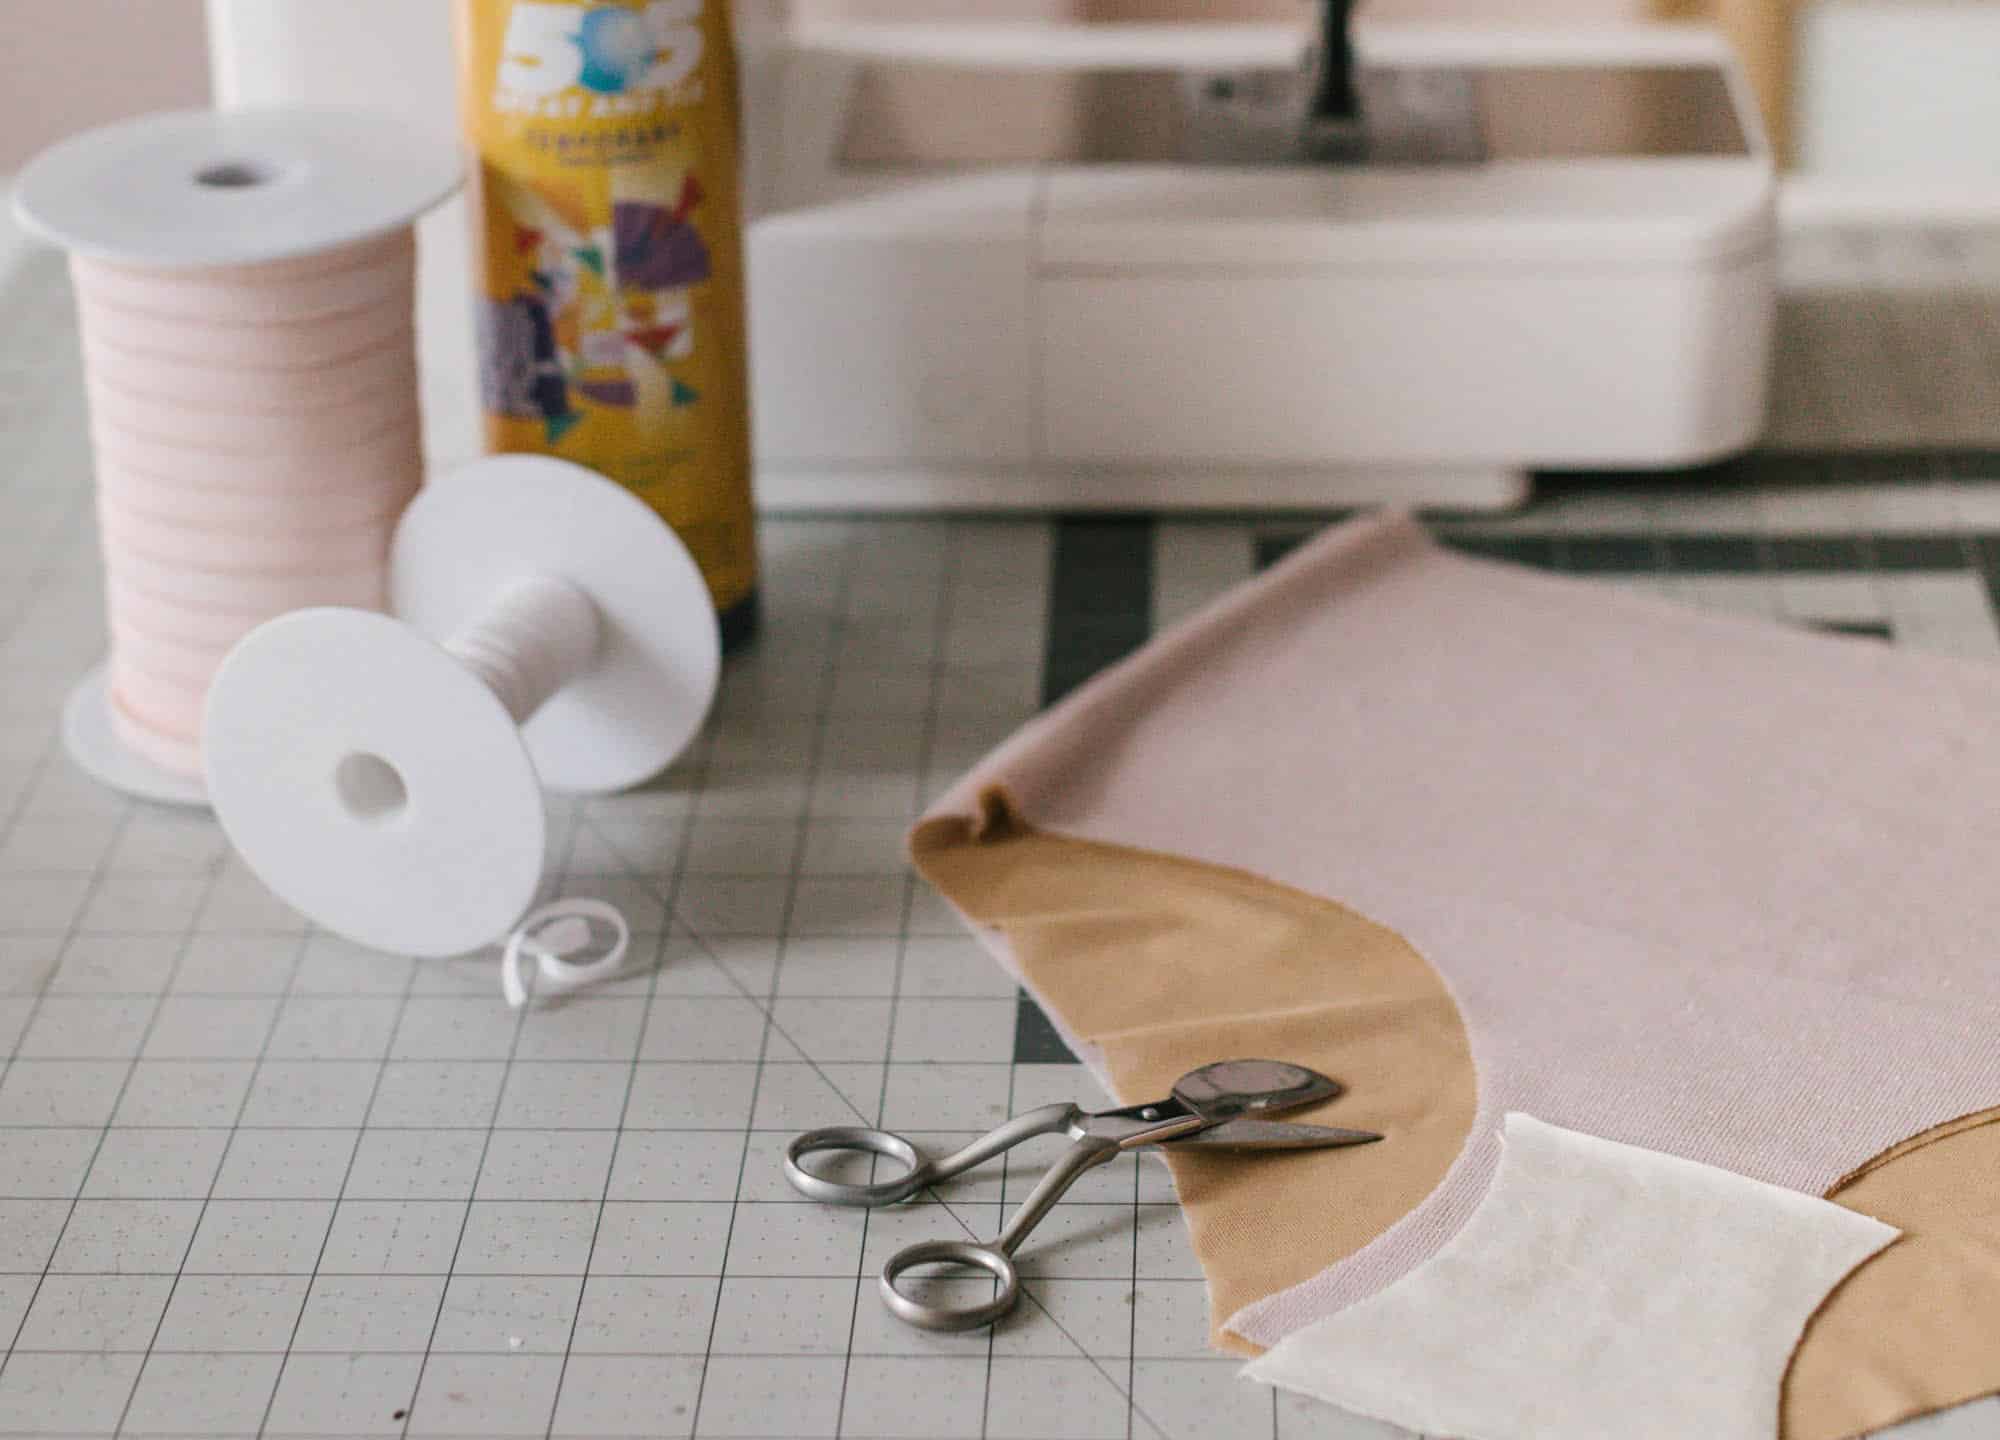
3. To get that square neckline – sew the picot elastic at the front neckline and underarm/back band. Use a zig zag stitch like normal, but change to a straight stitch about 1/2″ from the strap points, which you marked in step 1. Essentially, you want those straight stitches to meet.
4. Use sharp scissors to clip to the strap points, or the point where the straight stitches meet.
5. Fold the neckline elastic back to the wrong side and trim so that it aligns with the stitch line on the underarm elastic. Then fold the underarm elastic back to the wrong side so that it covers the neckline elastic at the strap point (note: you can do this vice versa). Then sew the second pass of zig zag stitches in 1 pass. At the strap points, I changed to the straight stitch approximately 1/2″ away, but you CAN sew this step with a zig zag stitch throughout.
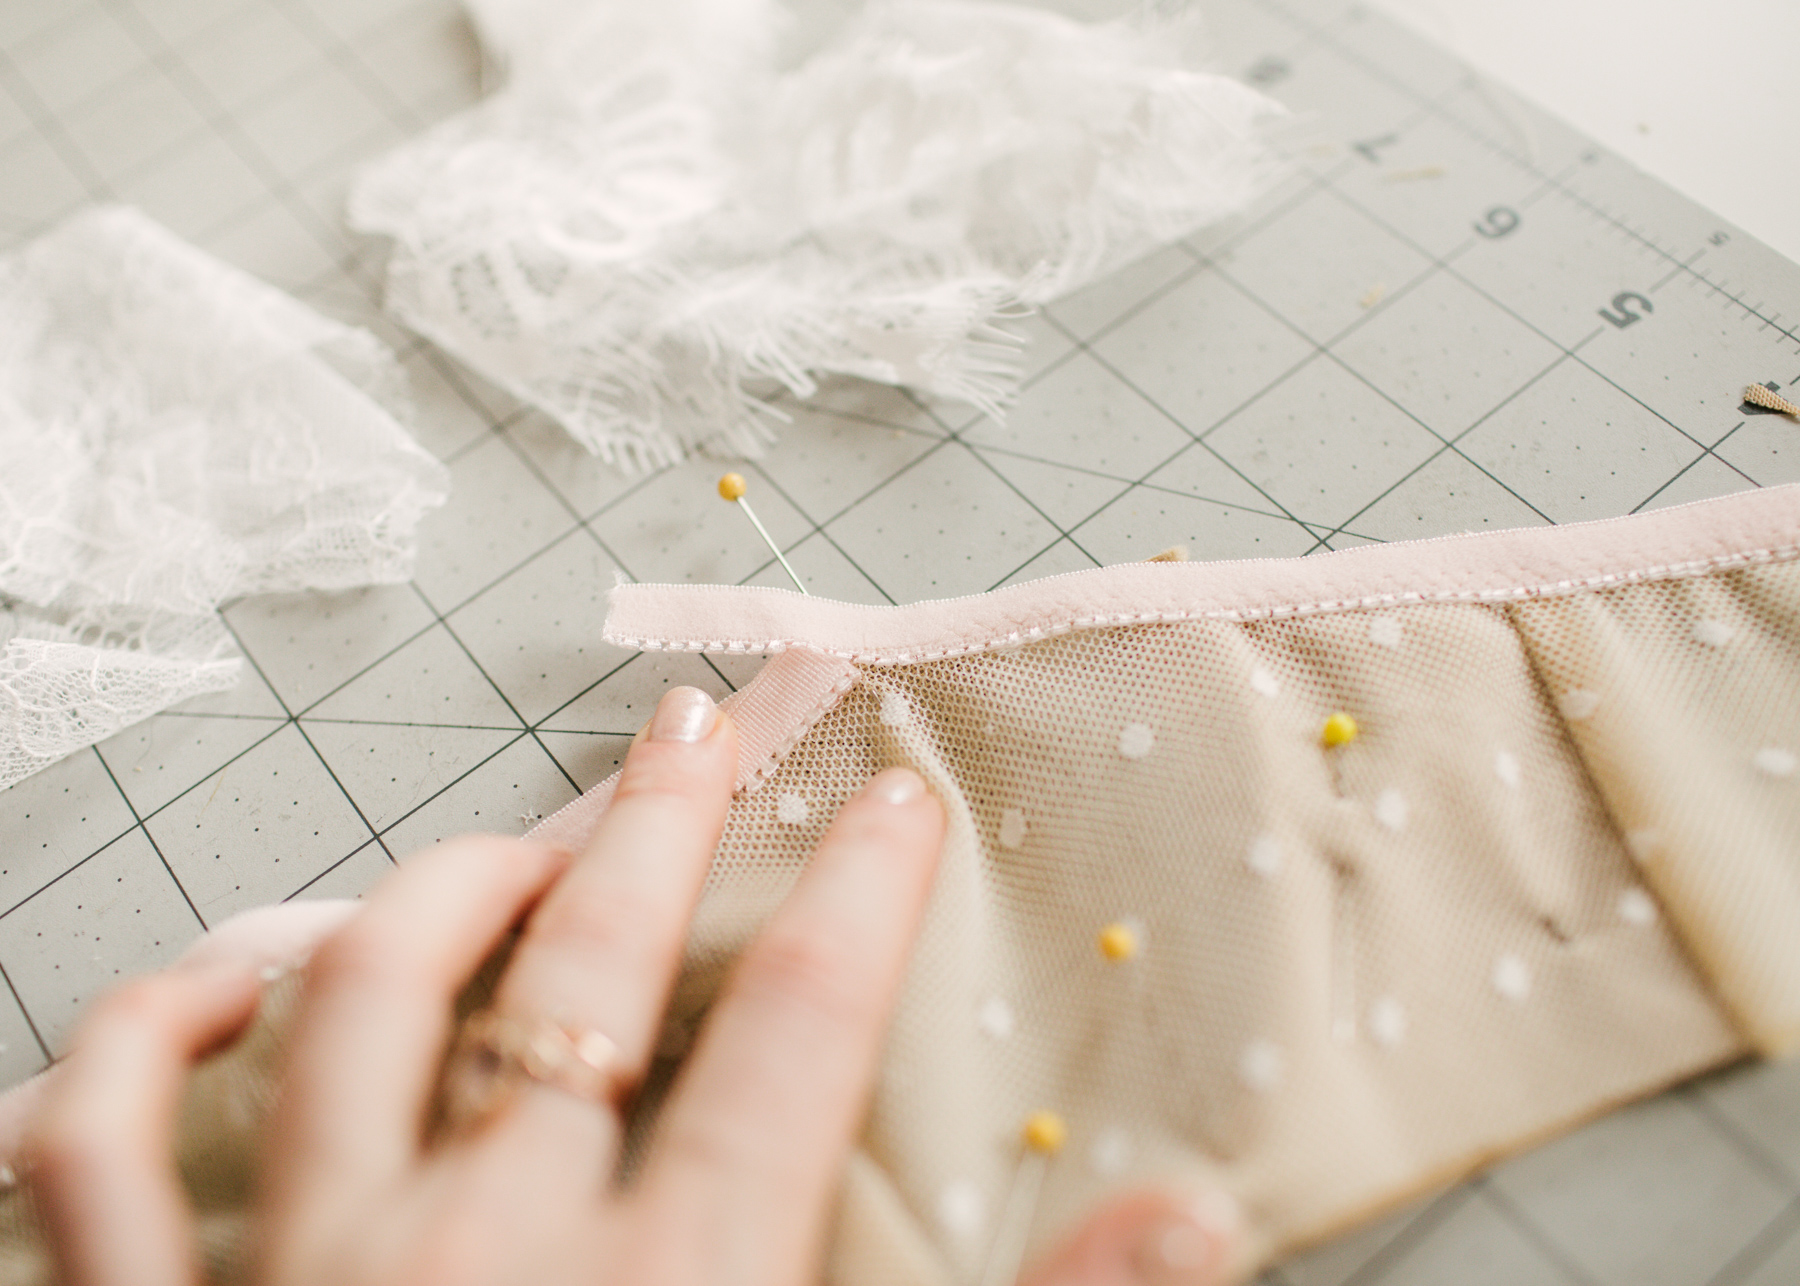
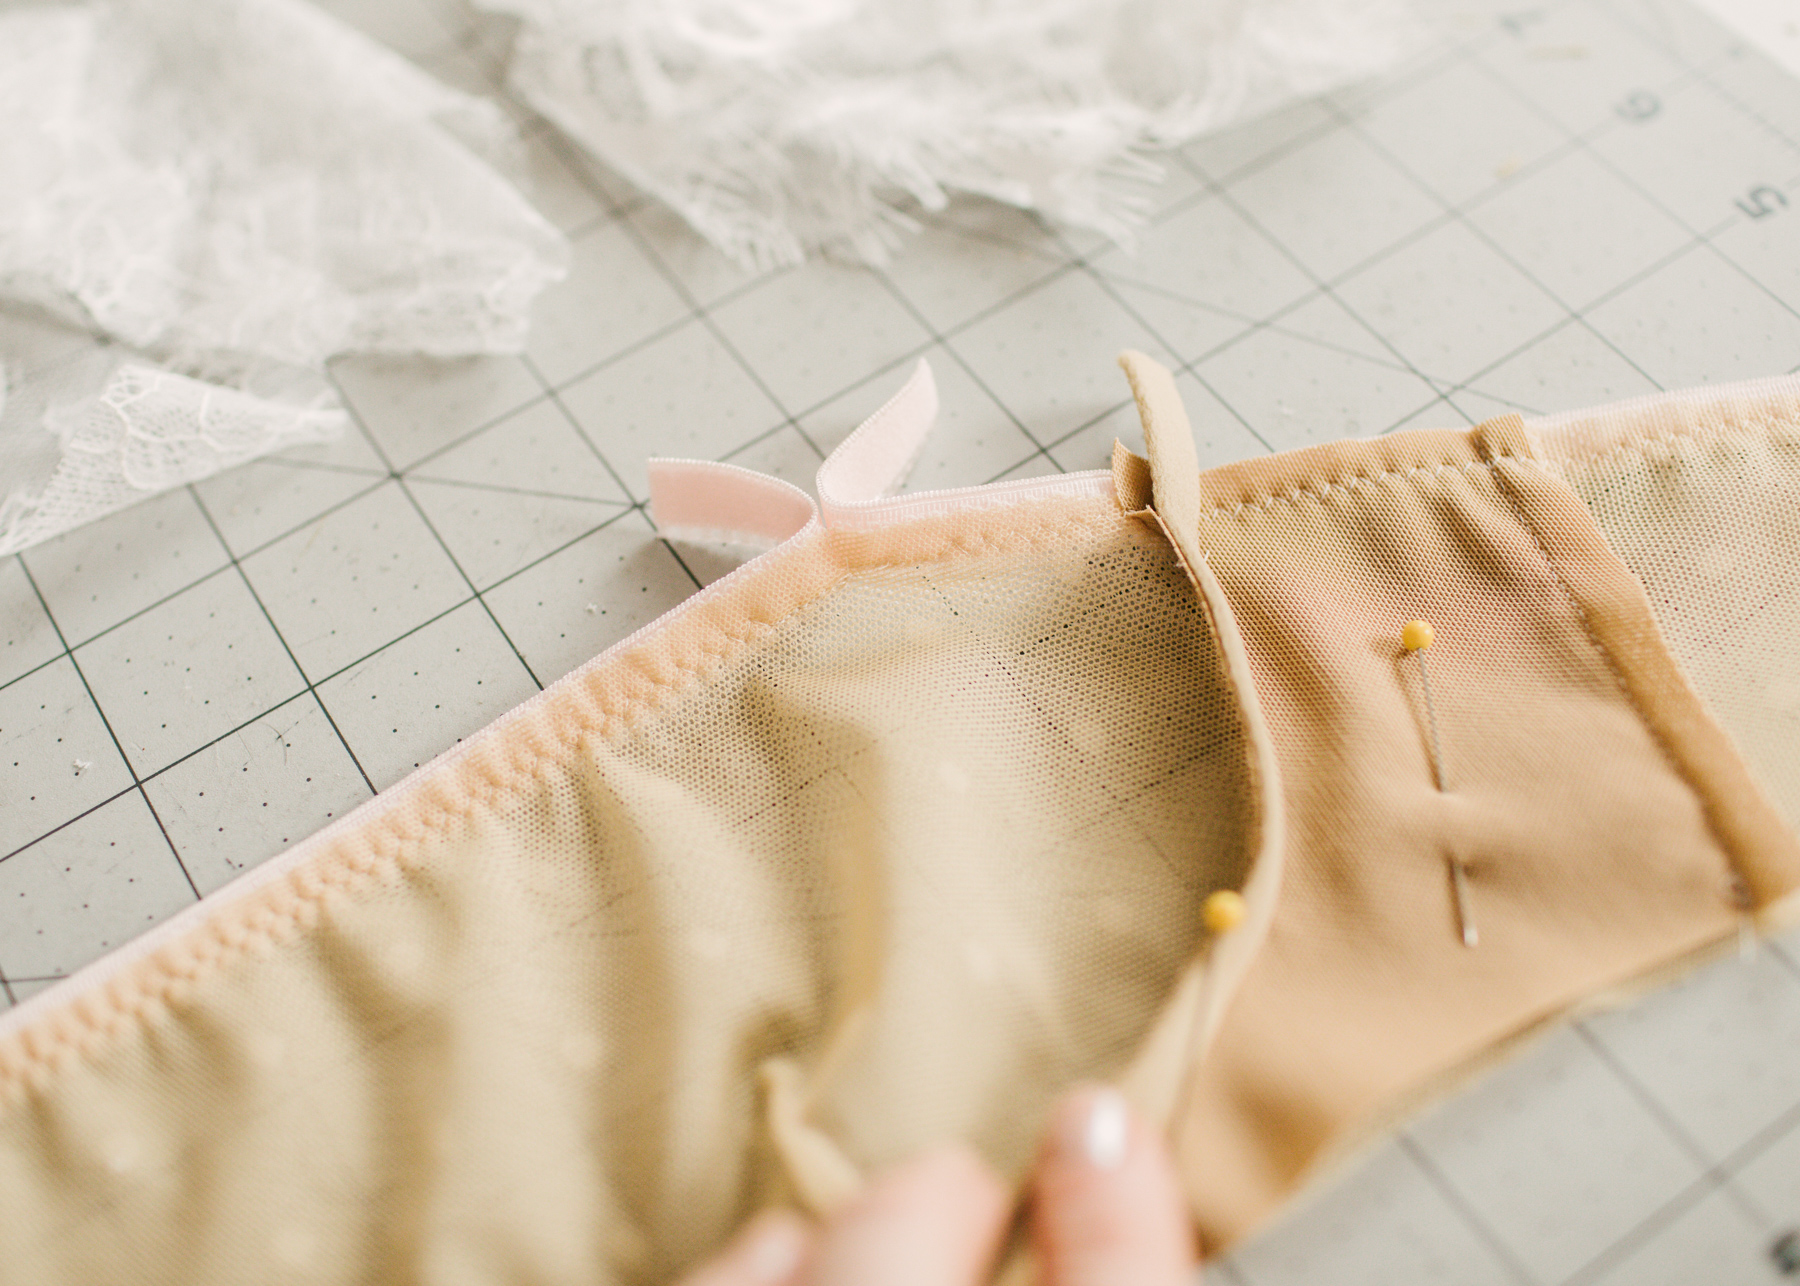
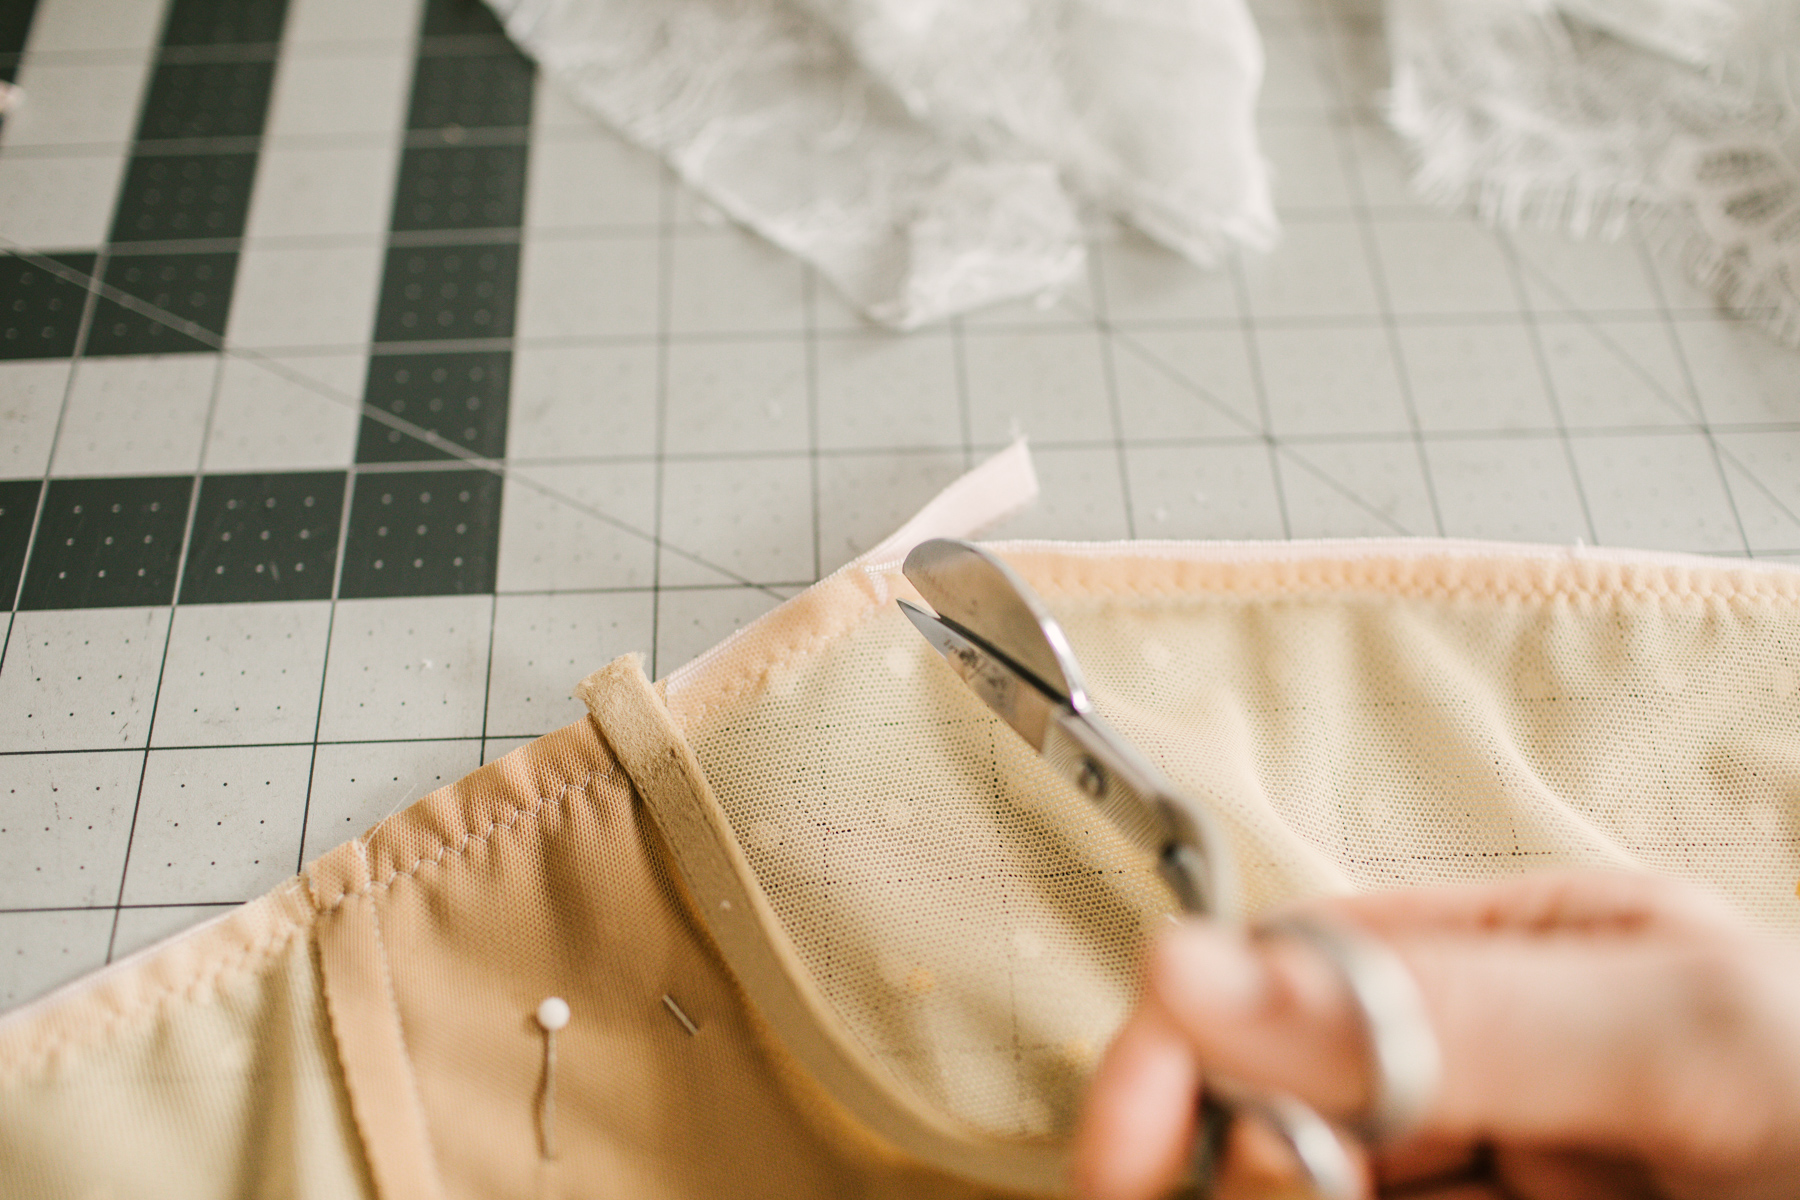
6. Proceed with the construction as per instructions.
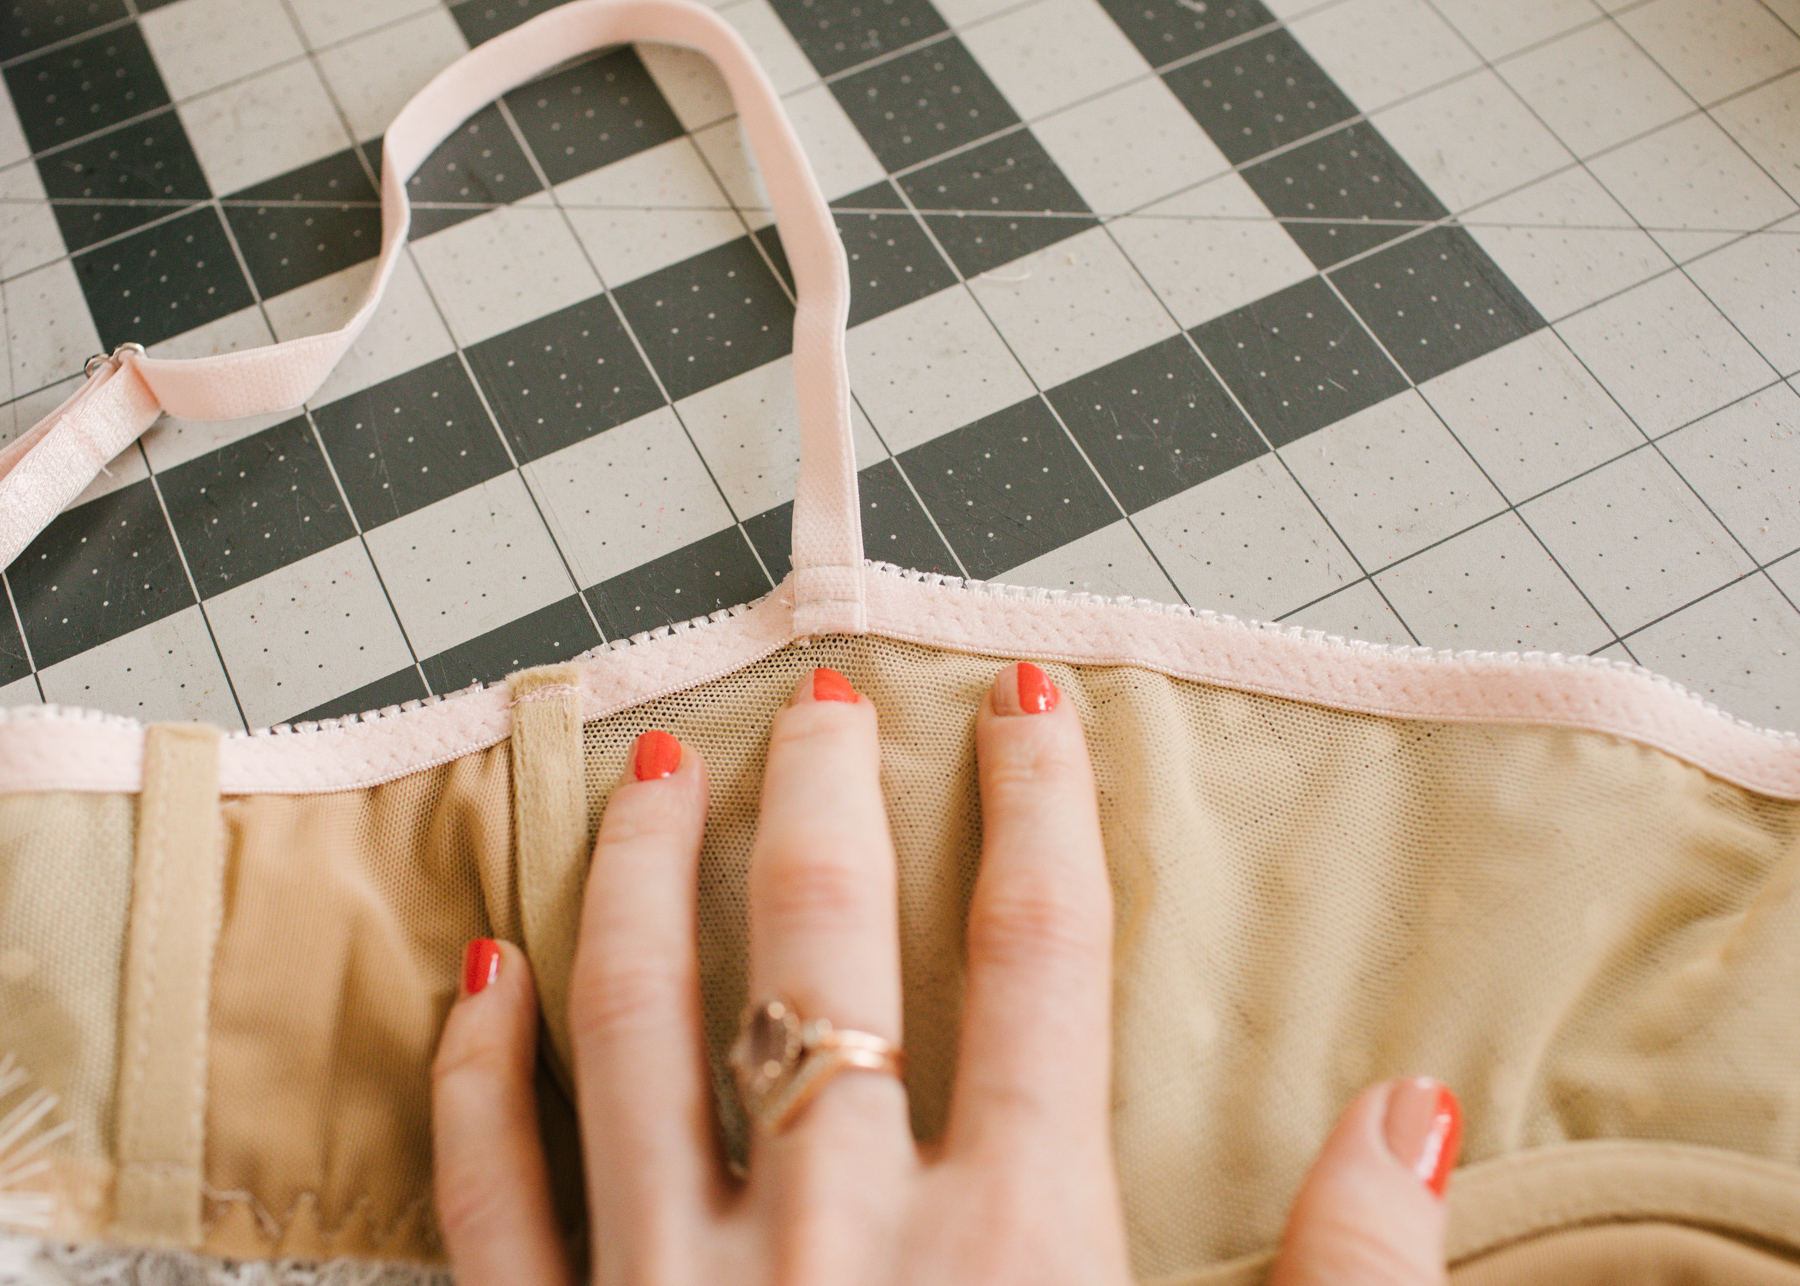
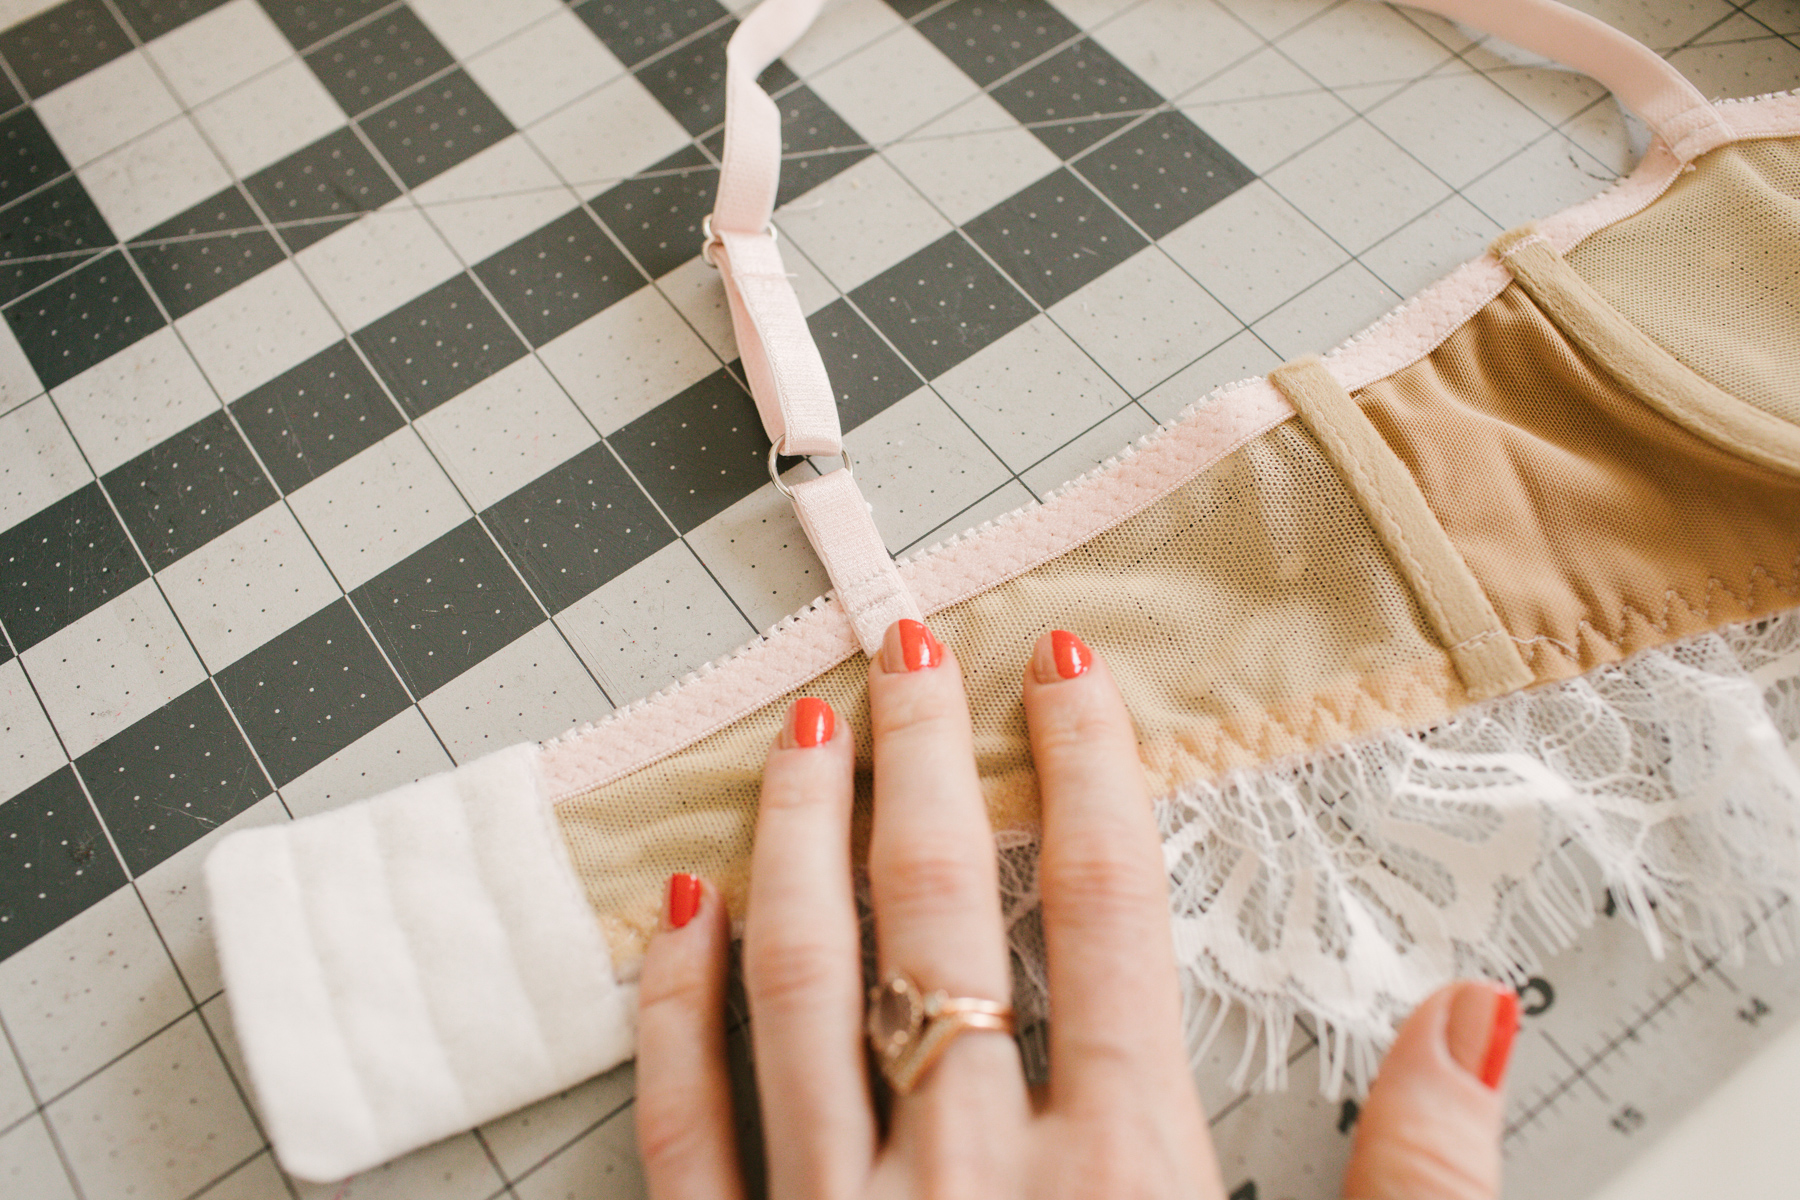
7. When you get to attaching the straps – the pattern was designed to have the adjusters in the front, but for this variation, they’ll be in the back. First, cut two strips of strap elastics that are 4″ long. Put a ring around each, fold in half, and then attached to the back band at strap points – refer to pattern for placement for your size.
8. Assemble the actual straps. Once the slider has been sewn, weave the long end through the the strap/ring you just sewed at the back band and weave up and through the center slider. To finish -with right side of the strap elastic against the wrong side of bralette, use a straight stitch with a short stitch length to secure at strap points. I sewed 2 rows of straight stitches for extra security.
9. Finish sewing as per instructions.
Click here to shop Madalynne X Simplicity 8711 kits.
Want to see a video of this variation? Follow @mmadalynne on Instagram and check out my IG Story highlight labeled “8711 Square Neckline Tutorial”

Rachel Brown
Are you selling these? I would buy a couple of colors right now if you are. Even if you do purchase before you make them! These are gorgeous!
Pingback: Madalynne X Simplicity 8711 Underwire Bralette Variation – Perfect Girl life style fashion