


Madalynne X Simplicity 8624 Sew Along: Day 3
 We’re on the home stretch! If you’ve made it this far, I’m so darn proud of you! We only have a few more steps until we’re finished. First order of business for today is to attach the 3/8″ picot elastic at the underarm and neckline.
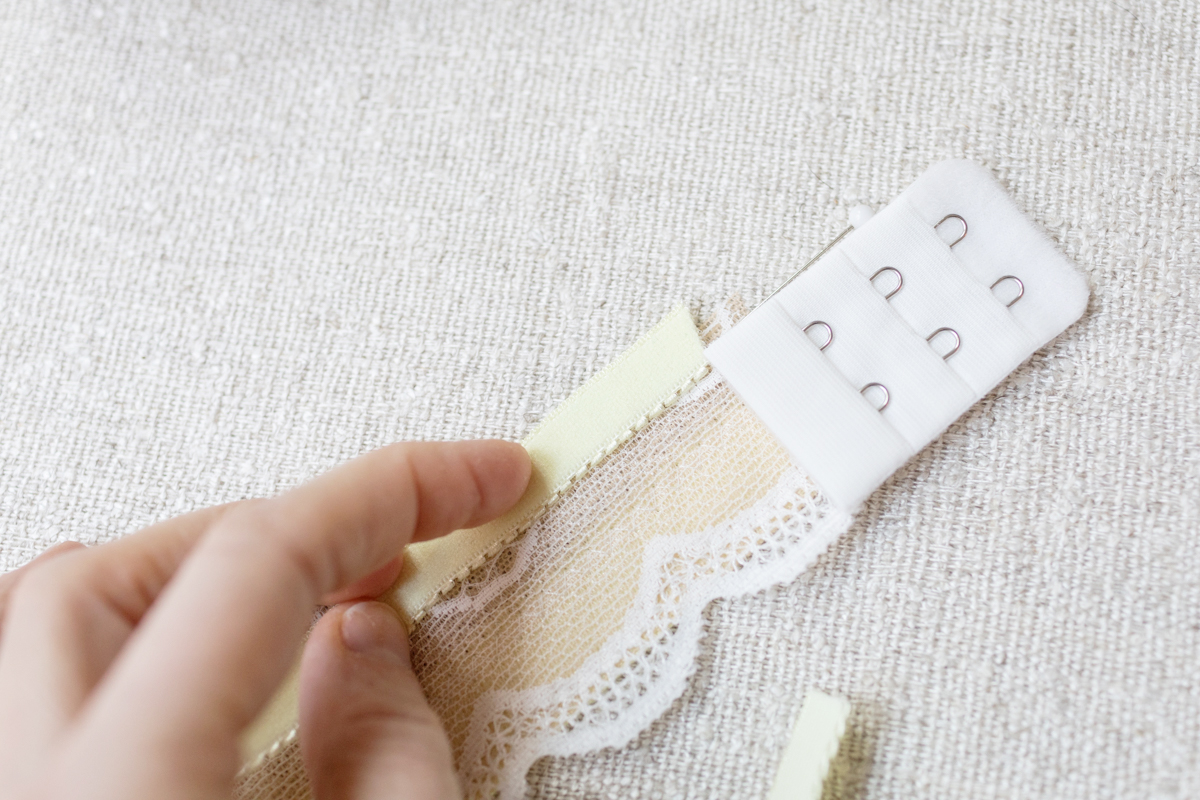 First, put your hook and eye about 1/4″ in from the center back. Then lay 3/8″ picot elastic down so that the picot edge aligns with the top edge of the hook and eye. With a pin or a pen, mark where the two meet. Remove hook and eye – we won’t need it until the next steps.
Then, with right side of bra facing up, place 3/8″ picot elastic down so that the picot edge aligns with the marking you just made. This will ensure that when the elastic is folded back, that it will fit into the hook and eye.
Sew one pass of zig zag stitches along the picot edge. Stitch as close to the picot edge as possible. When passing over wire seam, ensure seam allowance are facing towards/inside bra cup. Also make sure to fold the channeling out of the way.
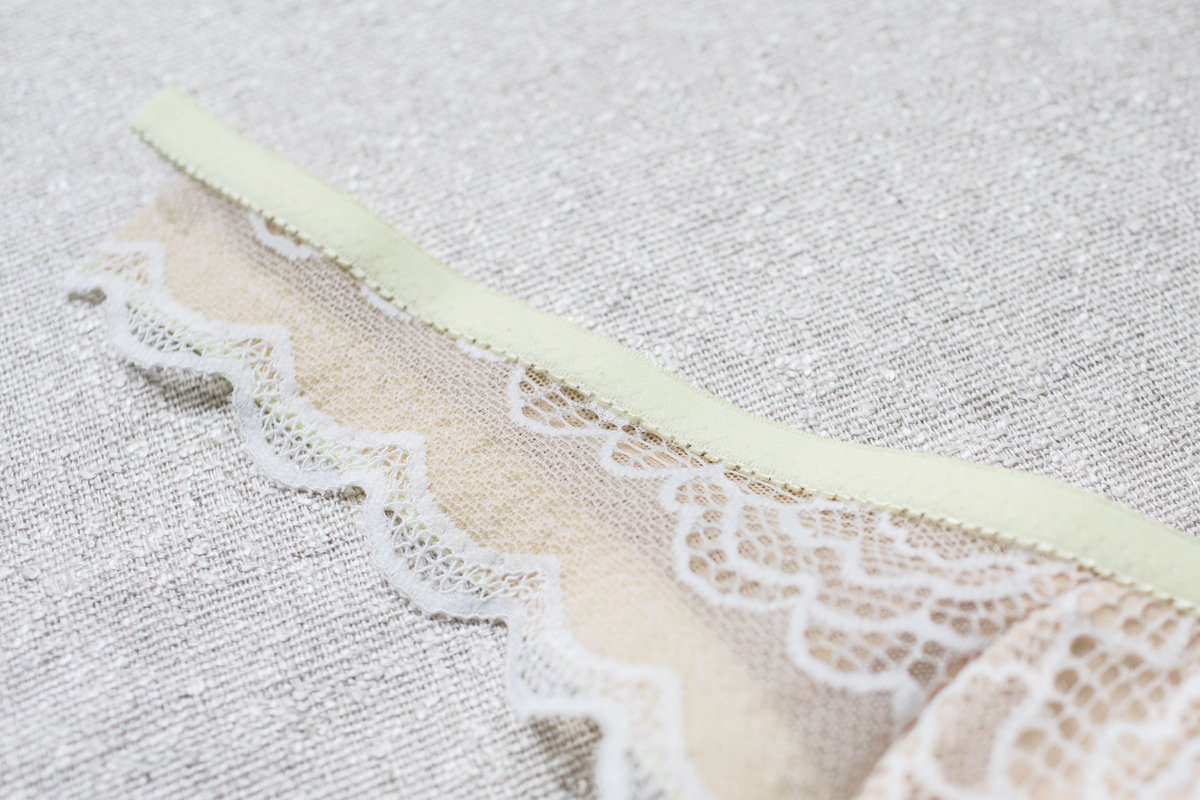
 Once the first pass has been sewn, trim the seam allowances and trim the channeling to align with the zig zag stitches. Then, flip the elastic to the wrong side of the bra and sew the opposite edge with a zigzag stitch. At wire seam, channeling should be sandwiched in between elastic and fabric.

 Using the same steps as before (sewing one zig zag pass, then flipping the elastic and sewing the other zig zag pass) attach elastic to neckline, making sure scallop edges of front overlay meet at center front.
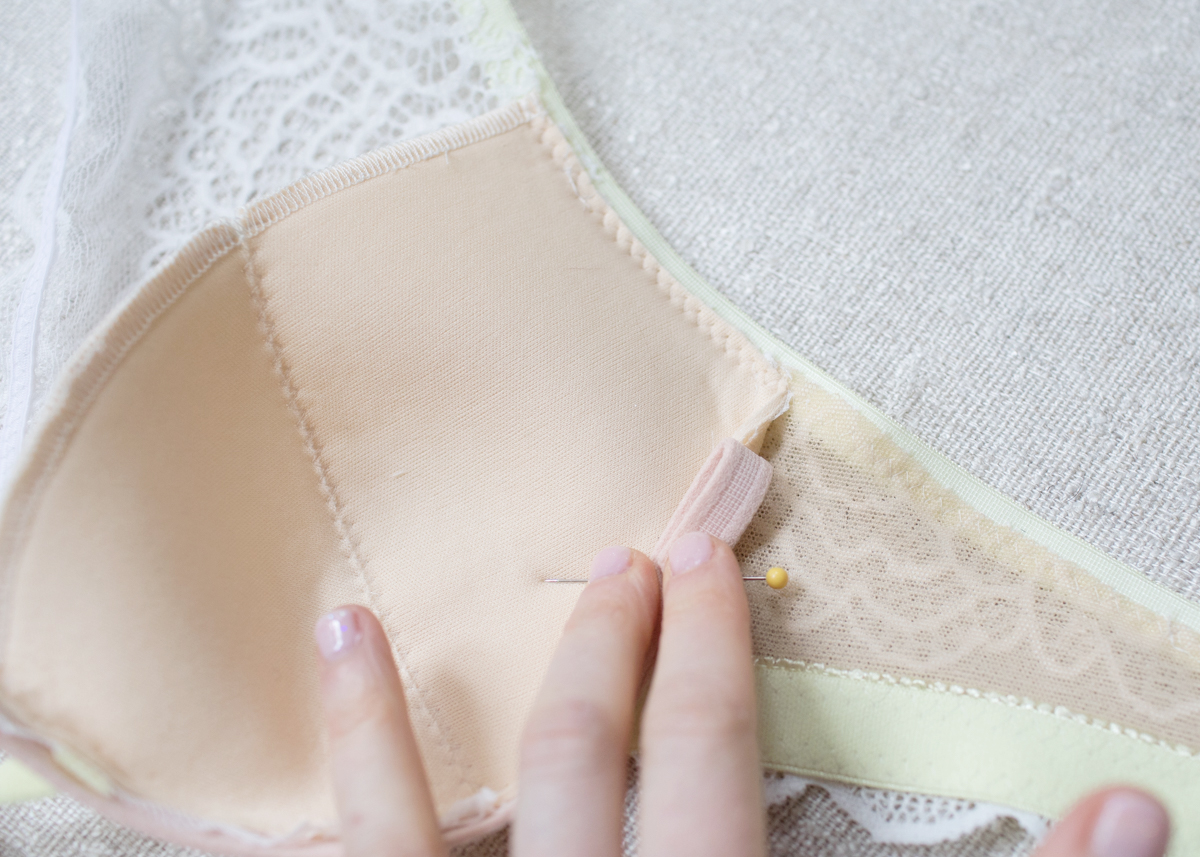
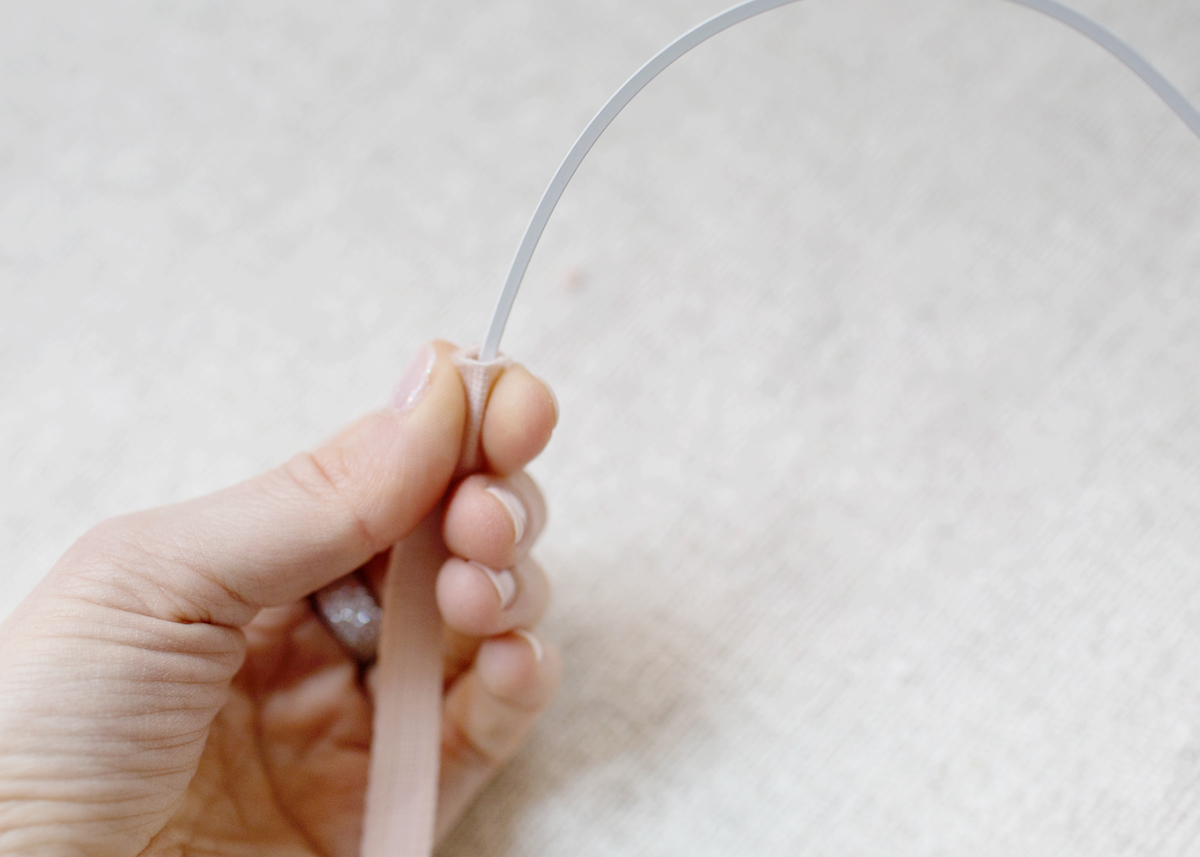
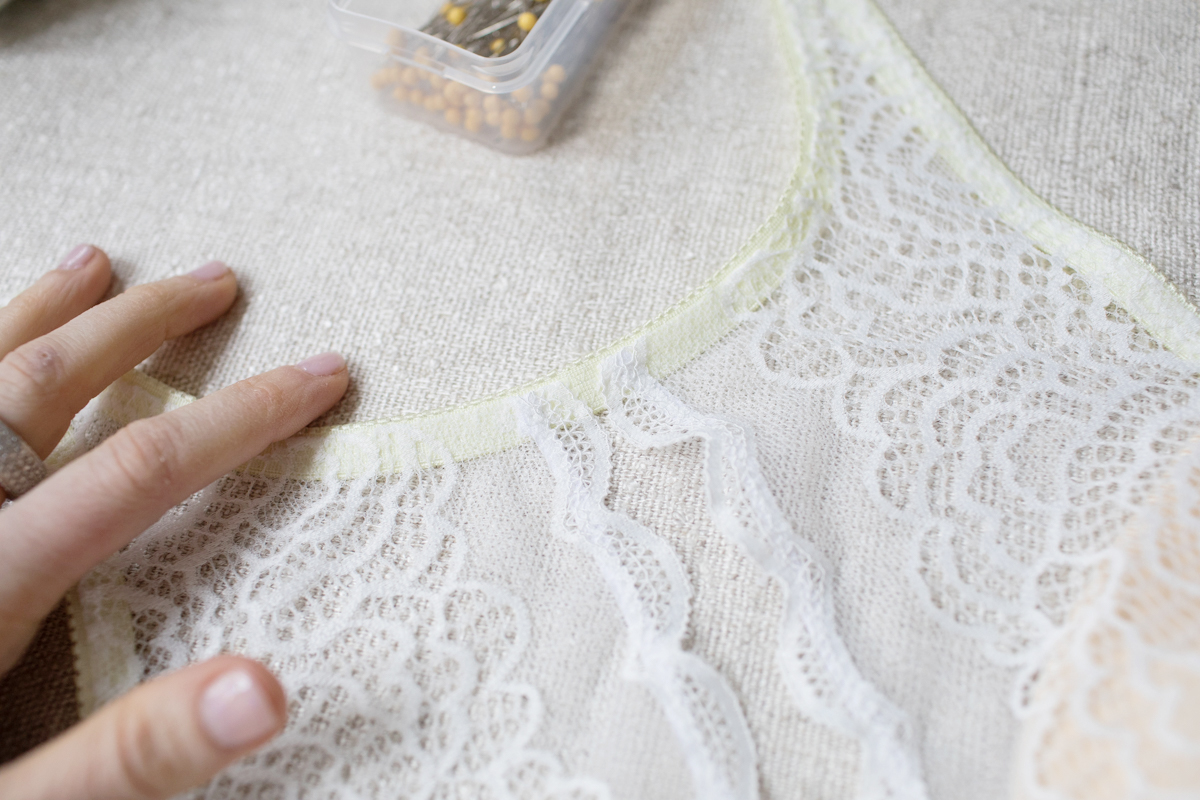 Now we’re going to finish sewing the channeling. To do this, push channeling to the inside of the bra cup, and with wrong side of bra facing up, use a straight stitch to sew about 1/8” (even closer if you can), on the opposite edge that was sewn on day 2. Stitch from underarm elastic to center front. Once finished, insert the demi underwire. You’re underwire should have about 1/8″ wiggle room at the center front and the underarm. No body’s perfect though. A lot can happen during sewing and your underwire may be too long. If it’s too long, no biggie. Amy of Cloth Habit has a great tutorial here on how to cut down underwires here. If you’re underwire is too short, well, this is why I suggest buy one size up and one size down.
Something to note – underwire should be inserted in the channeling. It should not be sandwiched in between the channeling and the fabric.
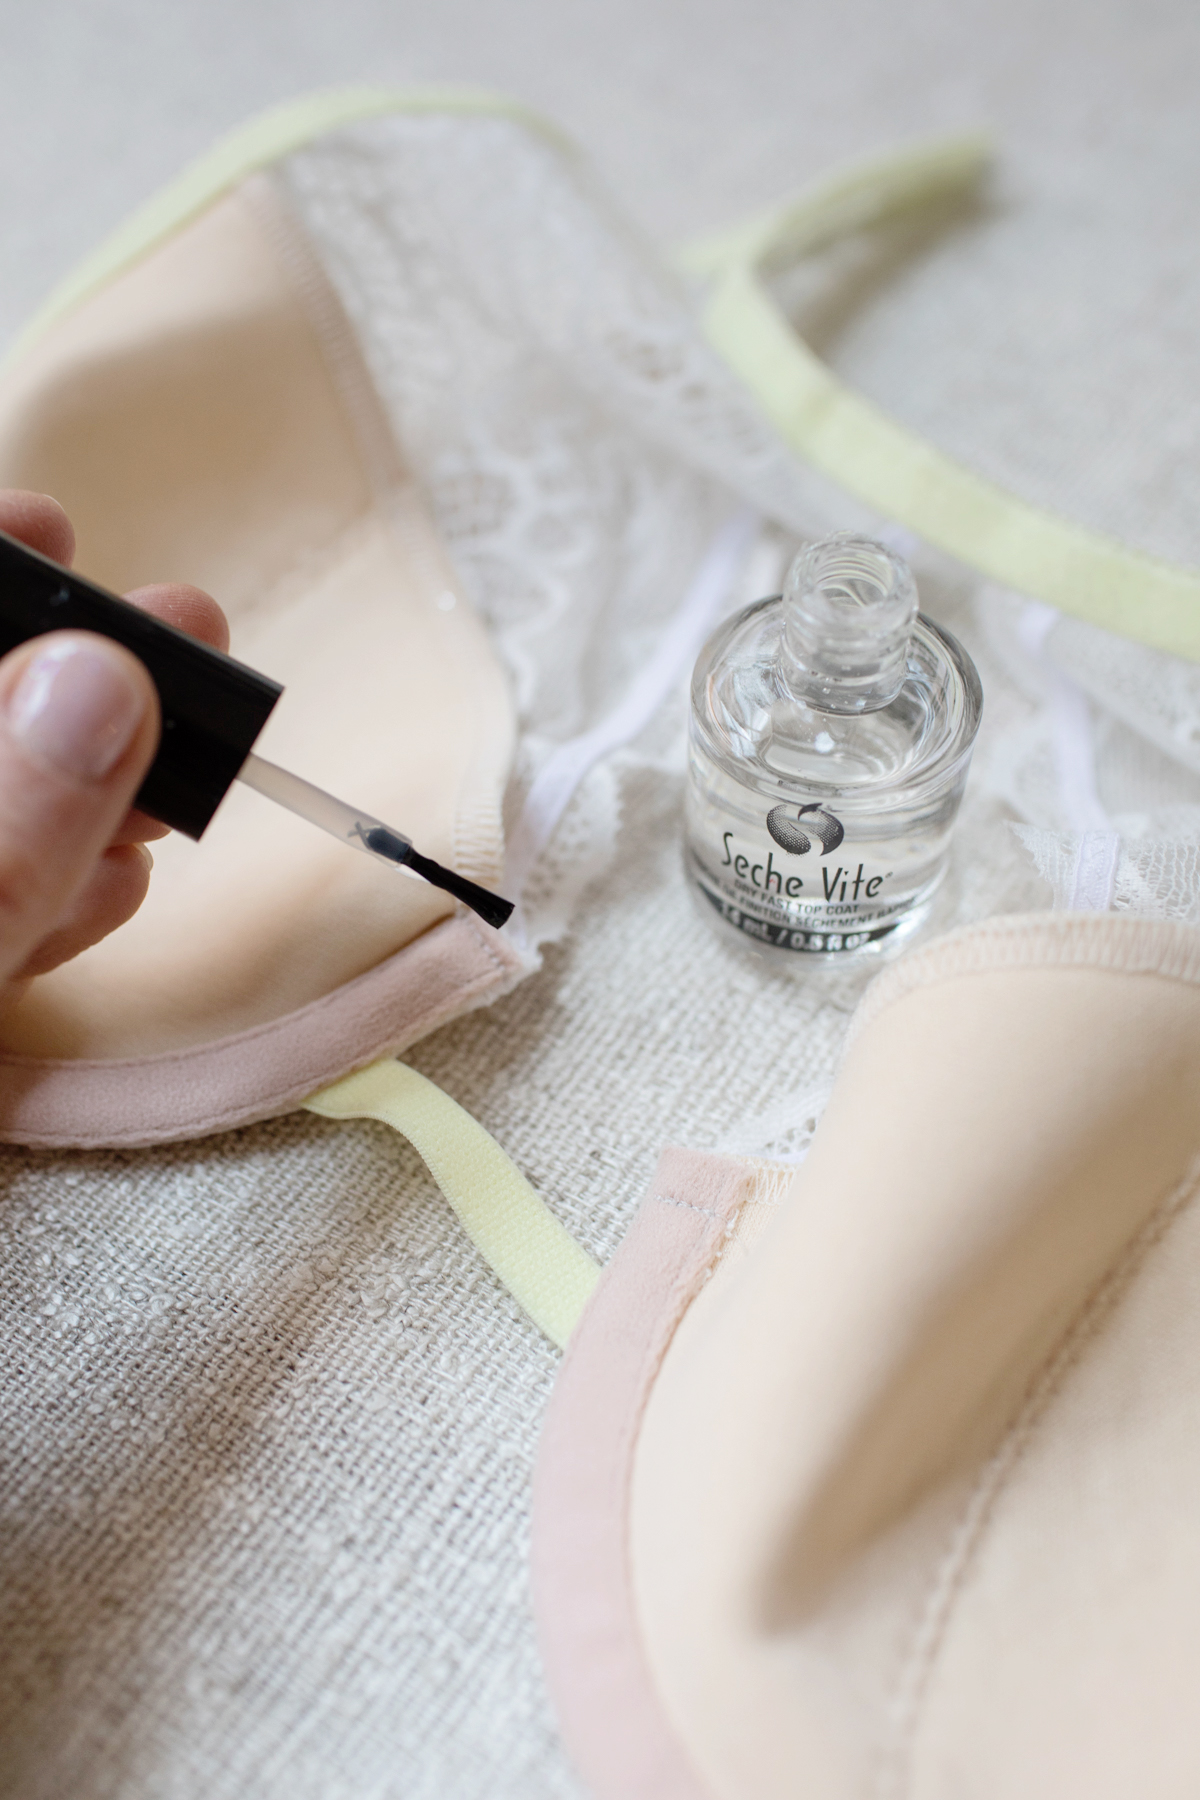
Once underwires are inserted, sew a bartack at the center front about 1/8″ from the edge. Then cut as close to the stitching as possible. This part of the bra get a lot of wear and the channeling does fray. You can use Fray Check, but I actually use this clear nail polish. It works much better!

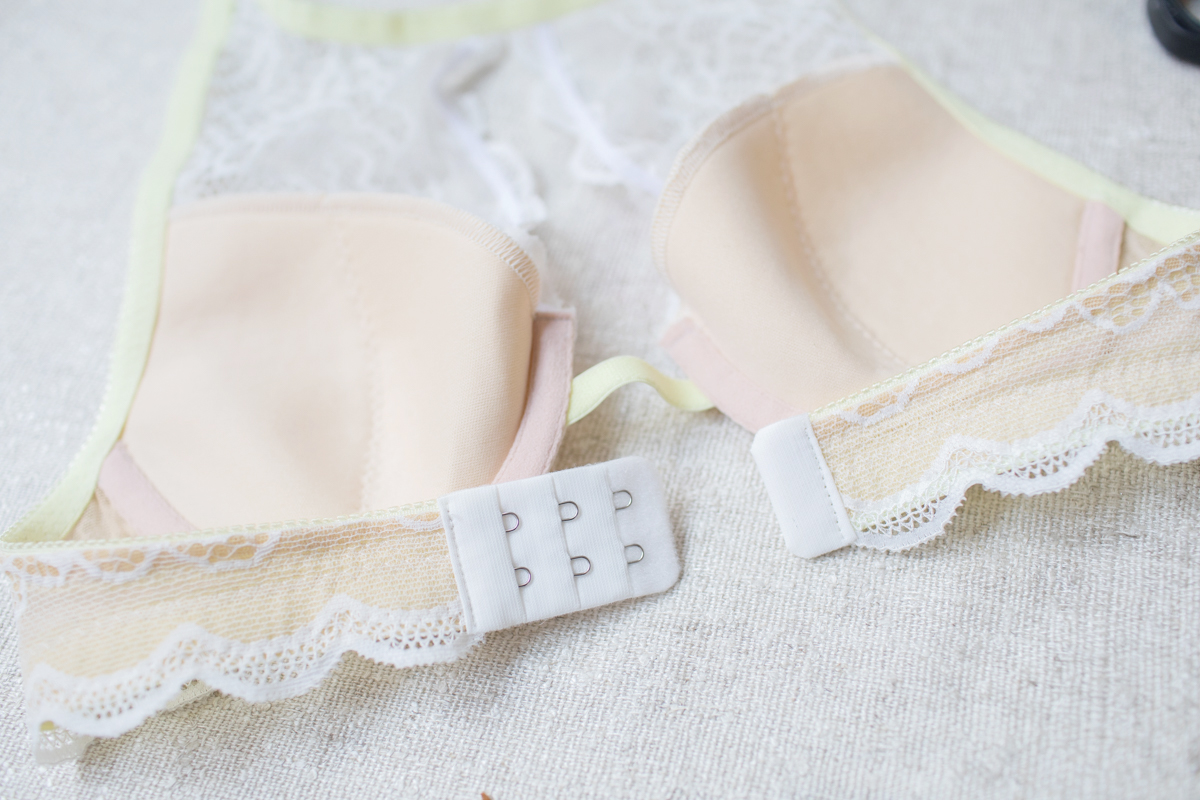
 Attaching the hooks and eye – this is my favorite step to use Odif’s 505 Spray adhesive. If you have the bra face down and the back band face up – the eyes go on the left side of the bra and the hooks go on the right side. For both the hooks and the eyes, you’re going to open the hook and eye and spray inside. Then, you will wrap each around the raw edge at the center back and sew with a straight stitch as close to the edge as possible (approximately 1/8”). For the hook side, you MUST make sure that the hooks are facing up to avoid your hooks from damaging the face plate on your sewing machine.
BTW – If you’re hook and eye doesn’t fit, I have this tutorial for a quick fix.
 Last step! Woo!
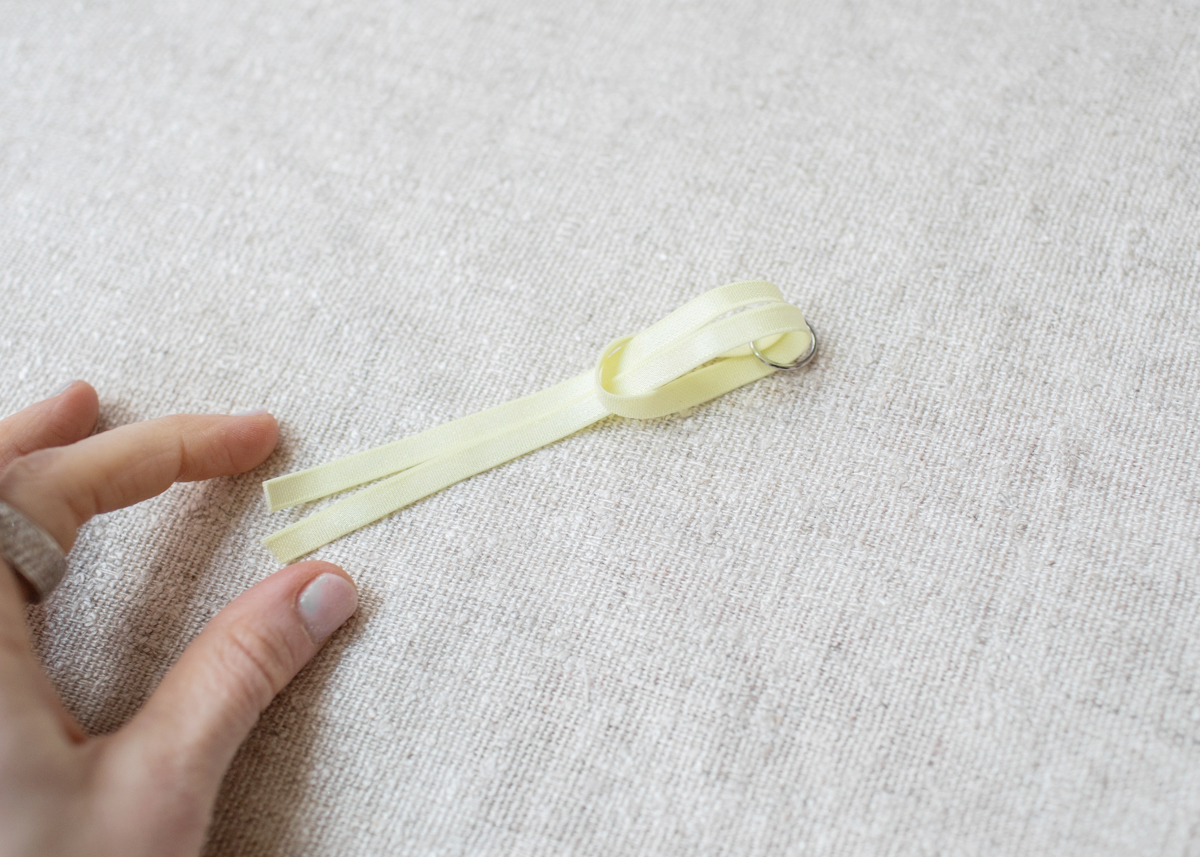
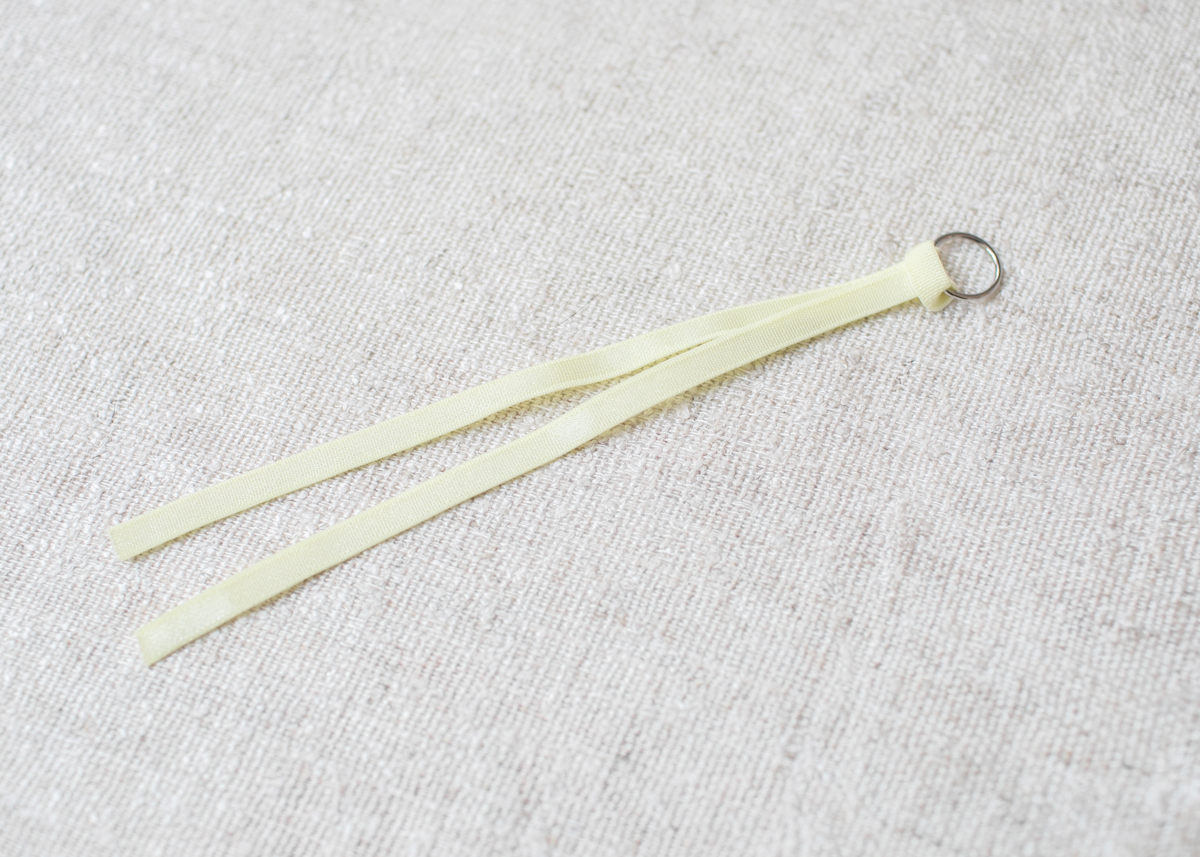
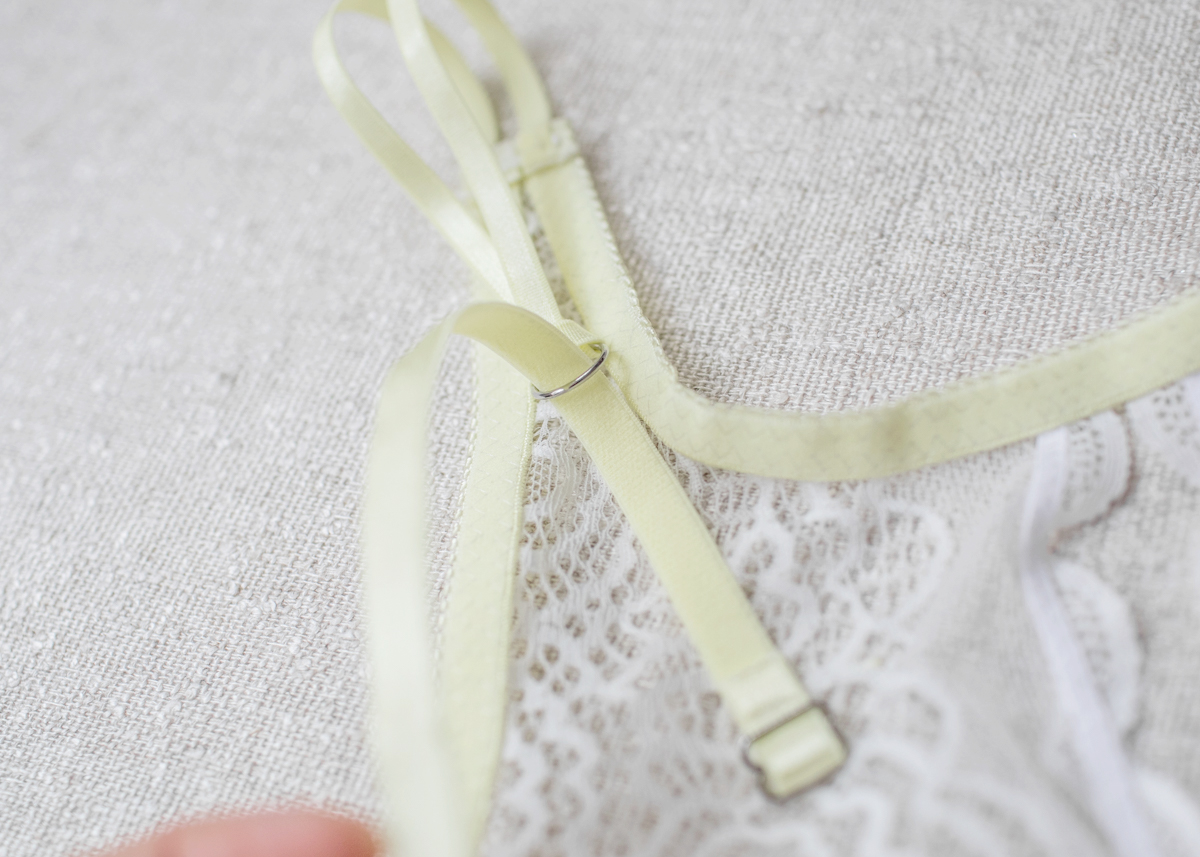
Let’s first make the skinny straps. Cut 2 strips of 1/8-1/4” shoulder strap elastic 13” long. Fold in half and the feed through ring. Weave through the center of the fold to create a ‘knot’ around the ring.

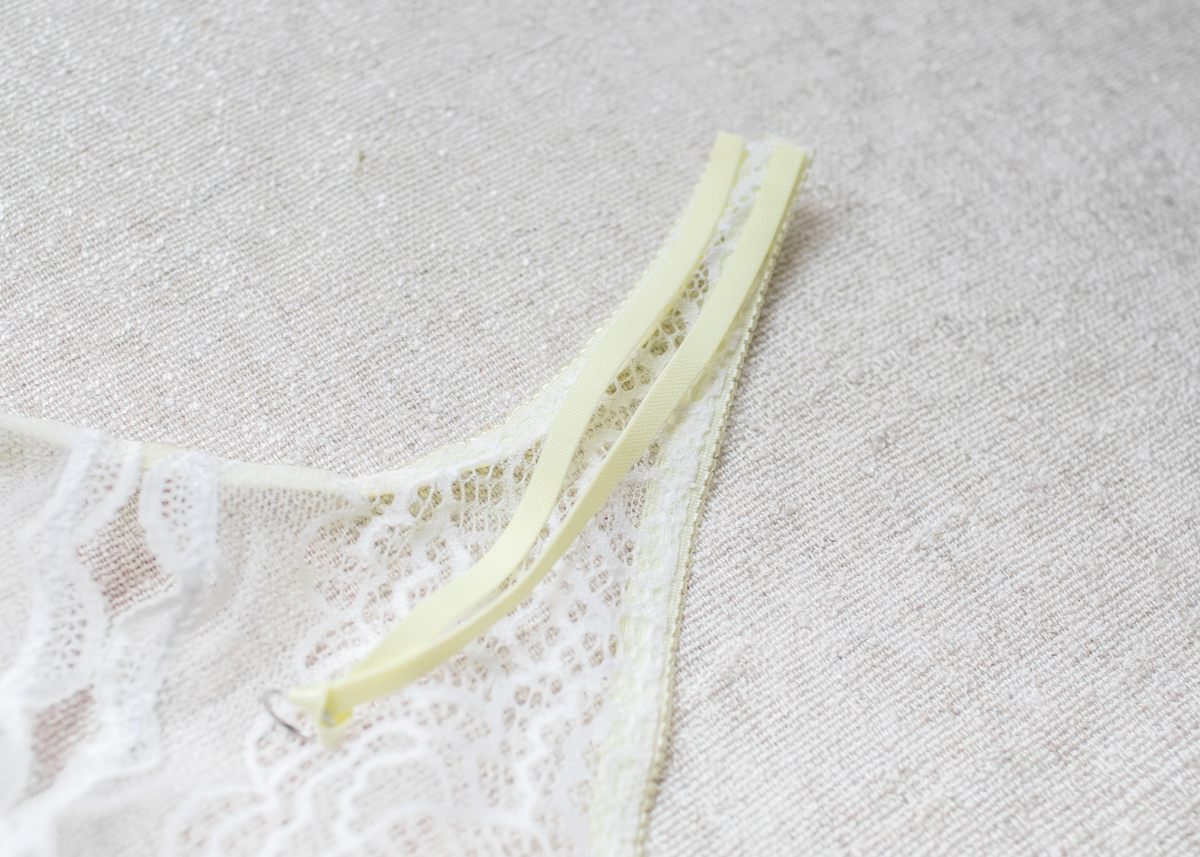
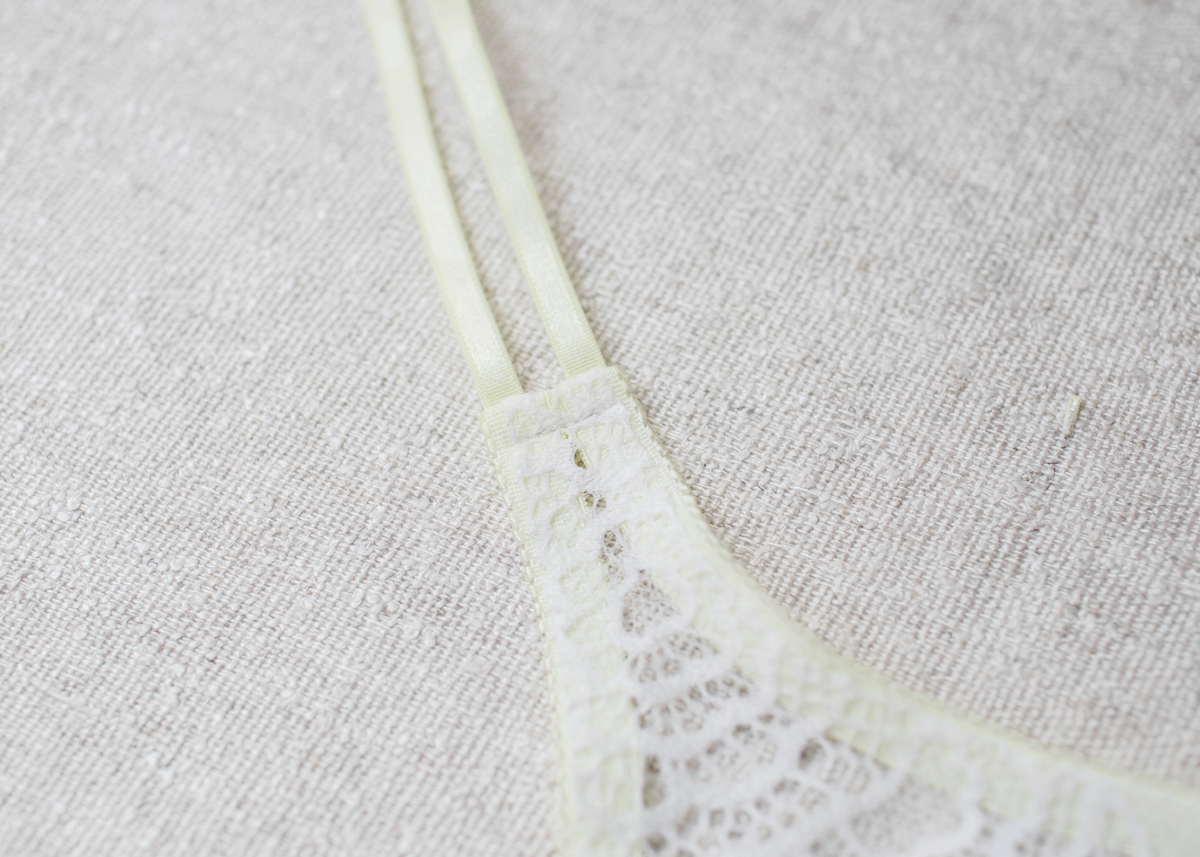
 With right side of straps and bra facing together, place 1/8-1/4” shoulder strap elastic on either side of strap point. Sew down using a straight stitch 3/8” from edge.
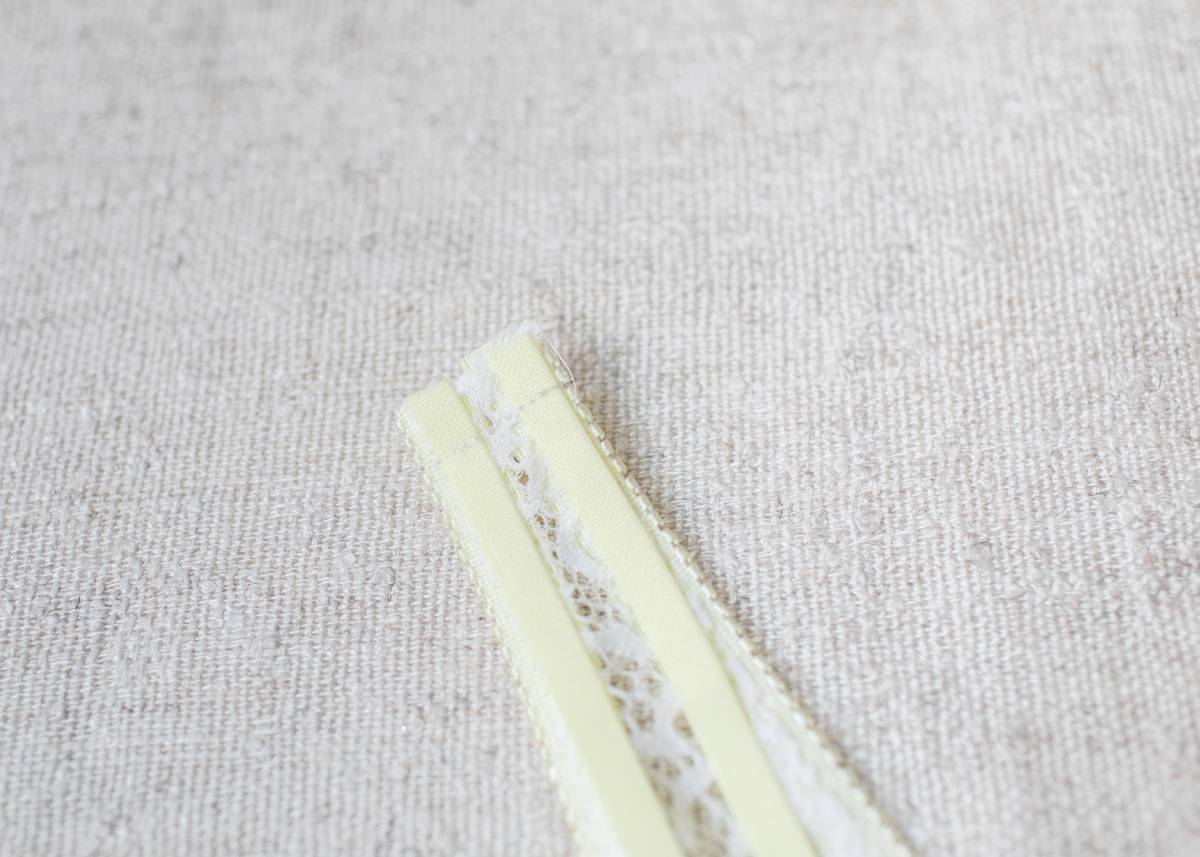 Then, turn back strap point and sew down with a straight stitch approximately ¼” from fold line.
 Cut 2 strips of ½” shoulder strap elastic 10.5” long.
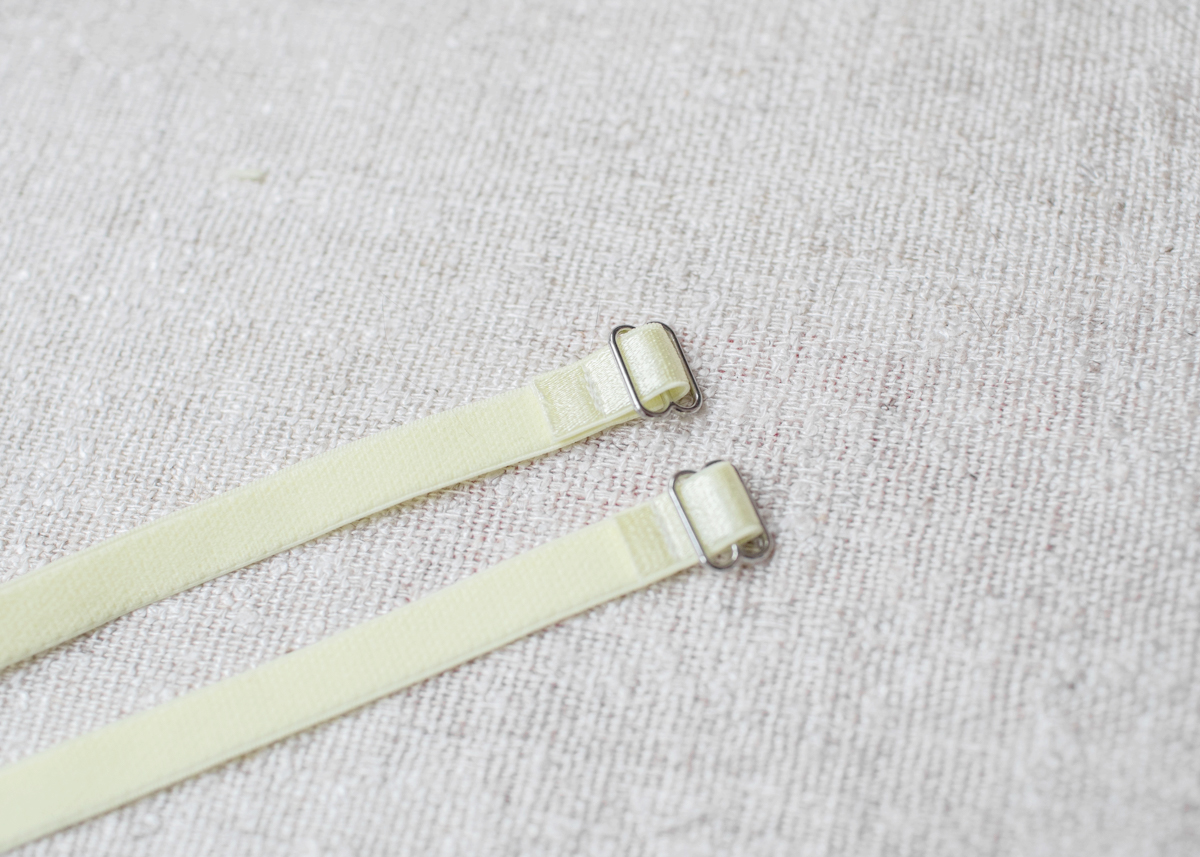
Feed one end of strap up and through the bottom of one slider, then over the center bar and down through the other side. It should look like a belt buckle, with one short end and one long end.
Fold the short side down and stitch back and forth with a straight stitch to secure. Trim close to stitching.
 Turn elastic over and weave through ring on 1/8”-1/4” shoulder strap elastic from back to front. Feed long side up and over center bar of the slider just like in previous step.
 With wrong side of bra facing up, lay shoulder strap elastic down at strap insertion points. Secure by sewing a straight stitch back and forth. Trim close to stitching if necessary. Use notches on back band pattern for placement.
 Woo! You’re finished!
I sound like a broken record at this point, but don’t forget to share your in progress and finished 8624 on Instagram. Tag @mmadalynne and use the hashtag #bramakingwithmadalynne
No Comments