Embroidered Bralette + Thong: A Personal Project
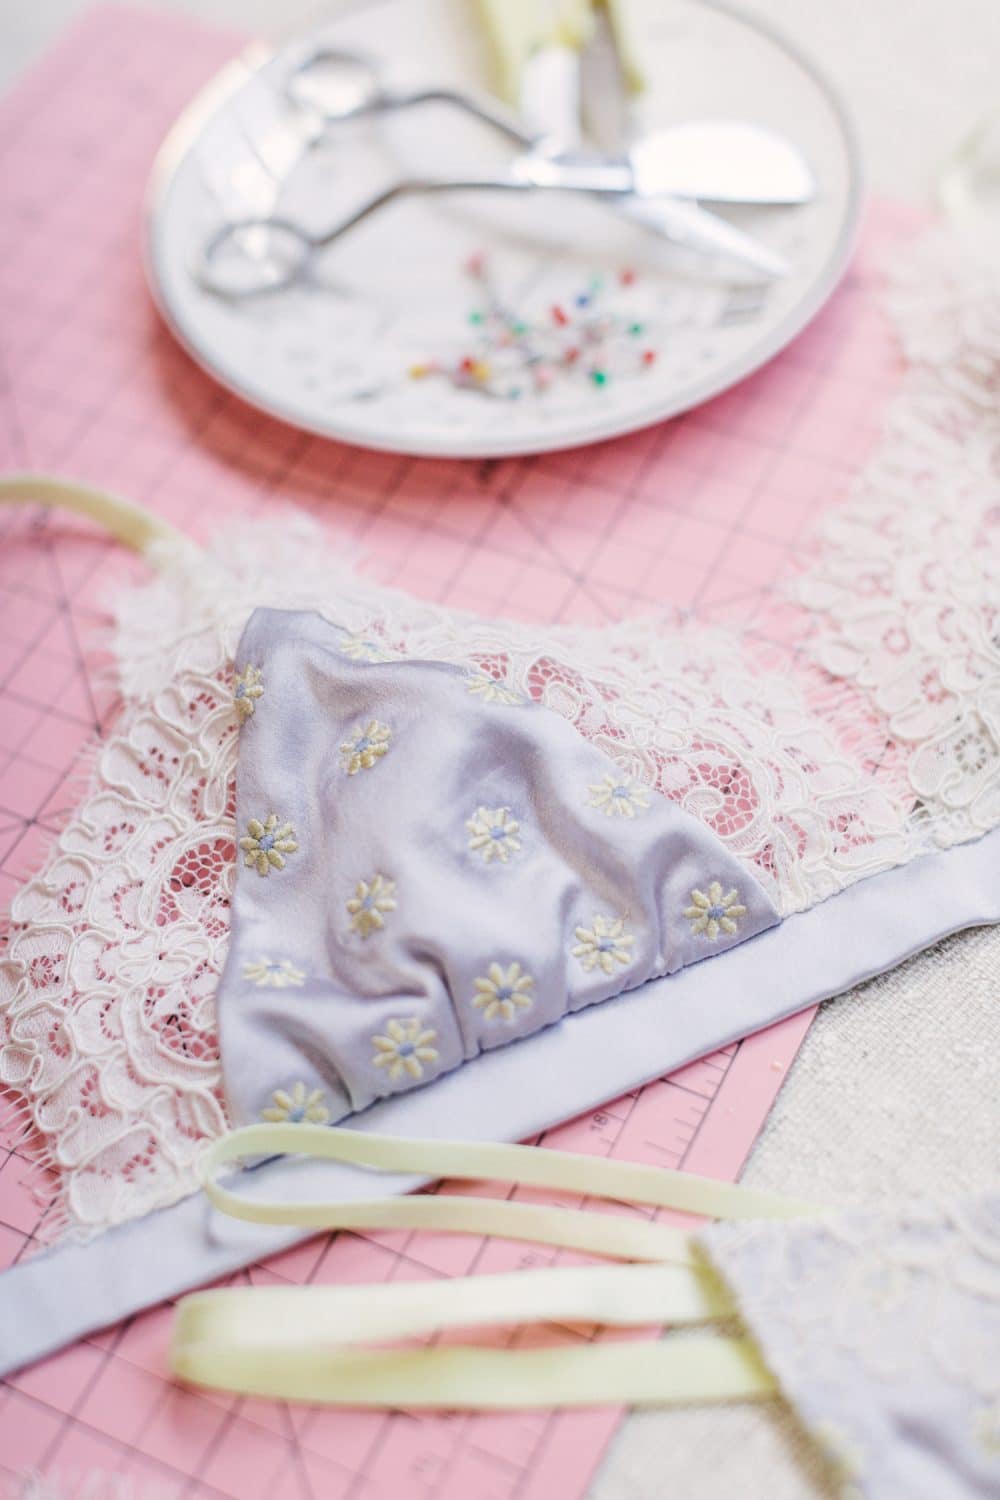
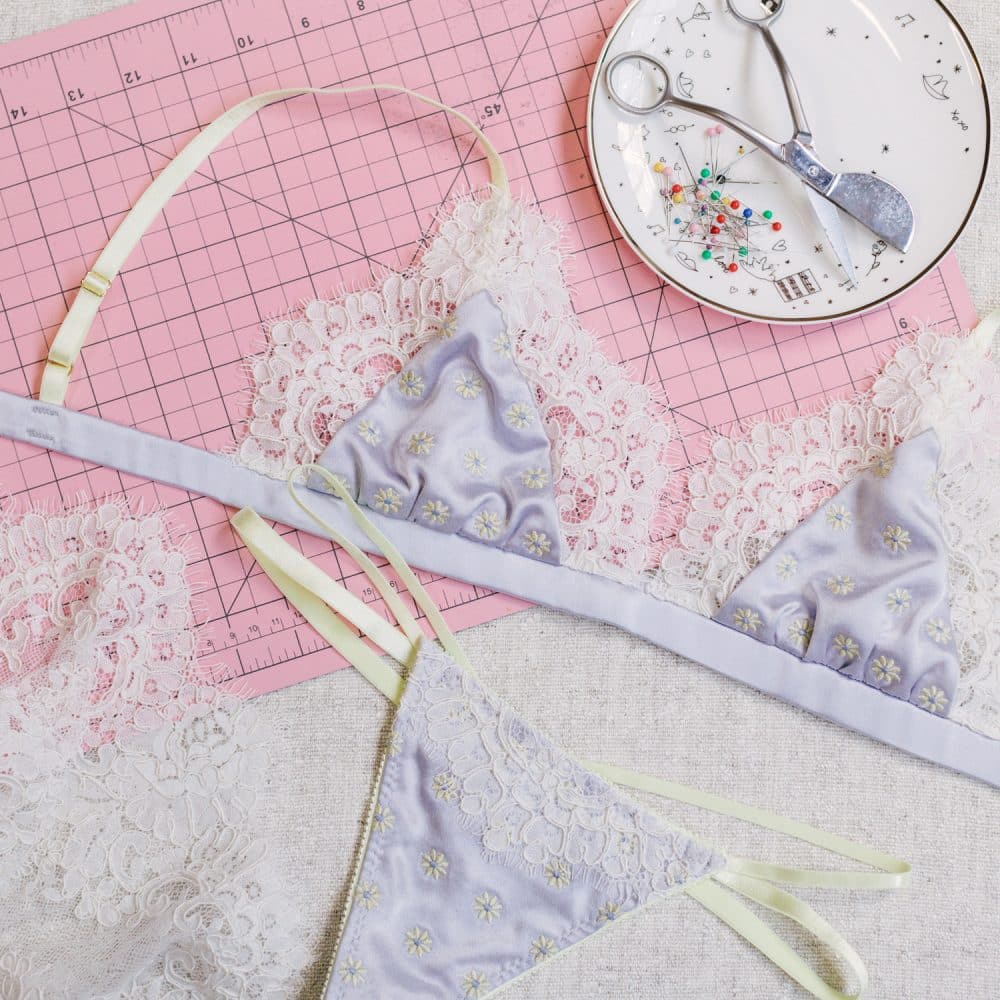
Up until this point, I’ve embroidered basic letters in one color. It’s been almost a year since my first embroidery project ever using PFAFF® creative icon™ and since I was a complete newbie, I wanted to start simple. For my most recent project, I used PFAFF® PREMIER+™ 2 Embroidery System to create a floral, daisy patten to make a bralette and matching thong. I’m obsessed! In today’s post and video, I’ll be sharing my project and how to send your embroidery project to mySewnet and then access it on your creative icon sewing machine.
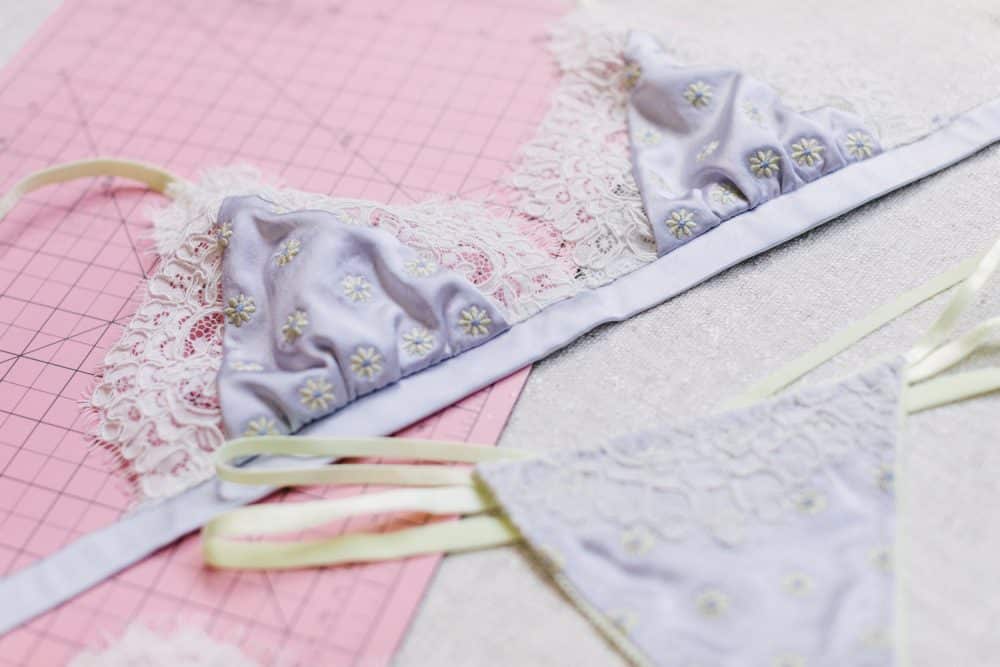
PROJECT DETAILS
Main fabric: blue satin from Mood Fabrics and off white eyelash galloon lace from Fleishman Fabrics
Lining fabric: beige stretch mesh from the webshop
Elastics (all from my stash):
⅜” yellow picot plush back elastic (for edges of thong)
¼” yellow shiny strap elastic for bra straps and side of thong
⅛” yellow shiny strap/flat elastic for side of thong
Notions:
2 x 3 hook & eye
¼” rings and sliders
Thread: Robison Anton Thread
Stabilization:
INSPIRA’s Aqua Magic Plus on bottom/underside
Inspira’s Water Works as a topper
INSPIRA’S Aqua Magic Stabilizer in between main fabric and lining fabric
no pattern or kit available (yet) – this was a personal project for me ;)
PREMIER+™ 2:
PREMIER+™ 2 is PFAFF® embroidery software and when the product description says that it contains everything you need plus more to create your own embroidery design, they mean it! Just like PFAFF® other machines, it is very intuitive to use and I had no trouble navigating it, finding the tools I needed, or creating my design.
UPLOADING AN EMBROIDERY DESIGN:
1. Once you’ve created your embroidery design, click “Send to mySewnet” at the bottom toolbar.
2. When you turn on your machine, you’re going to press “upload from my Sewnet.” If you’re already in embroidery or sewing mode, press the home button at the bottom of the main screen and then press “upload from my Sewnet.”
3. If you haven’t signed in to your mySewnet account, you will prompted to do so. Enter your credentials and then your embroidery project will show up. That’s it!
Check out my previous embroidery posts + video:
Unboxing PFAFF® creative icon™ Sewing and Embroidery Machine
PFAFF® creative icon™ Embroidery 101
Embroidered Lingerie Tutorial: 2 Stabilization Methods

Chrissa
Hi Maddie, such a gorgeous set! I bet it was nice spending time on a personal project when so much of what you do is for your business. Although, if you were to make that bralette into a pattern, I would definitely purchase it!! :)
Maddie Flanigan
Yes it was!
Deals By Post
I’ve just recently discovered your blog and it just Beautiful and attractive blog. So thank you for sharing . Looking forward to reading more posts already.
Pingback: Madalynne Intimates + Lingerie - Bralettes to Buy and Sew!